We have talked about Creality and their presence in the field of 3D printers in the past, when we presented the Creality Halot One Plus, resin printer. This time Creality sent us a PLA 3D printer. The new Creality Ender 3 Max Neo. The Ender series is well known in the 3D printing community and this is because they are one of the easiest to handle, to upgrade but they are also reliable printers.
Creality Ender 3 Max Neo is the upgrade of Ender 3 Max. Some of the new features are that it has CR-touch automatic leveling, Bowden’s new extruder, silent 32-bit motherboard, and allows belt adjustment for easier calibration.
Unboxing
The Creality Ender 3 Max Neo came in a relatively simple cardboard box. The printer model is written on the 2 sides and the rest of the box is blank.
Creality Ender 3 Max Neo has just passed all quality checks by Vincent and is ready for unboxing
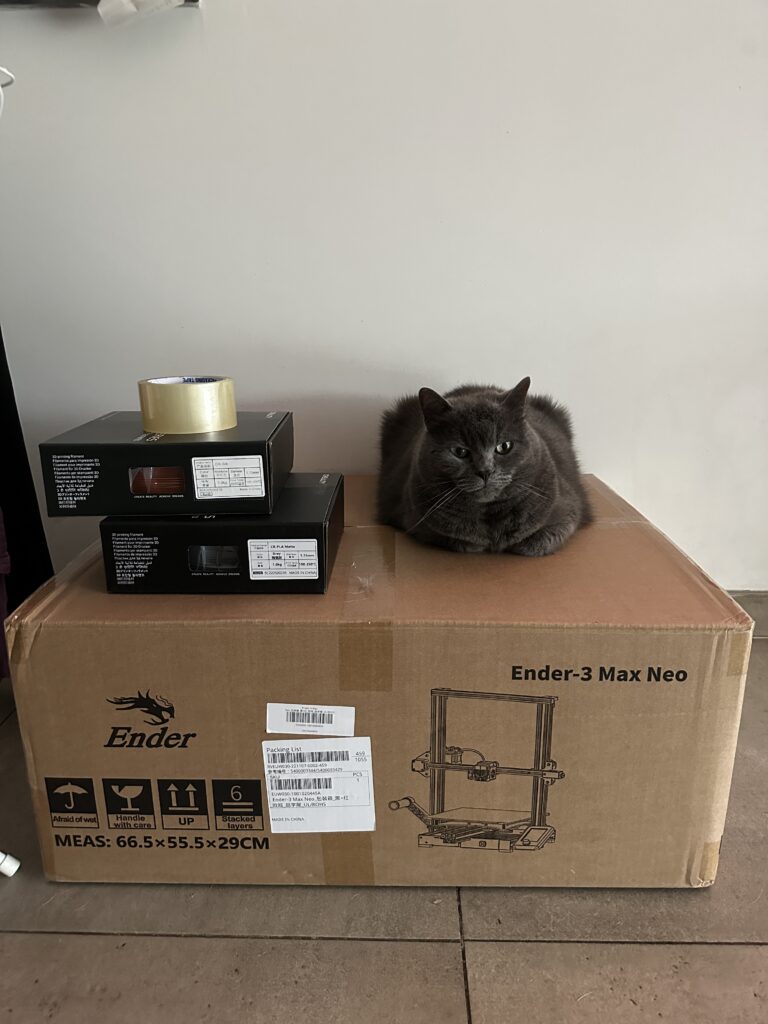
Opening the box, I have to admit I have never seen better packaging till date. Six different layers of protective foam protect the 3D printer even from a fall from the second floor. But what is hidden in all this foam?
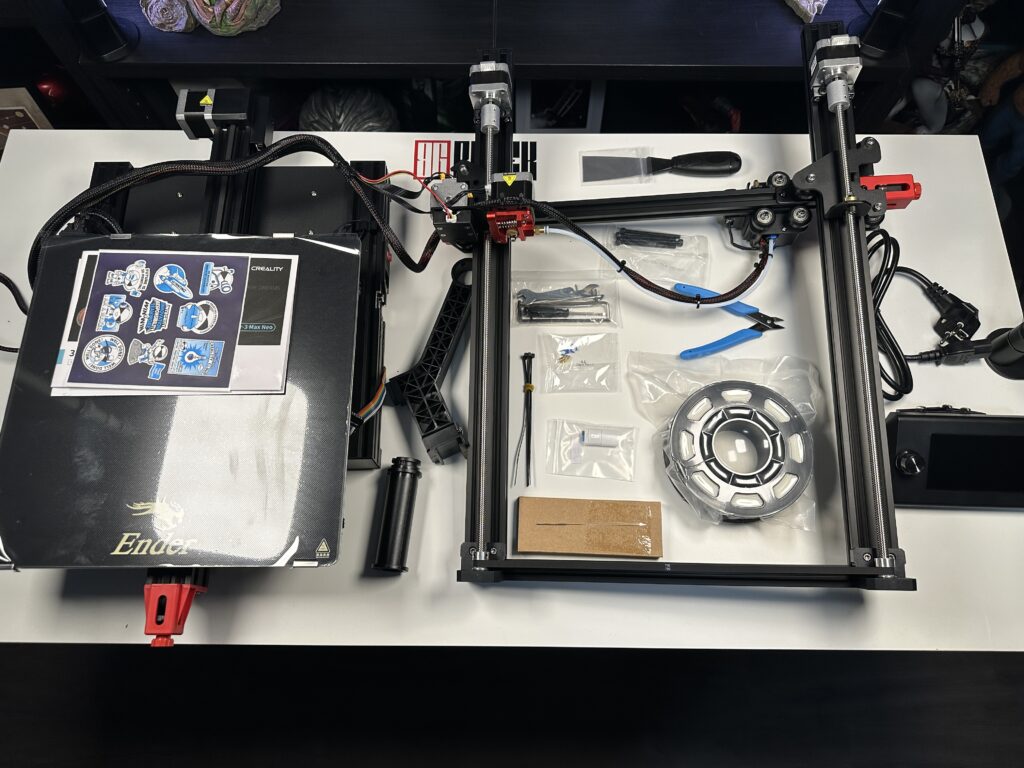
- Creality Ender 3 Max Neo split into two pieces
- One extra 0.4mm nozzle
- Two extra pneumatic fittings
- A base for the PLA filament roll
- A 4.3 inch touch screen together with its base
- An 8GB MicroSD Card together with the USB adapter
- A 200 gram PLA test roll in white
- Some zip ties
- A toolbox containing:
- Two wrenches
- Four allen keys
- A flat screwdriver
- A cutter for the supports
- A spatula for removing the prints from the bed
- A cleaning needle for the printer nozzle
- And of course the manual, some stickers with the Creality mascot and the warranty
All this may scare you and seem complicated, but in reality, the exact opposite happens. Keep reading and you’ll see what I mean in the assembling section of the Creality Ender 3 Max Neo.
Before you start printing
The first step before we start the 3D printing experience is to assemble the 3D printer. This is the scariest part for beginners. 3D printers have always been complex “toys” that are not for everyone. Fortunately, in recent times, this has changed. 3D printers are becoming more and more accessible to the public, both in terms of price and use.
So, the Creality Ender 3 Max Neo is ready for use after three simple steps.
Setting up the printer
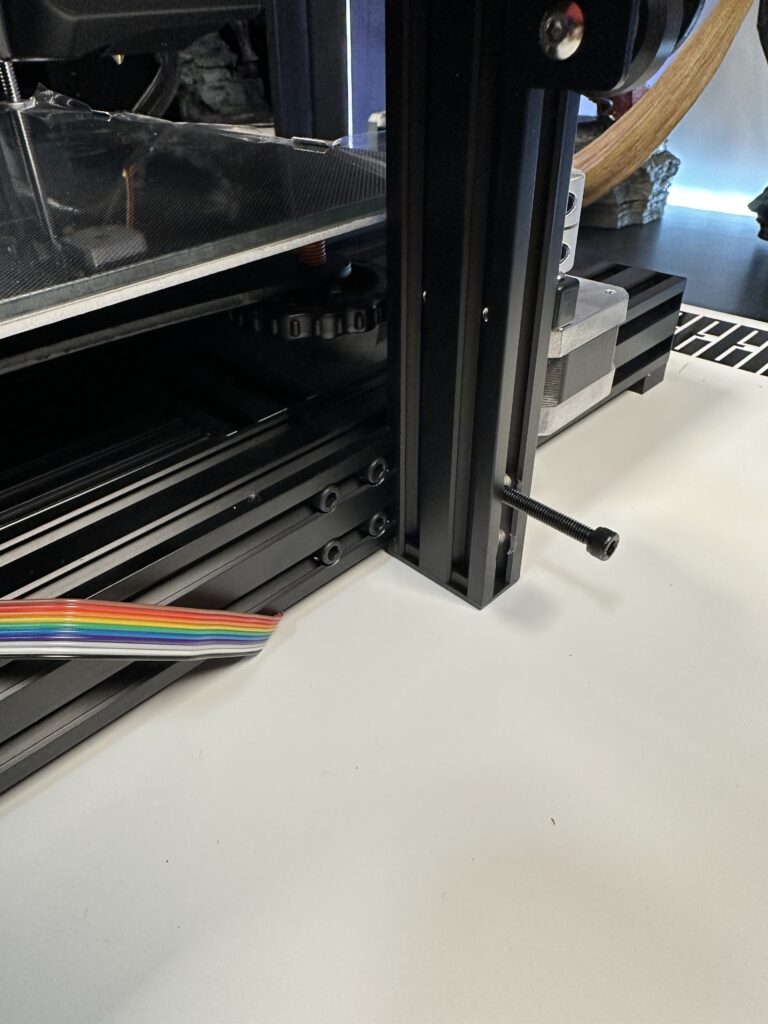
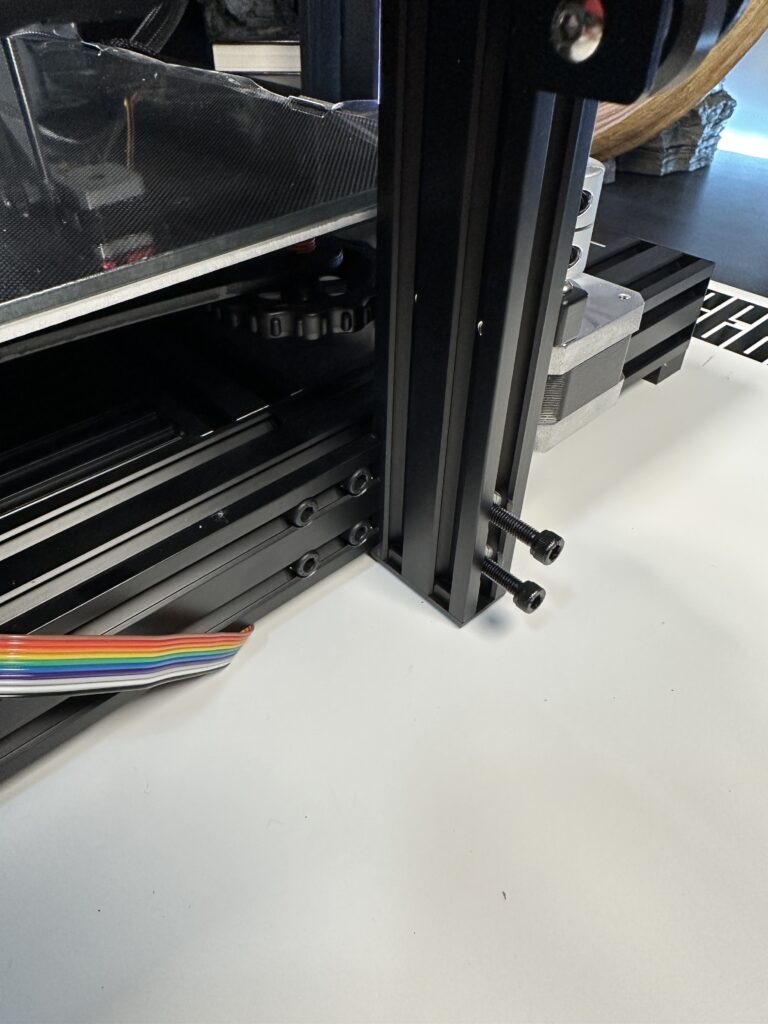
As we have seen, when we open the package, the Creality Ender 3 Max Neo comes in two parts. The base, where the print bed is located and the vertical axis where the head moves with the nozzle where the filament exits.
With a simple move, the two columns snap vertically onto the base. It is not difficult to find the right spot because on each side there are two holes for the screws. We use these in order to join together the two parts of the printer.

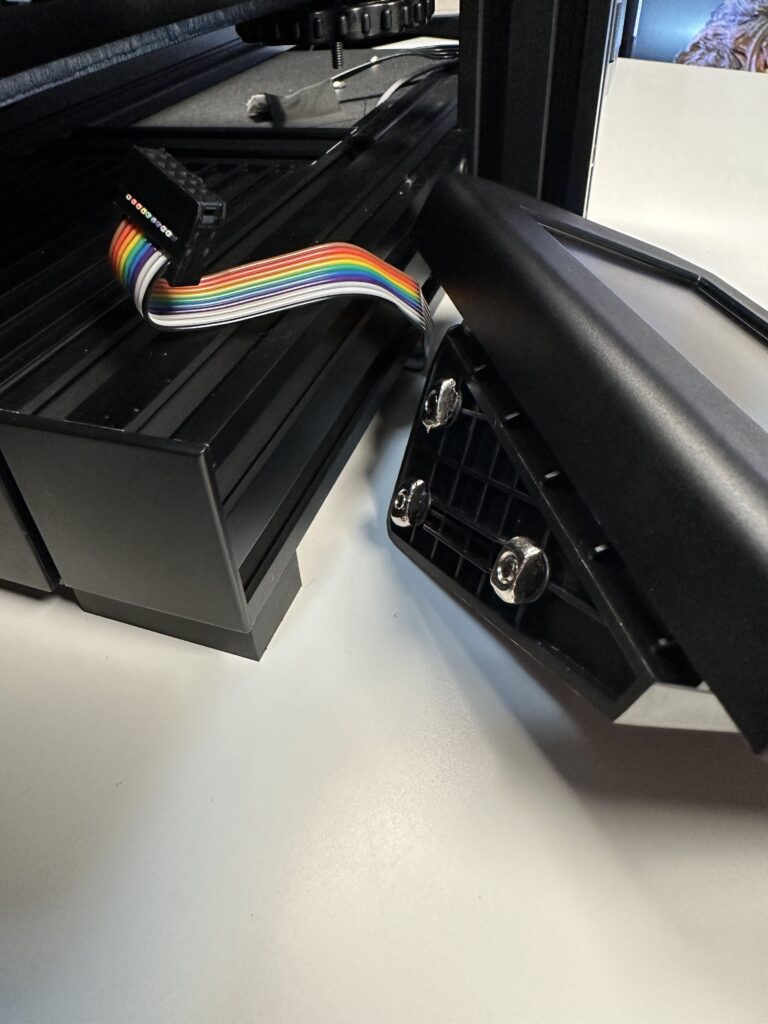
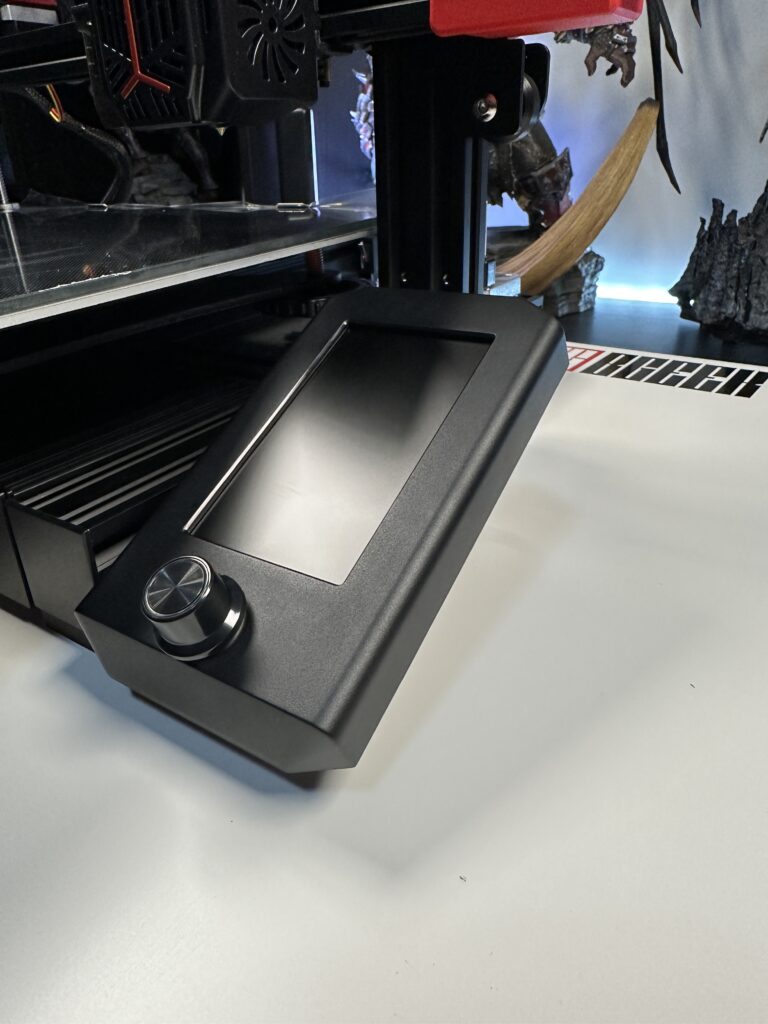
The next step, after screwing the two pieces together and making sure they are secure, is to install the LCD screen and of course connect it to the printer.
The mount of the screen screws on the right side and you can choose the position that suits you best. After the monitor mount has become one with the printer base, the monitor simply snaps onto it. There is only one wire sticking out at this point, and it just needs to connect into the back of the screen.
That’s done!
Let’s go to the last step which is the details. On the back of the printer base, depending on what is convenient for you, you need to screw the arm where you will place the roll of the PLA filament so that it moves without the risk of getting blocked. After several tests, I believe the best spot is at the back, on the left side of the printer. And this is because at that point is the entrance for the PLA thread. So the printer pulls as much thread as it needs without any obstruction.
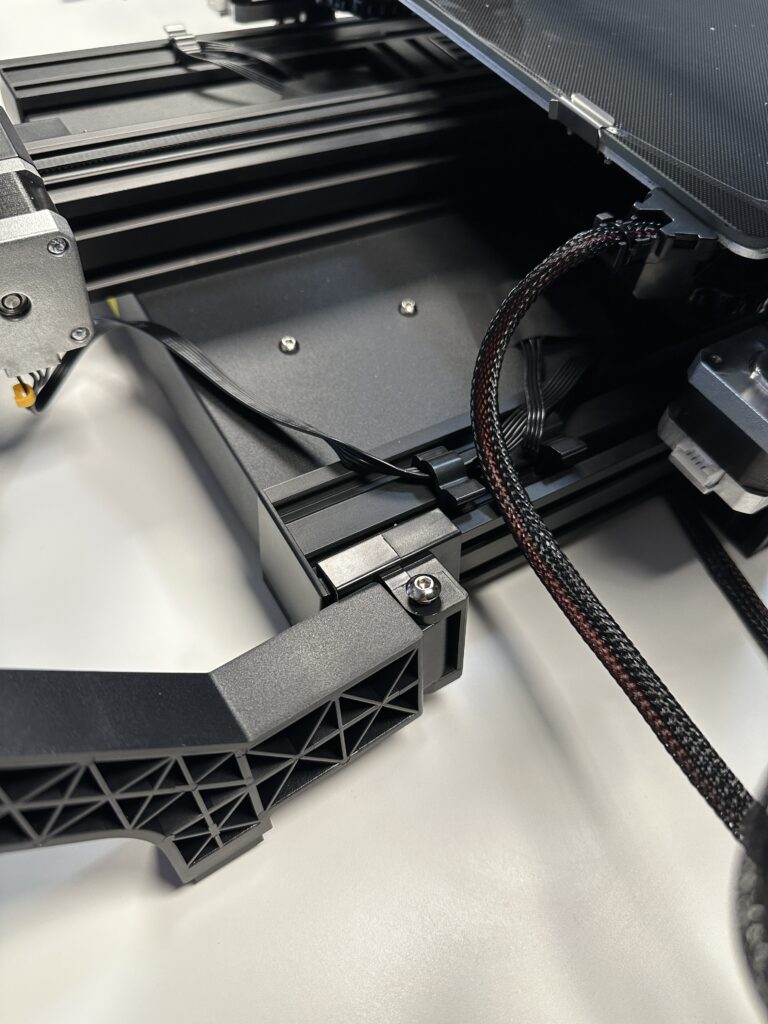
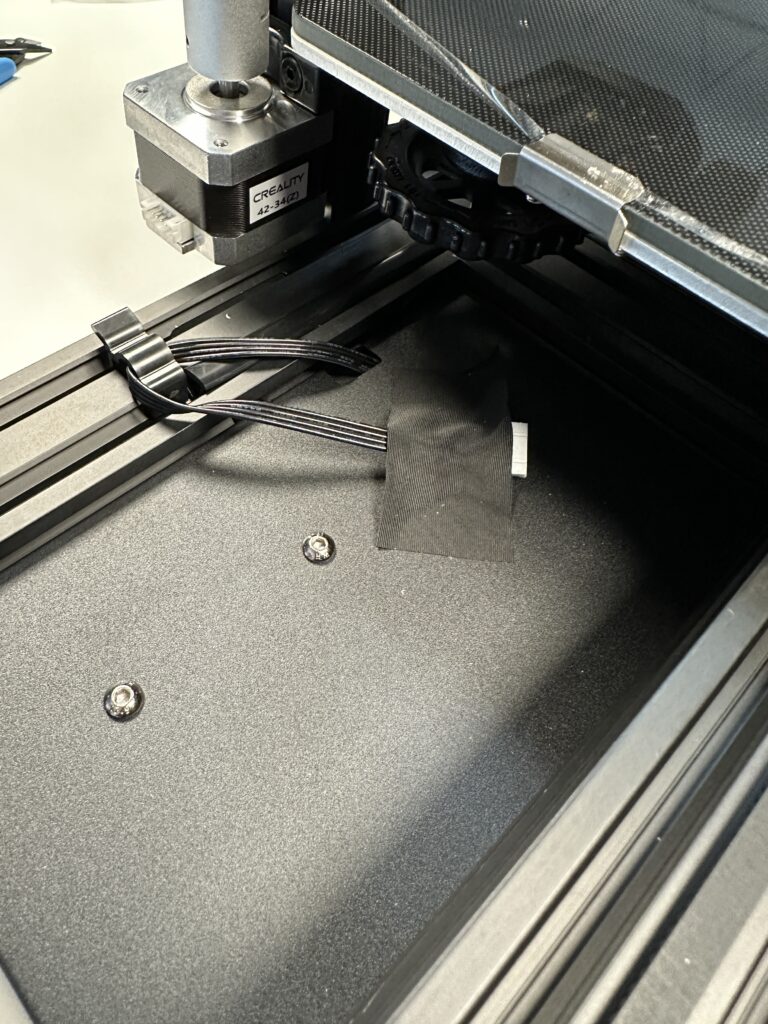
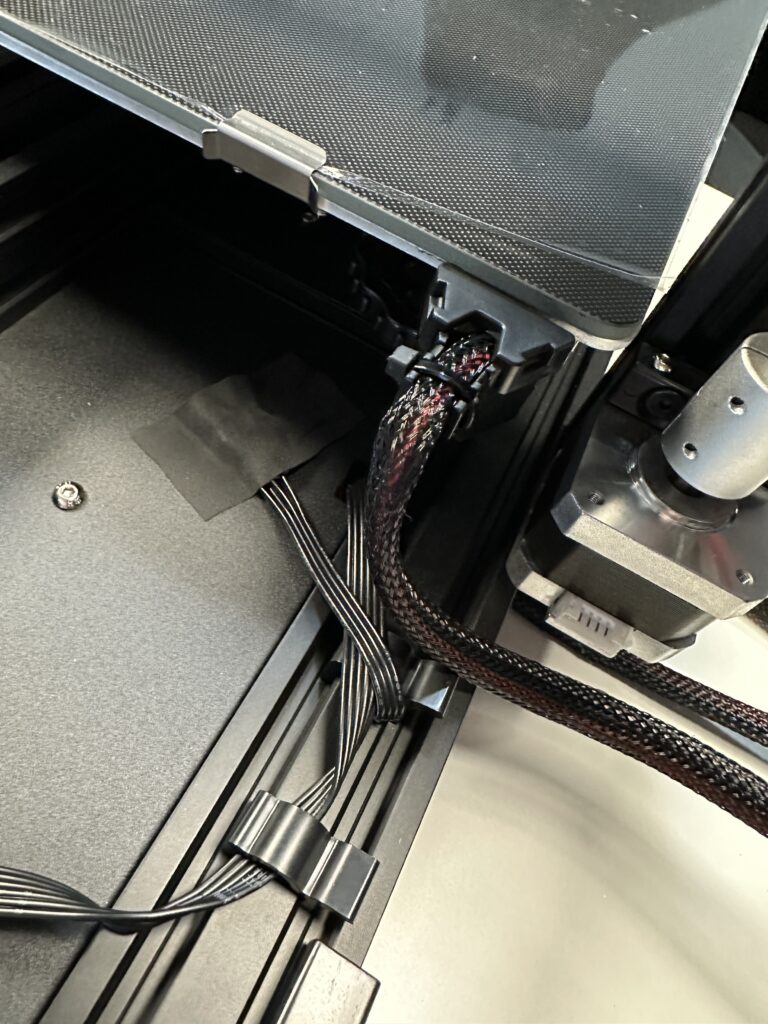
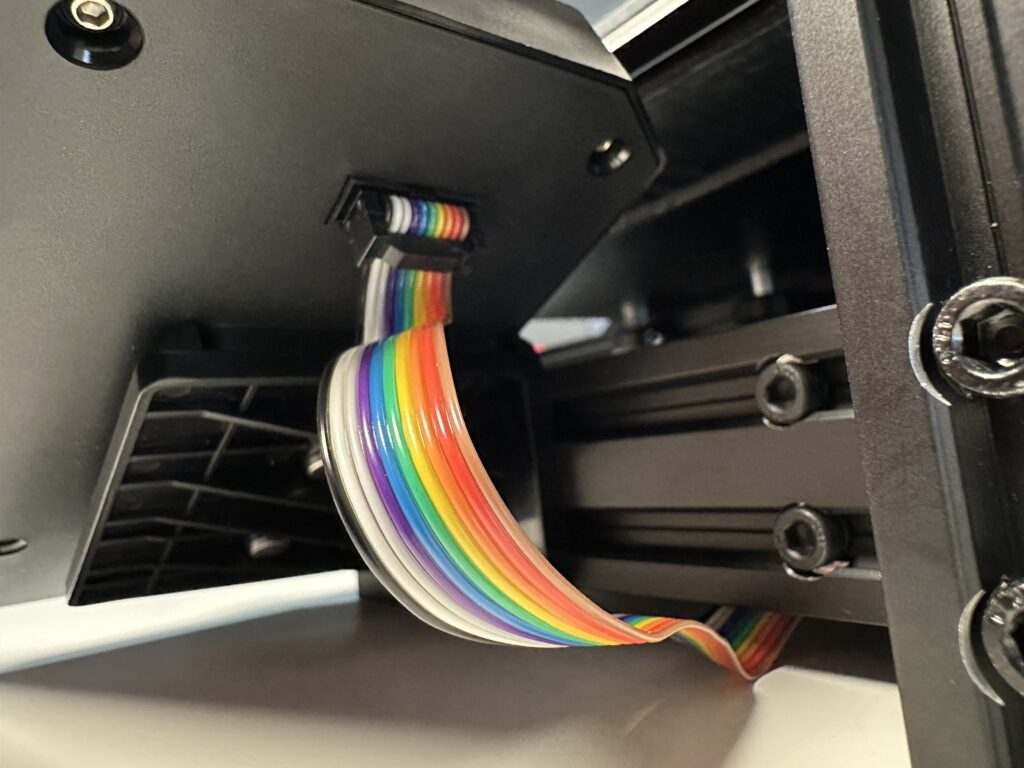
Something that is hard to miss is some cables that are taped up with black tape on the base of the printer. You just peel them off and snap them into the port right next to them. One on the left and one on the right.
That’s it. You’ve just finished setting up your new Creality Ender 3 Max Neo and you’re ready to start printing. But before you do that, take a look at the suggested settings below to be sure of the best results.
Basic settings
Something that is not mentioned in the manual, but it is good to check before using the printer, is the looseness of the gears that move the printer’s axis. In the photos below, you see the gears you need to adjust.

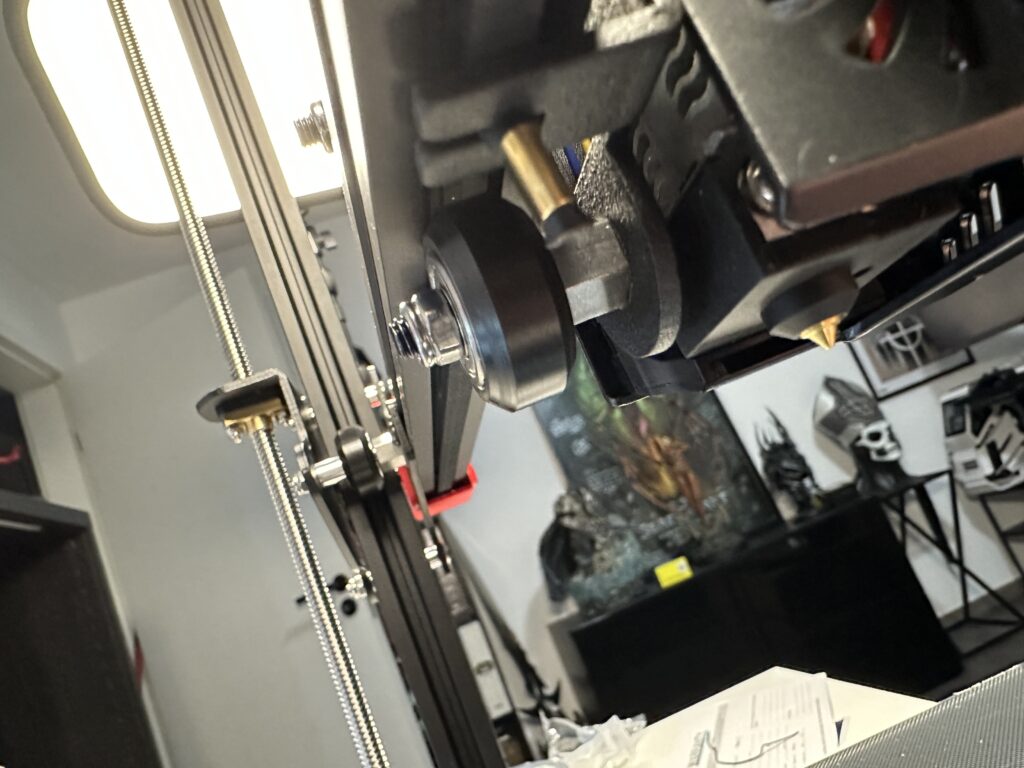
What you need to do is adjust them to such a point that they move without much pressure but they’re not too loose because they will start to wobble and become unstable. It is not difficult to find the right spot. When it’s in the right spot, you’ll feel it.
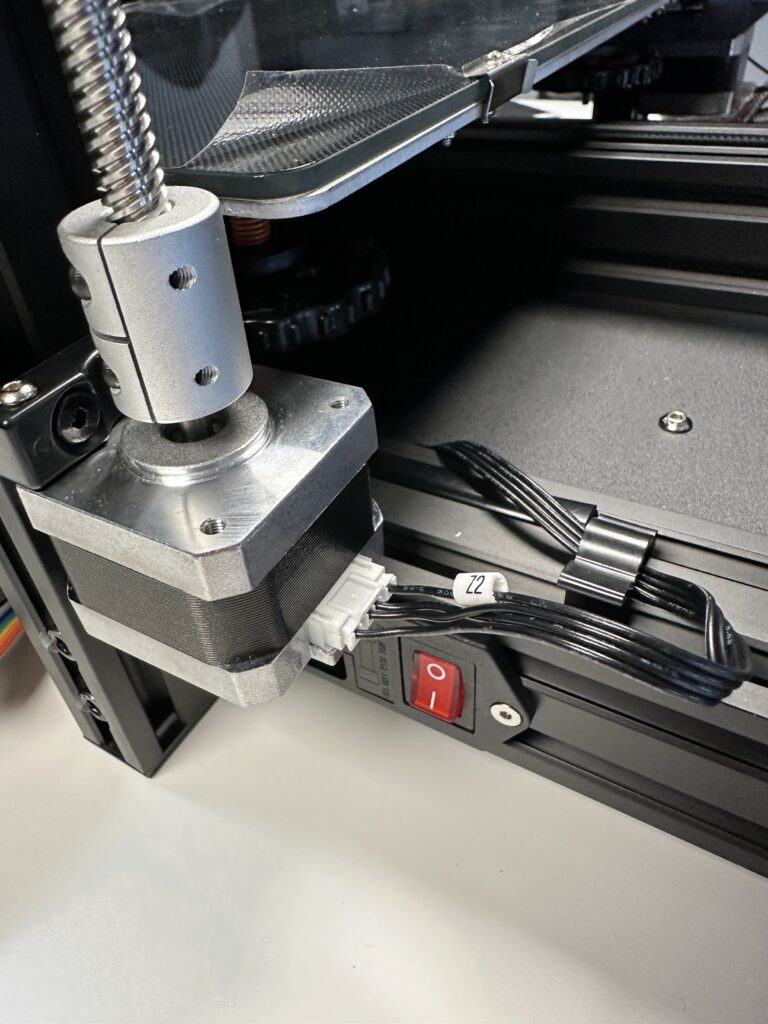
Finally, you should not forget to adjust the current voltage before connecting your new printer to the power supply. On its back, there is the option of 230V and 115V.
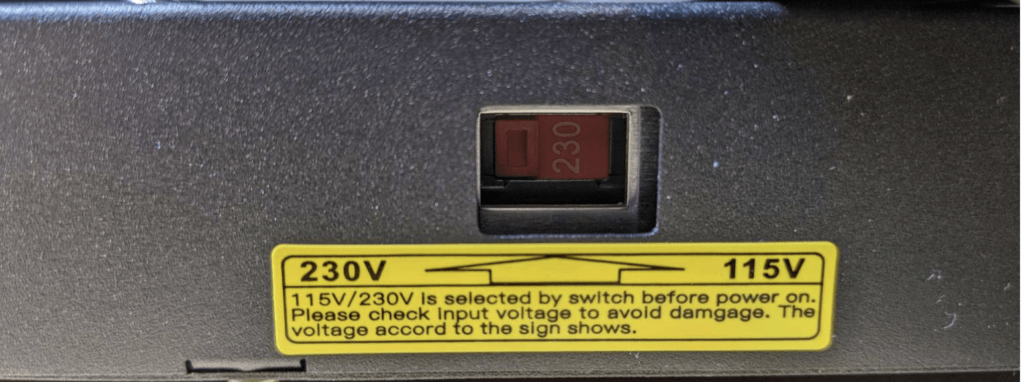
The default voltage is 230V which is also the correct choice for European users. 115V is for US residents.
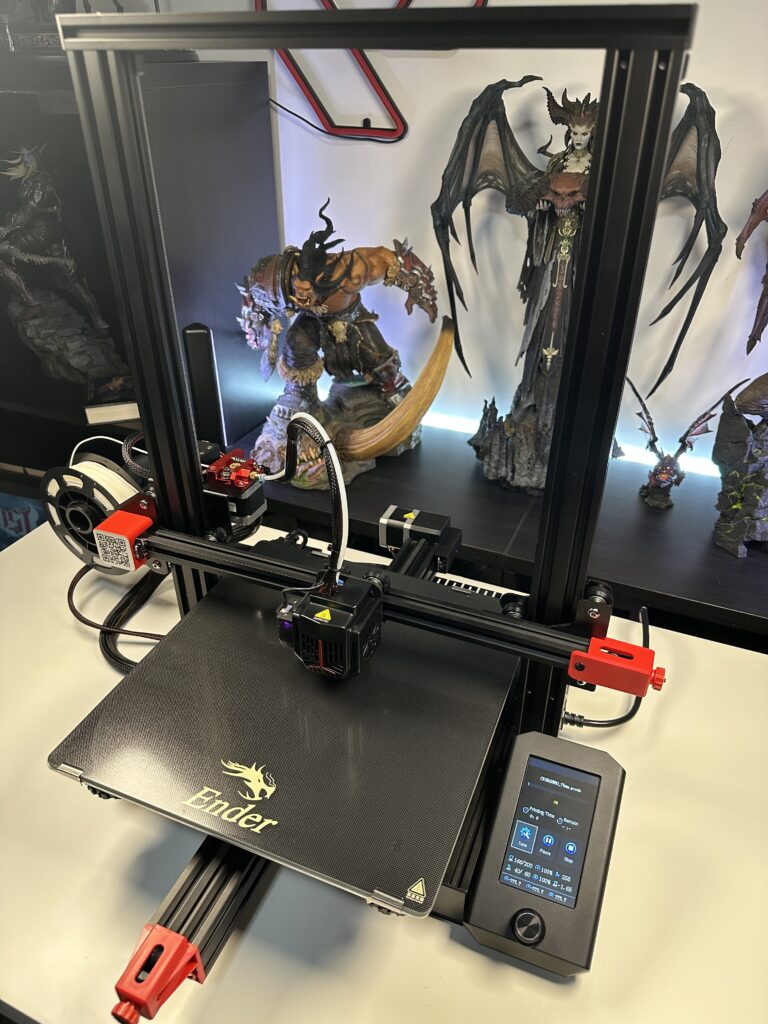
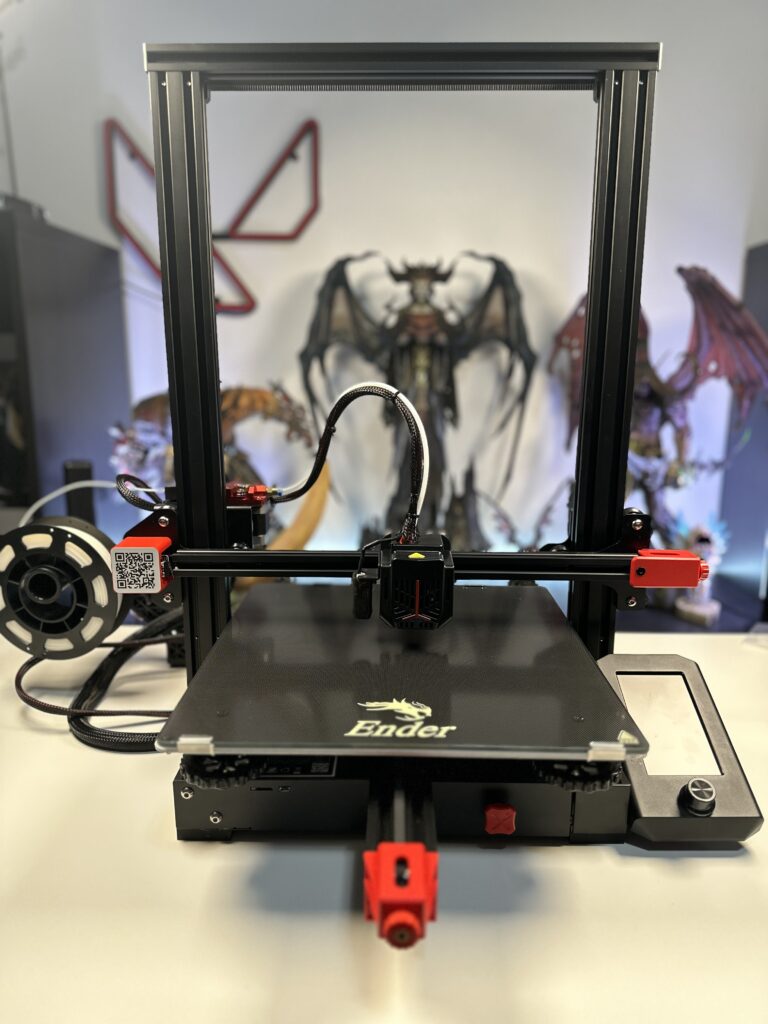
Design and features
The design of the Creality Ender 3 Max Neo is reminiscent of its predecessor but with some significant changes. What catches the eye are the red details which I personally like and break up the blackness. The points that are red are not selected randomly. They are the screws you need to tighten or loosen the belt for the X and Y axis.
Another point that has the red tint is a knob located right under the printing bed. If we pull it, we will find a shelf where we can put all our printer tools. Very smart move and discreet design. Finally, the QR code that leads us to the list of Creality products is also in the same red shade.

The power supply is not in a visible location like in the Ender 3 Max but it was integrated in the base of the printer which makes it almost invisible improving its stability. At 350W it is safer and more reliable than the previous models.
Display and print size
The display has also been upgraded. It is in coloured 4.3 inches display and the UI has been made more user-friendly by using large icons for each function. After 4 minutes of inactivity, the screen will dim to save power. I know Creality prefers to use the classic rotary knob for menu navigation but I would like a touch screen. Or even something hybrid that has both the button and touch.
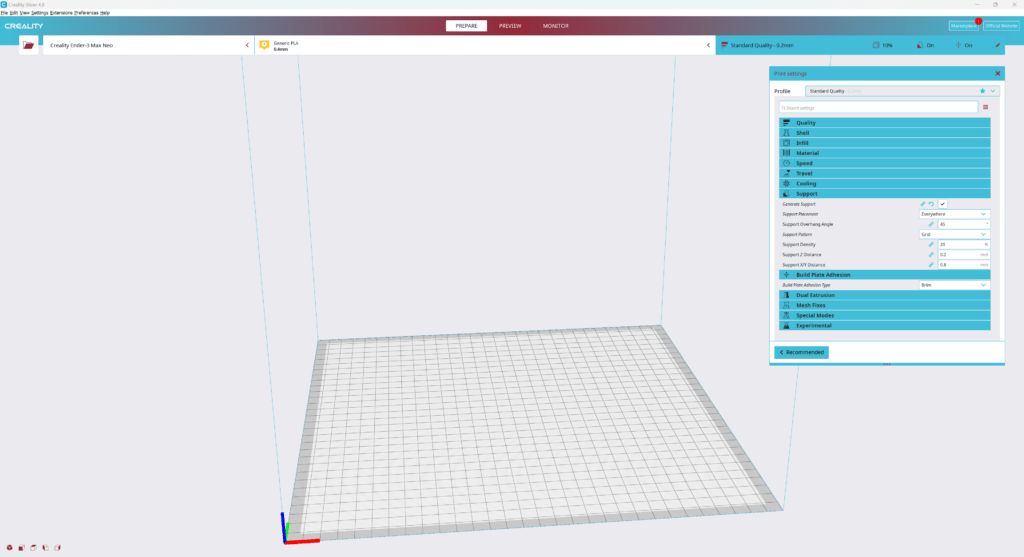
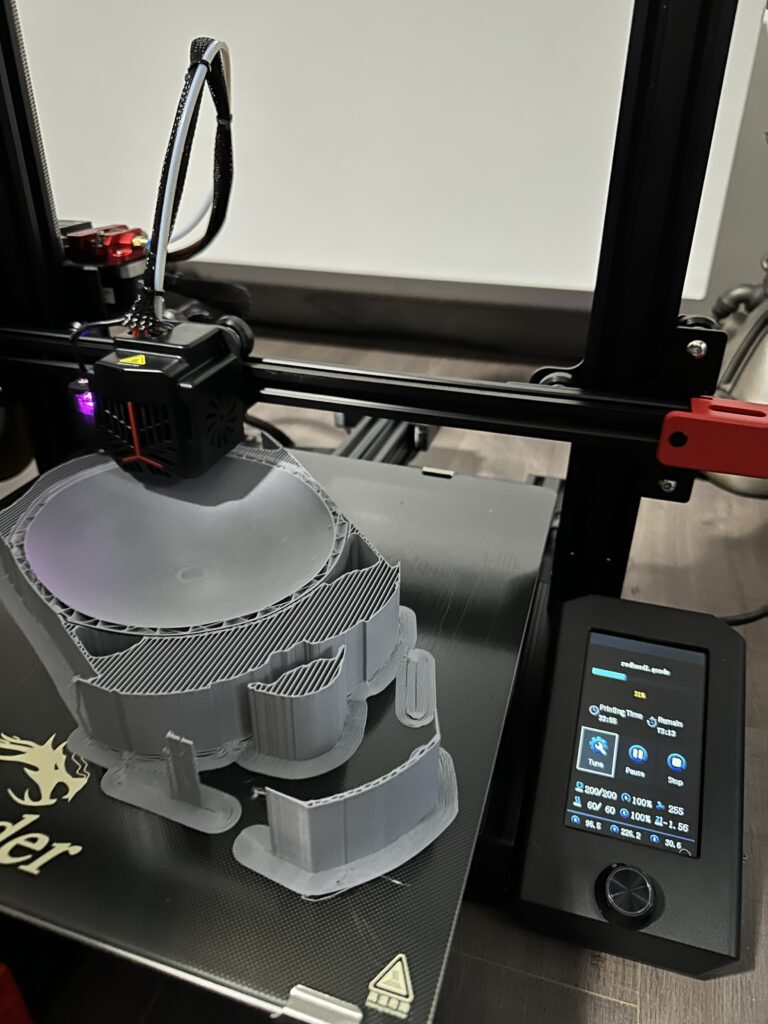
The printing dimensions offered by the Creality Ender 3 Max Neo is 300x300x320mm and allow the printing of large models or the printing of several small parts at the same time. For me, who is obsessed with printing wearable helmets (you’ll see what I mean below), they are the perfect dimensions. The platform fits a full size helmet on top and can print it in one go without having to break it into pieces.
Smaller but equally important upgrades
Another feature worth mentioning is that with the Creality Ender 3 Max Neo, Creality managed to reduce the noise below 50dB thanks to its quiet 32bit mainboard. If you’ve tried a 3D printer before, then you already know that printing noise is one of its most annoying features. It is certain that you cannot print in the same room where you work, read or just sit. I’m glad the companies have realized this and are trying to fix it.
Finally, the plastic parts of the mechanism that “pulls” the PLA filament (extruder) has been replaced with Bowden metal, which is more durable and has more strength. Thus, filament loading and withdrawal becomes easier and clog-free.
Full metal Bowden for durability over time and use.
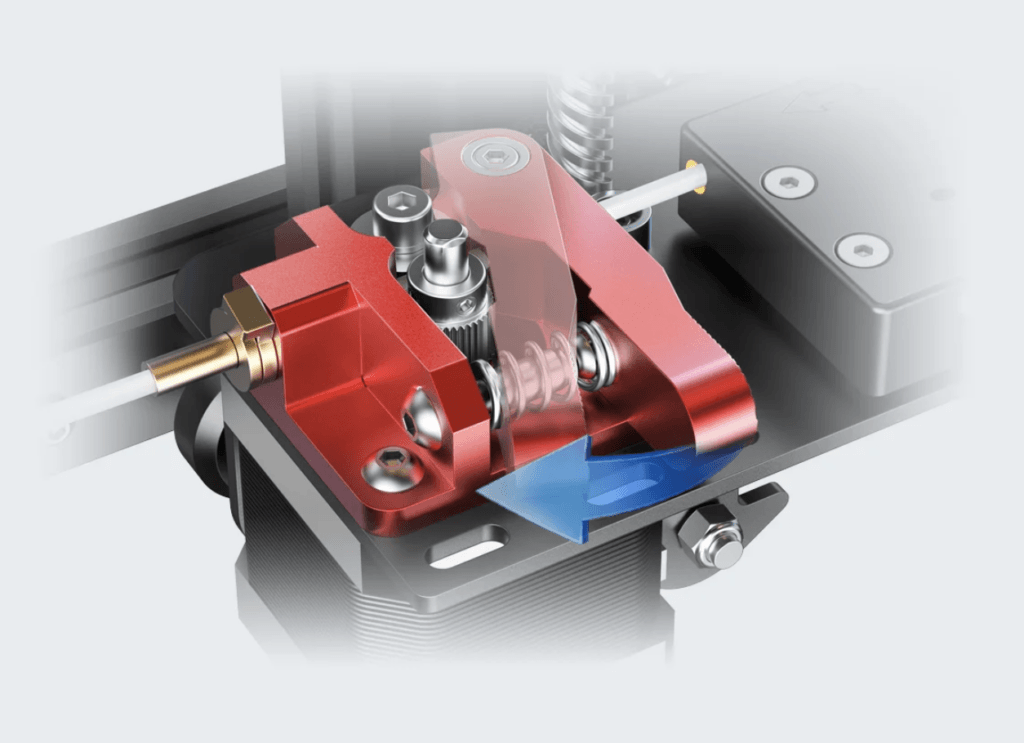
Right next to the extruder is a chip that will detect a sudden power outage or anything else that might interrupt our printing and resume printing from where it left off. For me, countless times a print has stopped at 80 or 90% and the model ended up in the trashcan almost finished.
There is also a filament sensor in the same place. This sensor will detect if our filament is enough for a print to avoid waste and increase the success rate. Ideal for printing large format models.
Table of features of Creality Ender 3 Max Neo
| Molding Technology | Fused Deposition Modeling (FDM) |
| Machine size | 516mm x 582mm x 590mm |
| Build Volume | 300mm x 300mm x 320mm |
| Package Dimension | 665mm x 555mm x 290mm |
| Weight | 10.3kg |
| Printing Speed | ≤120mm/s |
| Printing Precision | ±0.1mm |
| Layer Height | 0.05~0.35mm |
| Filament Diameter | 1.75mm |
| Nozzle Quantity | 1 |
| Nozzle Diameter | 0.4mm |
| Nozzle Temperature | Up to 260℃ |
| Heat Bed Temperature | Up to 110°C |
| Build Surface | Carborundum Glass |
| Extruder Type | Bowden |
| Extruder Composition | Metal |
| Leveling Mode | CR Touch Auto-leveling |
| Display | 4.3” Color Knob Screen |
| Mainboard | 32-bit Silent Mainboard |
| Resume Printing Function | Yes |
| Filament Sensor | Yes |
| Rated Voltage | 100-120V~, 200-240V~, 50/60Hz |
| Rated Power | 350W |
| Slicing Software | Creality Slicer/Cura/Repetier-Host/Simplify3D |
| Data Transmission Method | Micro USB and MicroSD Card |
| Supported 3D File Formats | STL/OBJ/AMF |
| Supported Filaments | PLA/ABS/PETG/Wood |
The first print
Before each print, it is good to adjust the height of the bed so that the printer nozzle is at the appropriate level. Not too high from the bed, but not too close to the bed either, because our print will come out with issues if not completely damaged.
Setting up the bed is an easy process. There is an option in every printer that gives you the option of “bed leveling”. The printer’s nozzle moves to each corner of the bed and finally to the center of it. Each time the nozzle goes down at each corner, we need to wait for it with an A4 paper. The nib will rest on the piece of paper. Next, we need to adjust the bed (turning the gears under the bed) so that the nozzle has a slight resistance. That is, the paper should move under the nozzle but not freely. The gears are located under each corner of the bed.
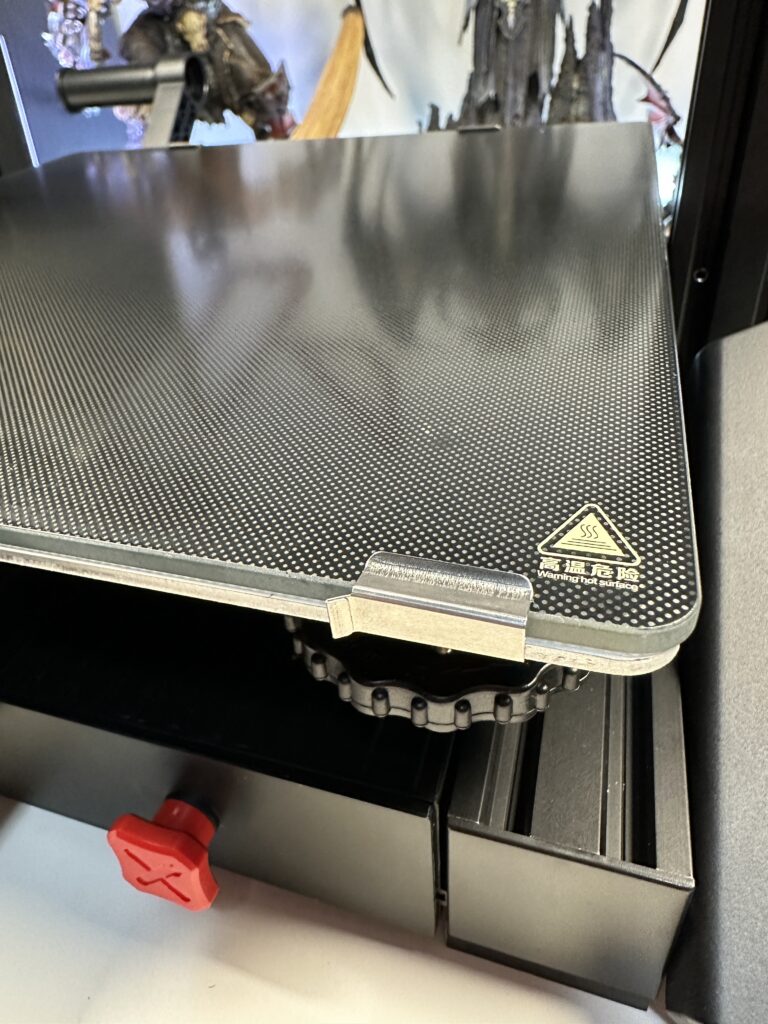
With a simple turn by hand, the bed is raised or lowered to bring it to the right height
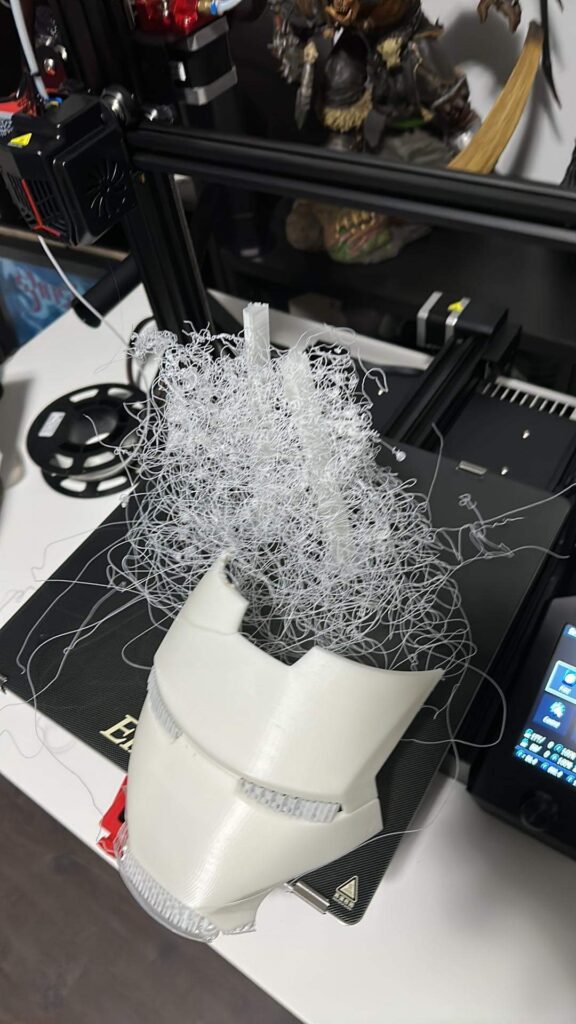
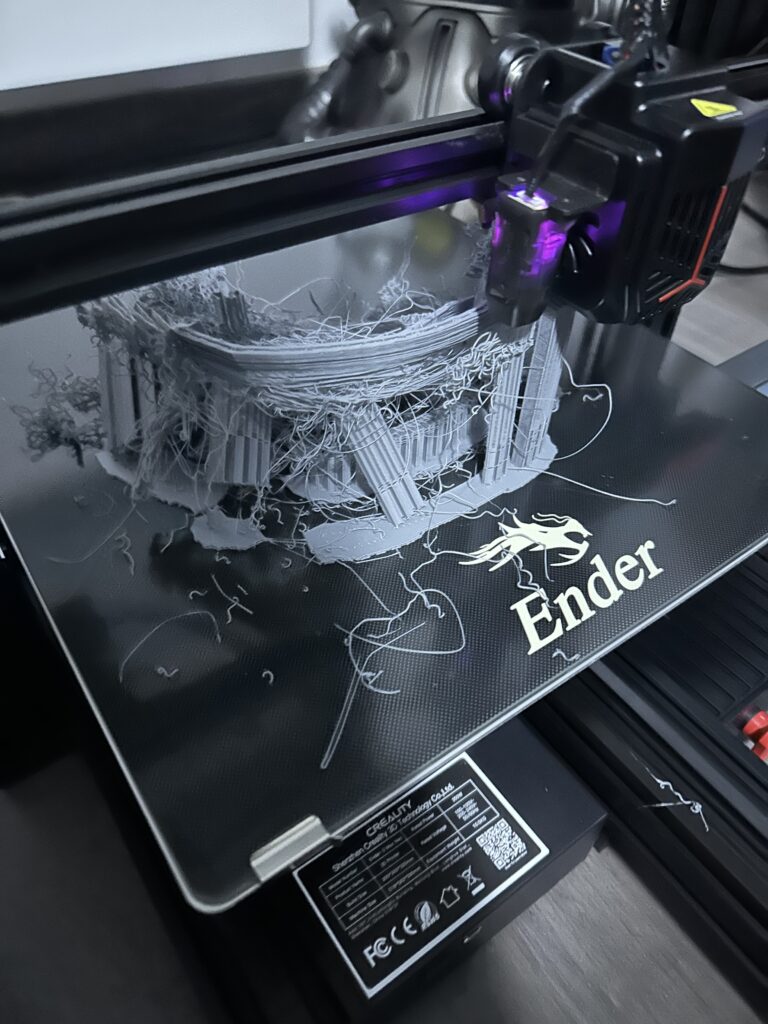
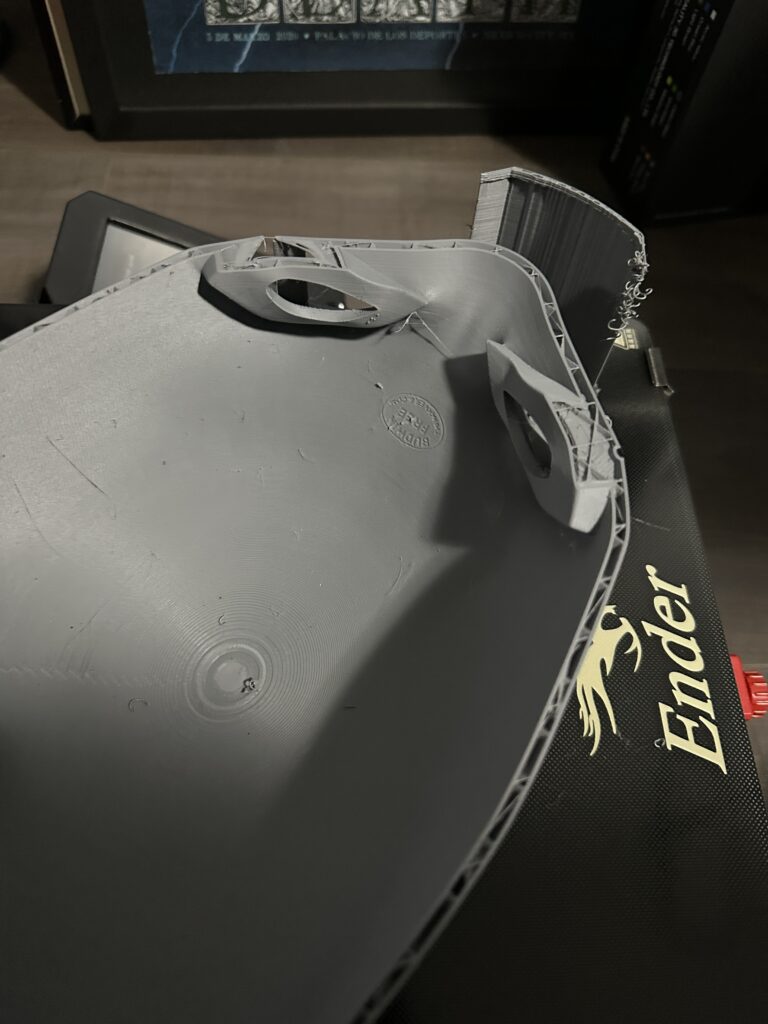
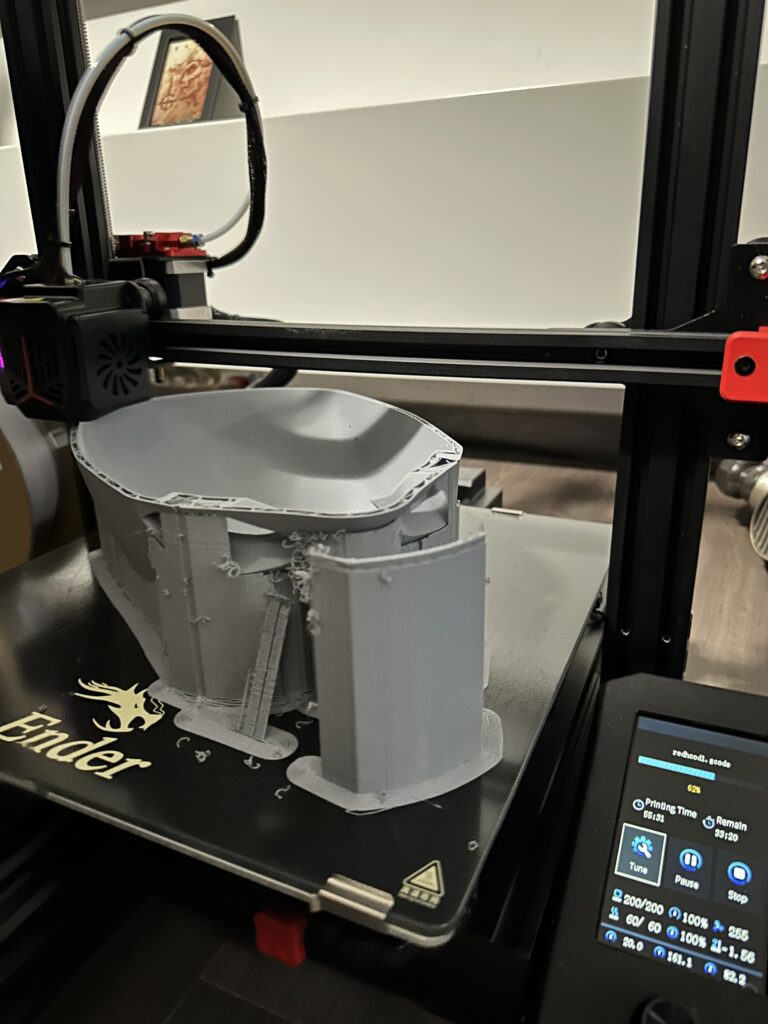
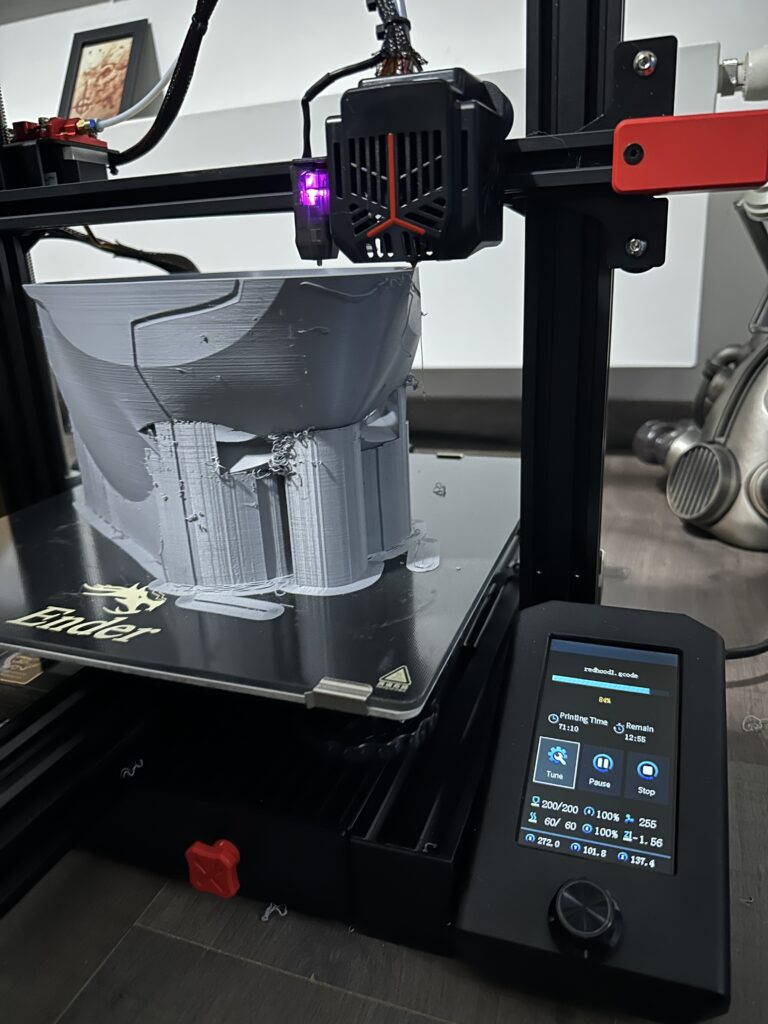
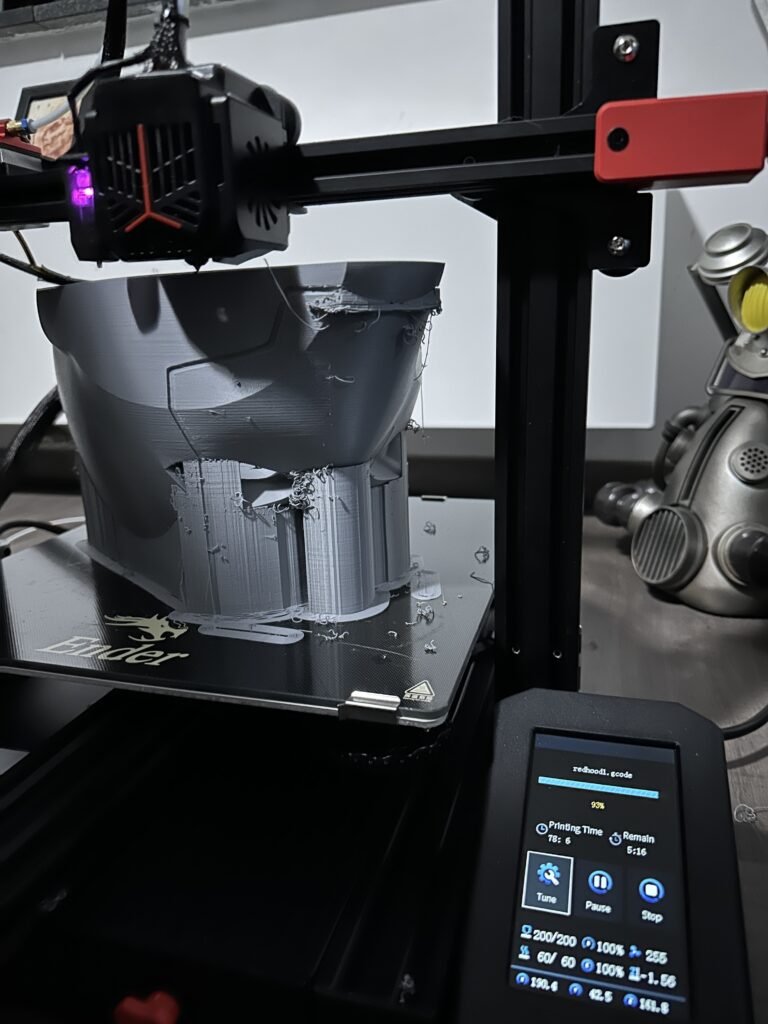
What if you don’t make the bed right? Then you’ll probably end up with spaghetti instead of the model you wanted to print. As you can see in the following pictures, I didn’t avoid the spaghetti effect either while printing 2 helmets.
But once again, Creality is taking care of you. Creality Ender 3 Max Neo automatically levels the print bed. It has a sensor that checks the height of the nozzle relative to the bed and adjusts it automatically. In short, it is ready to use out of the box.
How to prepare your first model
To prepare our model, we will first need a model. A good place to download models in .stl format which is the most basic format for 3D printing files is Thingiverse. Not only will you find what you’re looking for, but it’s also free.
Now we have to edit it through the appropriate software and slice it to save it in a compatible format for the printer to read. Creality’s official software is Creality Slicer. Quite easy to use and friendly UI for new users.
After setting up our model for how good a quality we want it to be, if we want extra supports and how thick its walls should be, we slice it and send it to the usb stick that came with the printer. Once the transfer of the file is finished, we insert the micro sd card into the port of the printer located at the front under the print bed, select print on the printer screen, select the model and…
We are ready
At this point, I’ll let the results speak for themselves. I’ll share some slideshows of the models I printed while testing the printer, and they all came out (almost) perfect.
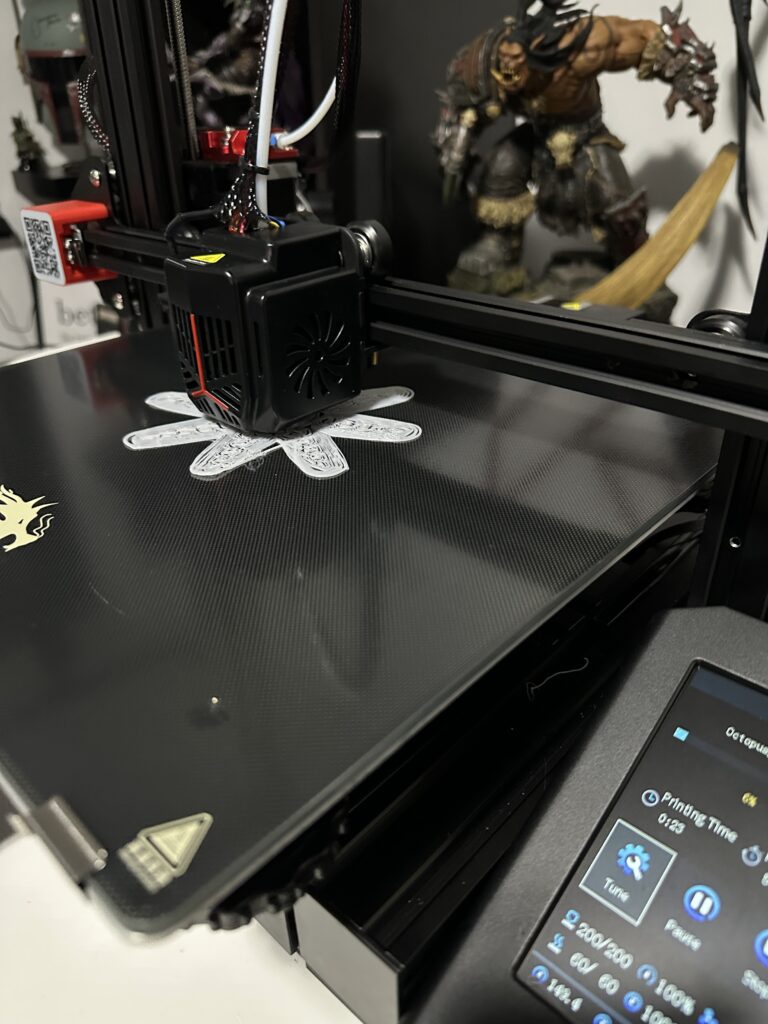
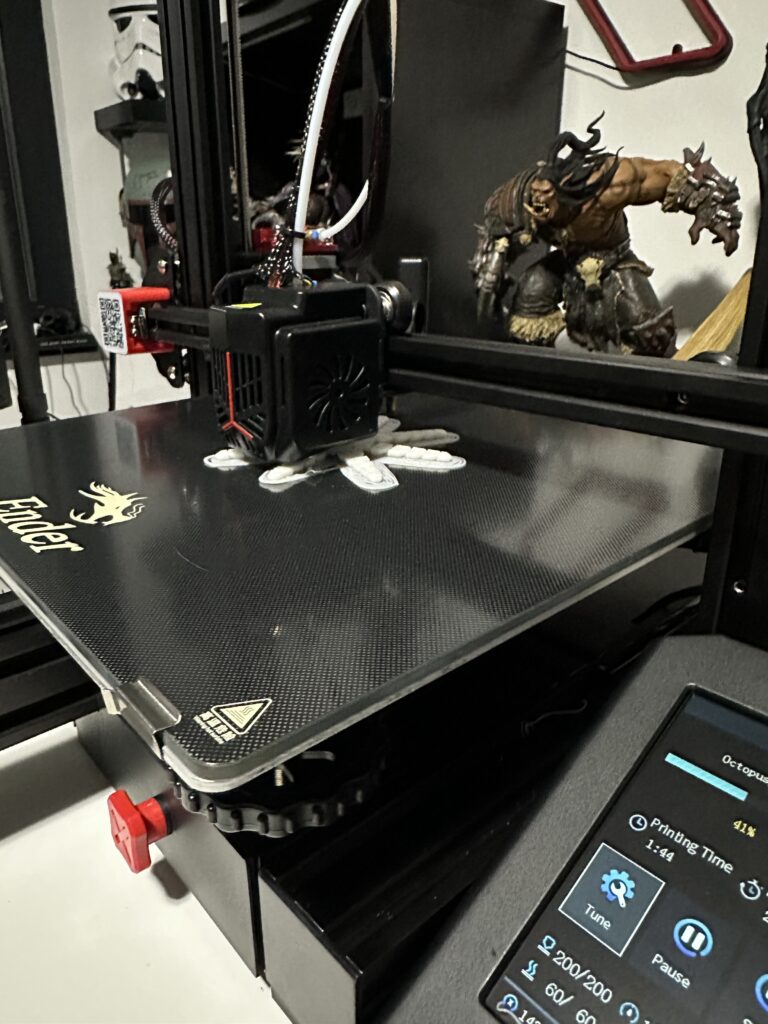
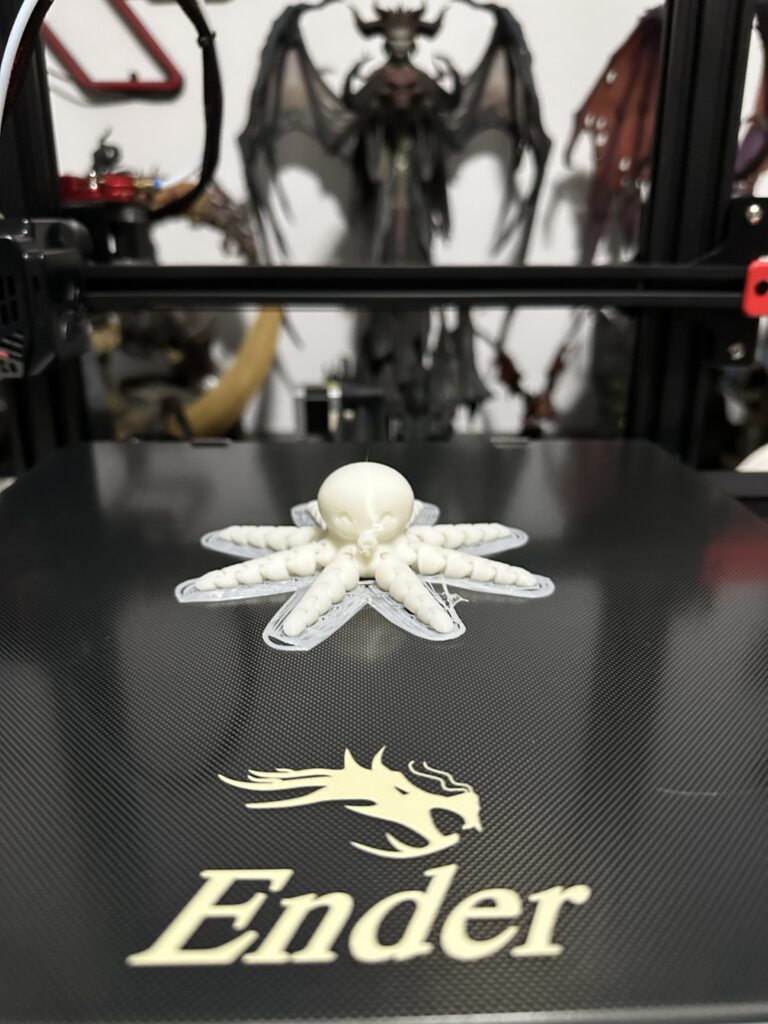
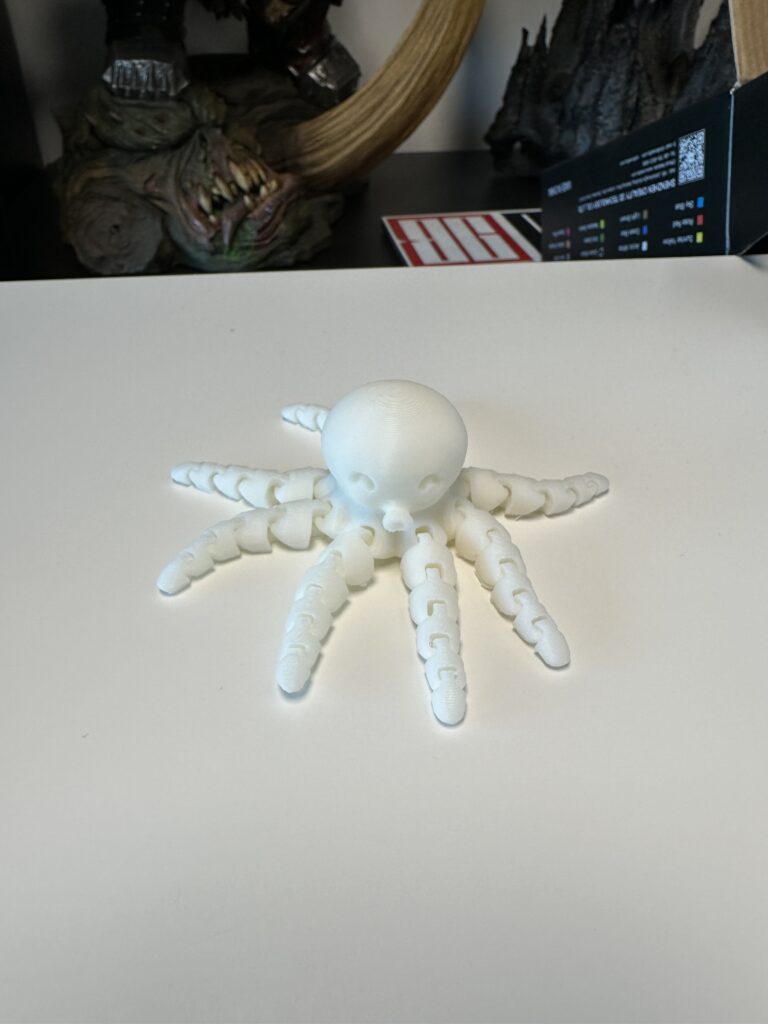
I started with the articulated octopus:
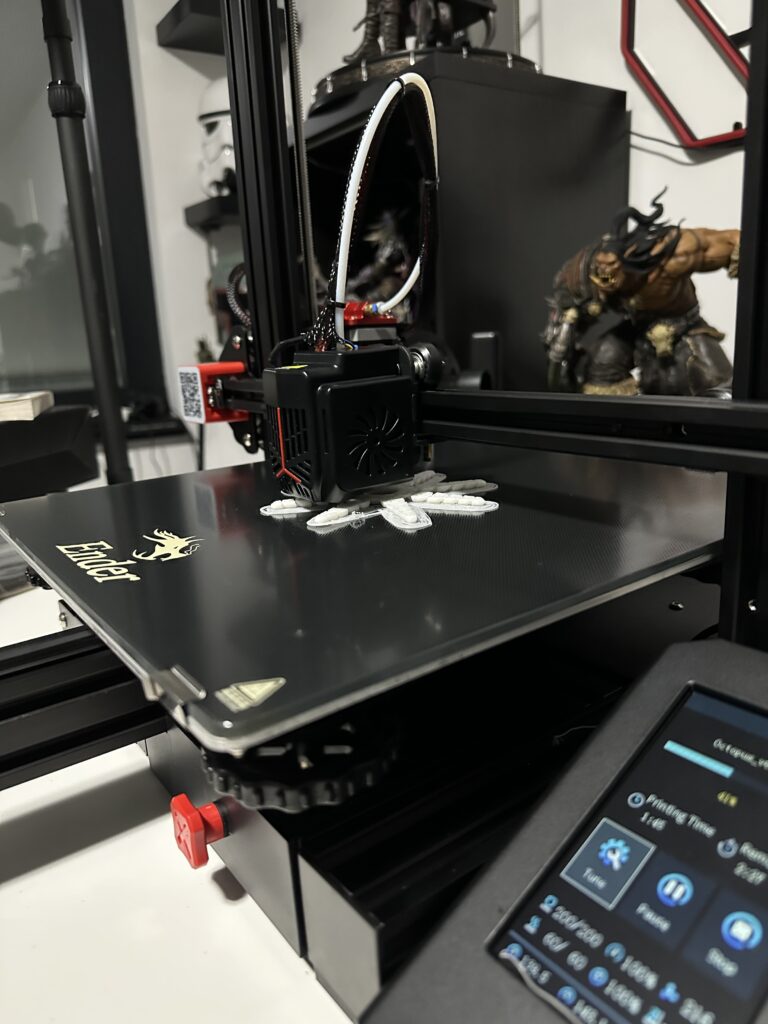
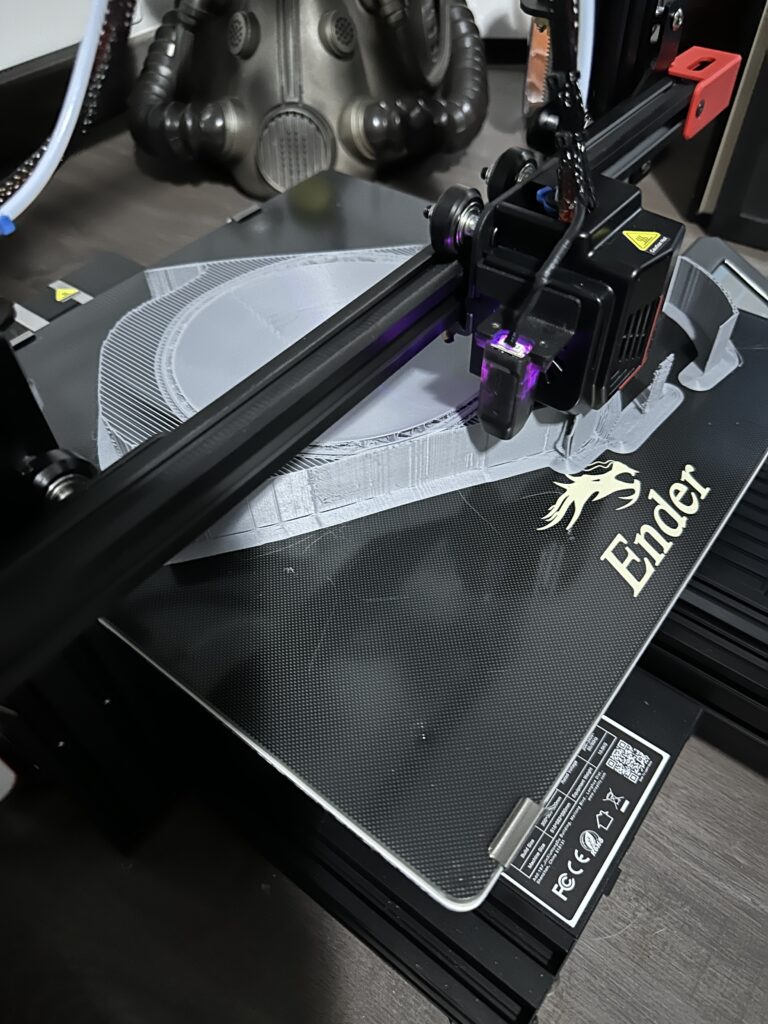
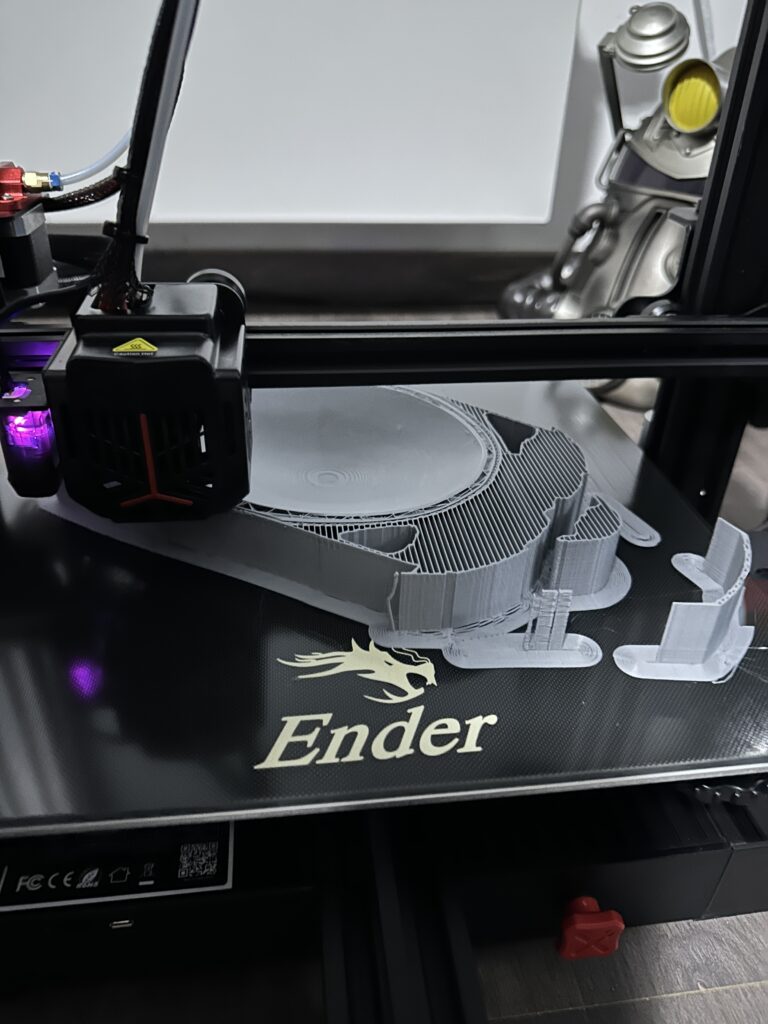
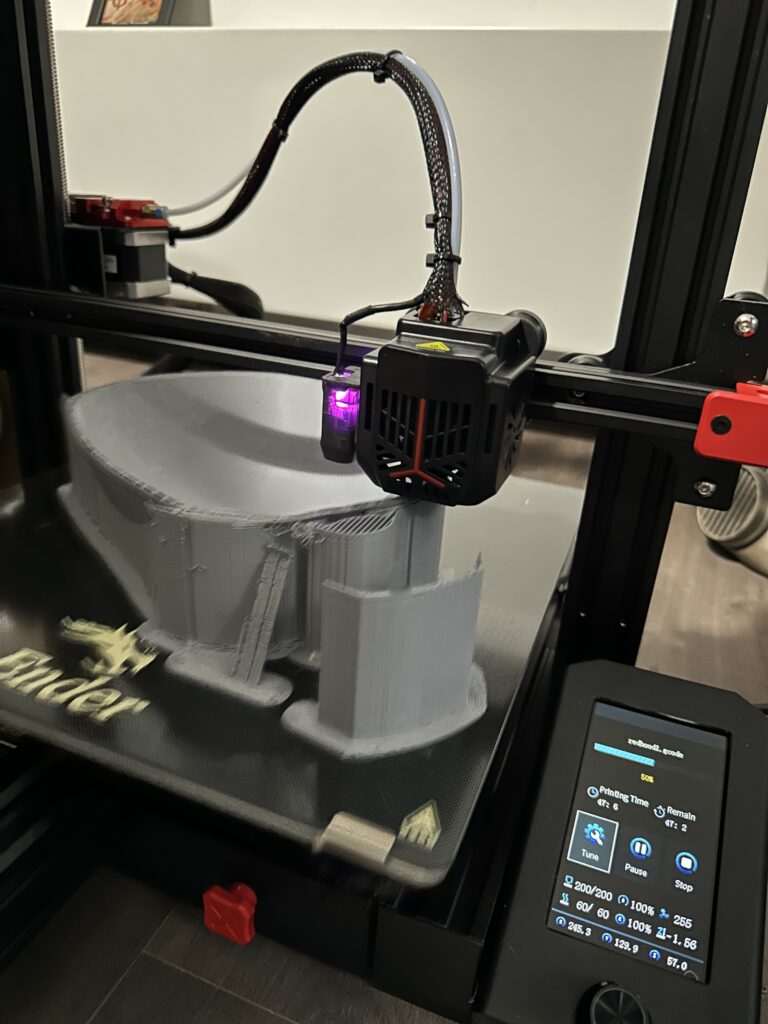
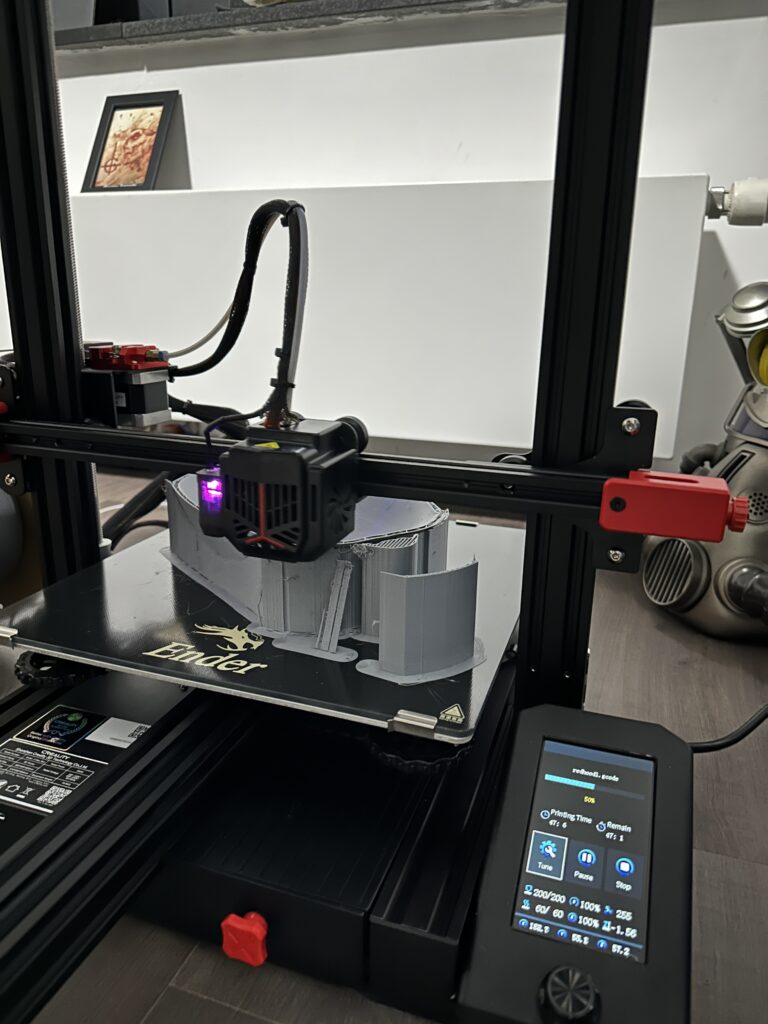
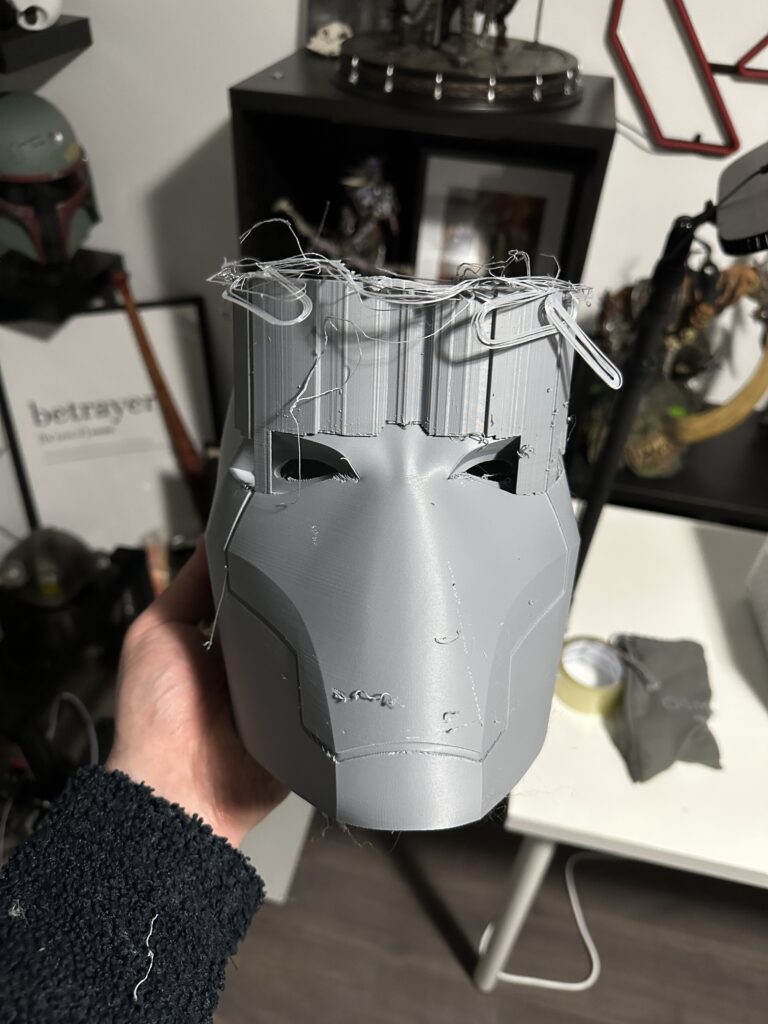
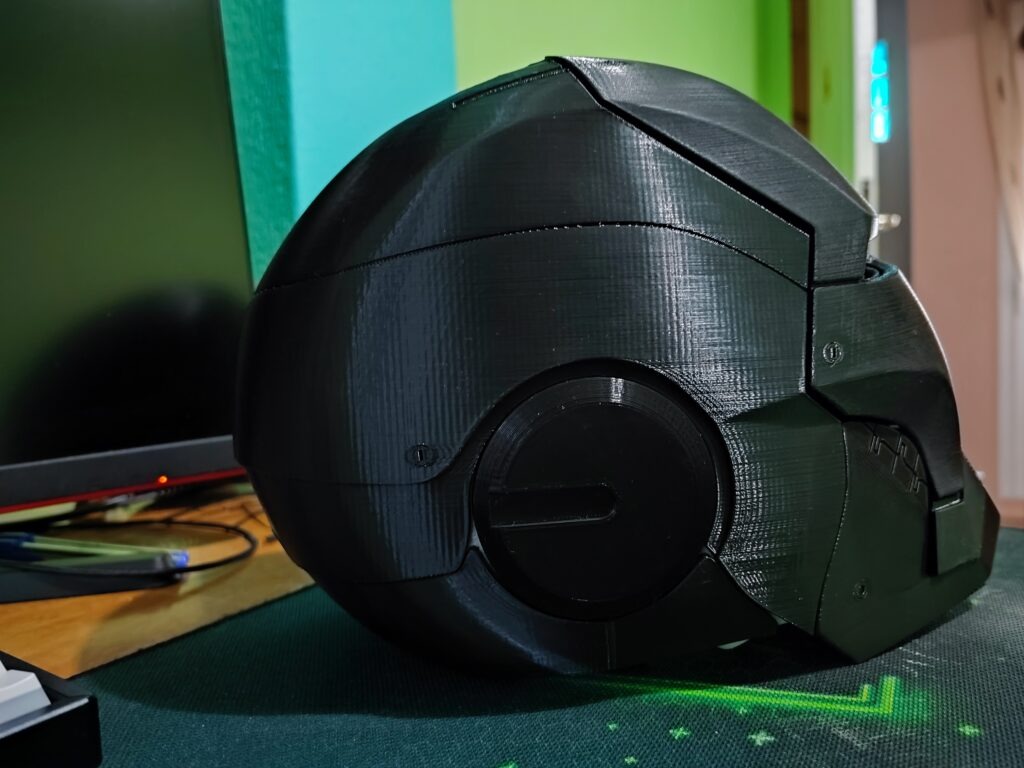
And it wasn’t long before I moved on to something much bigger. I had a small accident during the print and one of the supports fell, but it came out almost perfect. Life-size wearable Red Hood helmet:


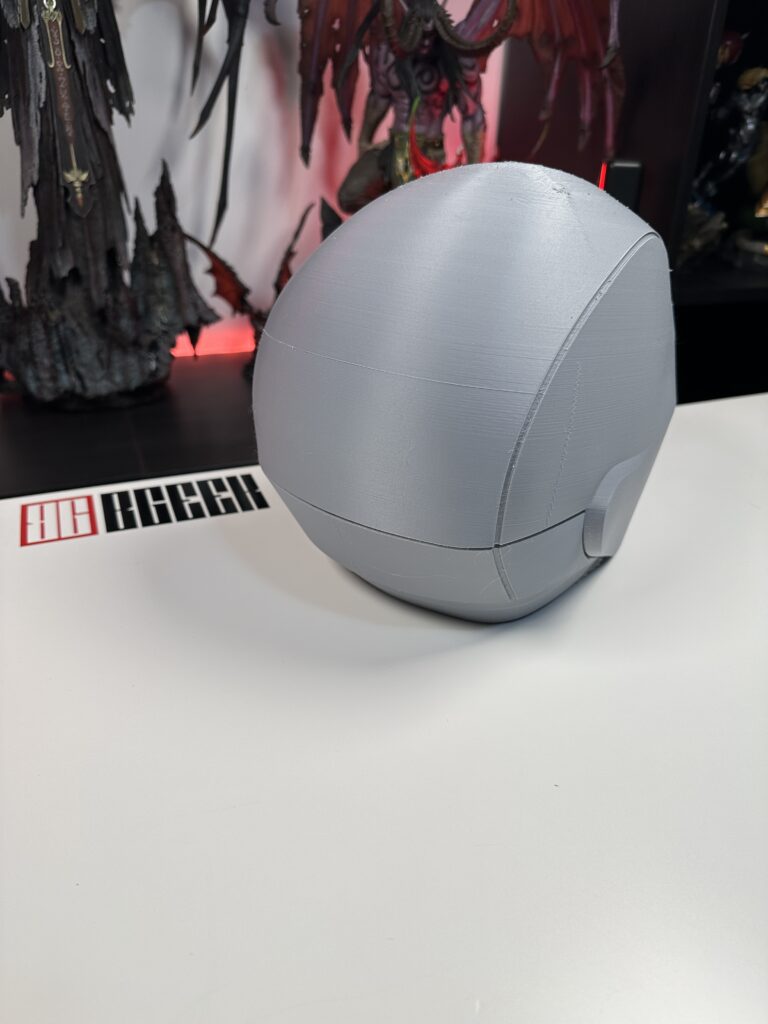
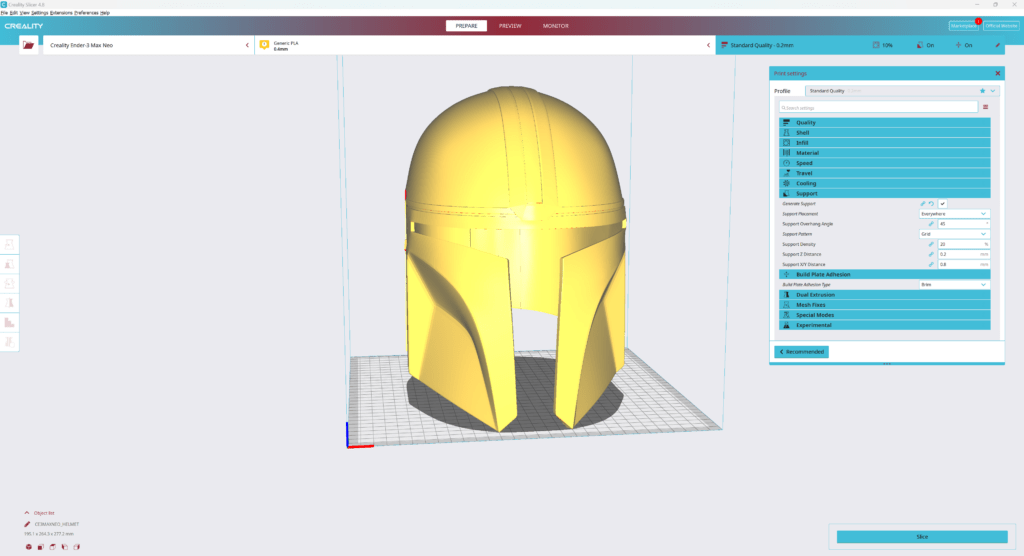
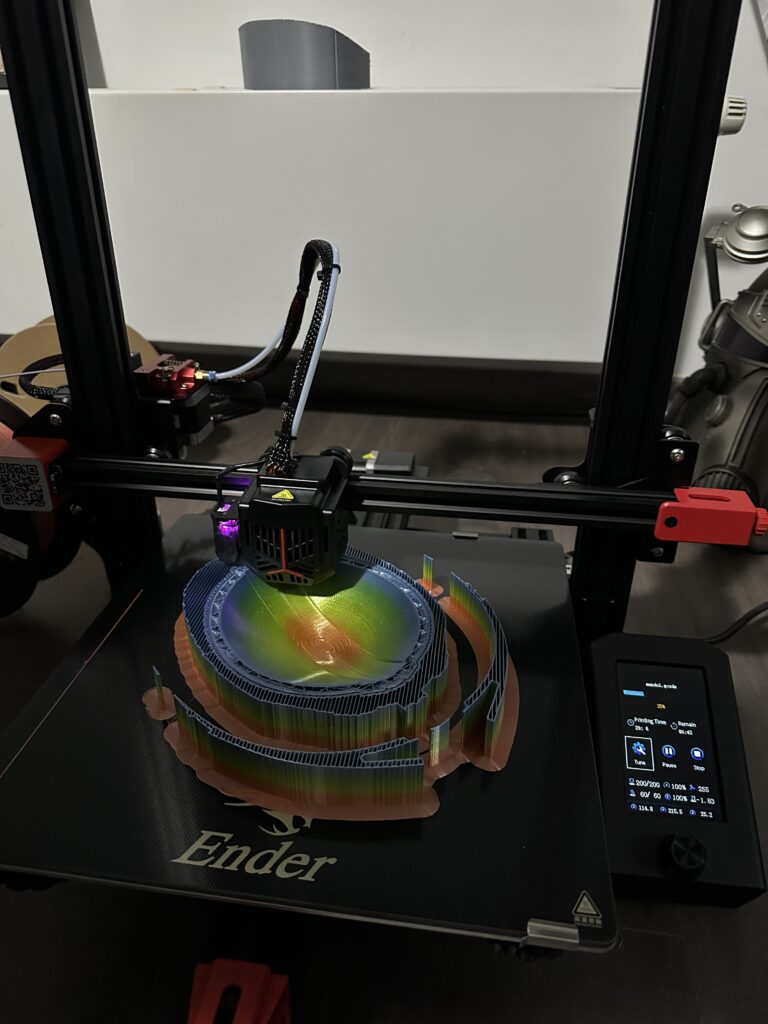
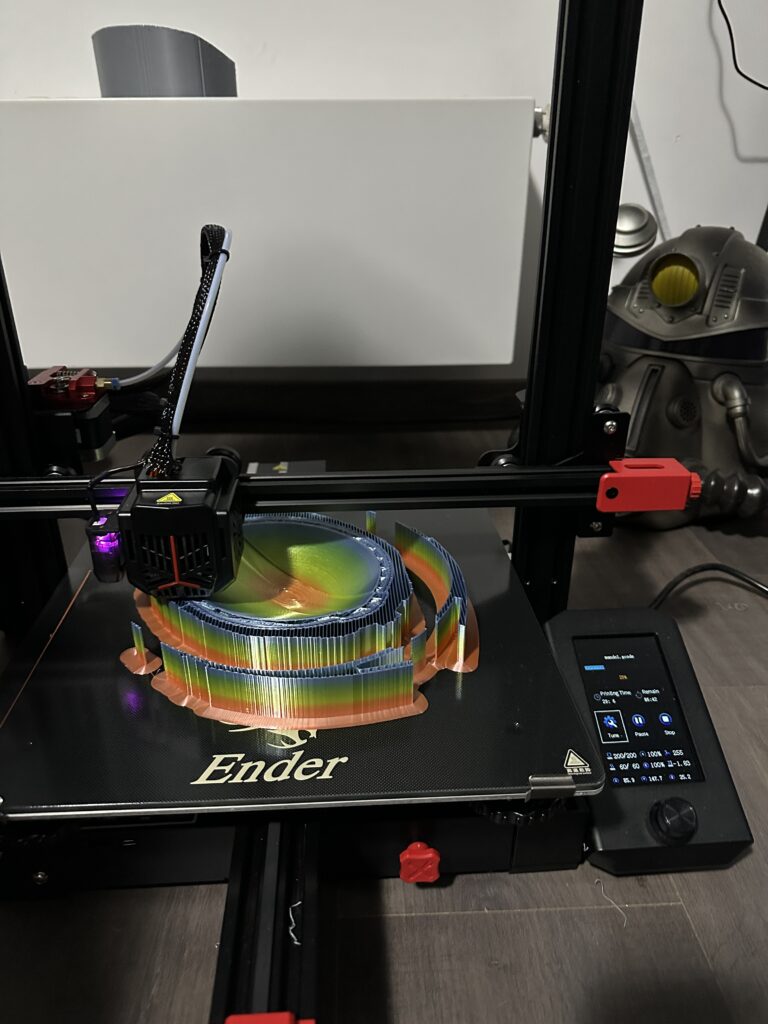
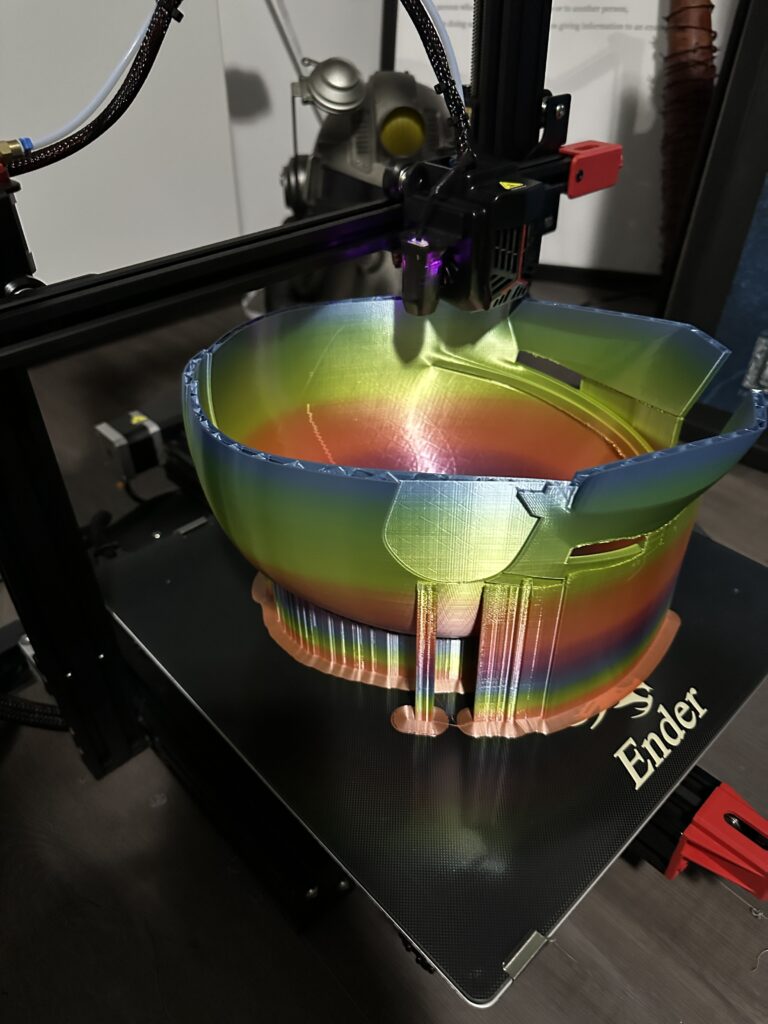
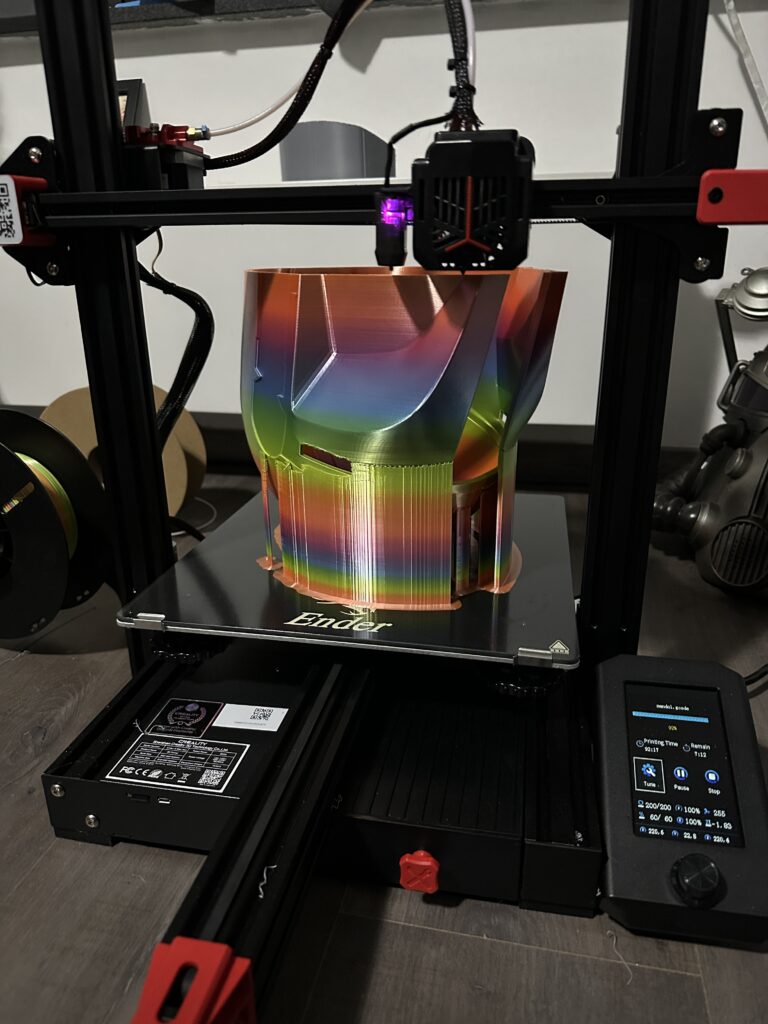
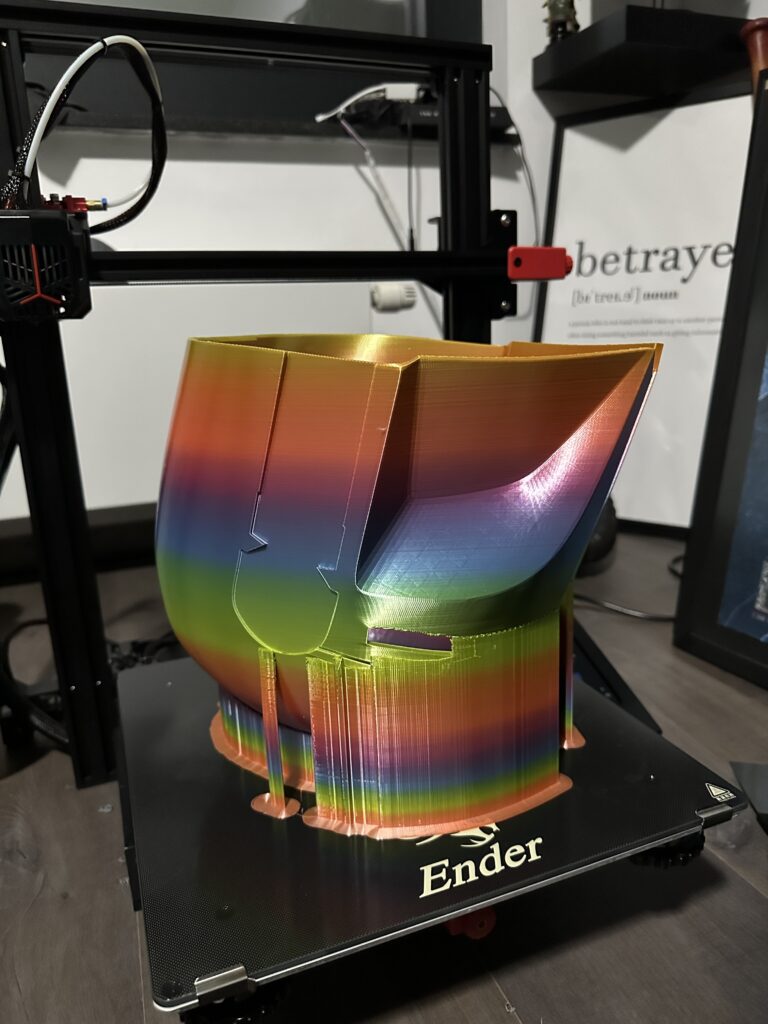
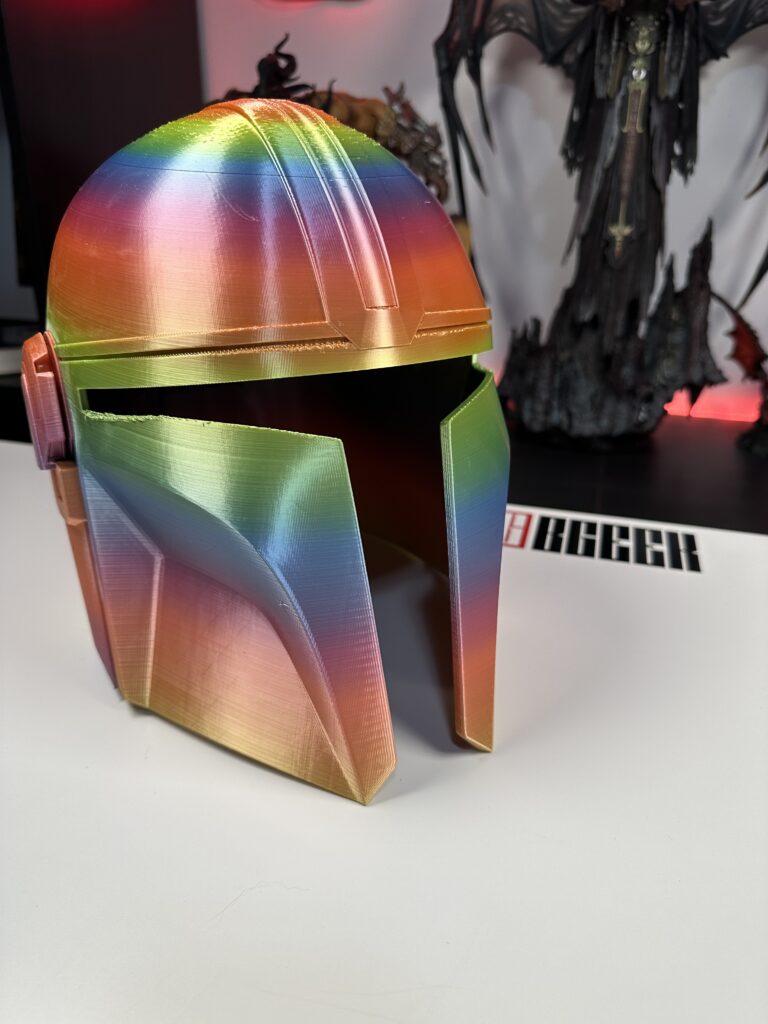
And finally, a colourful Life size wearable Mandalorian helmet that I printed using Creality’s satin rainbow PLA filament. The result is incredible!
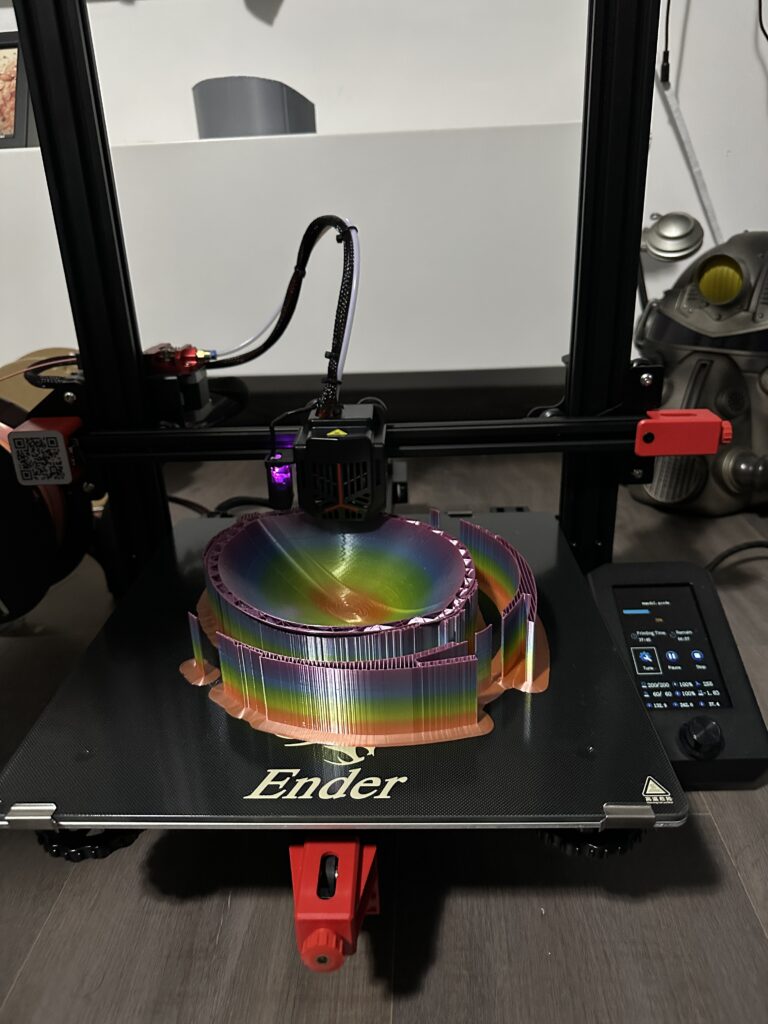
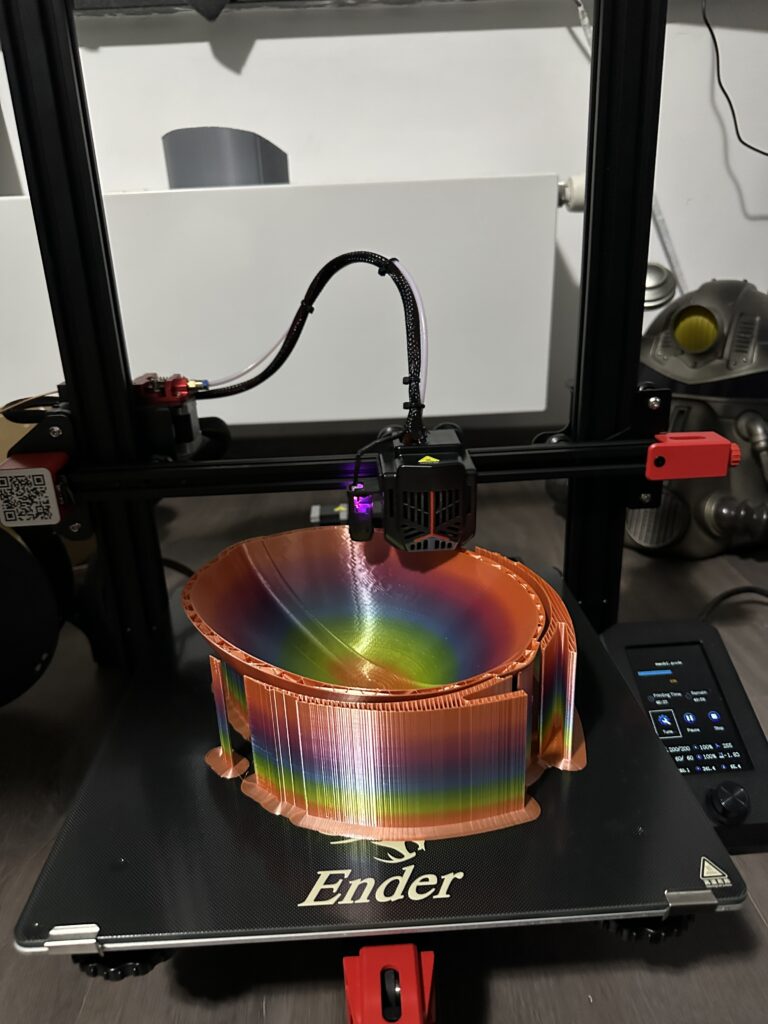
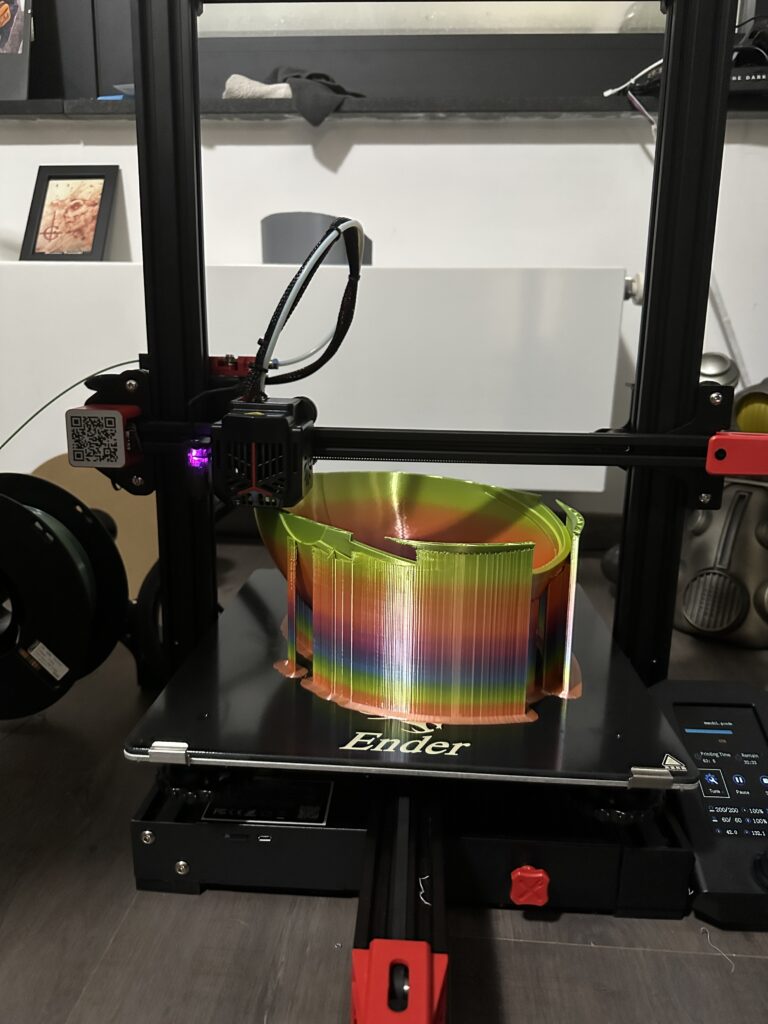
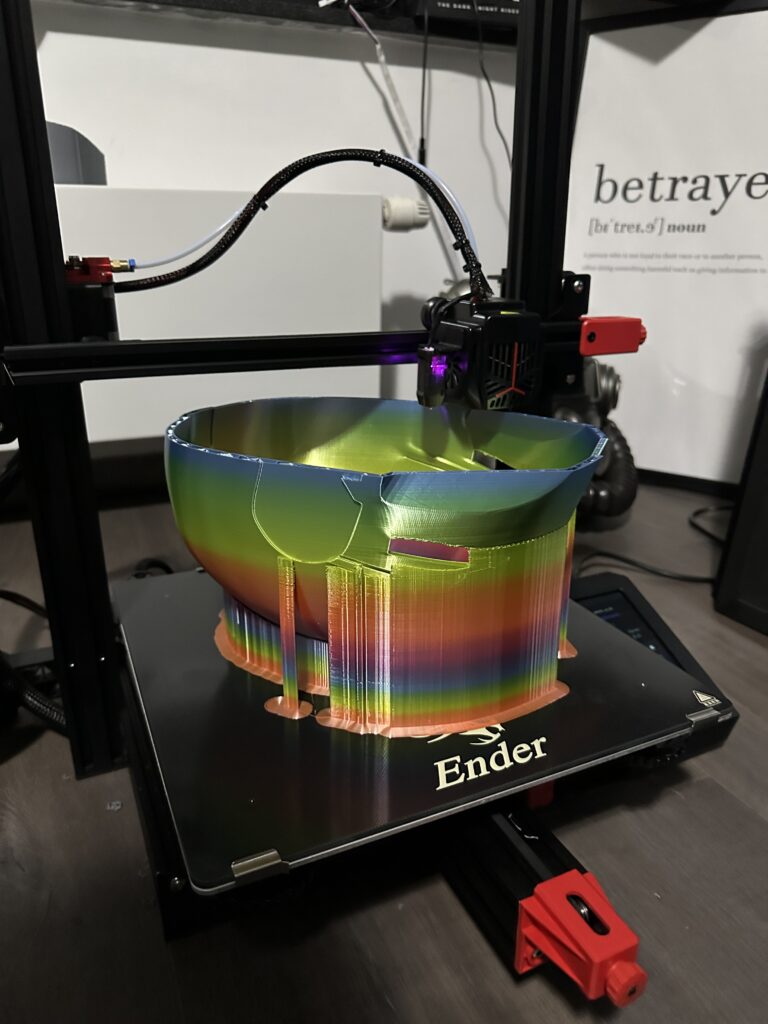
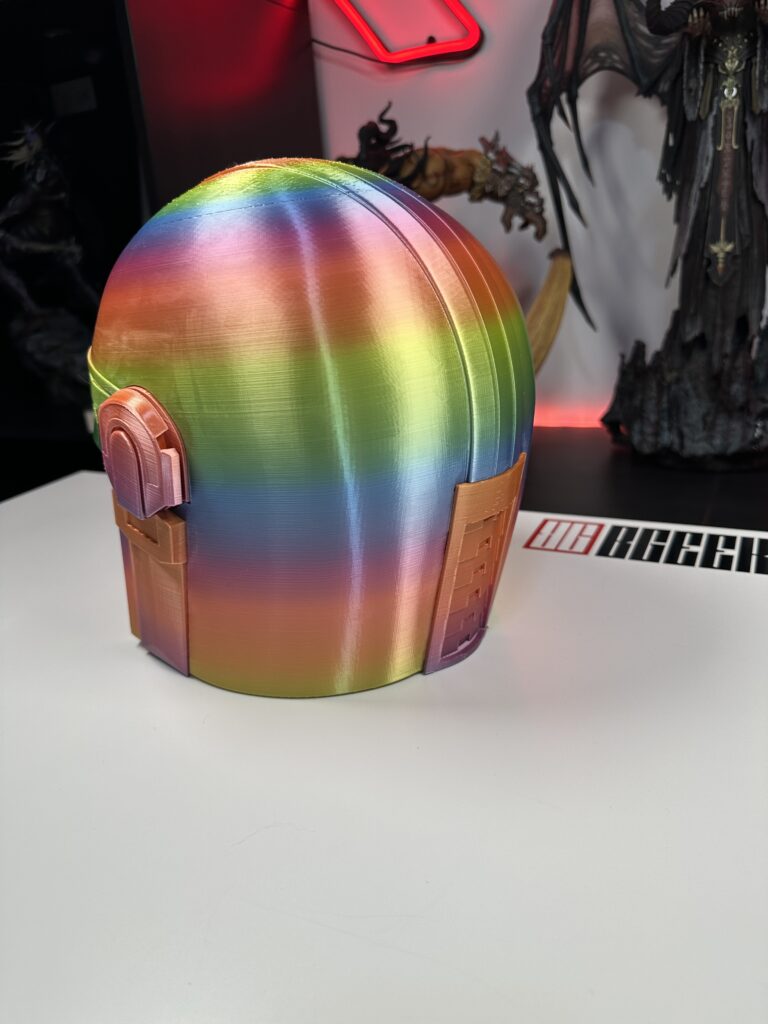
Mando and Red Hood hanging out.
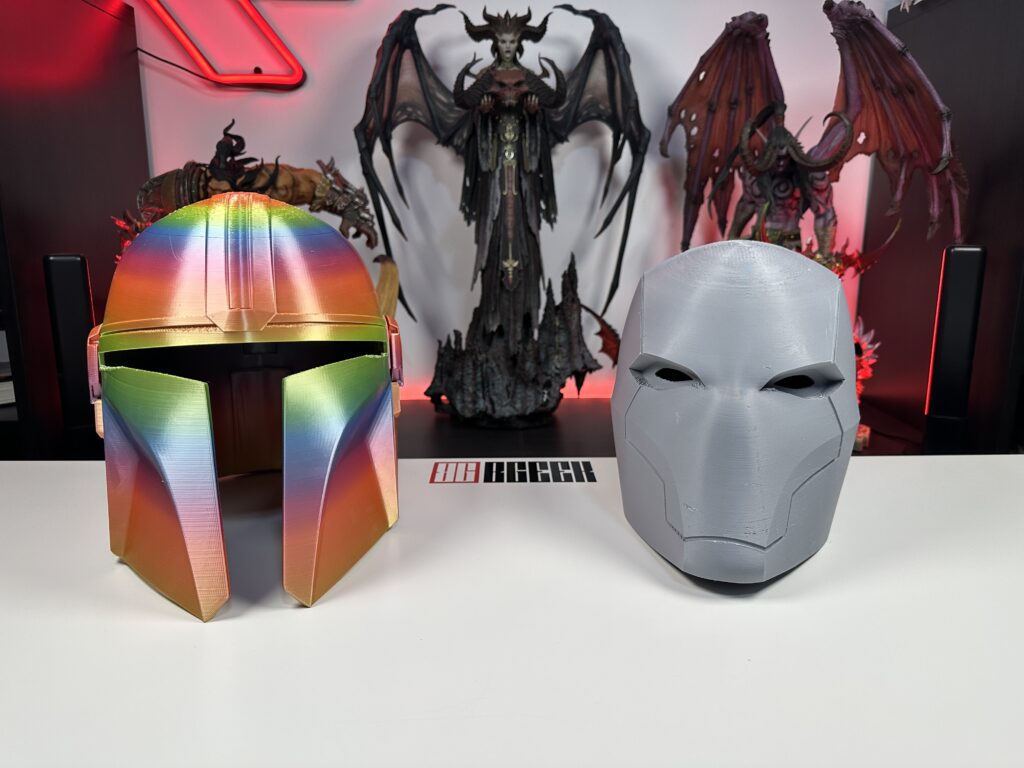
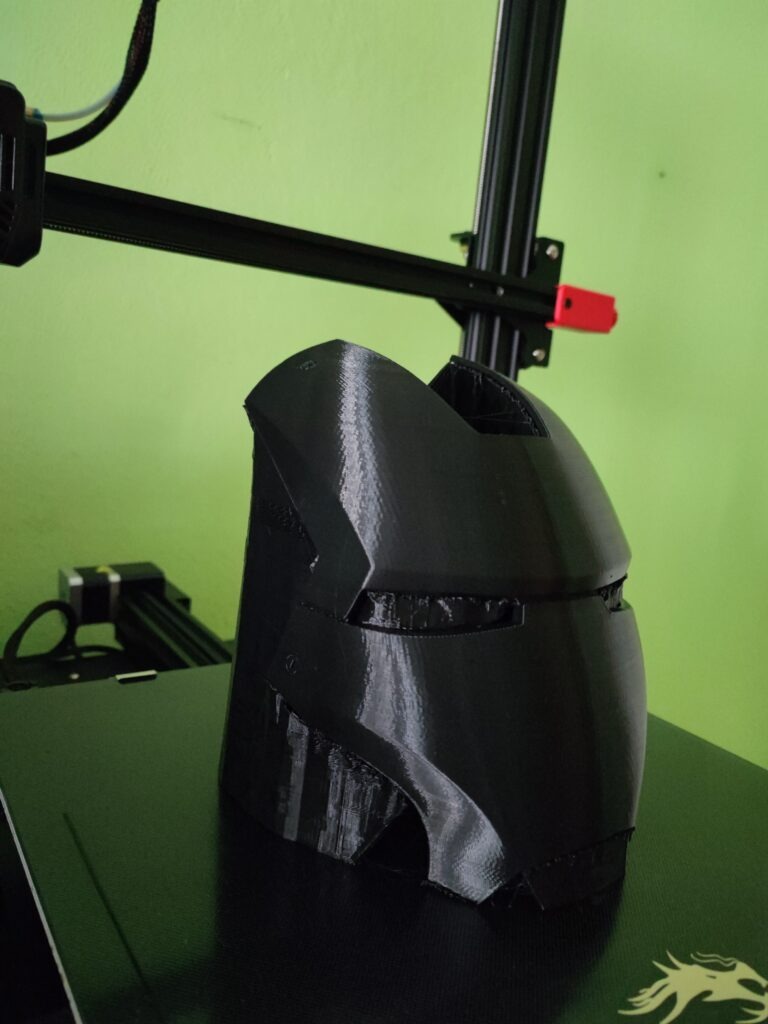
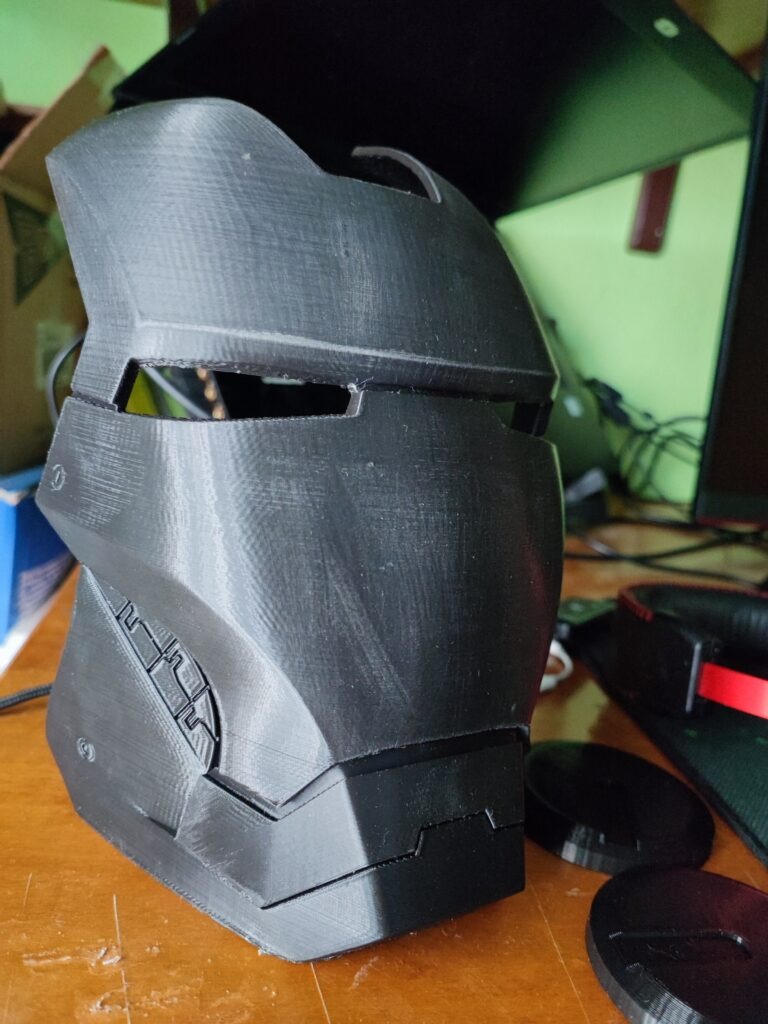
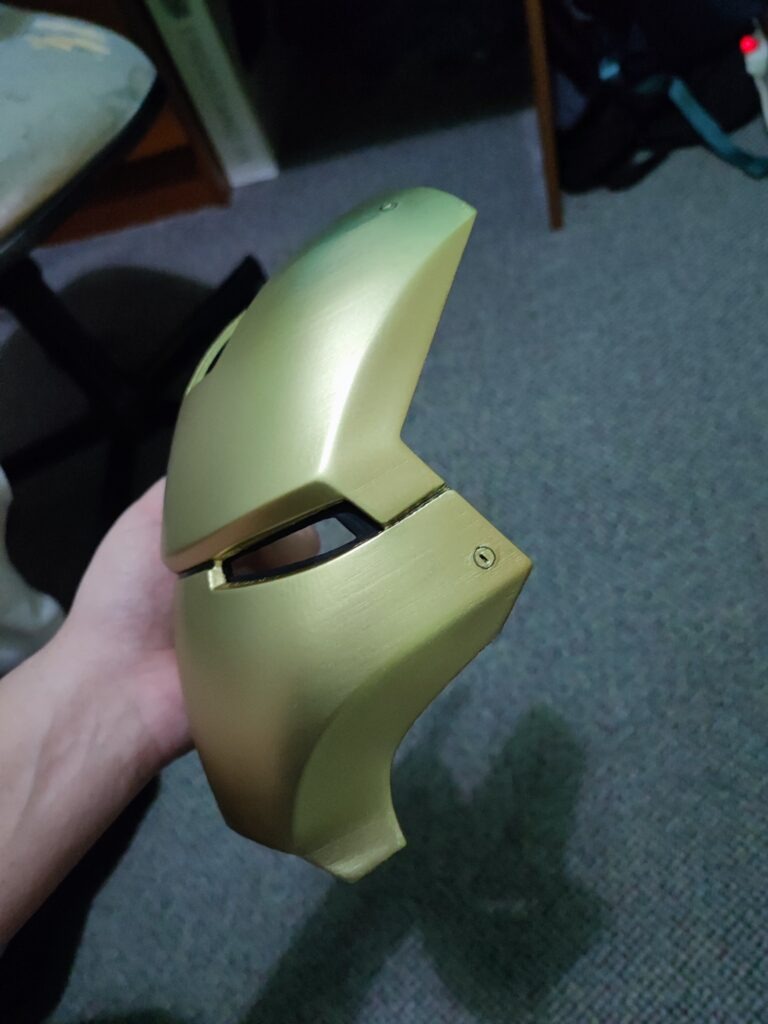
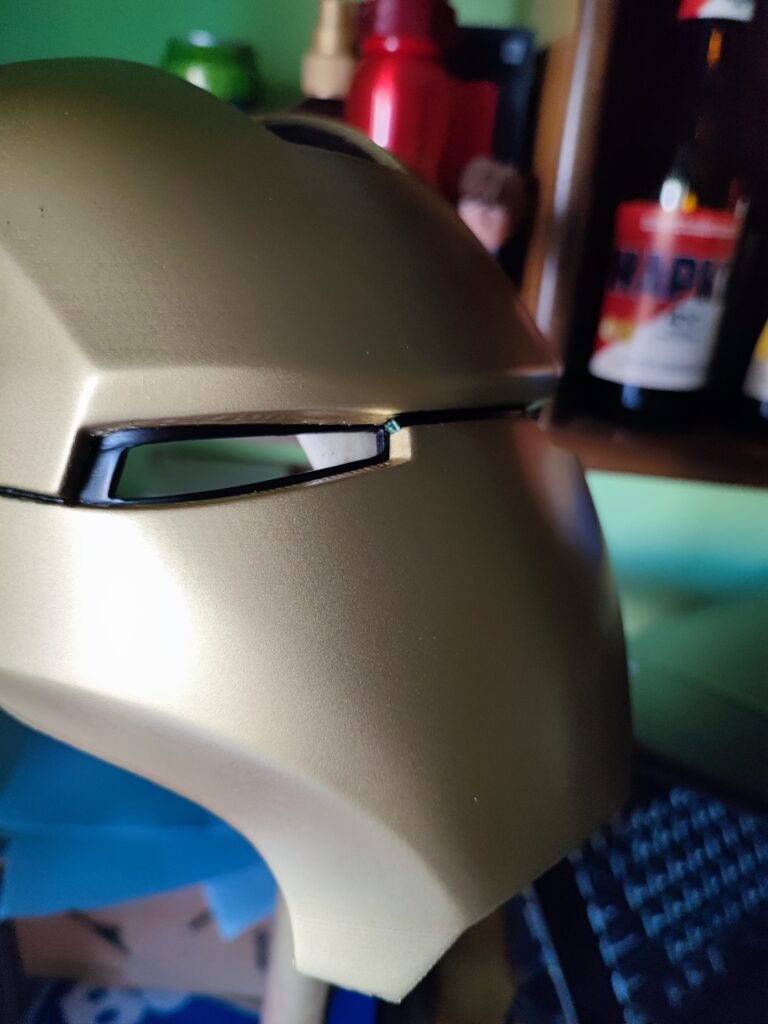
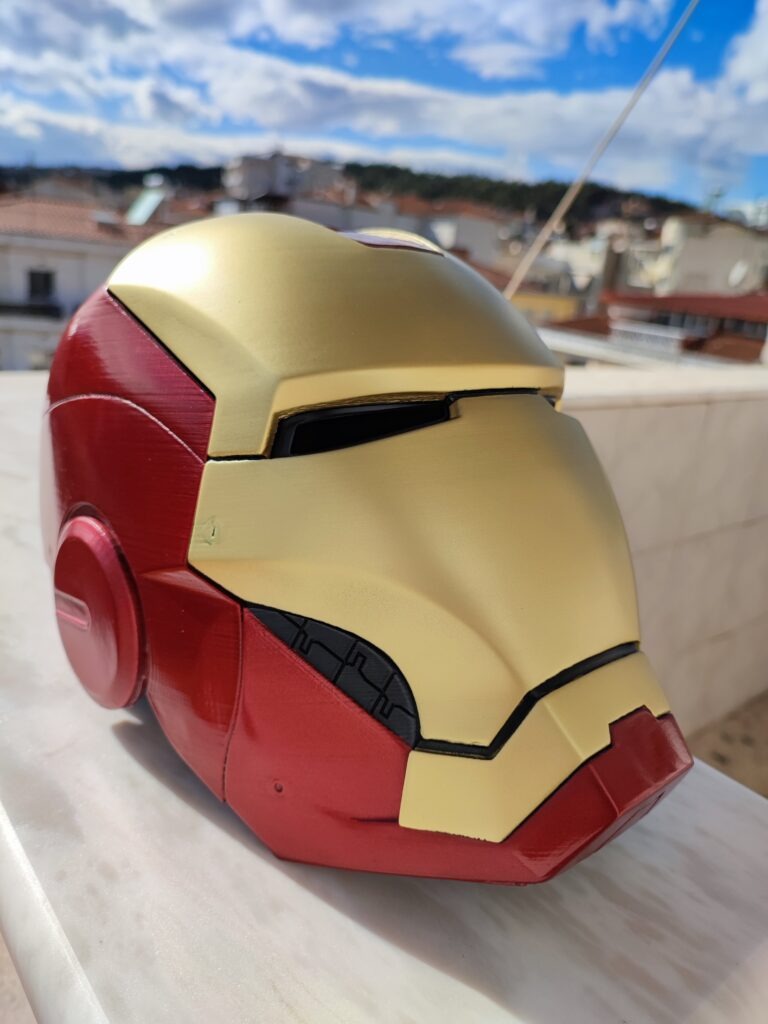
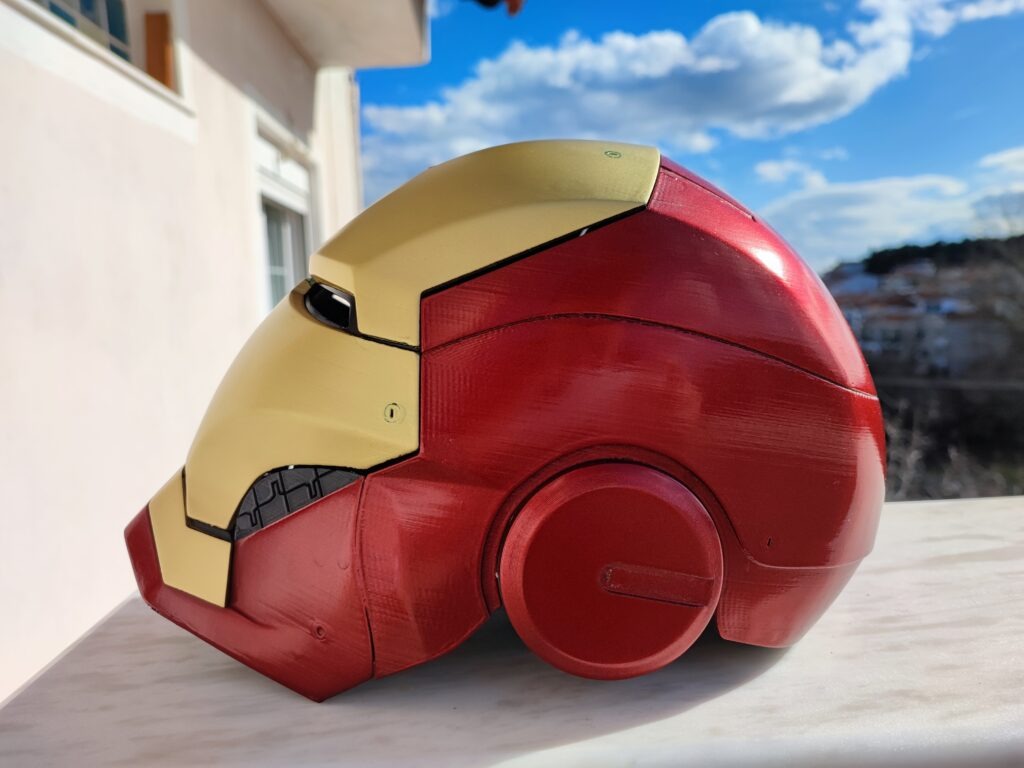
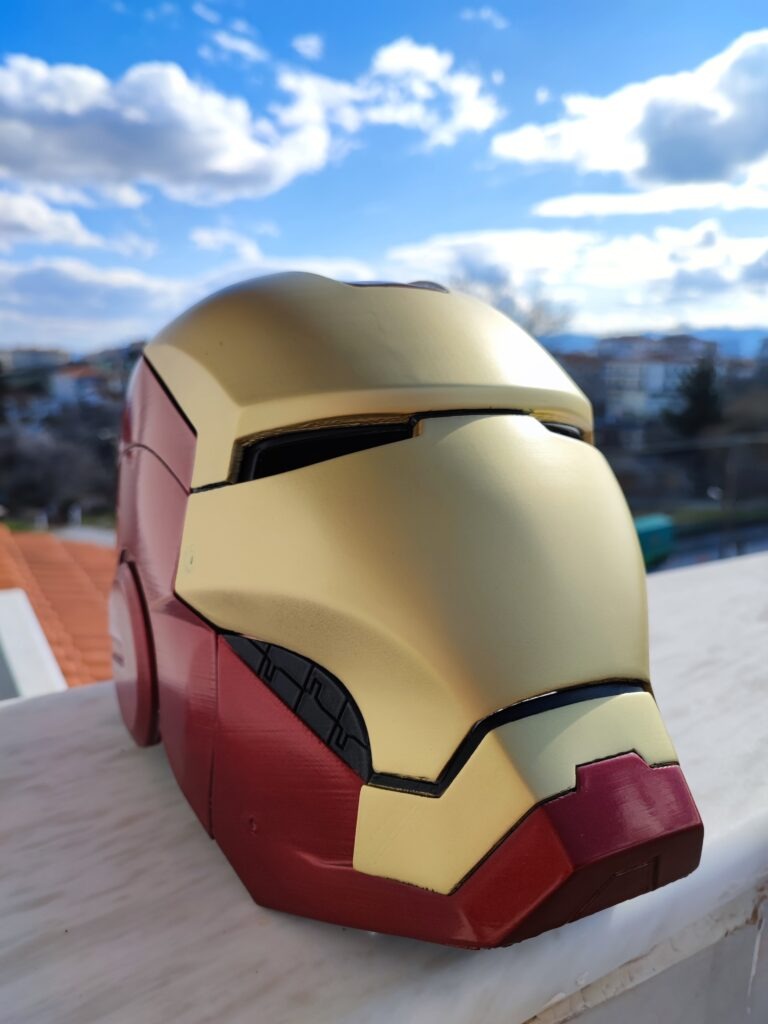
I left the best for last. Full-size wearable Iron Man helmet after sanding to make it smooth and painting:

Verdict
The Creality Ender 3 Max Neo is the printer for you who like to print large models without having to break them into pieces. This means that it is especially useful for cosplayers whose props are usually large.
It is easy to use and even someone who has never dealt with 3D printing will be able to handle it just fine from his very first print. I printed over 20 models in total and had 2 failures. And that was something I caused because I level the bed before I started printing. Therefore, the failure rate is less than 10% and closer to 0% if all procedures are done correctly.
What is the best feature of all? The price! All of the above come at the affordable price of €349 while the offer is still running on Creality’s official website.
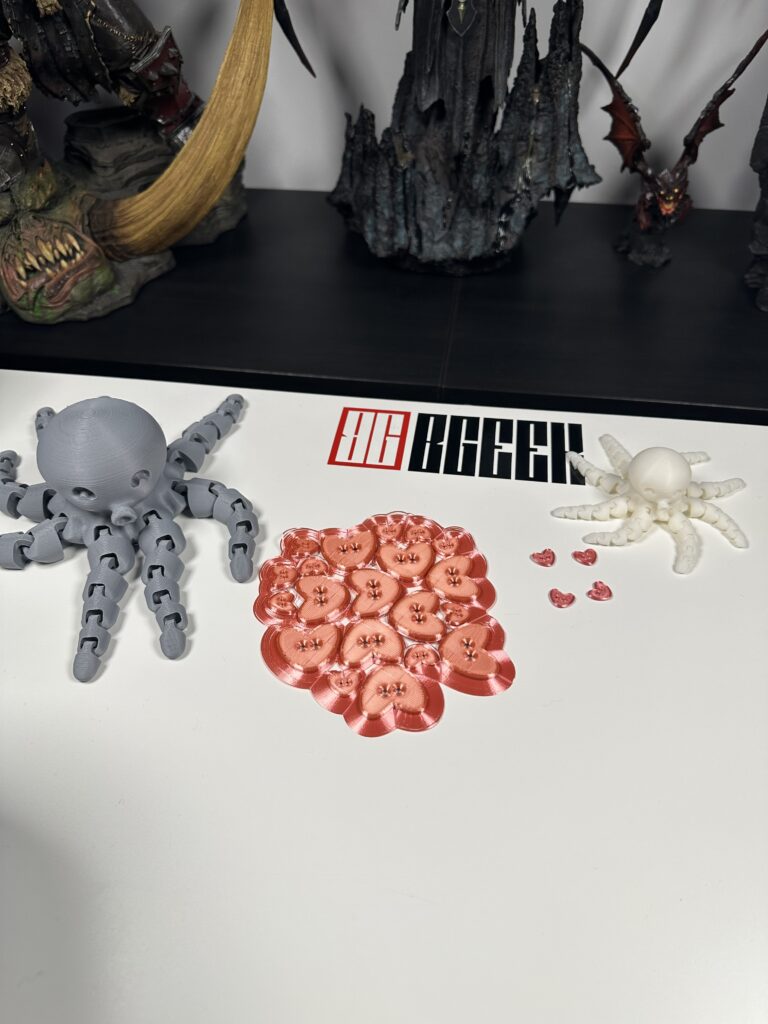
Look how beautiful and cute they are! I’m sure you want to fill your house with octopuses of all sizes.
At this point we would like to thank Creality for the review unit they provided us with for this particular article.