Creality Halot One Plus and UW-02 are both products from Creality. Creality is a 3D printer manufacturing company located in China, founded in 2014. In 2018, they launched their website which was mainly aimed at the Chinese market. They quickly managed to win over the 3D printing community by selling top tier printers at comparatively low prices. So, in 2021 they decided to launch an e-shop purely for the European market. Europe has embraced Creality and today, it is one of the biggest brands in the field of 3D printers.
The Halot One Plus is a resin 3D printer. Let’s start things off for those who don’t know what this is. 3D printers are divided into 2 categories. In resin and filament / PLA printers. What do we mean by that and what are their differences?
Types of 3D printers
Filament printers build the models by melting plastic and repositioning it in several flat layers, which together form the 3D piece. Each layer is created from the molten plastic that comes out of the printer nozzle at different points. Once a layer is complete, the nozzle is moved up and the next layer is built on top of the previous one until a complete 3D model is created. Filament printers are also referred to as FDM (Fused Deposition Modeling) or FFF (Fused Filament Fabrication) machines. These terms are interchangeable.
Resin printers form parts from liquid resin which hardens or solidifies when exposed to ultraviolet radiation (UV Light). Similar to filament printers, resin printers create the models in layers but do so by exposing each layer to a pattern of UV light to solidify the resin in the desired locations. There are two types of resin printers. DLP (Digital Light Processing) and SLA (Stereolithography).
These technologies differ in how they cure the resin. DLP printers use a UV LCD screen to harden an entire layer at once, while SLA uses a focused laser that carves a path through each layer. The appearance of these printers looks very similar. Since most low-cost resin printers use DLP technology, we will focus on this technology in this article.
Unboxing
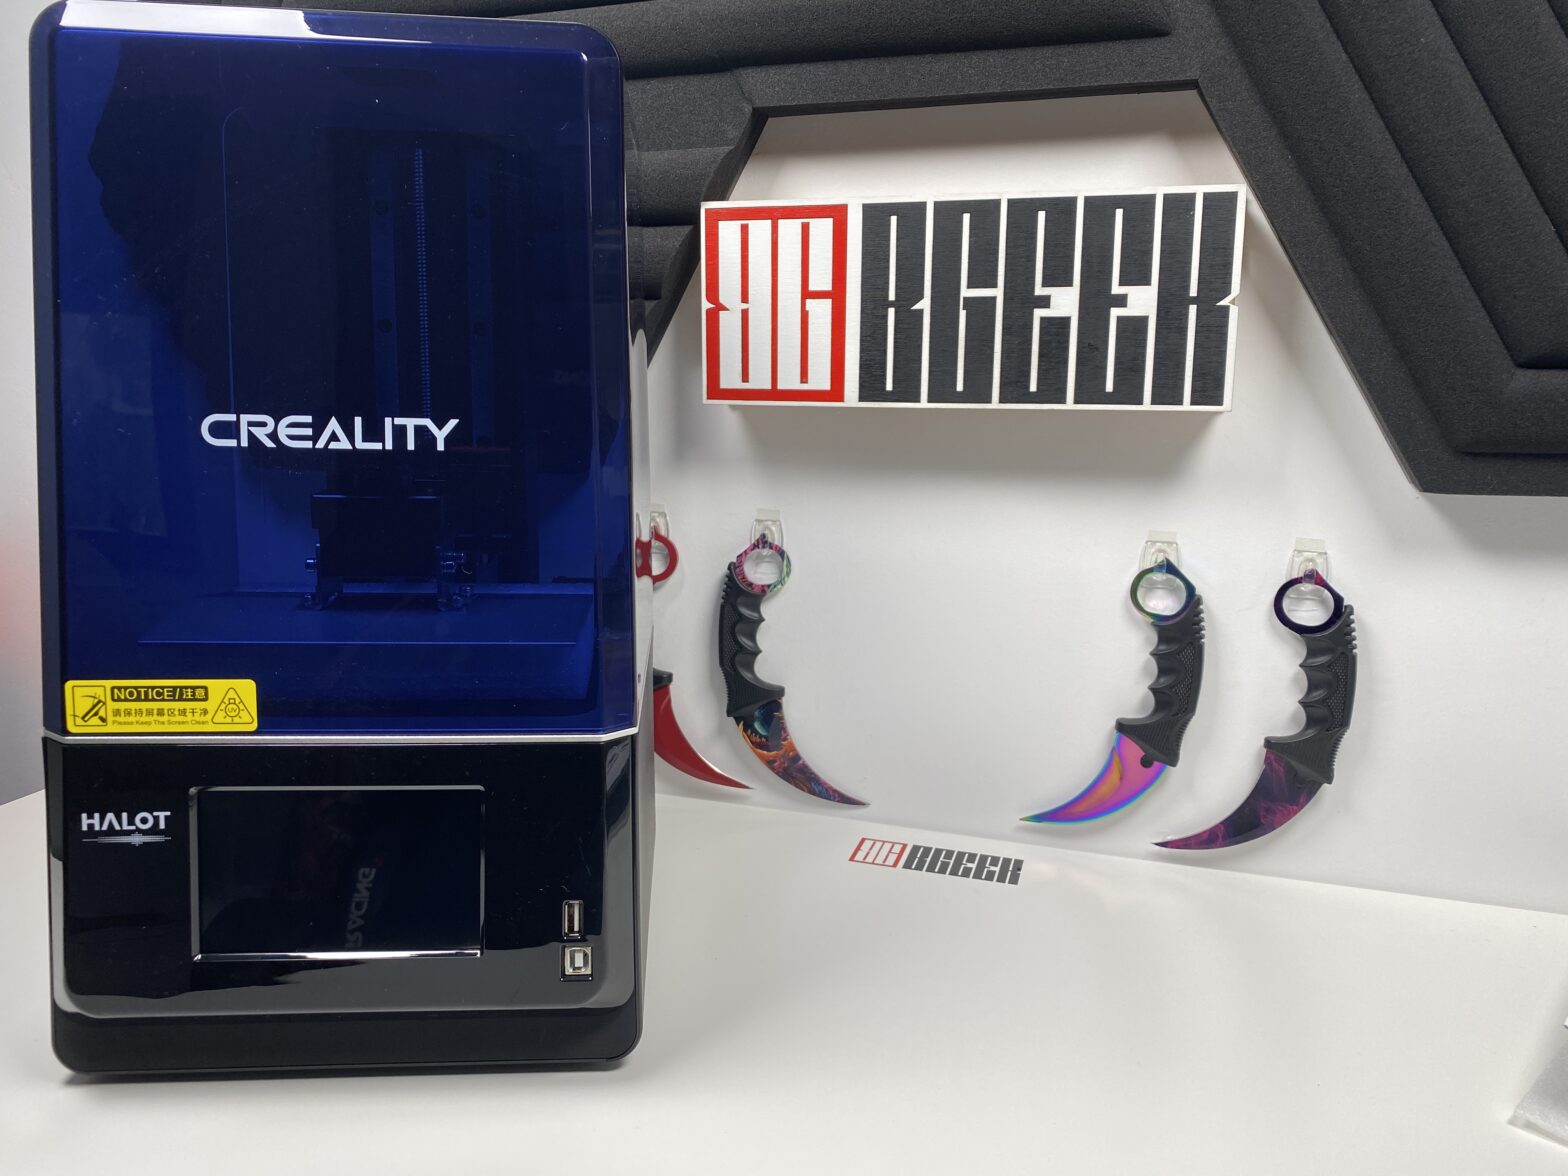
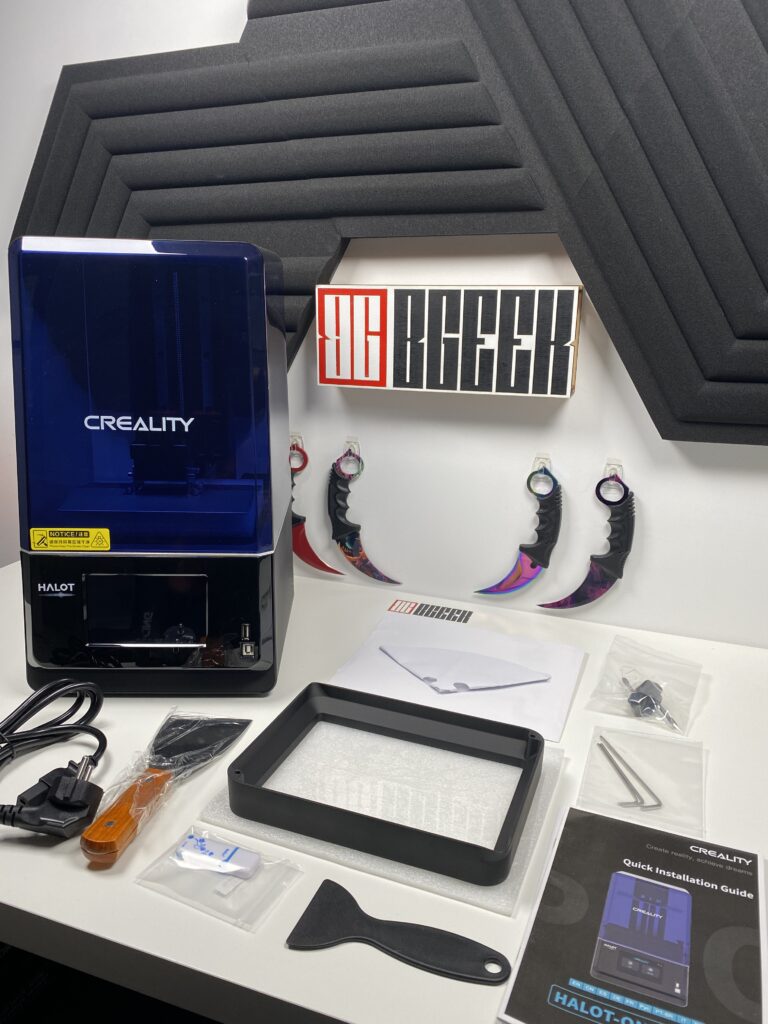
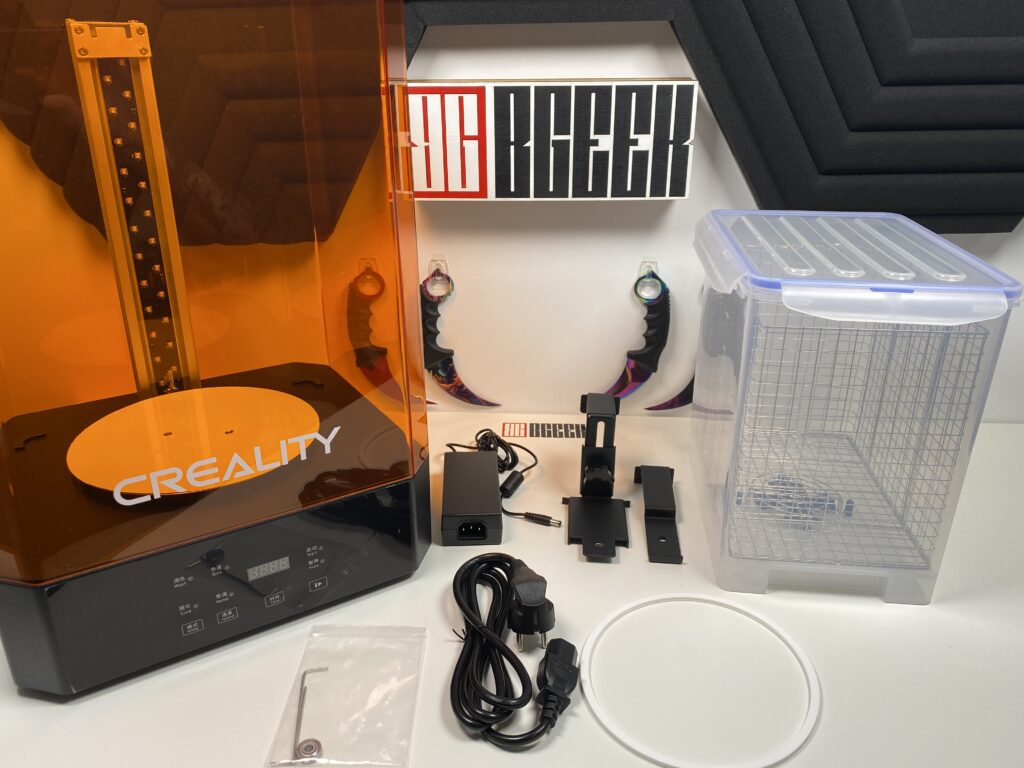
Now that we know the basics, we can continue with the Halot One Plus review. Opening the Creality Halot One Plus box, we find many goodies inside.
- 1x 3D printer
- 1x power cable
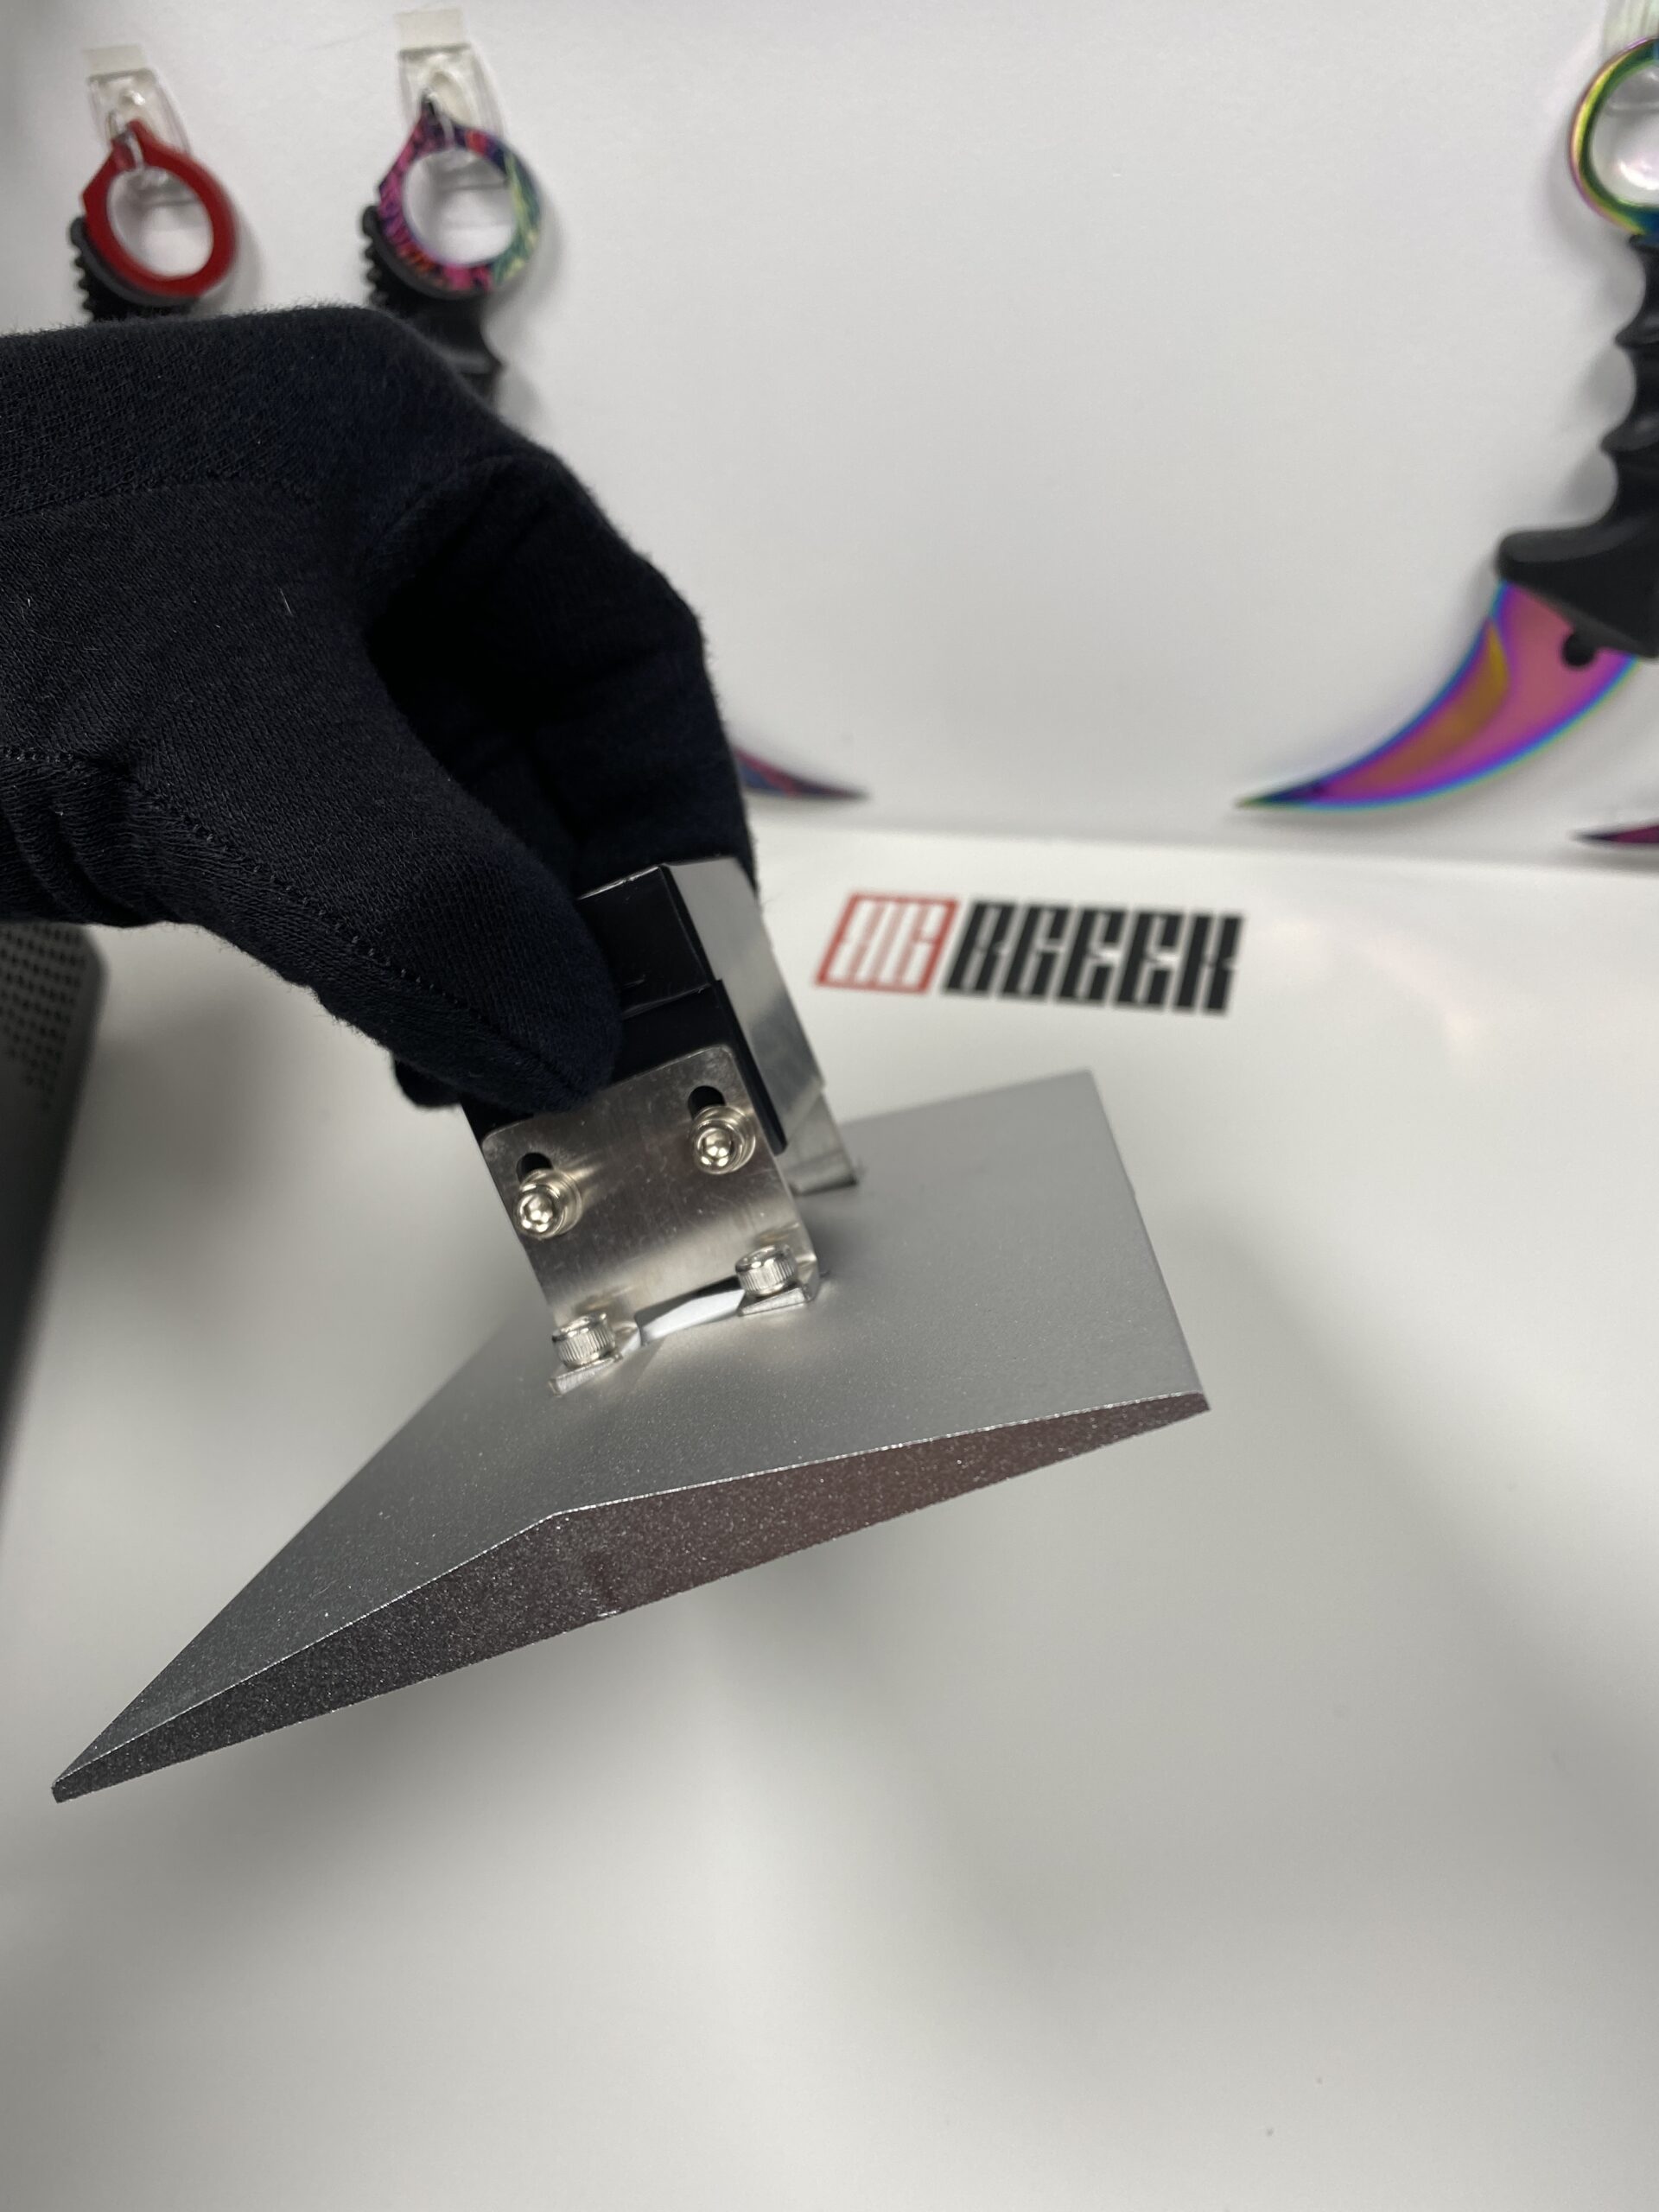
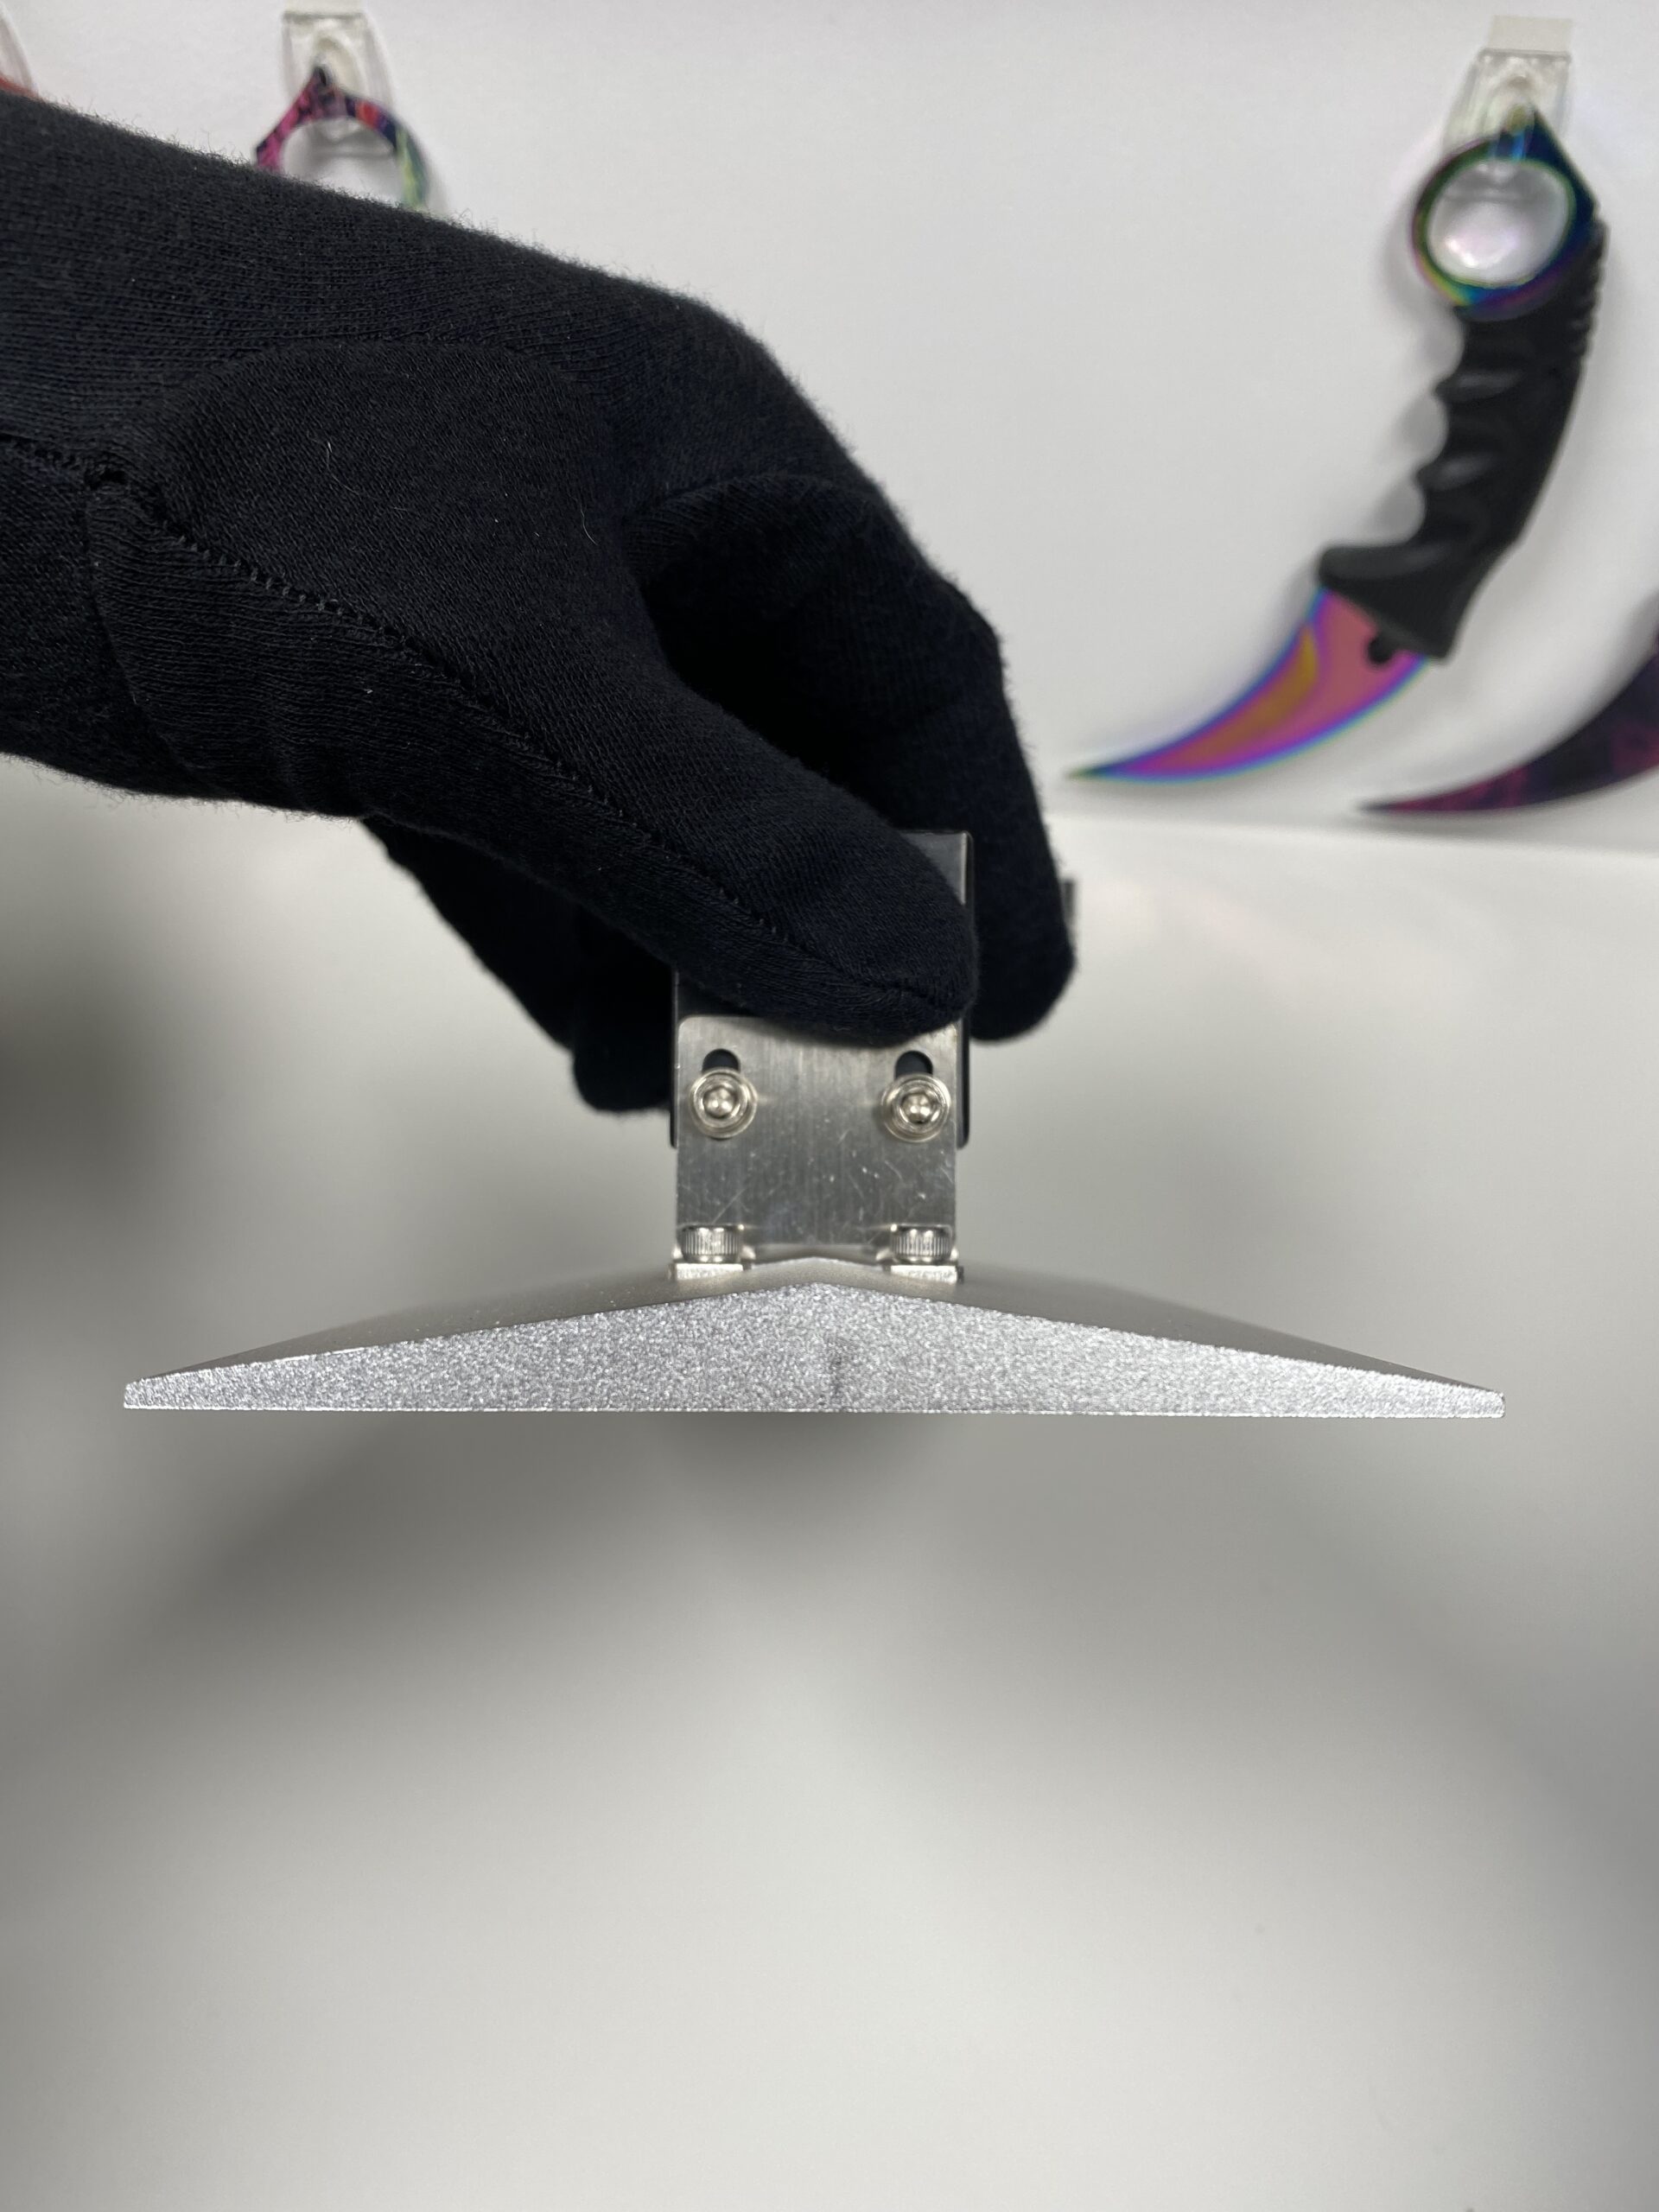
- 1x metal spatula
- 1x plastic spatula
- 1x USB stick
- 2x paper colanders
- 1x spare FEP film
- 2x hand screws for the resin container
- 3x allen keys
- 1x leveling calibration card (to adjust the height of the base)
- and finally the manual
Design and features
The first thing I noticed about the Halot One Plus is that it comes with a blue colored plastic lid. Up to this point, if not all, certainly most resin printers are orange colored. Creality made the difference and tried the blue color, which I have to say, fits like a glove.
Of course, the real use of this lid is to protect our eyes from UV radiation while using the printer. Its blue color is so dark that nothing penetrates it.

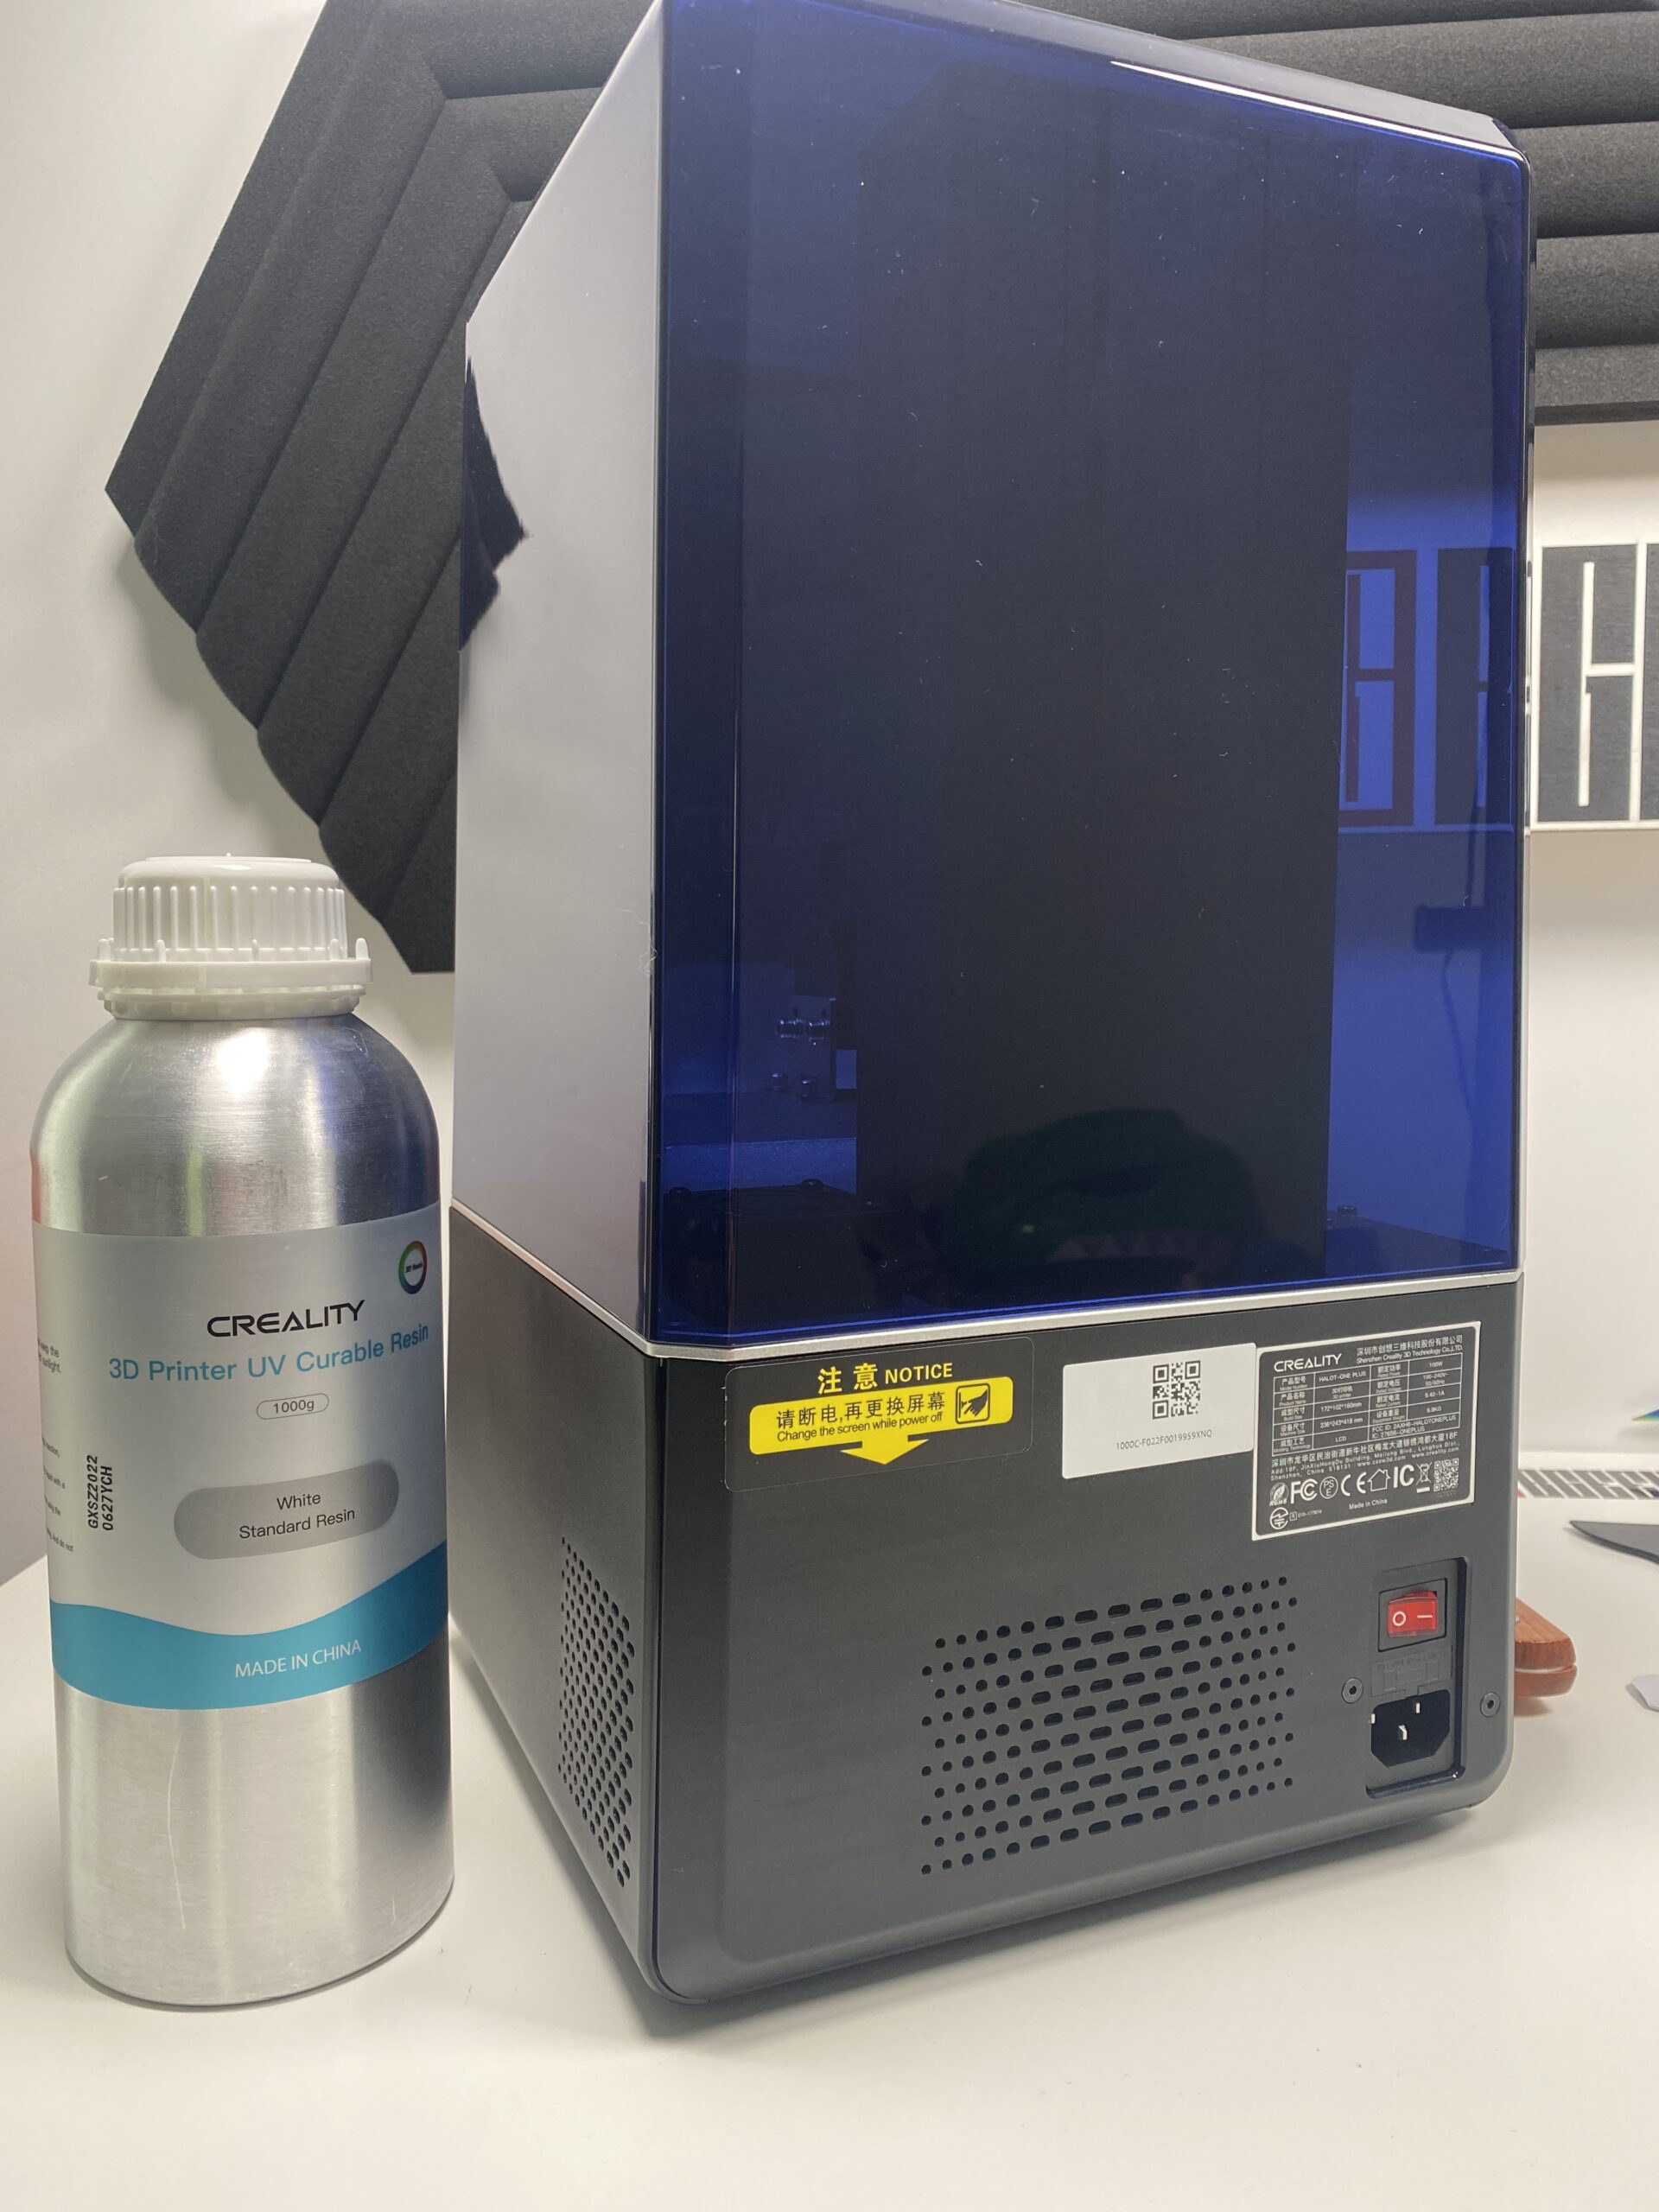
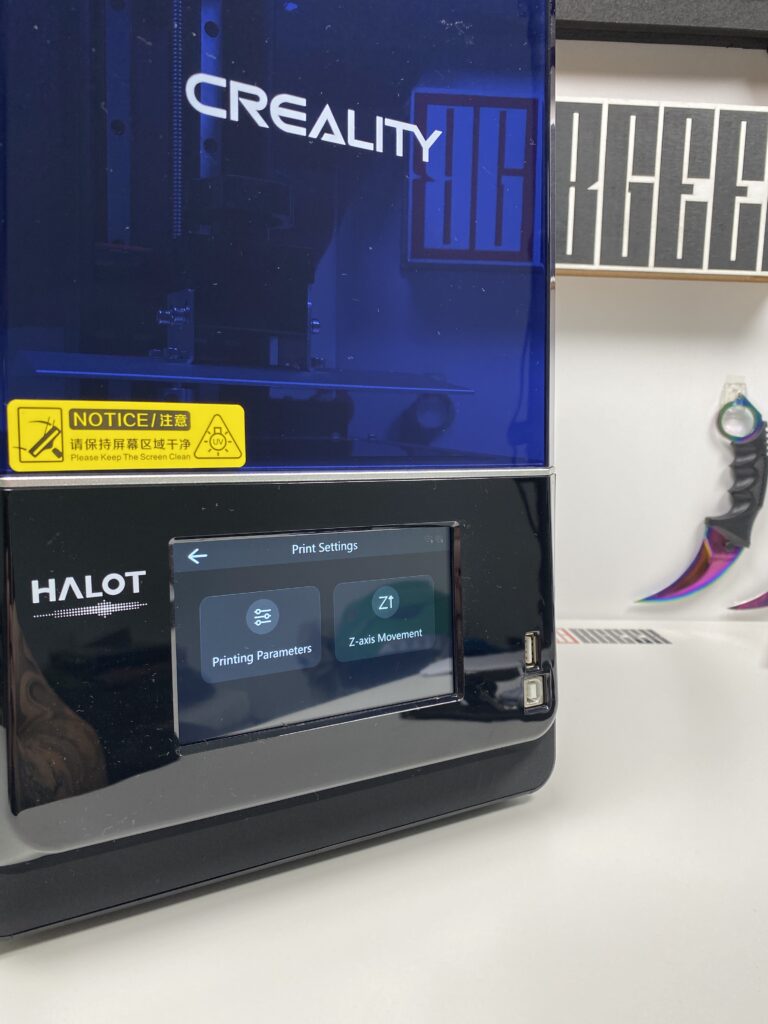
At the bottom left we can see the name of the model, in the middle there is a 4.9 inch touch screen and on the right 2 ports. The one is a USB for using the printer with a USB stick and the second is a Type-B for connecting it directly to the computer.
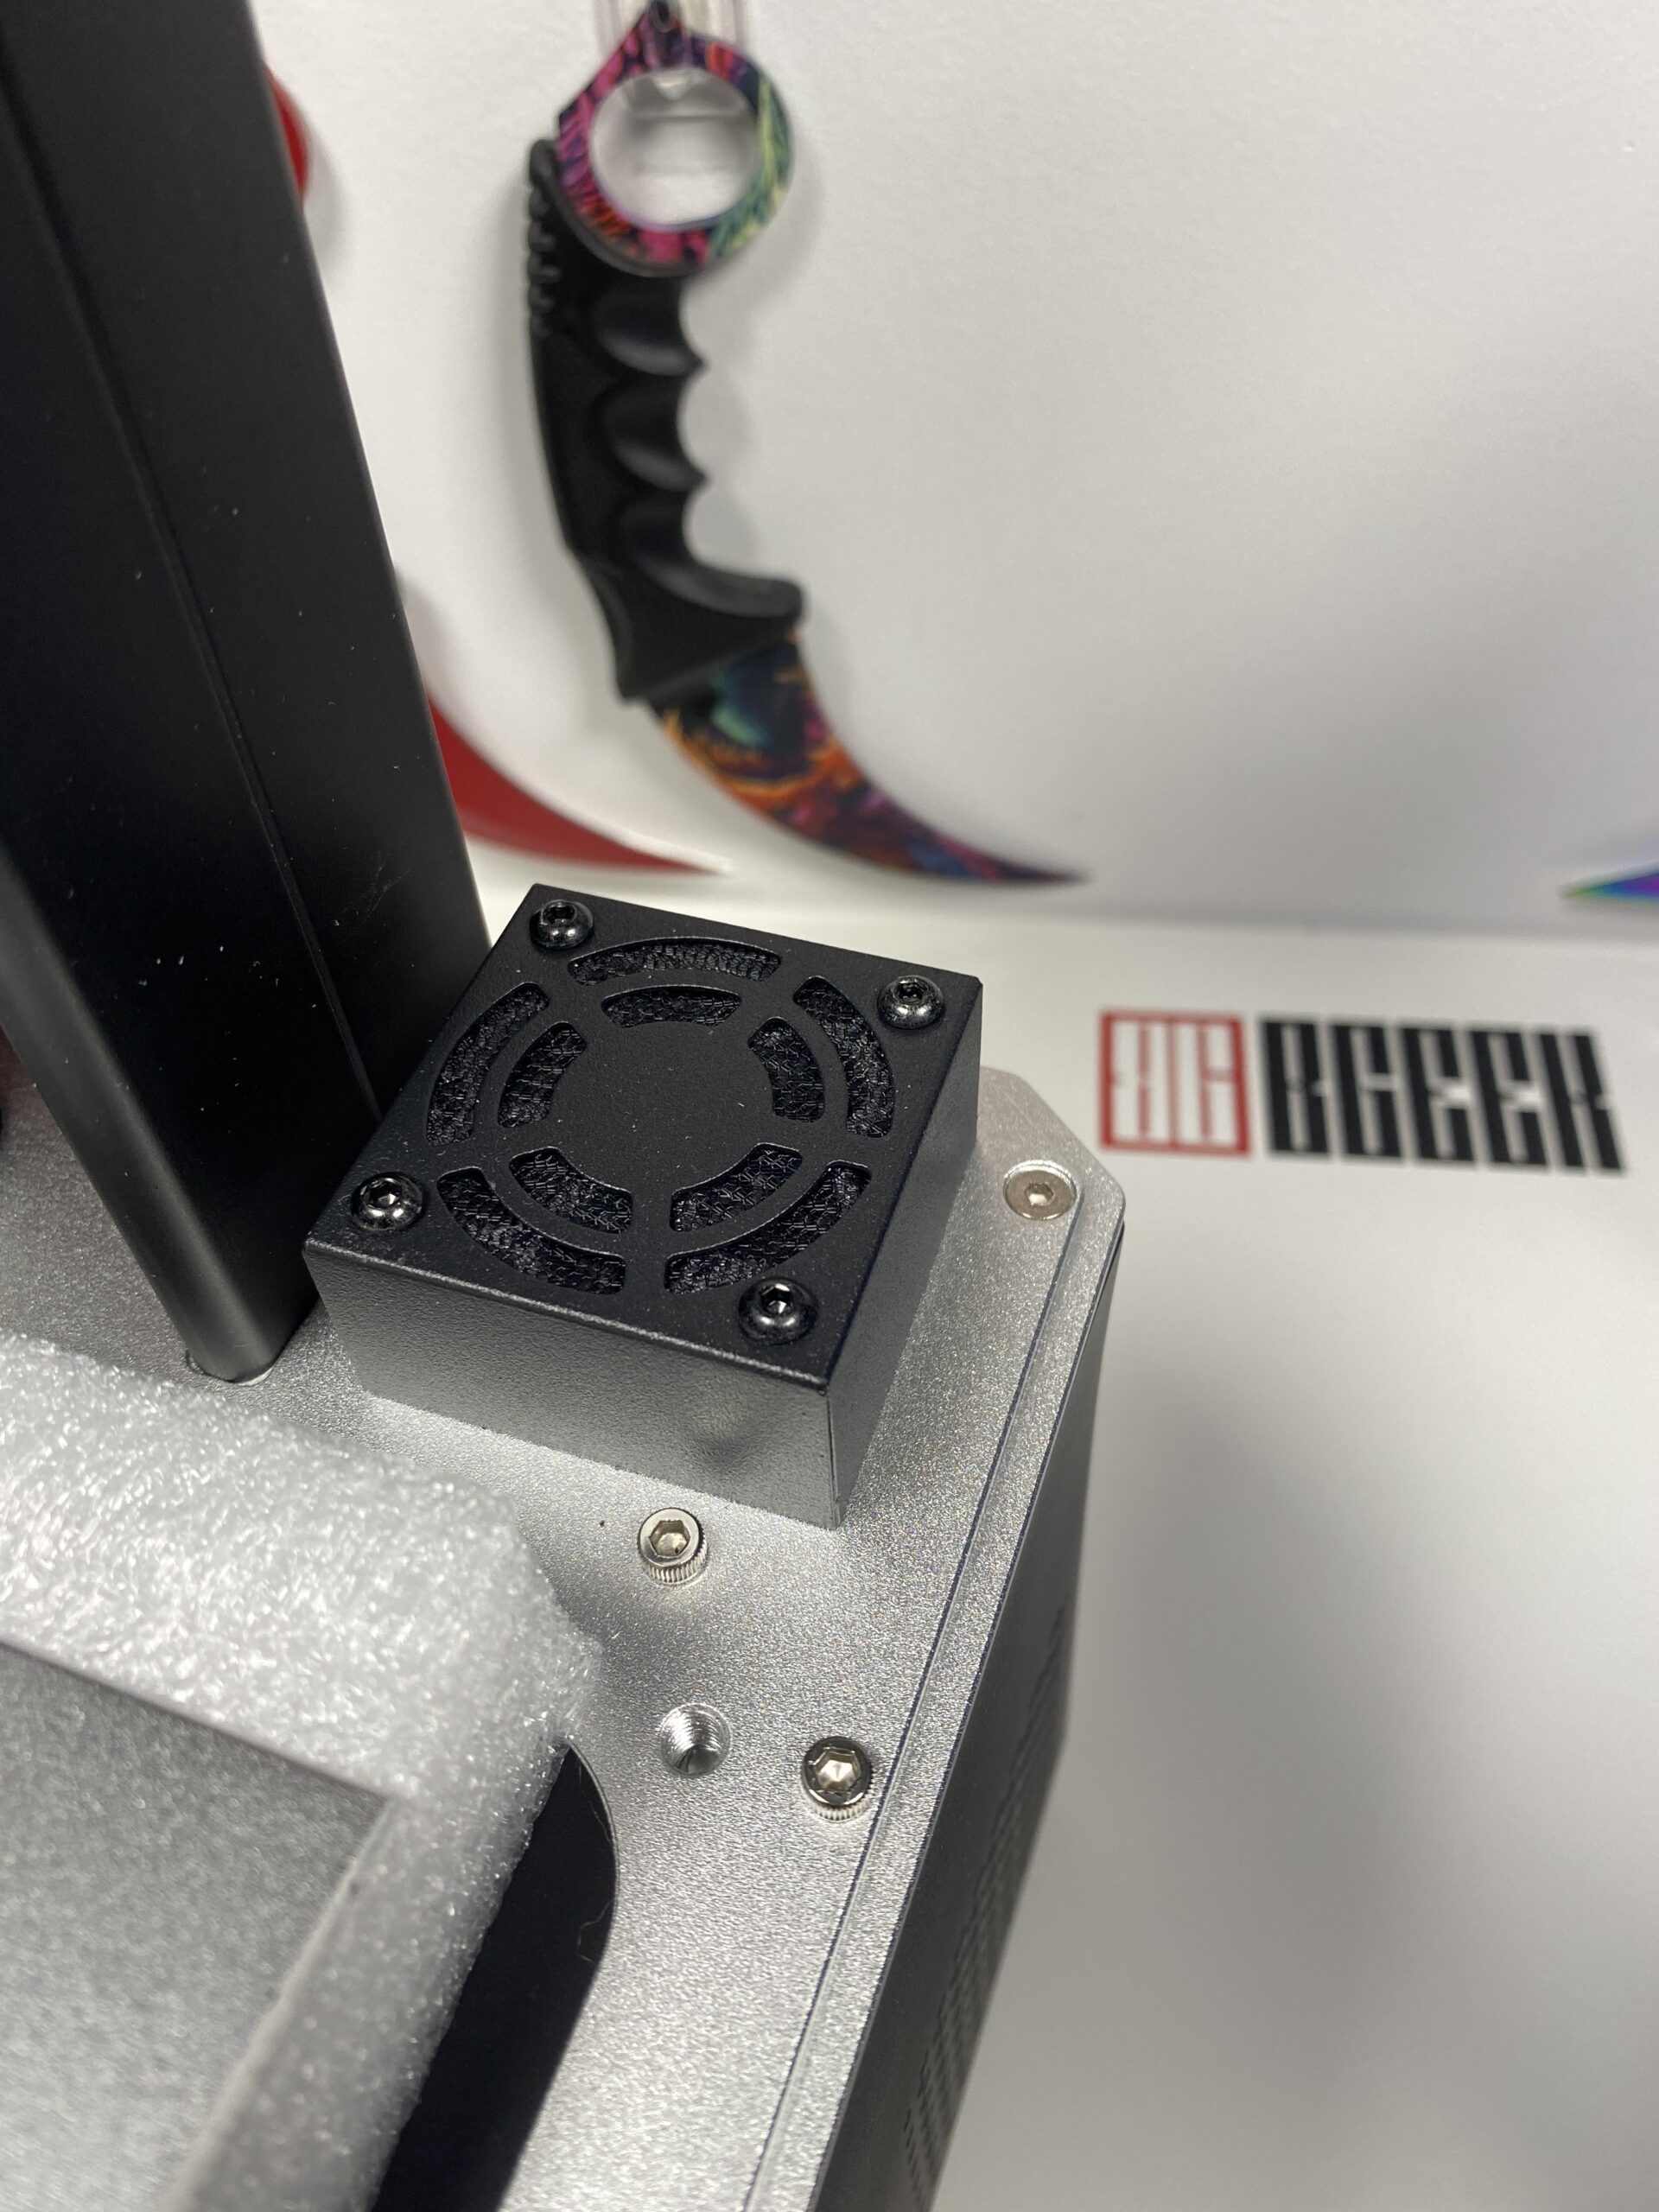
In the back right corner, there is an air filter (which spins throughout the whole printing process) and cleans the resin fumes making them less toxic. (Of course, since you can never be sure, it’s a good idea to wear a mask before opening the lid)
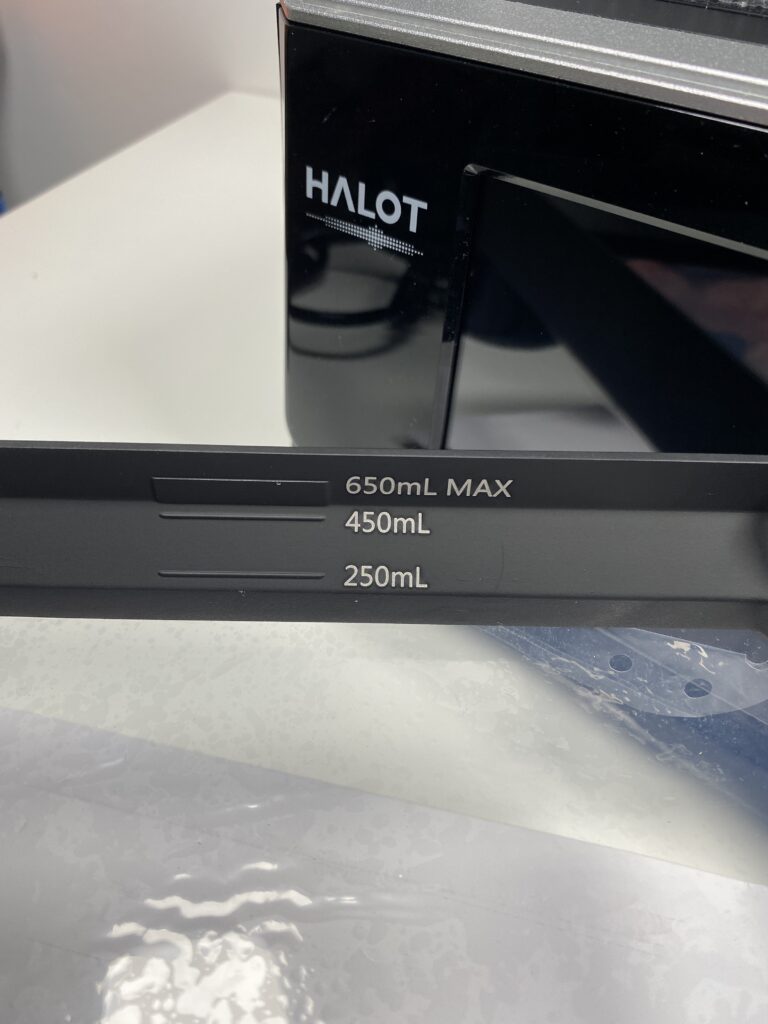
Usually, a relatively large model will not use a lot of resin. I wouldn’t advise you to MAX it out.
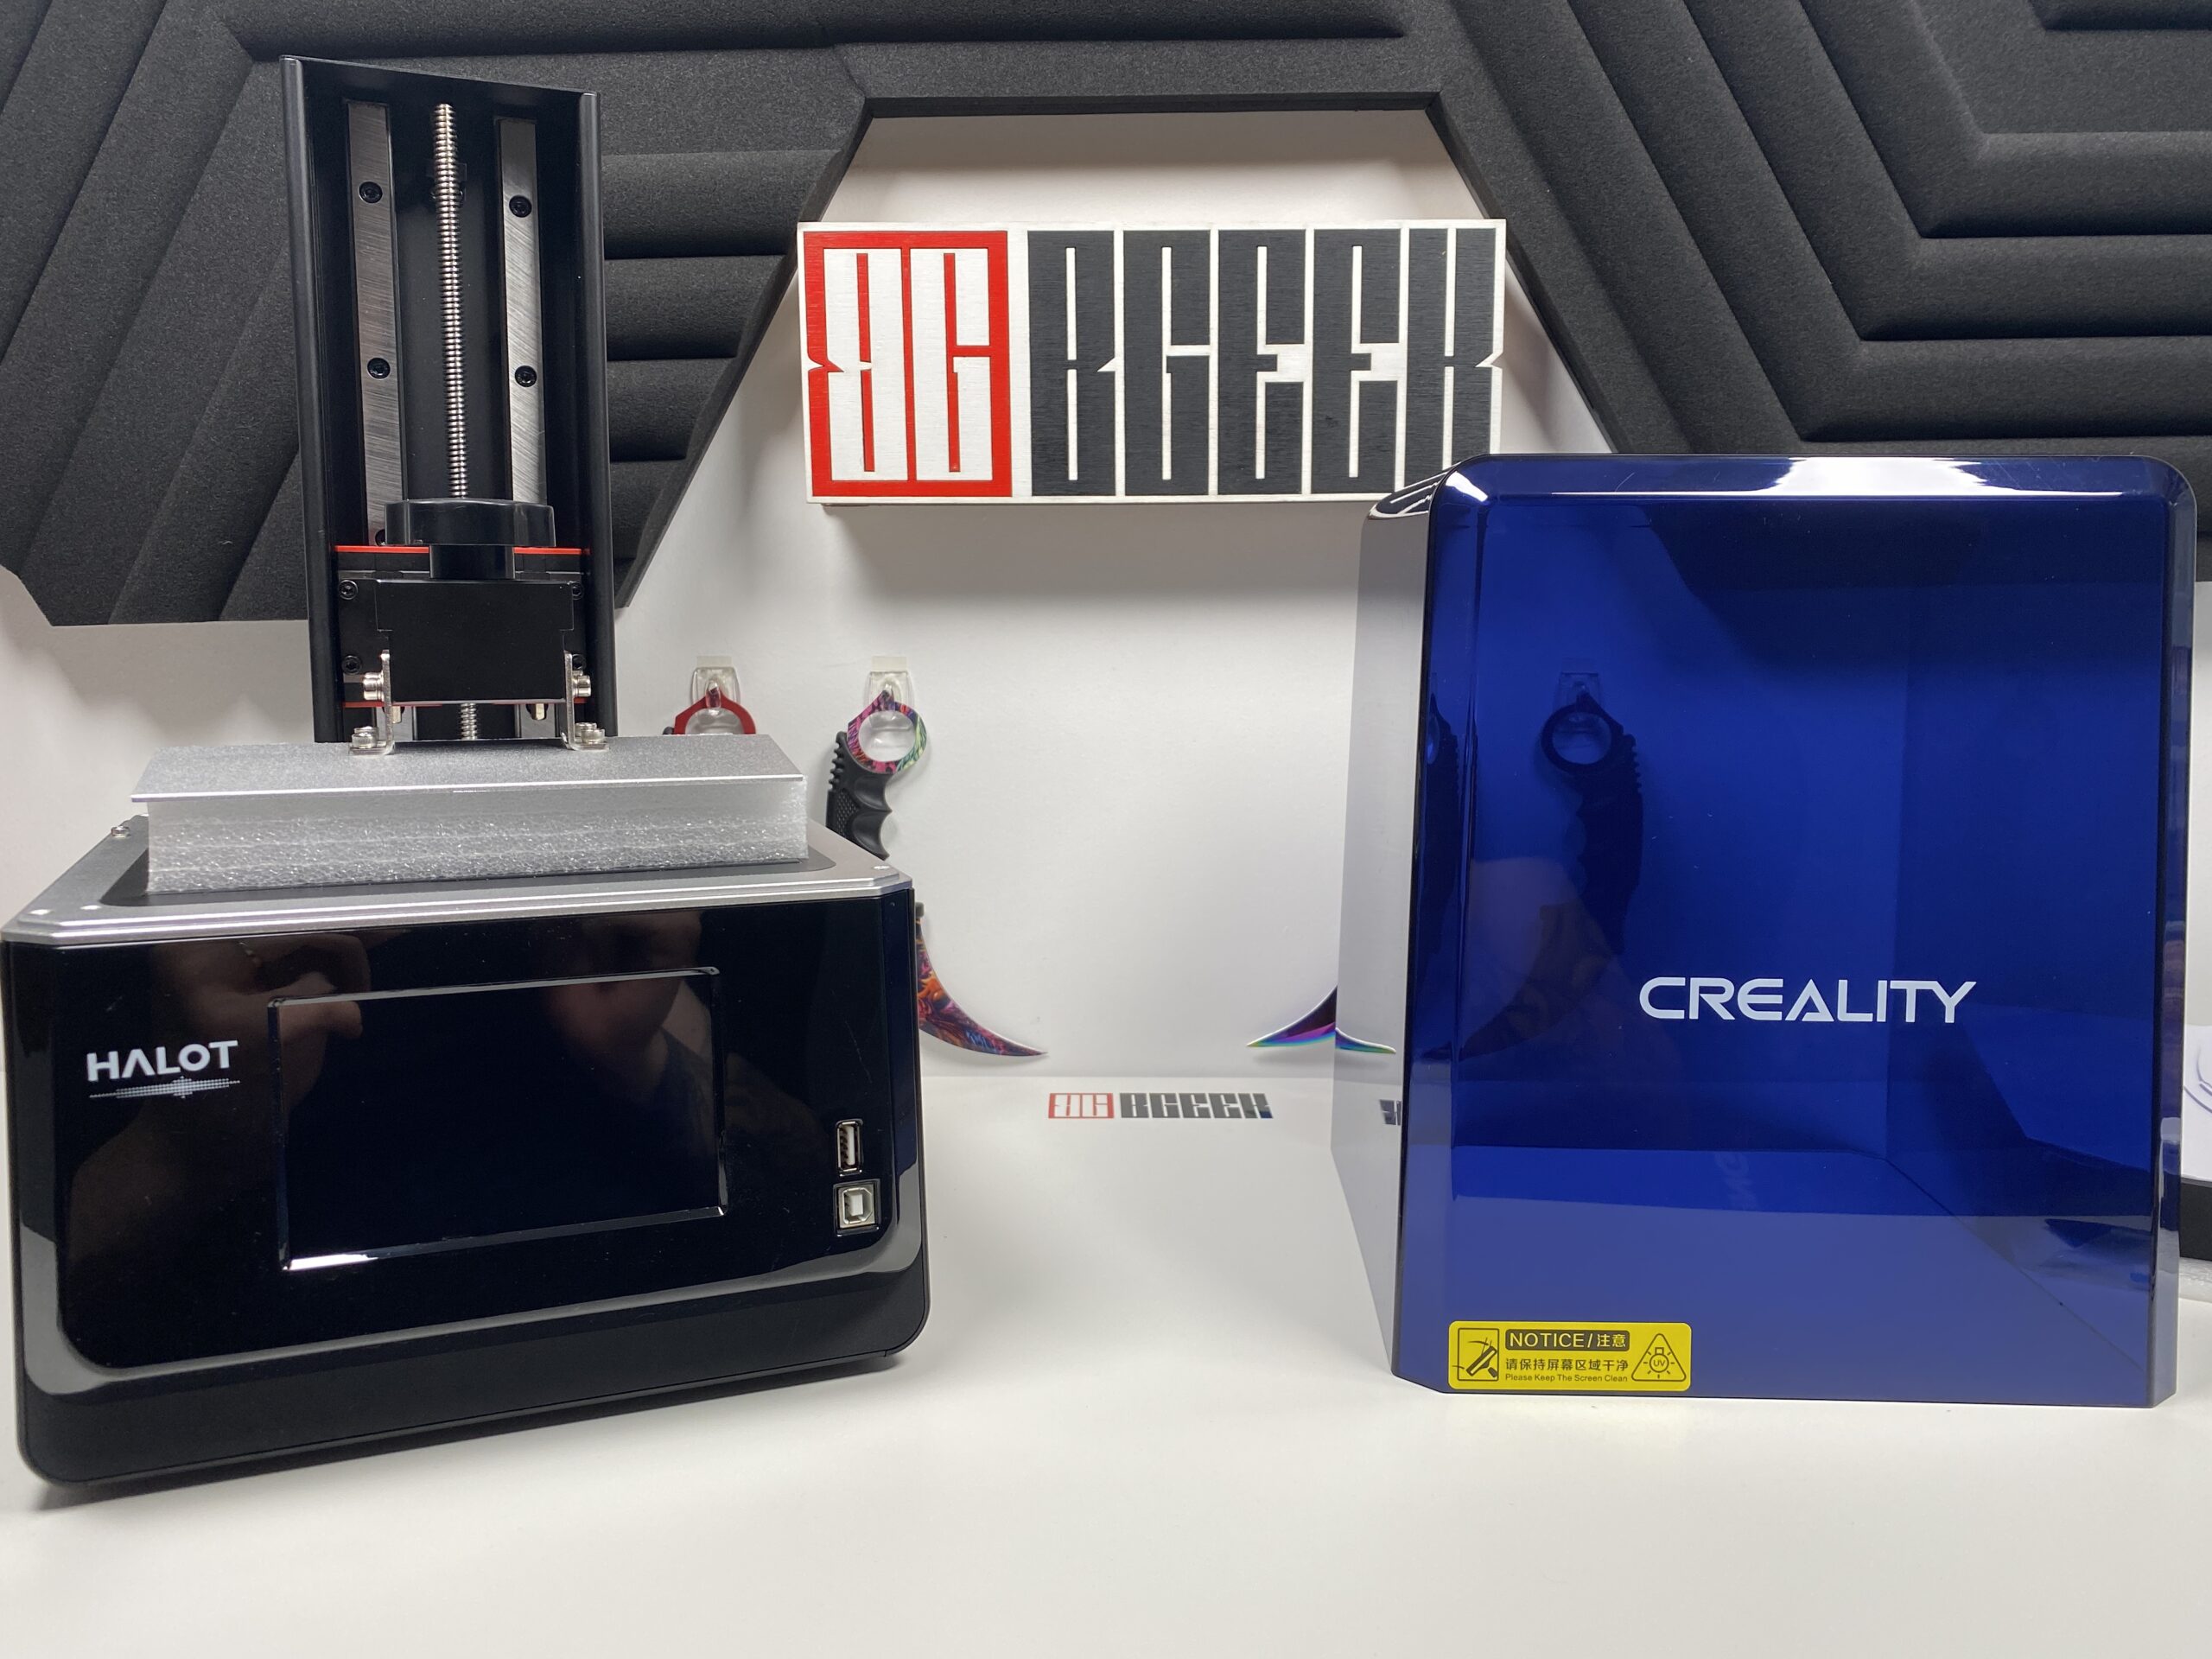
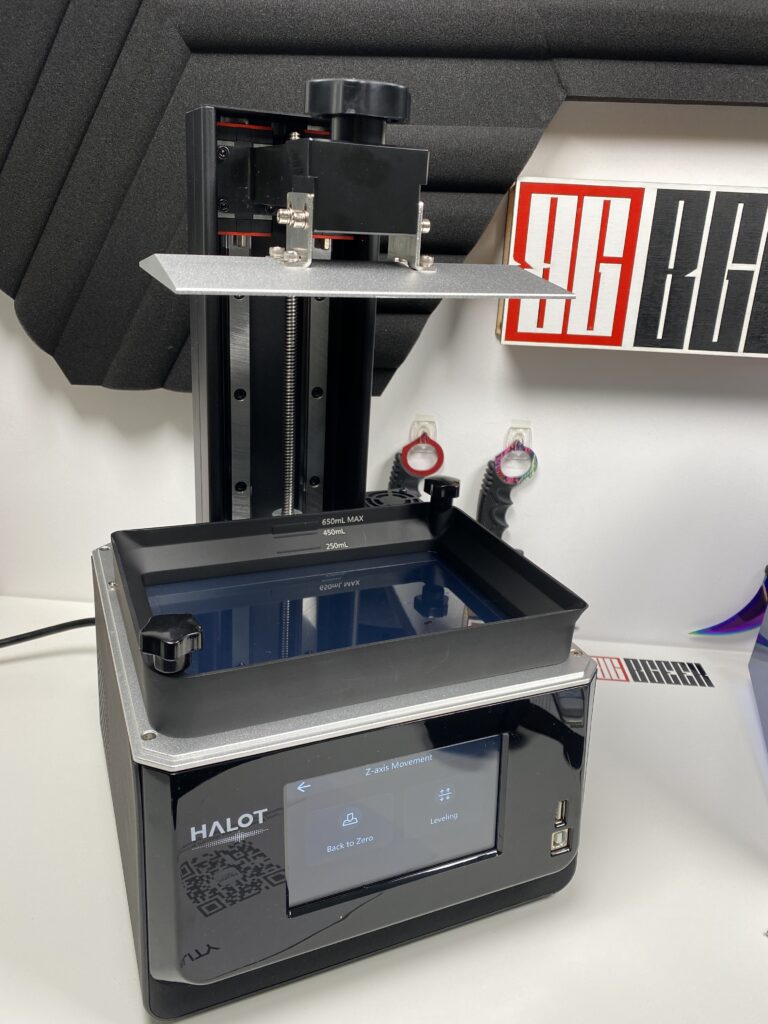
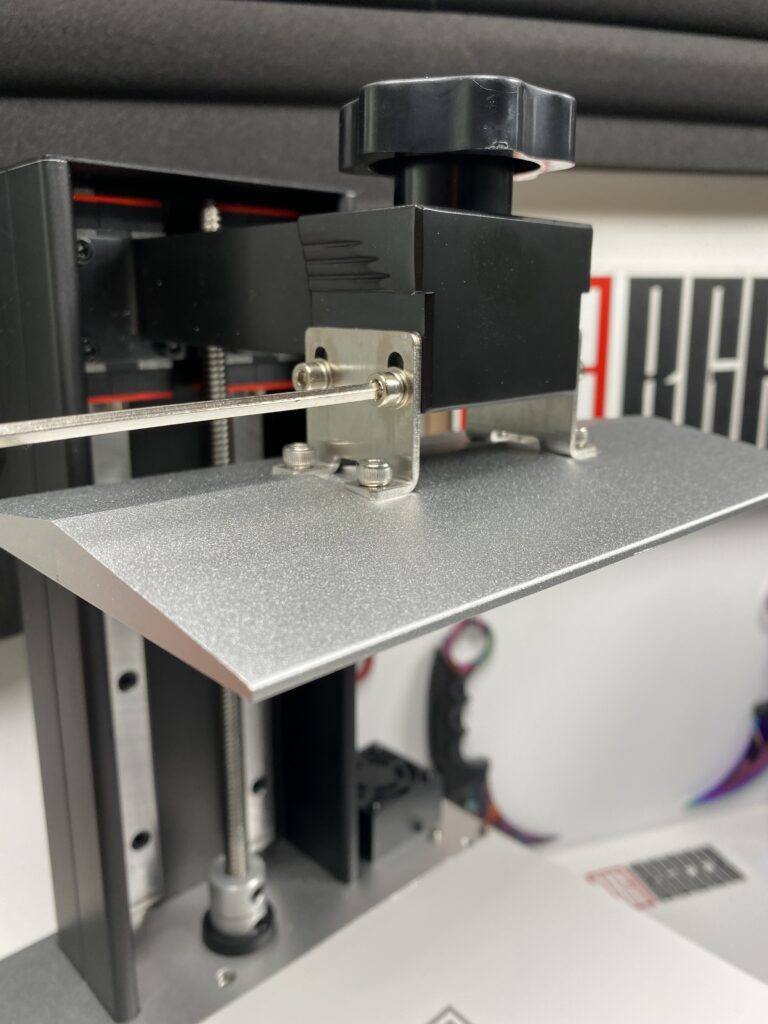
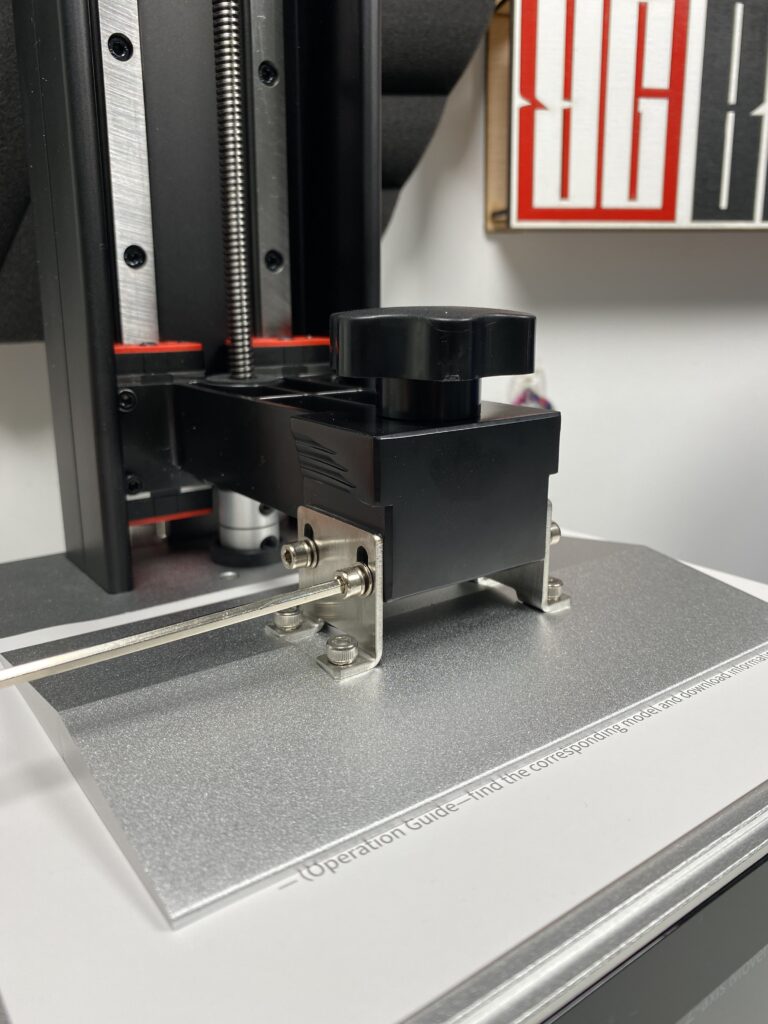
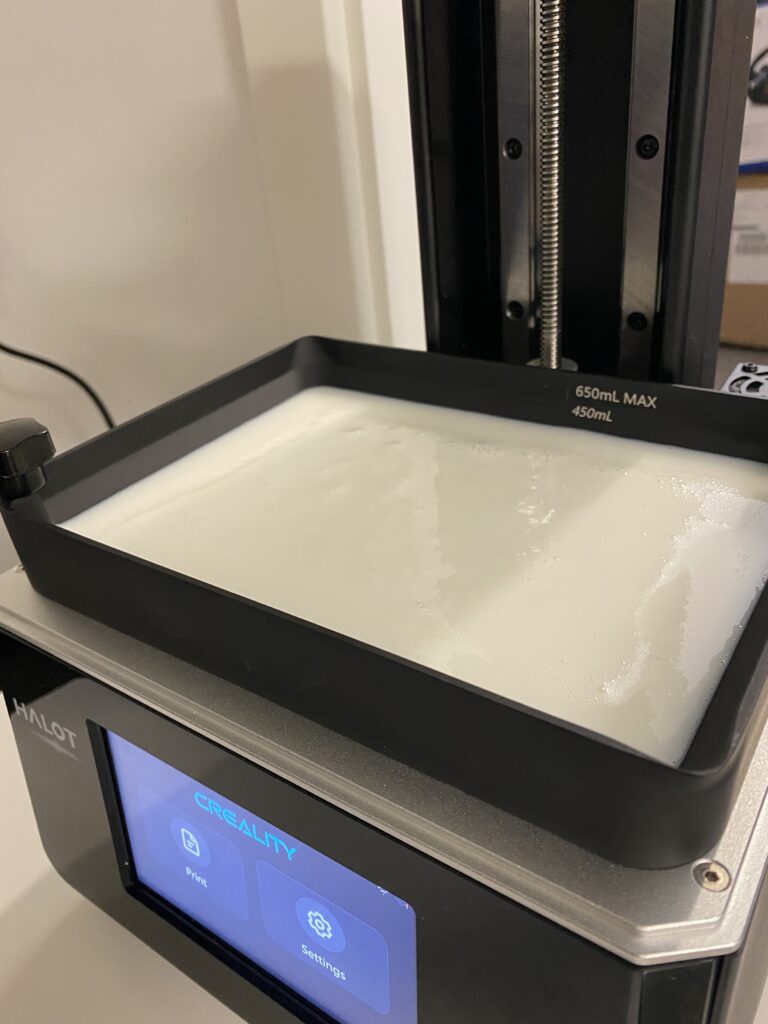
The resin container is made of metal, in matte black color and the dosages for the resin are written on the side wall. 250, 450, and 650ml respectively. A transparent FEP film is screwed to its bottom. In the 2 diagonal corners, there are 2 holes to screw onto the printer and the other 2 corners have a thinner wall, so you can empty the excess resin into the bottle.
The Halot One Plus LCD is 7.9 inches with a 4K (4320×2560) resolution. This means that the print resolution is really high. Quite a bit higher than many market resin printers. As with a screen’s graphics, so with printers, higher resolution means greater detail and a smoother result. Of course, the 4K resolution also increases the cost of the printer in proportion to a printer that works at a lower resolution.
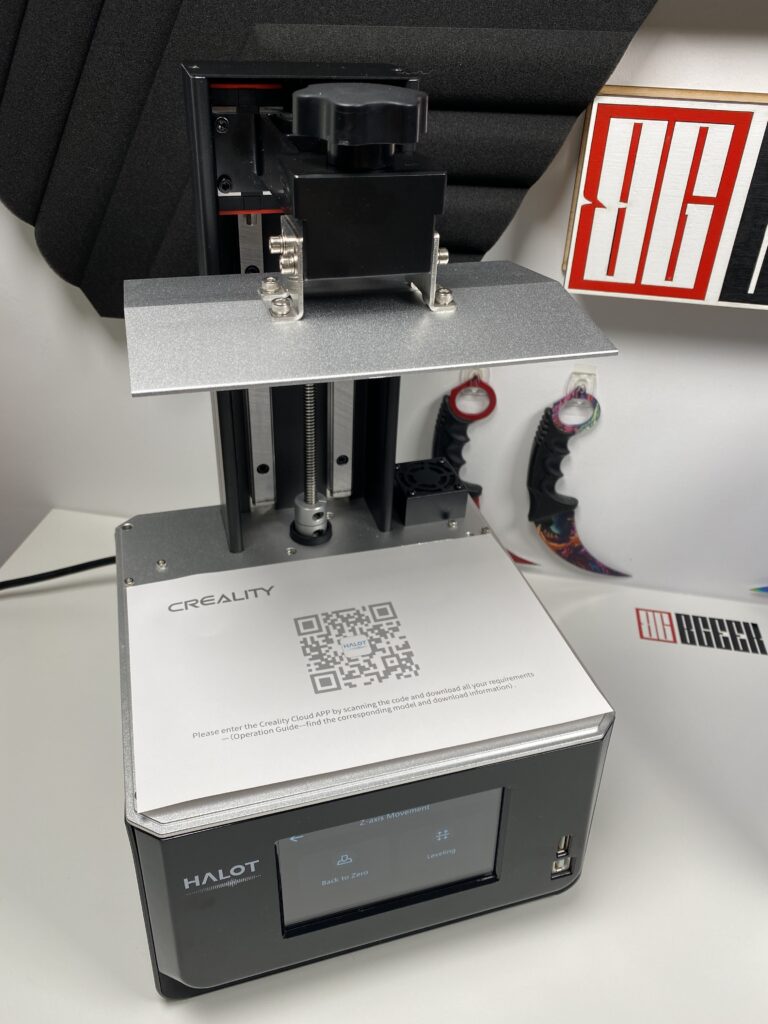
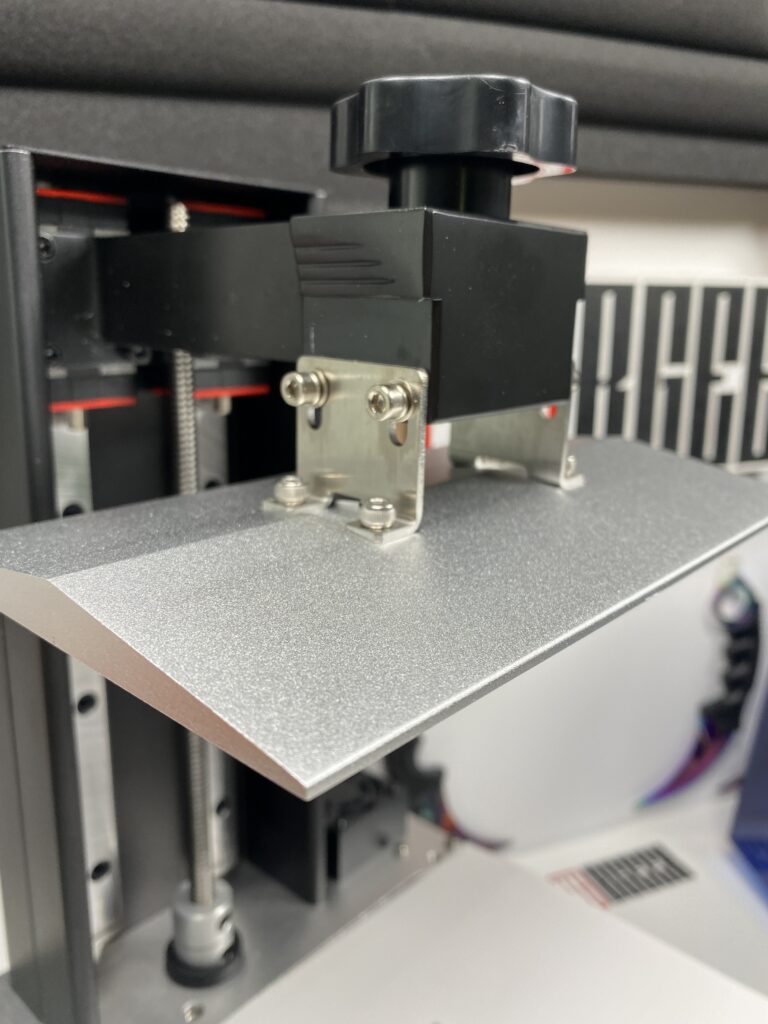
Finally, the build plate (the bed where our models are printed) is made of aluminum and is the largest compared to the rest of the models in the Halot series. More specifically, it can print objects with a size of 172 x 102 x 160 mm.
The first contact
The Halot One Plus comes assembled from the factory but before we start our first print, we need to set up a couple of things.
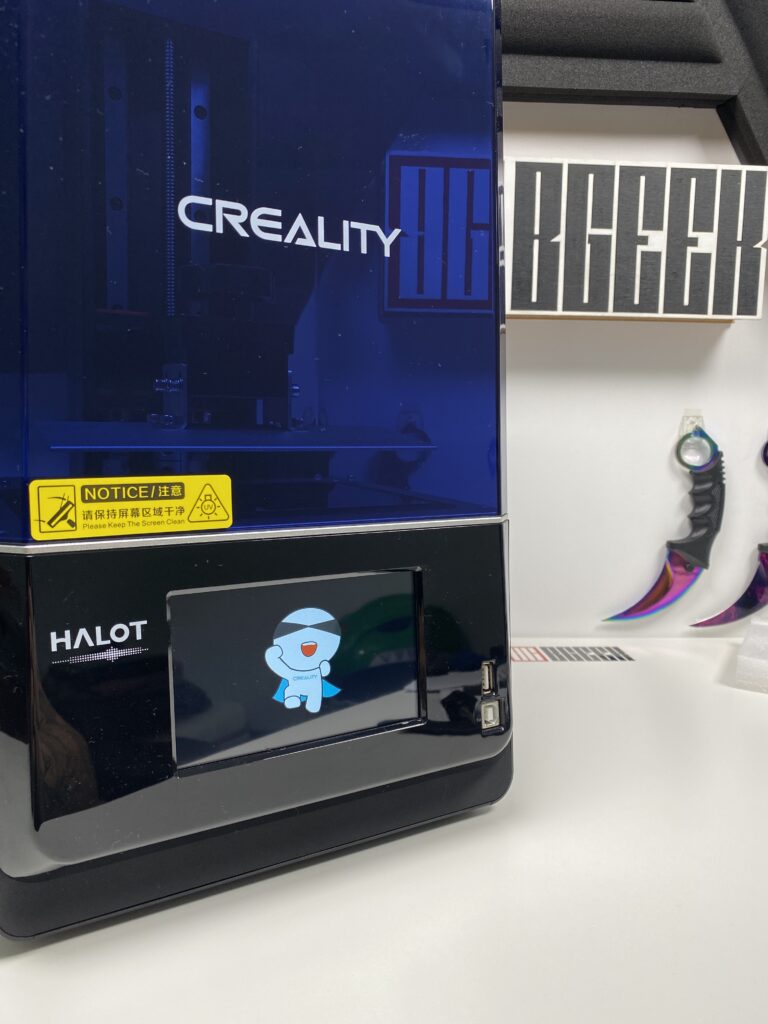
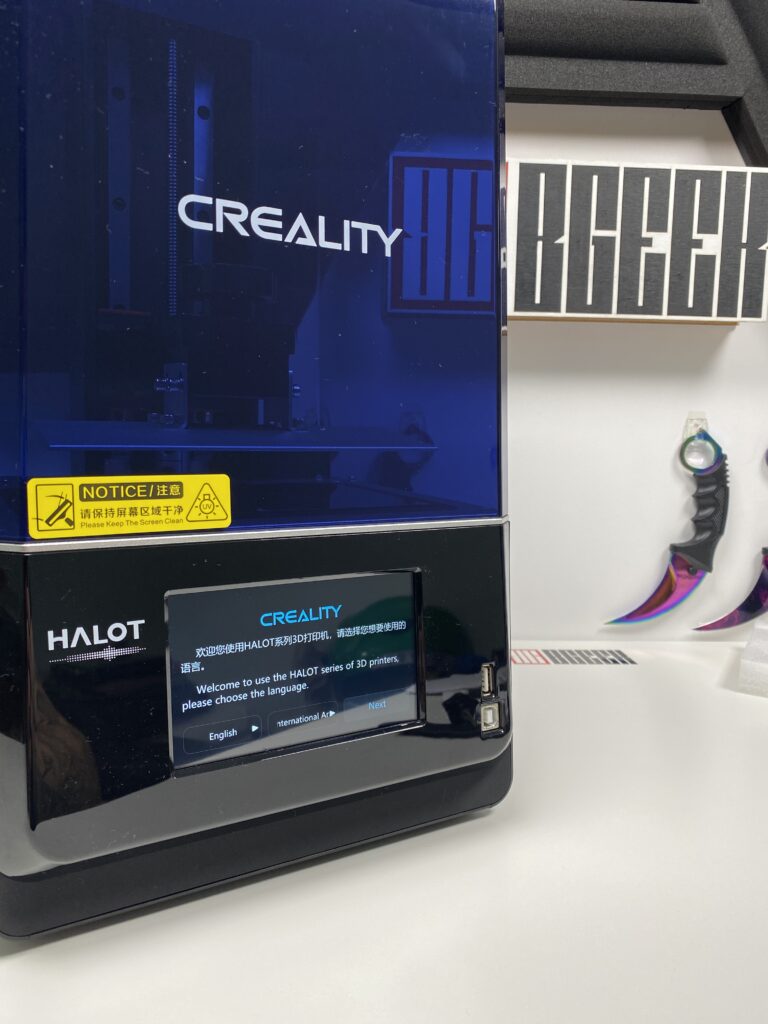
Once we plug in the power and turn on the printer, the Creality mascot will welcome us to the Halot One Plus touch-screen by dancing for us. Then we have to choose the language of the menu between English and Chinese and finally, we are given the option to connect to our WiFi network. We can skip this step and thus end up in the main menu.
Setting the printing platform (leveling)
This is the first thing to do with any resin printer before its first use. We need to set the correct height of the base (or print bed as they call it). The process is very easy if done correctly.
If the resin container is screwed, then we unscrew it and remove it completely above the LCD screen. Then through the menu, we choose:
- Print Settings
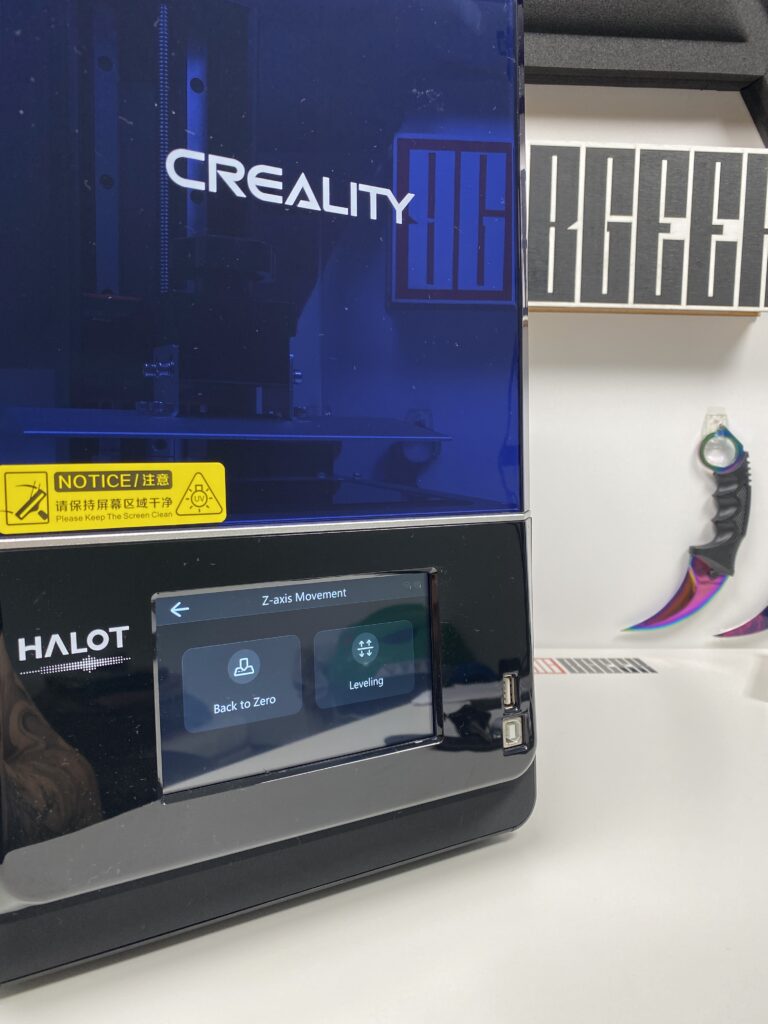
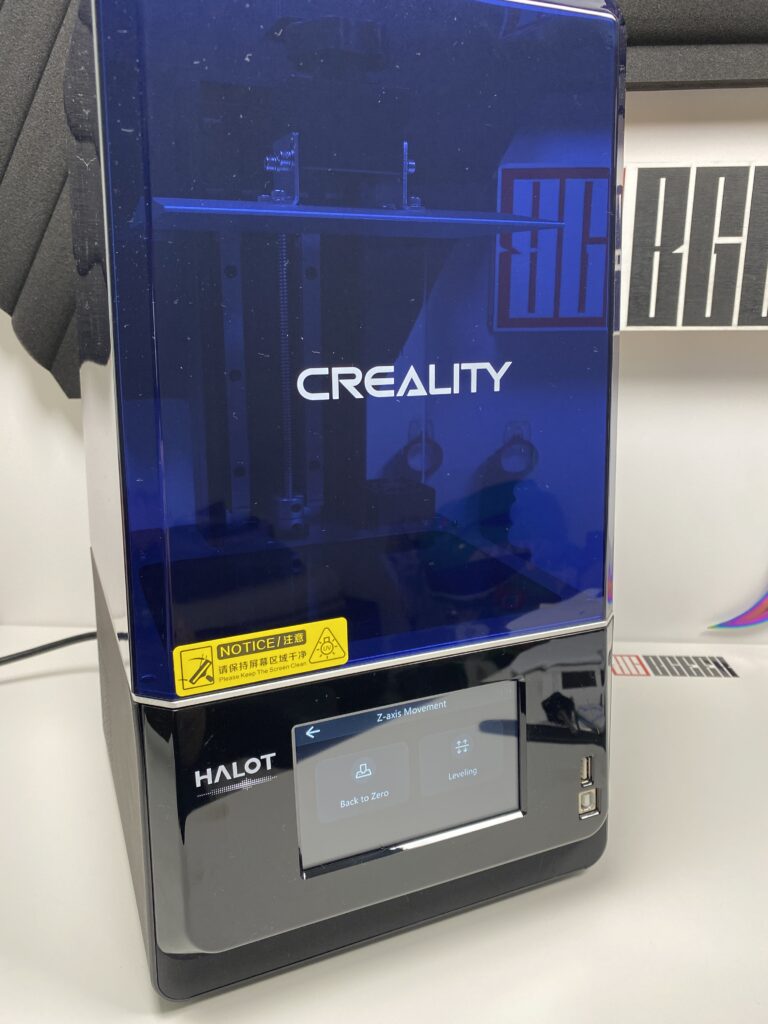
- Z-axis Movement
- Back to Zero
This way, the print bed will go all the way up so we can start the leveling process.
We place the calibration card on the LCD screen and unscrew with the largest allen the four screws on the sides that hold the bed to the base. We do not unscrew them completely. We unscrew them to the point where the base can move comfortably up and down.
Then we press the “Leveling” option on the screen and the base starts to descend towards the card on the LCD, until it stops by itself. This is the correct point where it should be, and what we need to do is tighten the screws at this height.
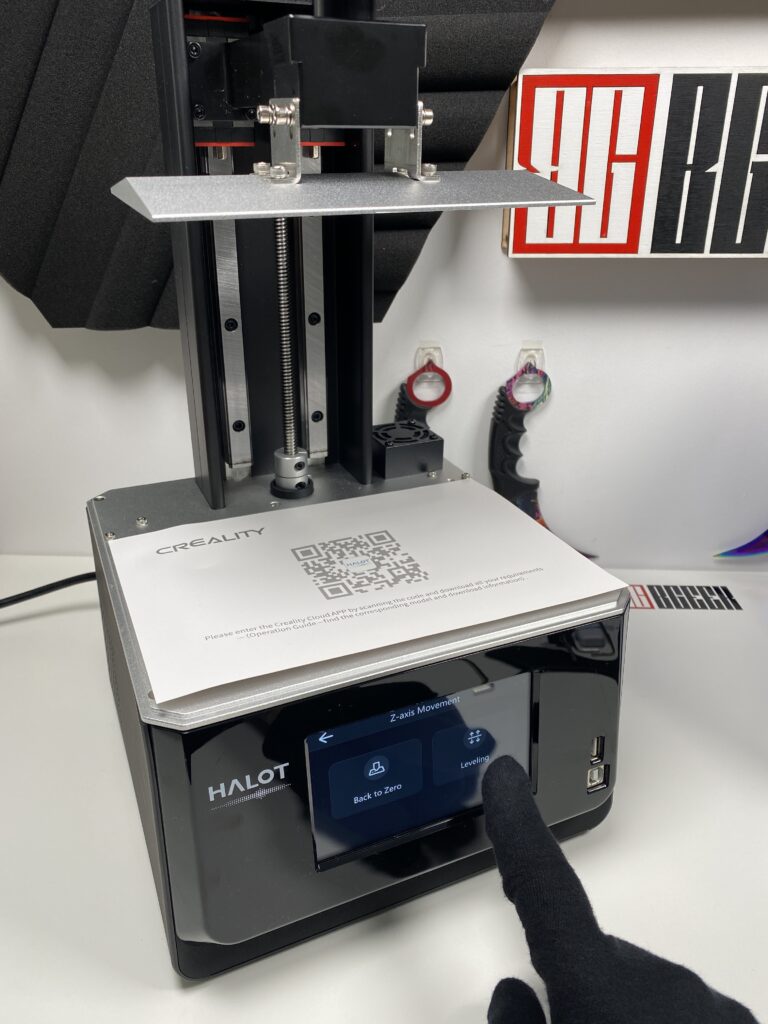

The leveling process has been completed successfully. We can screw the resin container back onto the printer and add our resin.
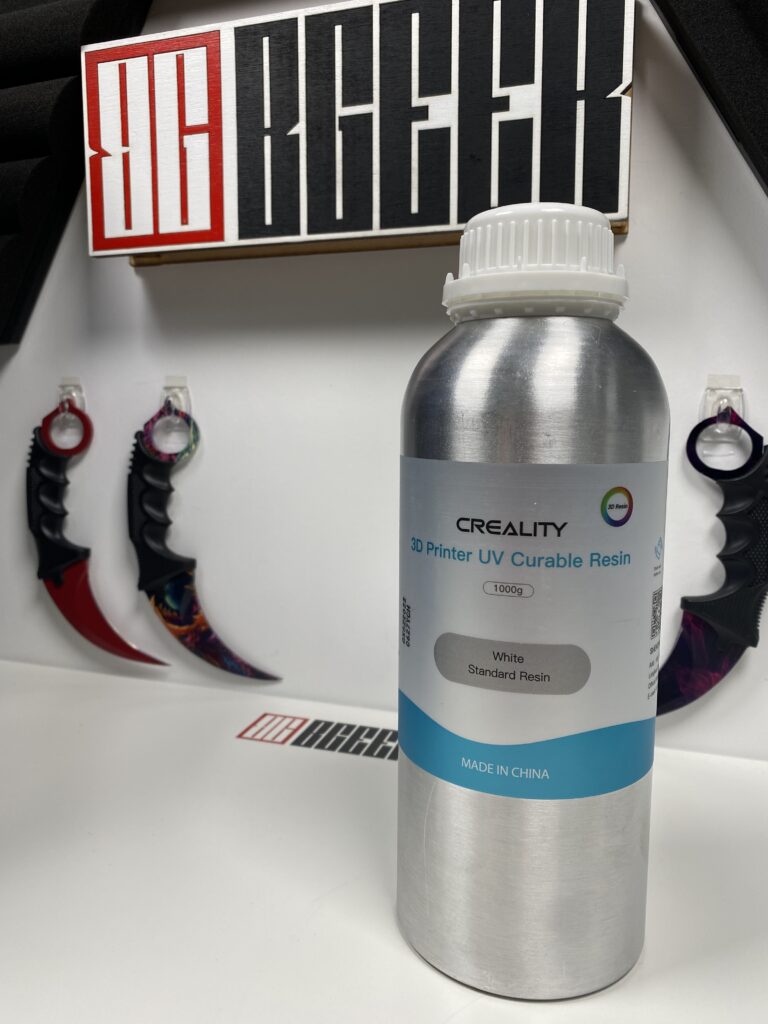
For this particular review, we used the white standard version of Creality’s UV curable resin.
How to print for the first time
After we are done with all the settings mentioned above, we are ready for our first test print. Unfortunately, the procedure is not “press and print”. This part also has its own process.
Software
The 3D models that you decide to print must be processed through some software called slicer. Halot One Plus is compatible with the most common slicers and these are: Halot Box by Creality, Lychee Slicer, and ChituBox. As I hadn’t used any of them before, I did a quick search on which one is the most user-friendly and most reliable and I came up with ChituBox. And I made the right choice!
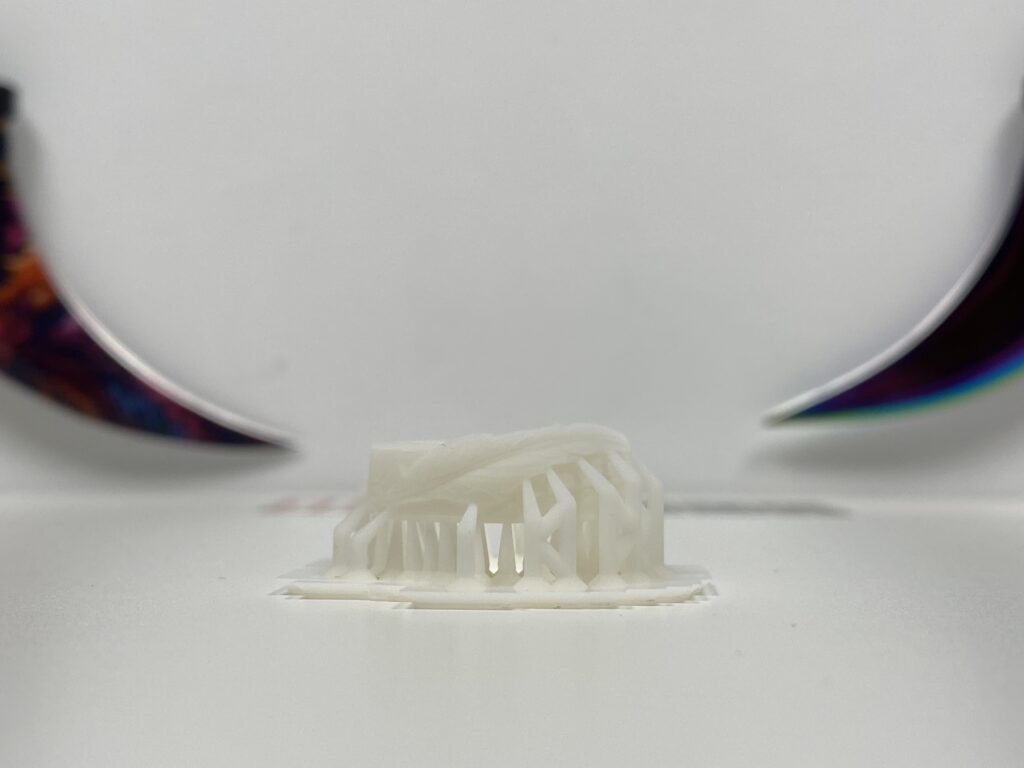
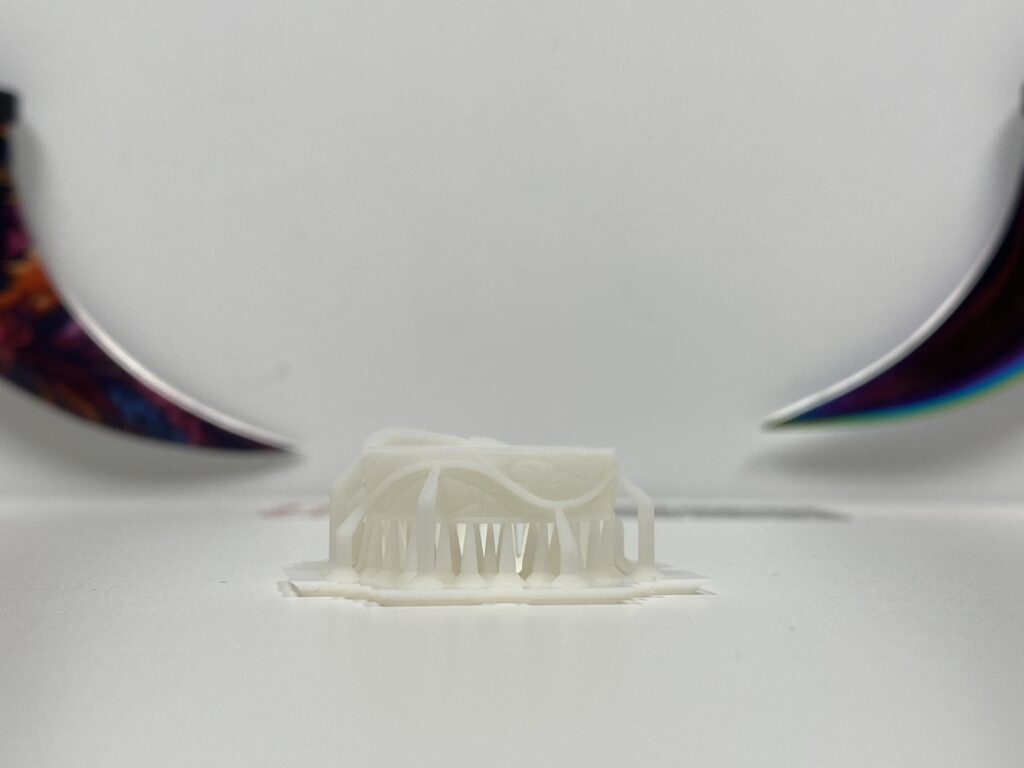
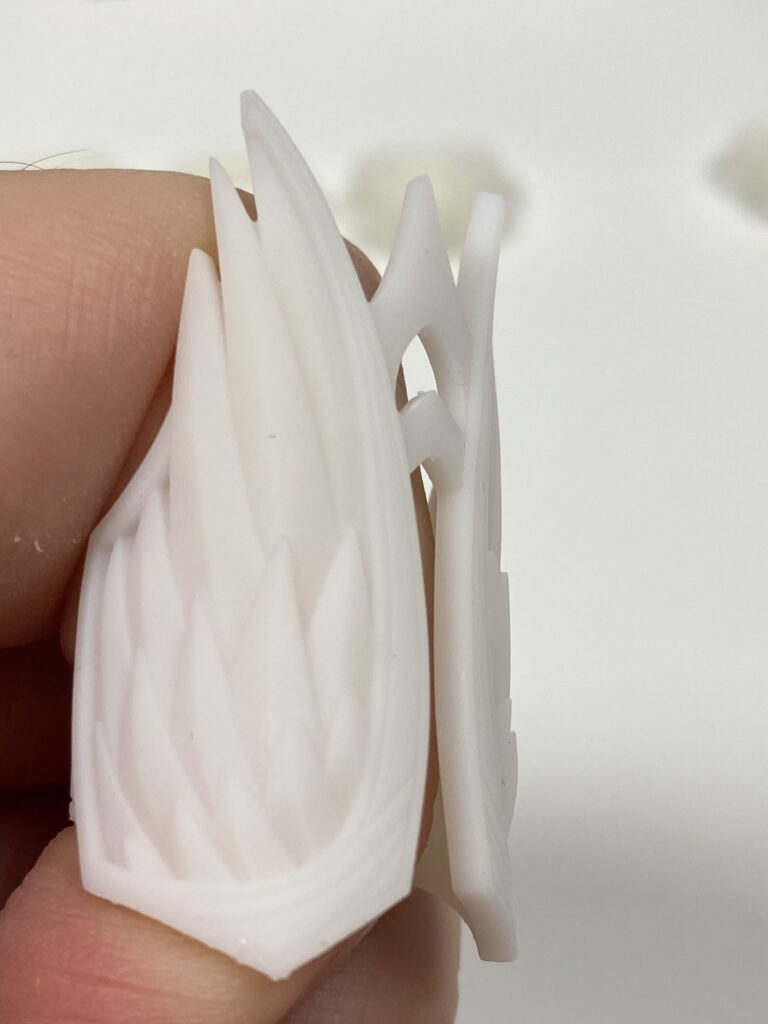
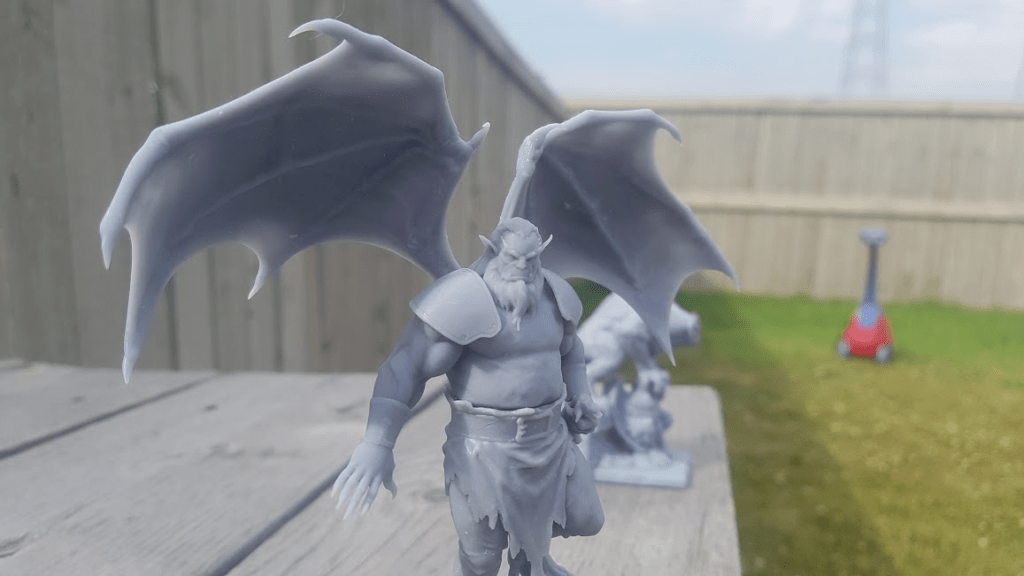
In the slicer, you add the basic settings of the model. Like, where on the base it will be printed, if it will be a single model or several together, its size and much more. But the most important thing is to add the supports correctly. The supports are the auxiliary resin columns that do exactly what their name says. They support the models to print correctly and evenly everywhere without the risk of pieces missing or even falling off the print base into the resin tank due to poor support. For starters, I would suggest finding some models that come with their supports pre-installed, as I did with my friend Edward Crane‘s models, which I used for my first print.
Loading the files
USB stick
When you are done with your settings in the software, save the model on the USB stick (which comes with the printer) and plug it into the 3D printer. Afterwards, the files are loaded into the printer’s memory and you can remove the USB stick. You wait a few hours and it’s ready.
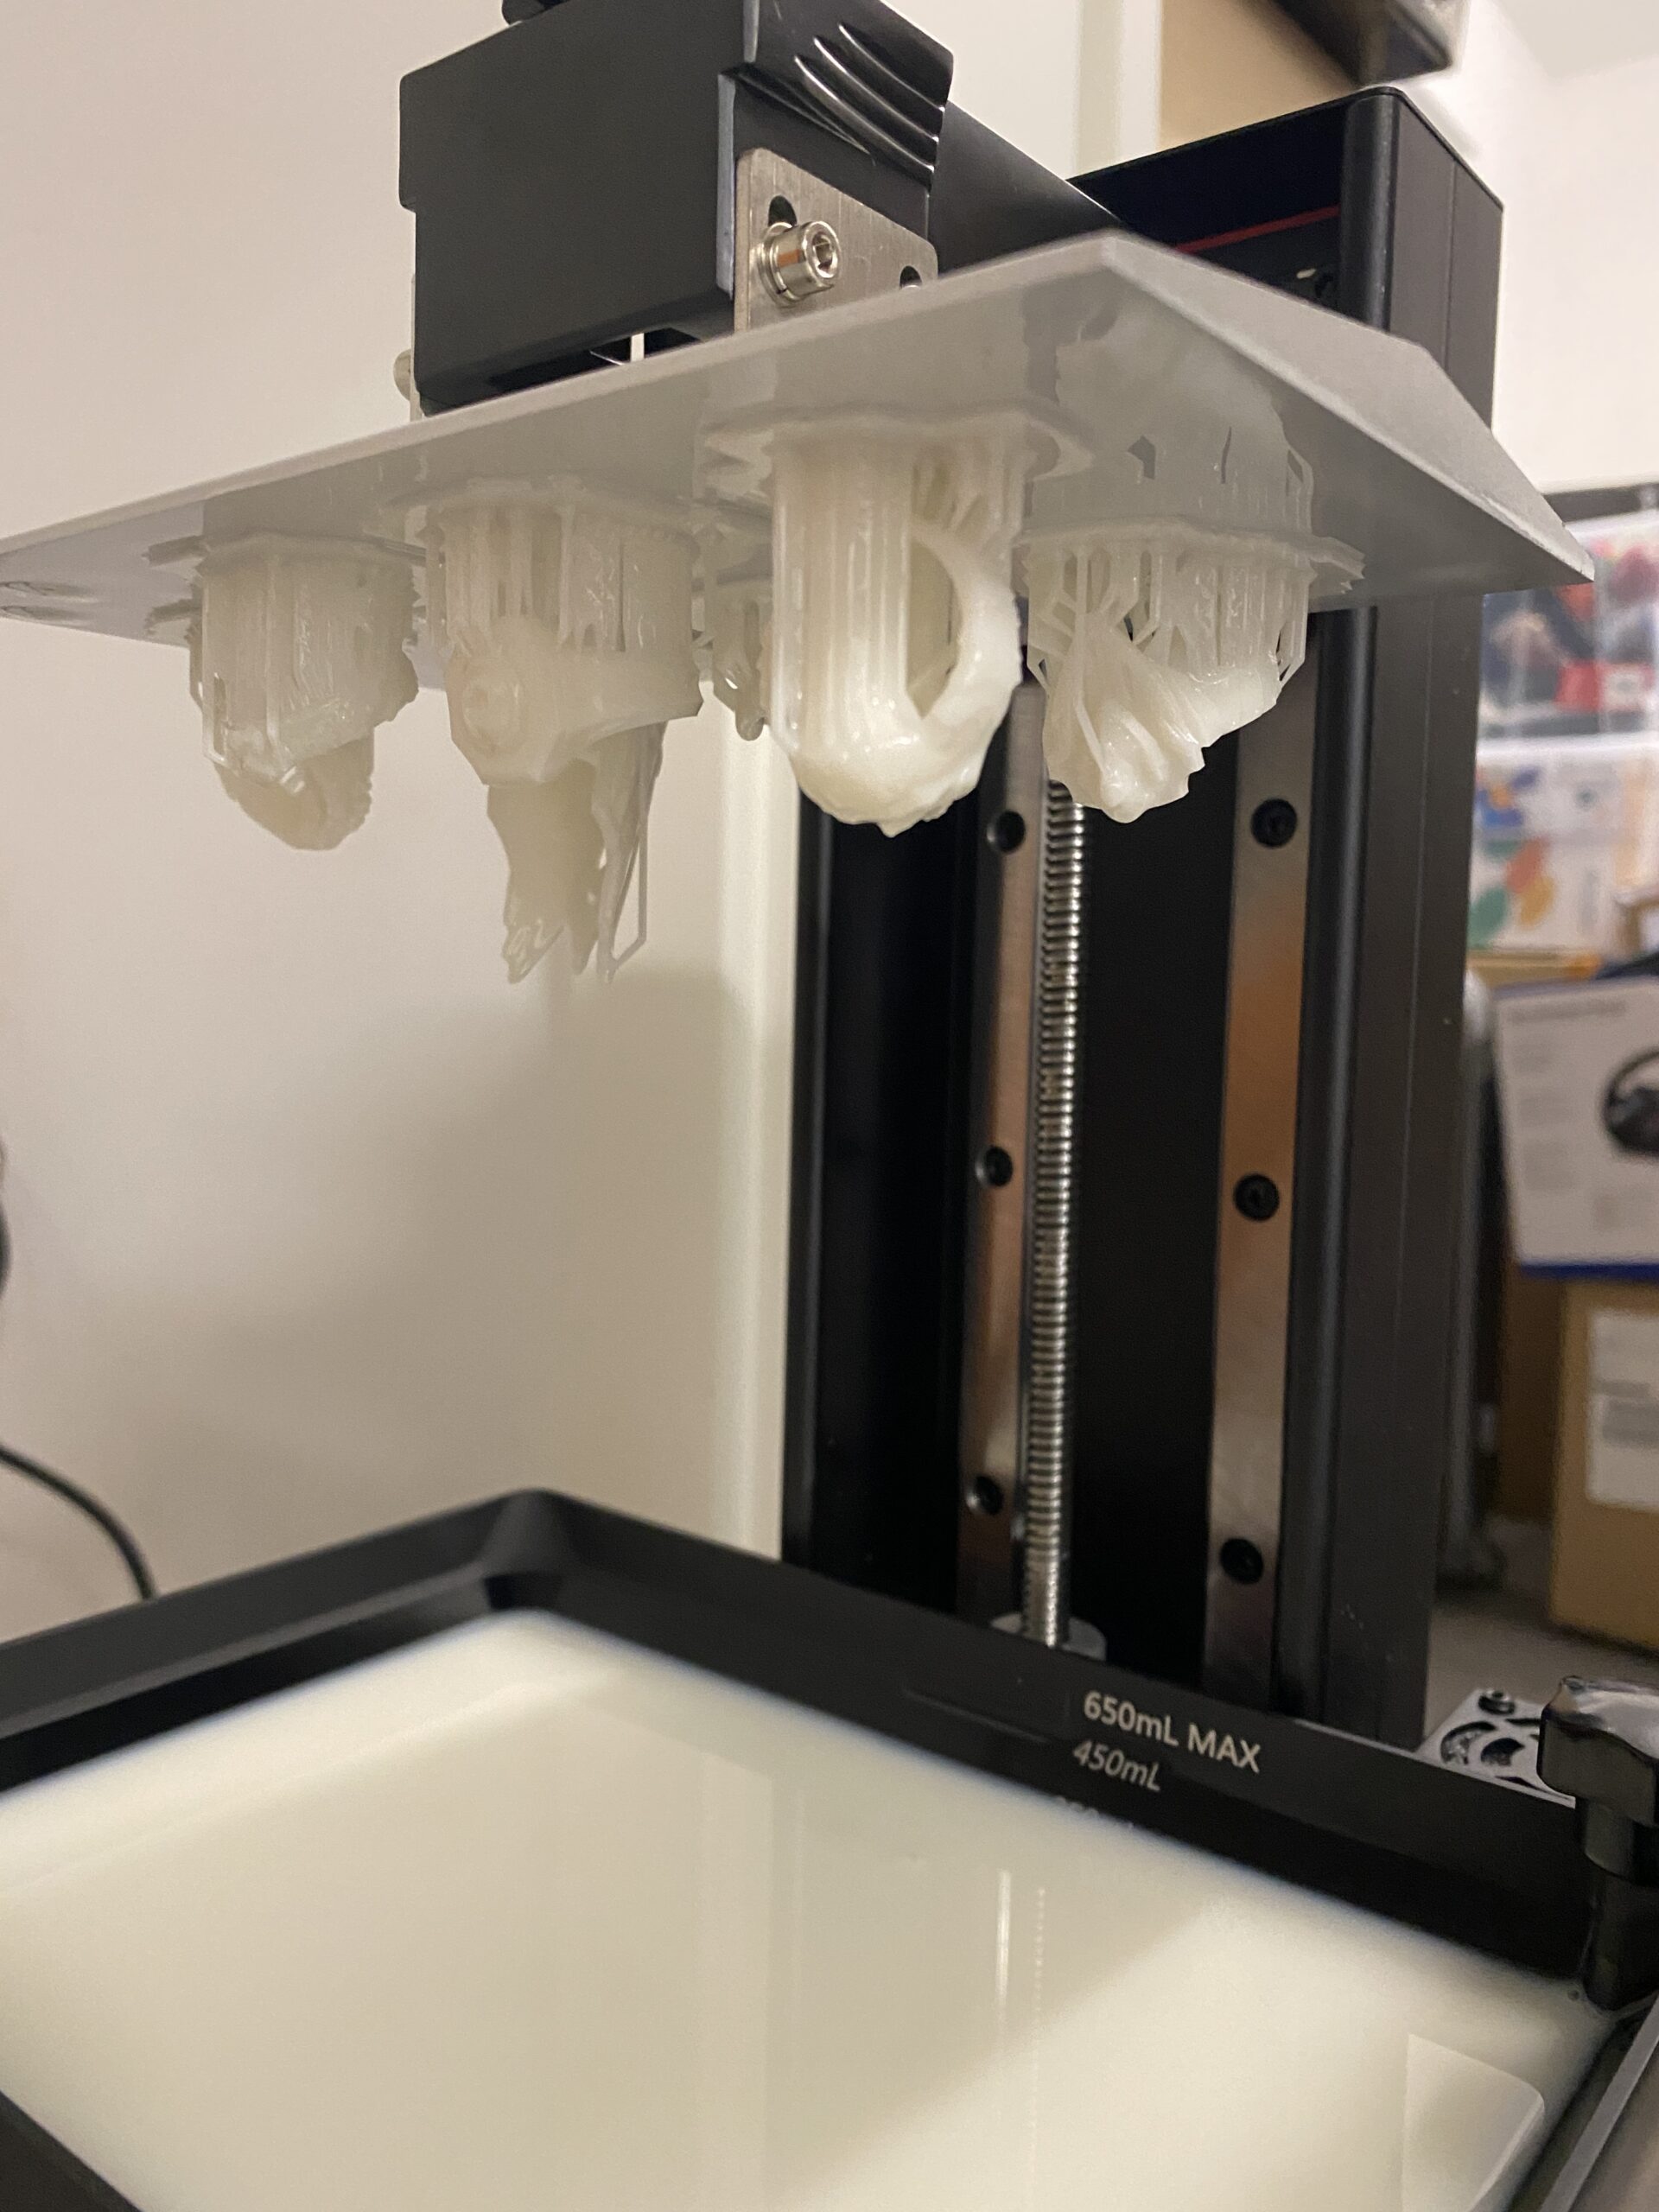
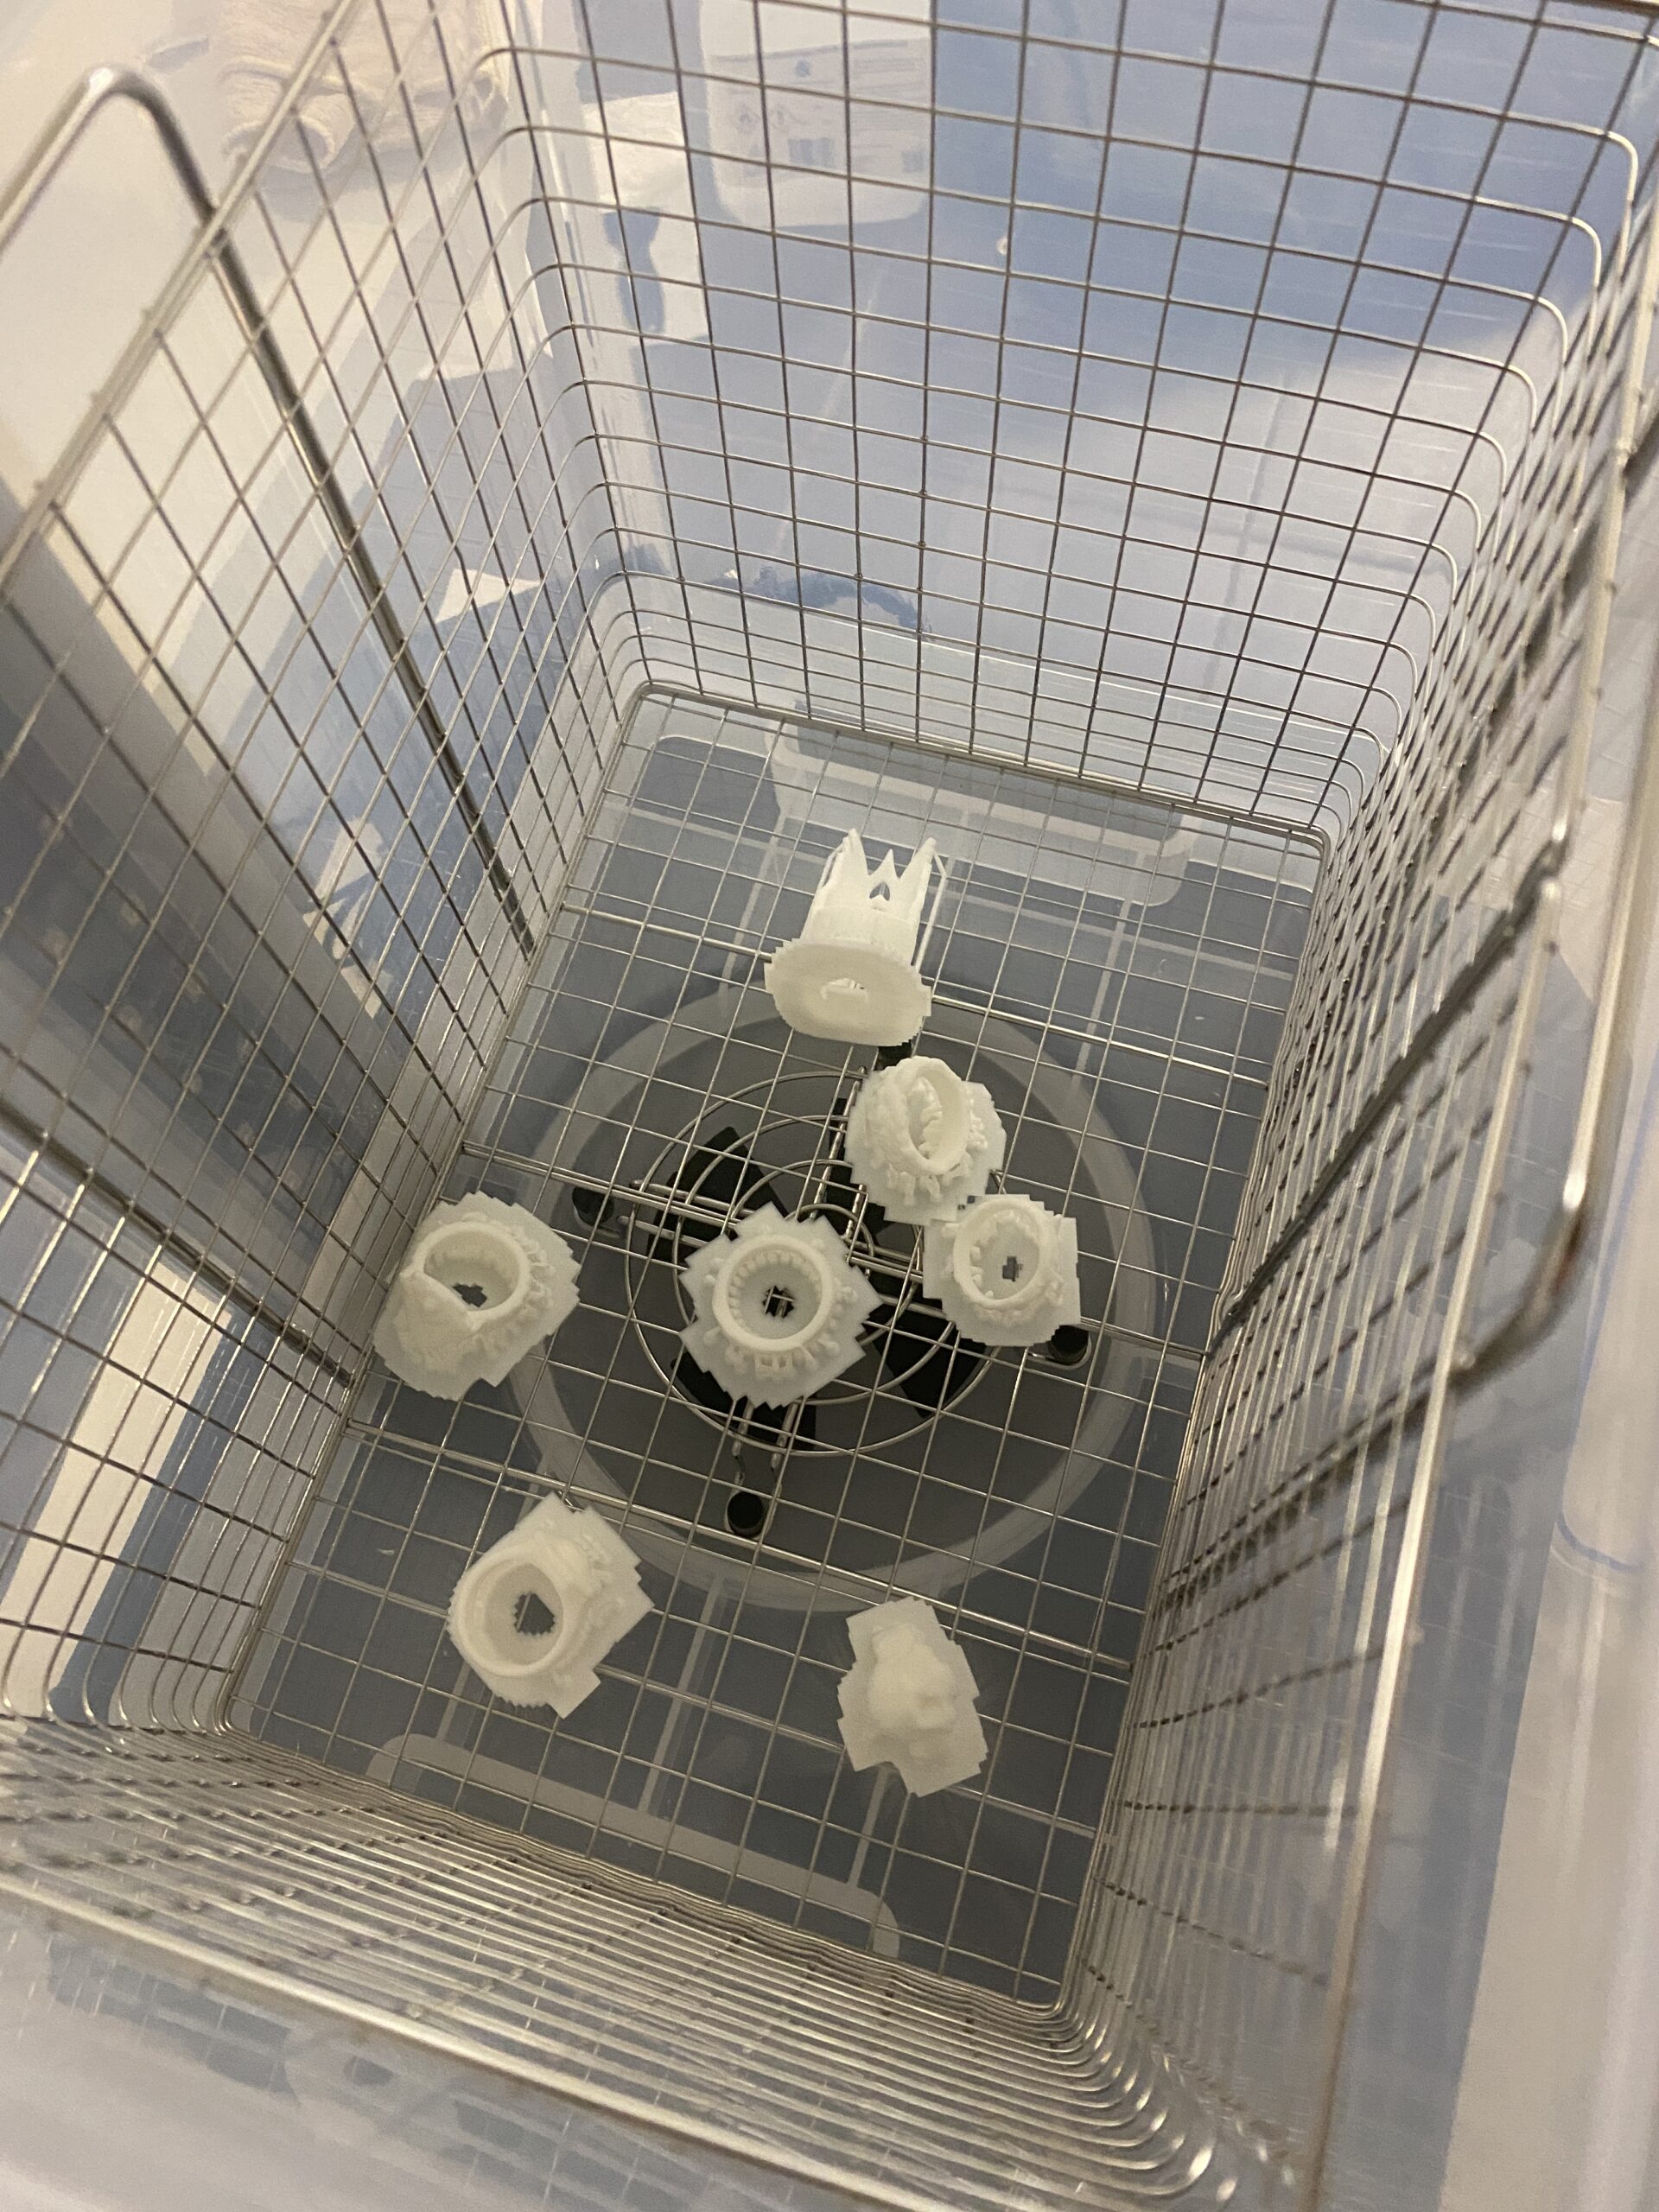
Look how beautiful they are hanging and waiting for me to take them in my hands
Wireless and Creality Cloud
Another easy way is to connect the Halot One Plus to your home WiFi. Then, send the models for printing directly from your computer wirelessly.
Let’s not forget Creality Cloud which is Creality’s free app specifically for their printers. This particular application gives you a lot of possibilities. Some of them are:
- Library of ready-to-use 3D models
- Easy to use tool for importing STL files
- Existing Slicer
- Live control and settings of the printer and the models to be printed
- Creators and printers community etc.
An observation I had during printing: Halot One Plus has 2 fans. One inside for the UV LEDs to keep them at the right temperature, and one next to the resin tank to “clean” air toxicity while printing. Both fans run non-stop which makes the printer a bit noisy. However, the printing itself is quiet and this balances it out a bit.
Washing and curing the models
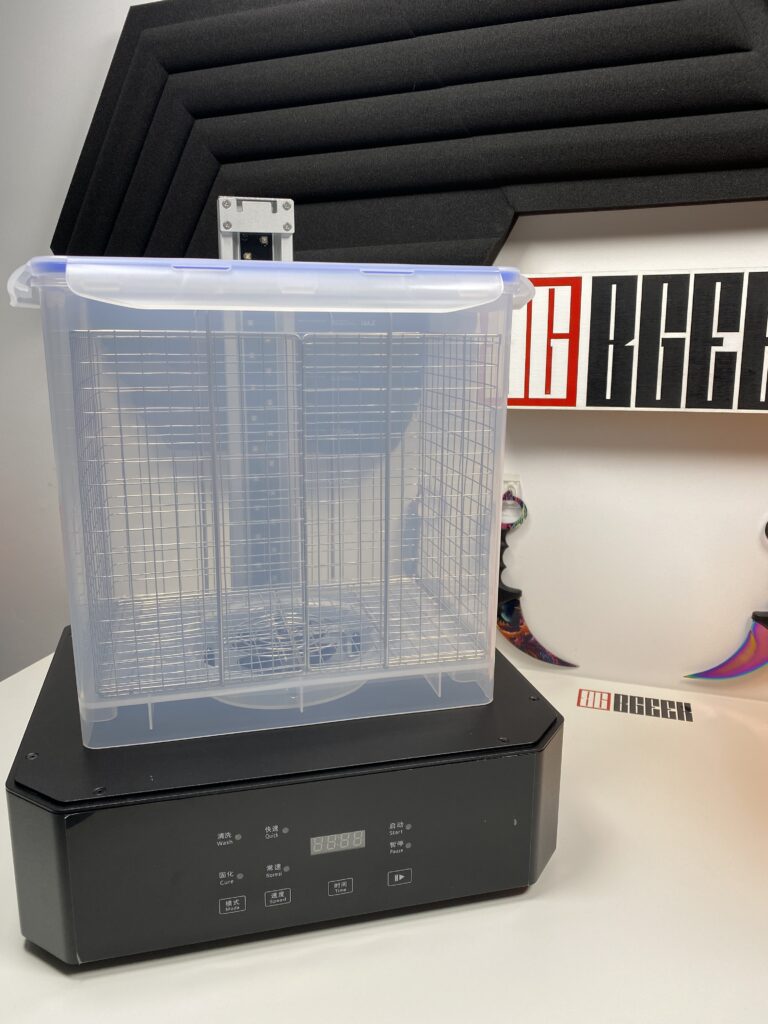
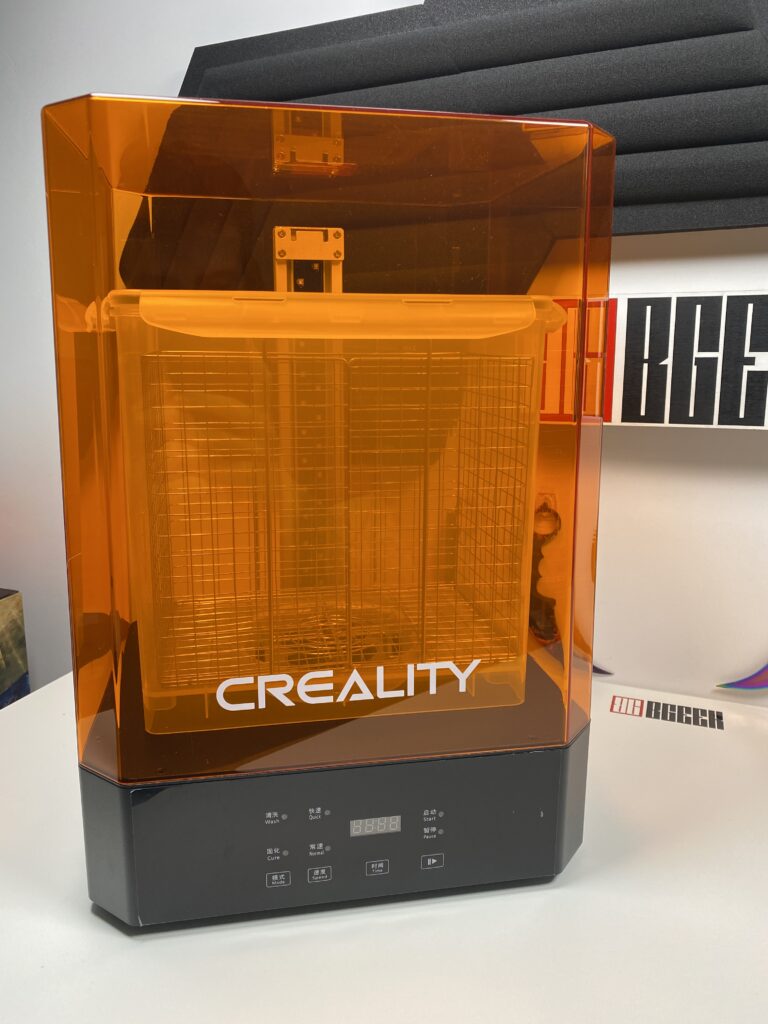
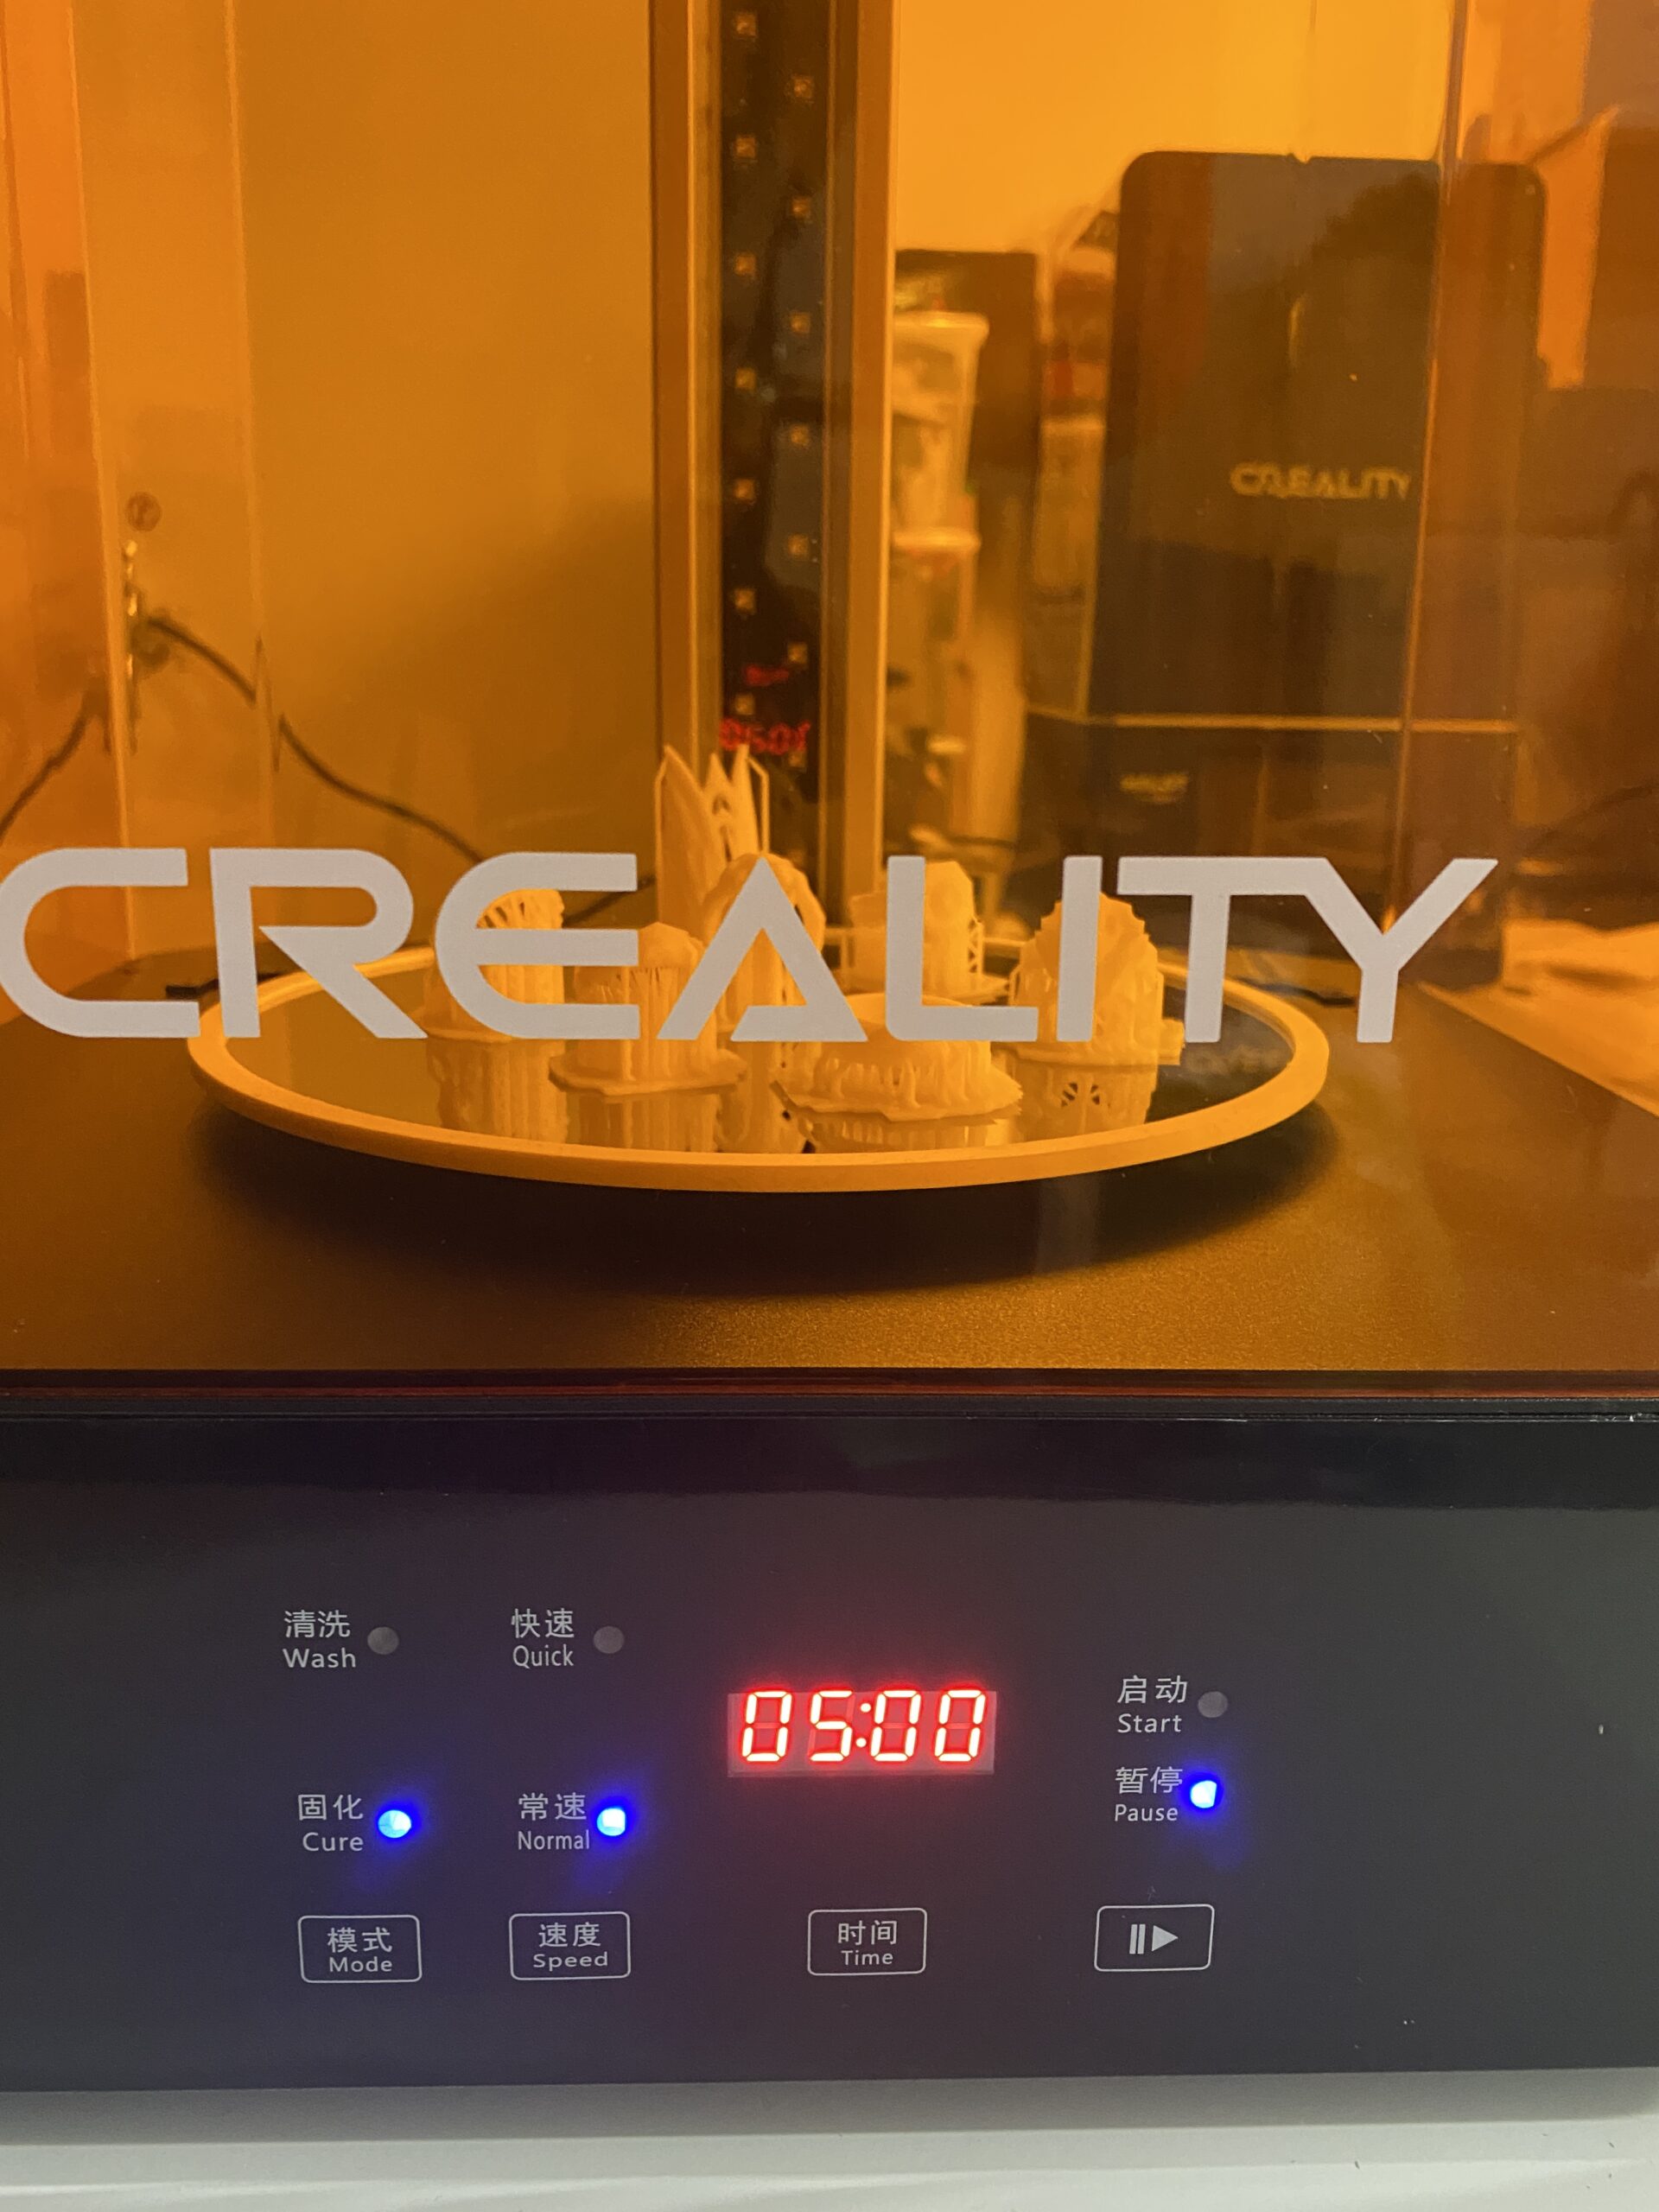
We just finished printing. Are we ready to “play” with our new figures? Not even close. Now the Creality UW-02 comes into play. Before we move on to the next steps after printing, let’s take a quick look at the UW-02. The Creality UW-02 is an all-in-one machine. In other words, it has the ability to wash and cure our 3D models.
Washing
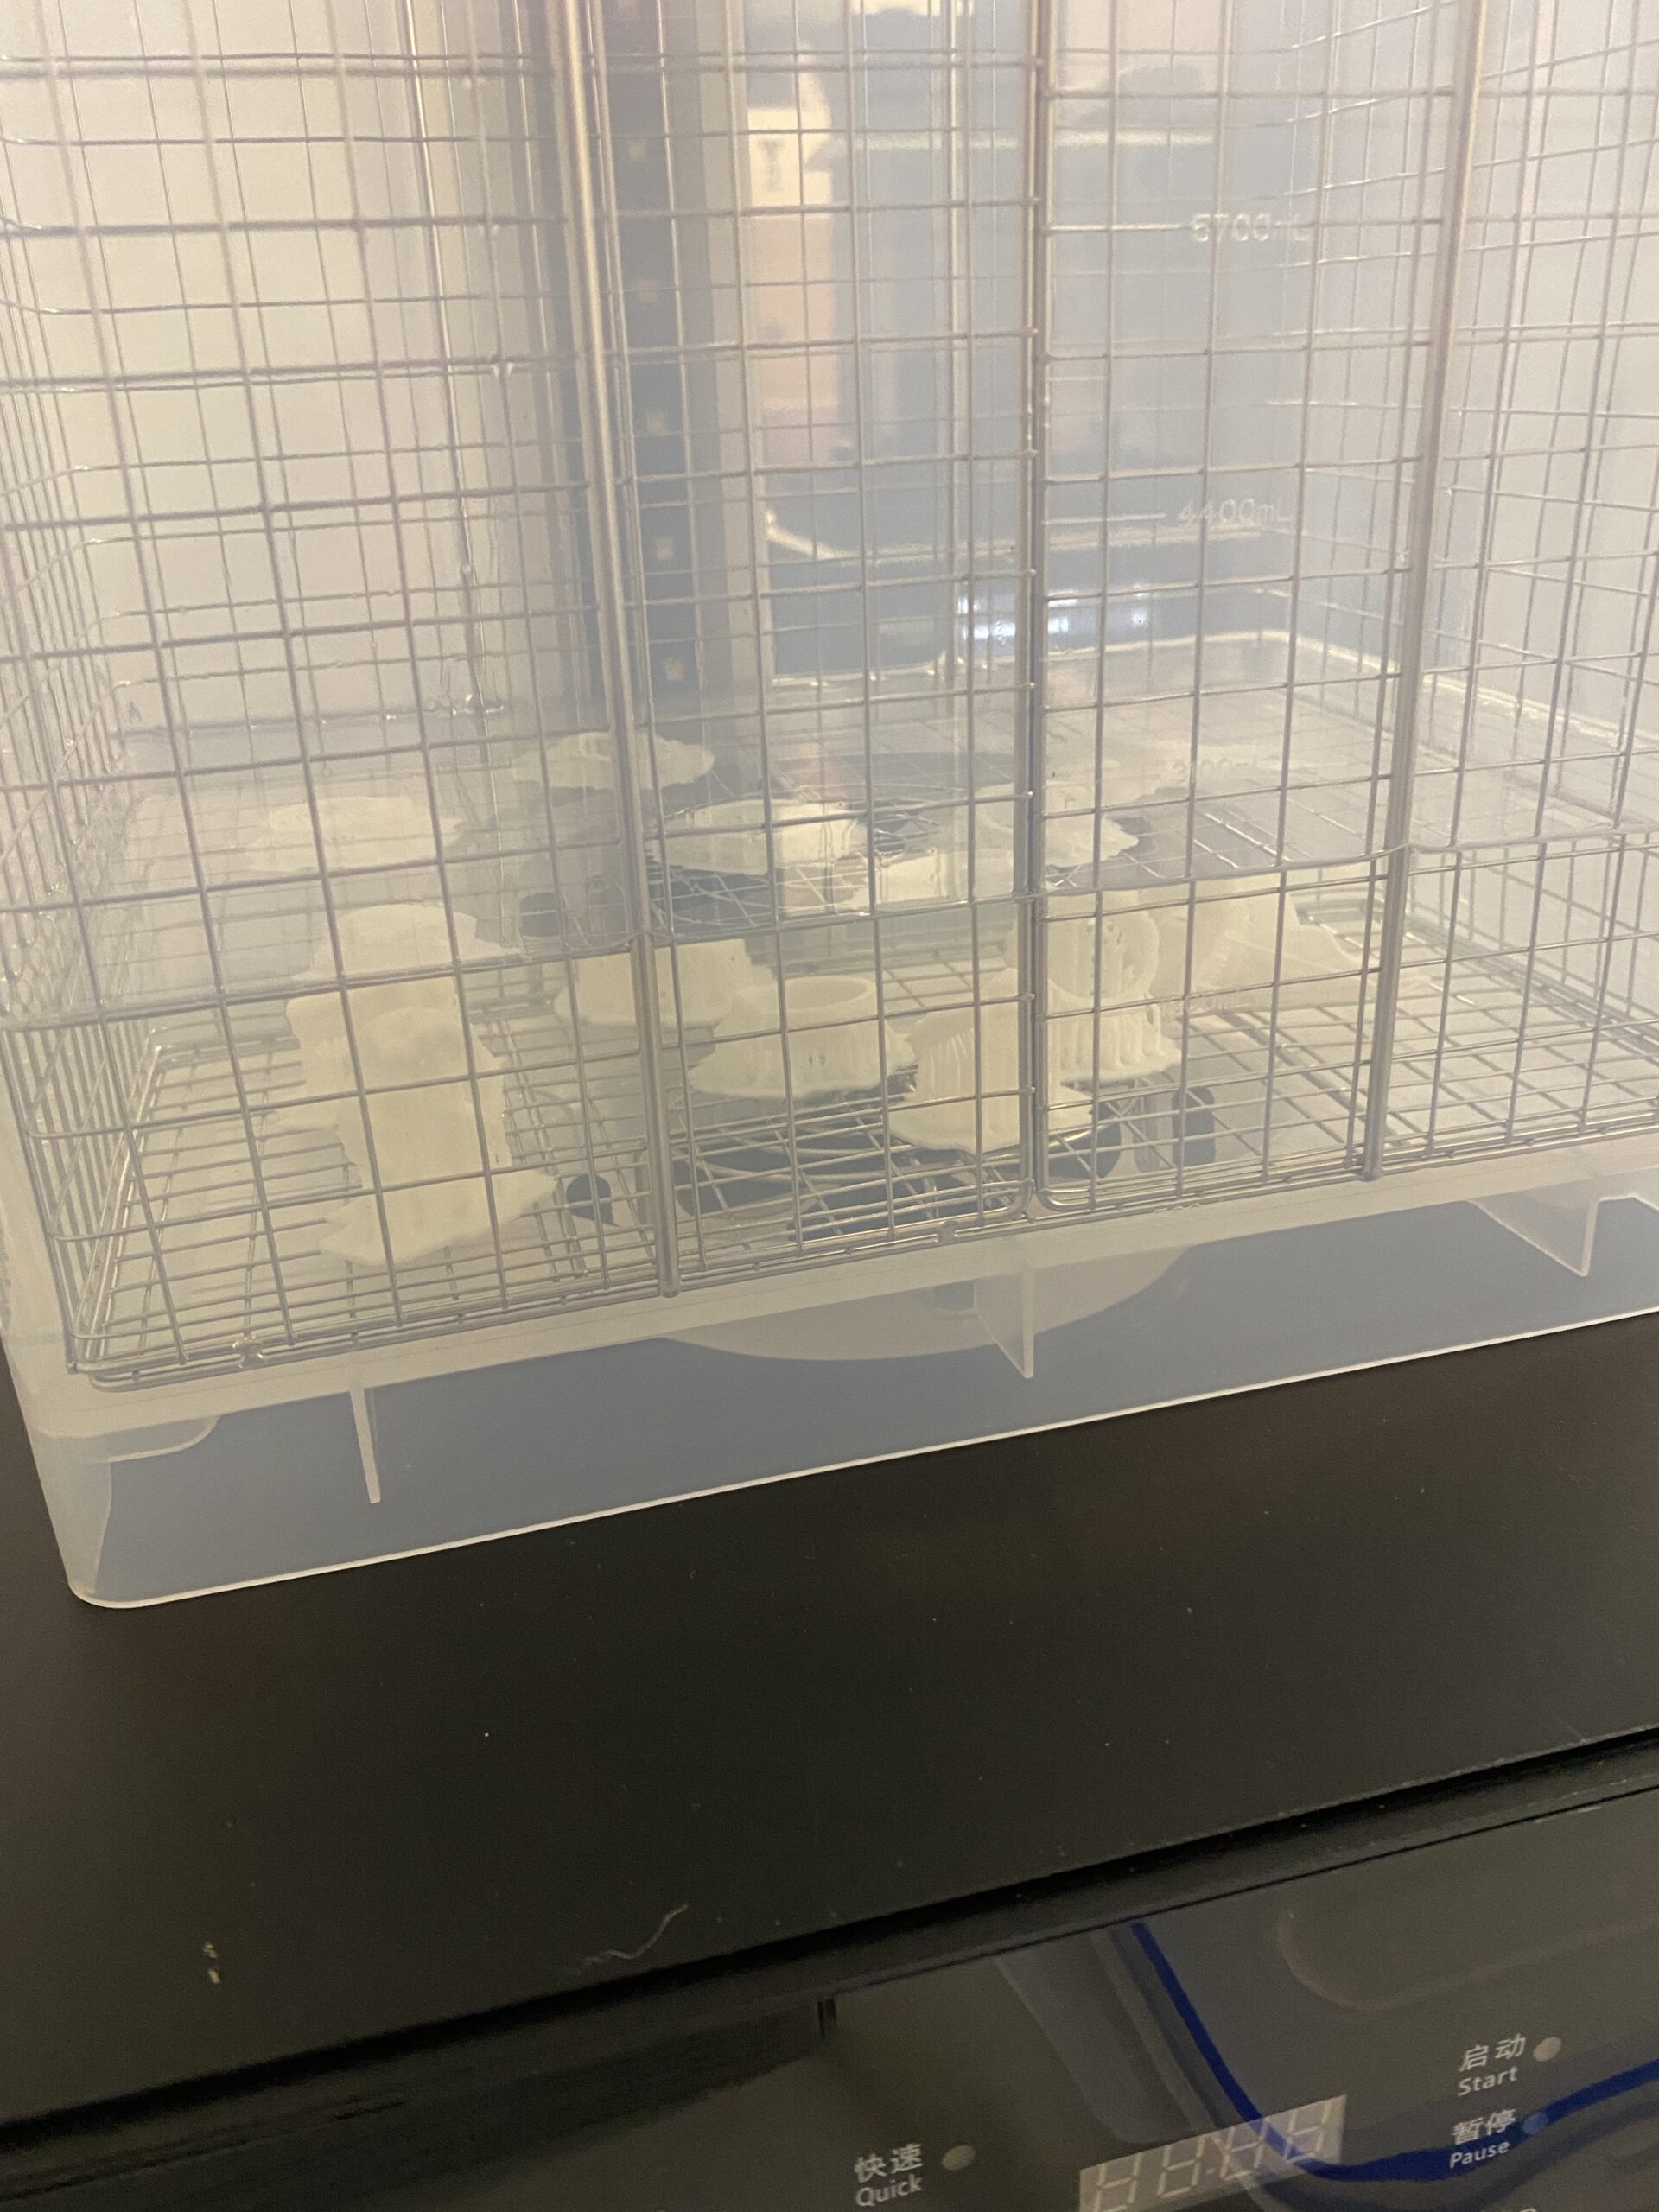
It comes with a 240x160x200mm washing container supporting larger size models up to 325x295x584mm for washing. Its lid closes airtight and thus prevents the evaporation of the cleaning alcohol after use and stores it for repeated use.
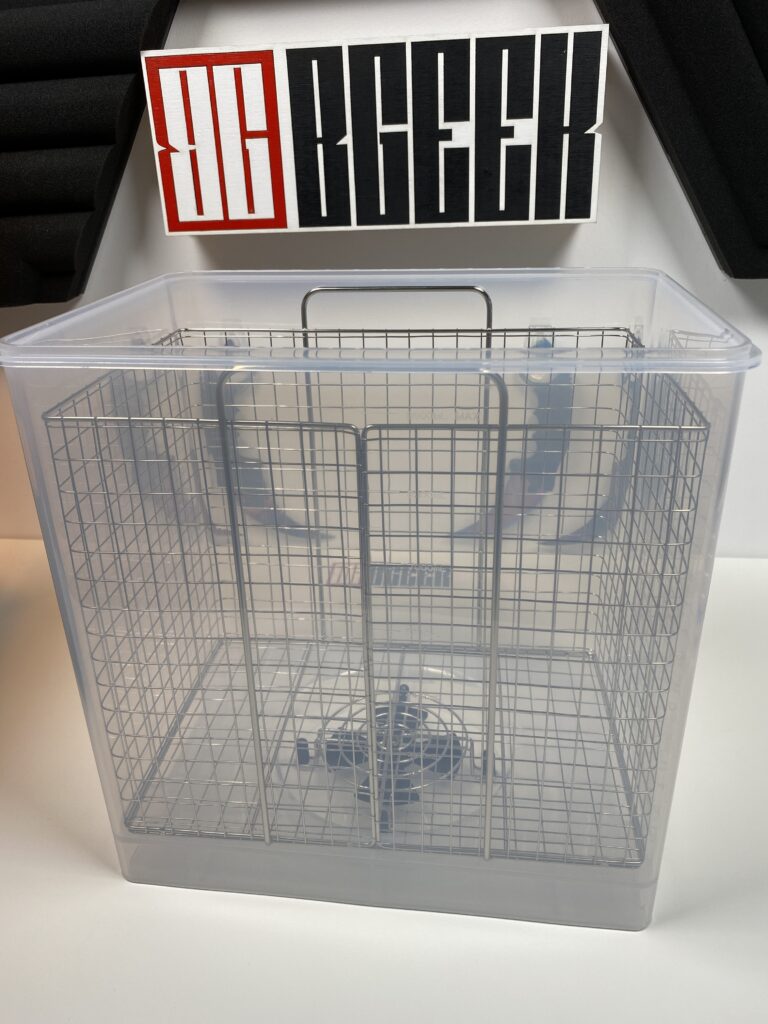
The UW-02 supports two washing methods. The first (and the one I used, as we will see below) is to remove the model from the aluminum print base with the metal spatula and dip the model into the basket.
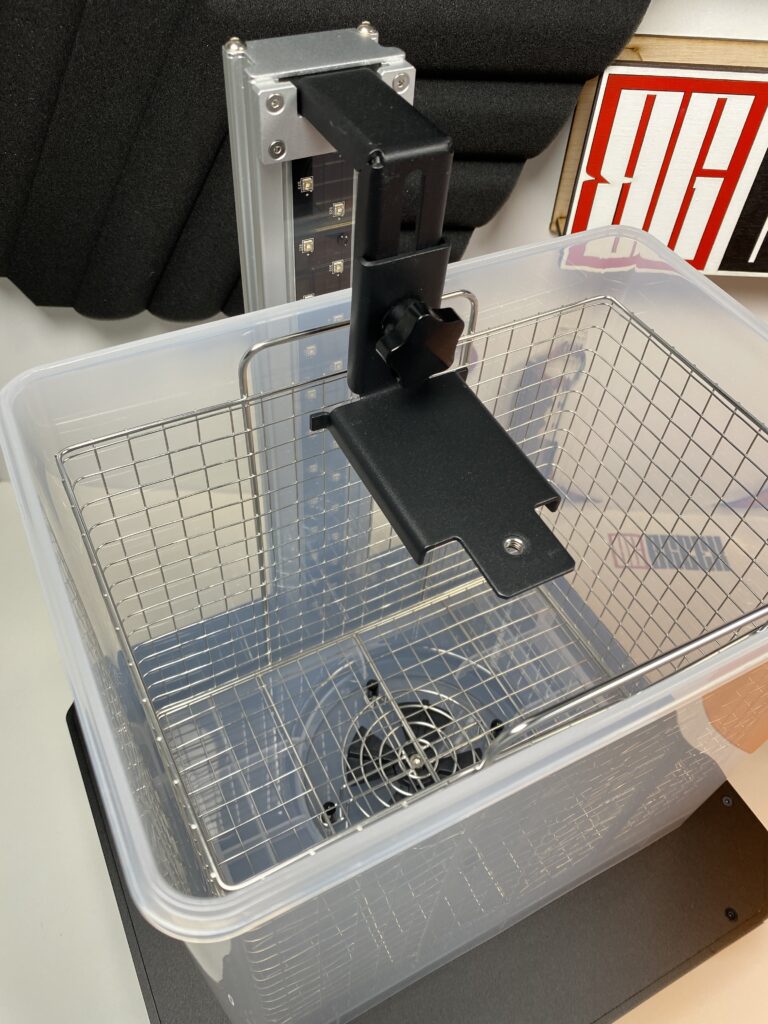
The second is to unscrew the entire print base and screw it onto the UW-02. The model is washed while hanging from the stand. The first method washes the models better but the second is safer since you don’t come into contact with the resin.
At the base of the washing container, there is a fan that rotates and changes course every 30 seconds to offer the best washing solution for the model. Wash time and speed can be adjusted by the front touch buttons of the UW-02.
The process of washing our models, and more specifically the rings we printed, was very easy and quick. As I mentioned before, I used the method where you let the models sit on the bottom of the basket.
Curing
Once we have finished washing the model, the last step remaining is, to cure the model. A small parenthesis here. That’s a good time to remove the support of the model immediately after washing it.
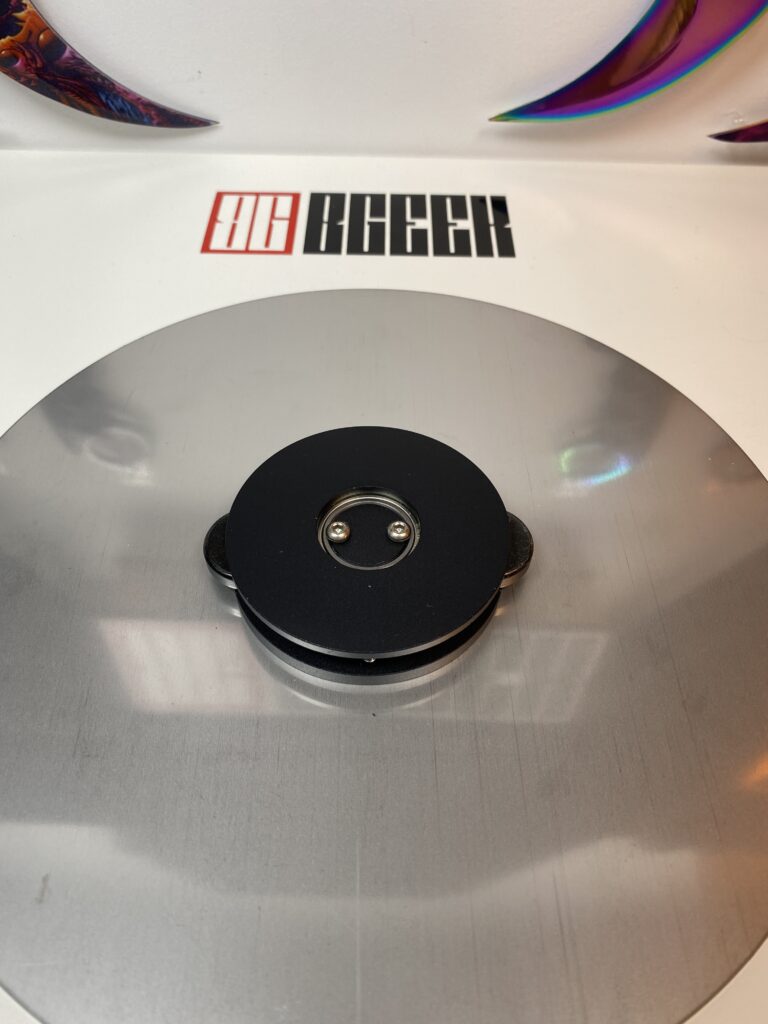
After removing the washing tank from the UW-02, we attach the special base to cure the model. We place it right in the center and it sits properly thanks to the magnets that keep it in place. These magnets are what make the base rotate (as well as the fan during washing). To make the curing of the model evenly, the platform is reflective and made of stainless steel. Don’t forget to peel off the protective sticker on the base before using it. This helps reflect UV light radiation onto the platform to help cure the model.
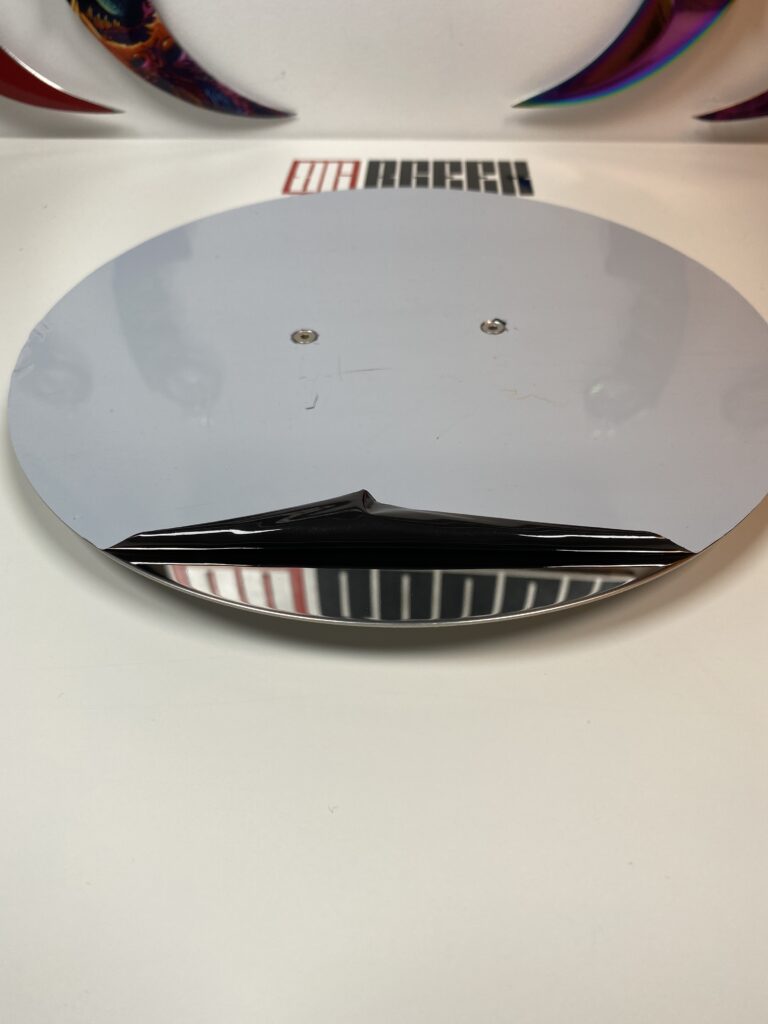
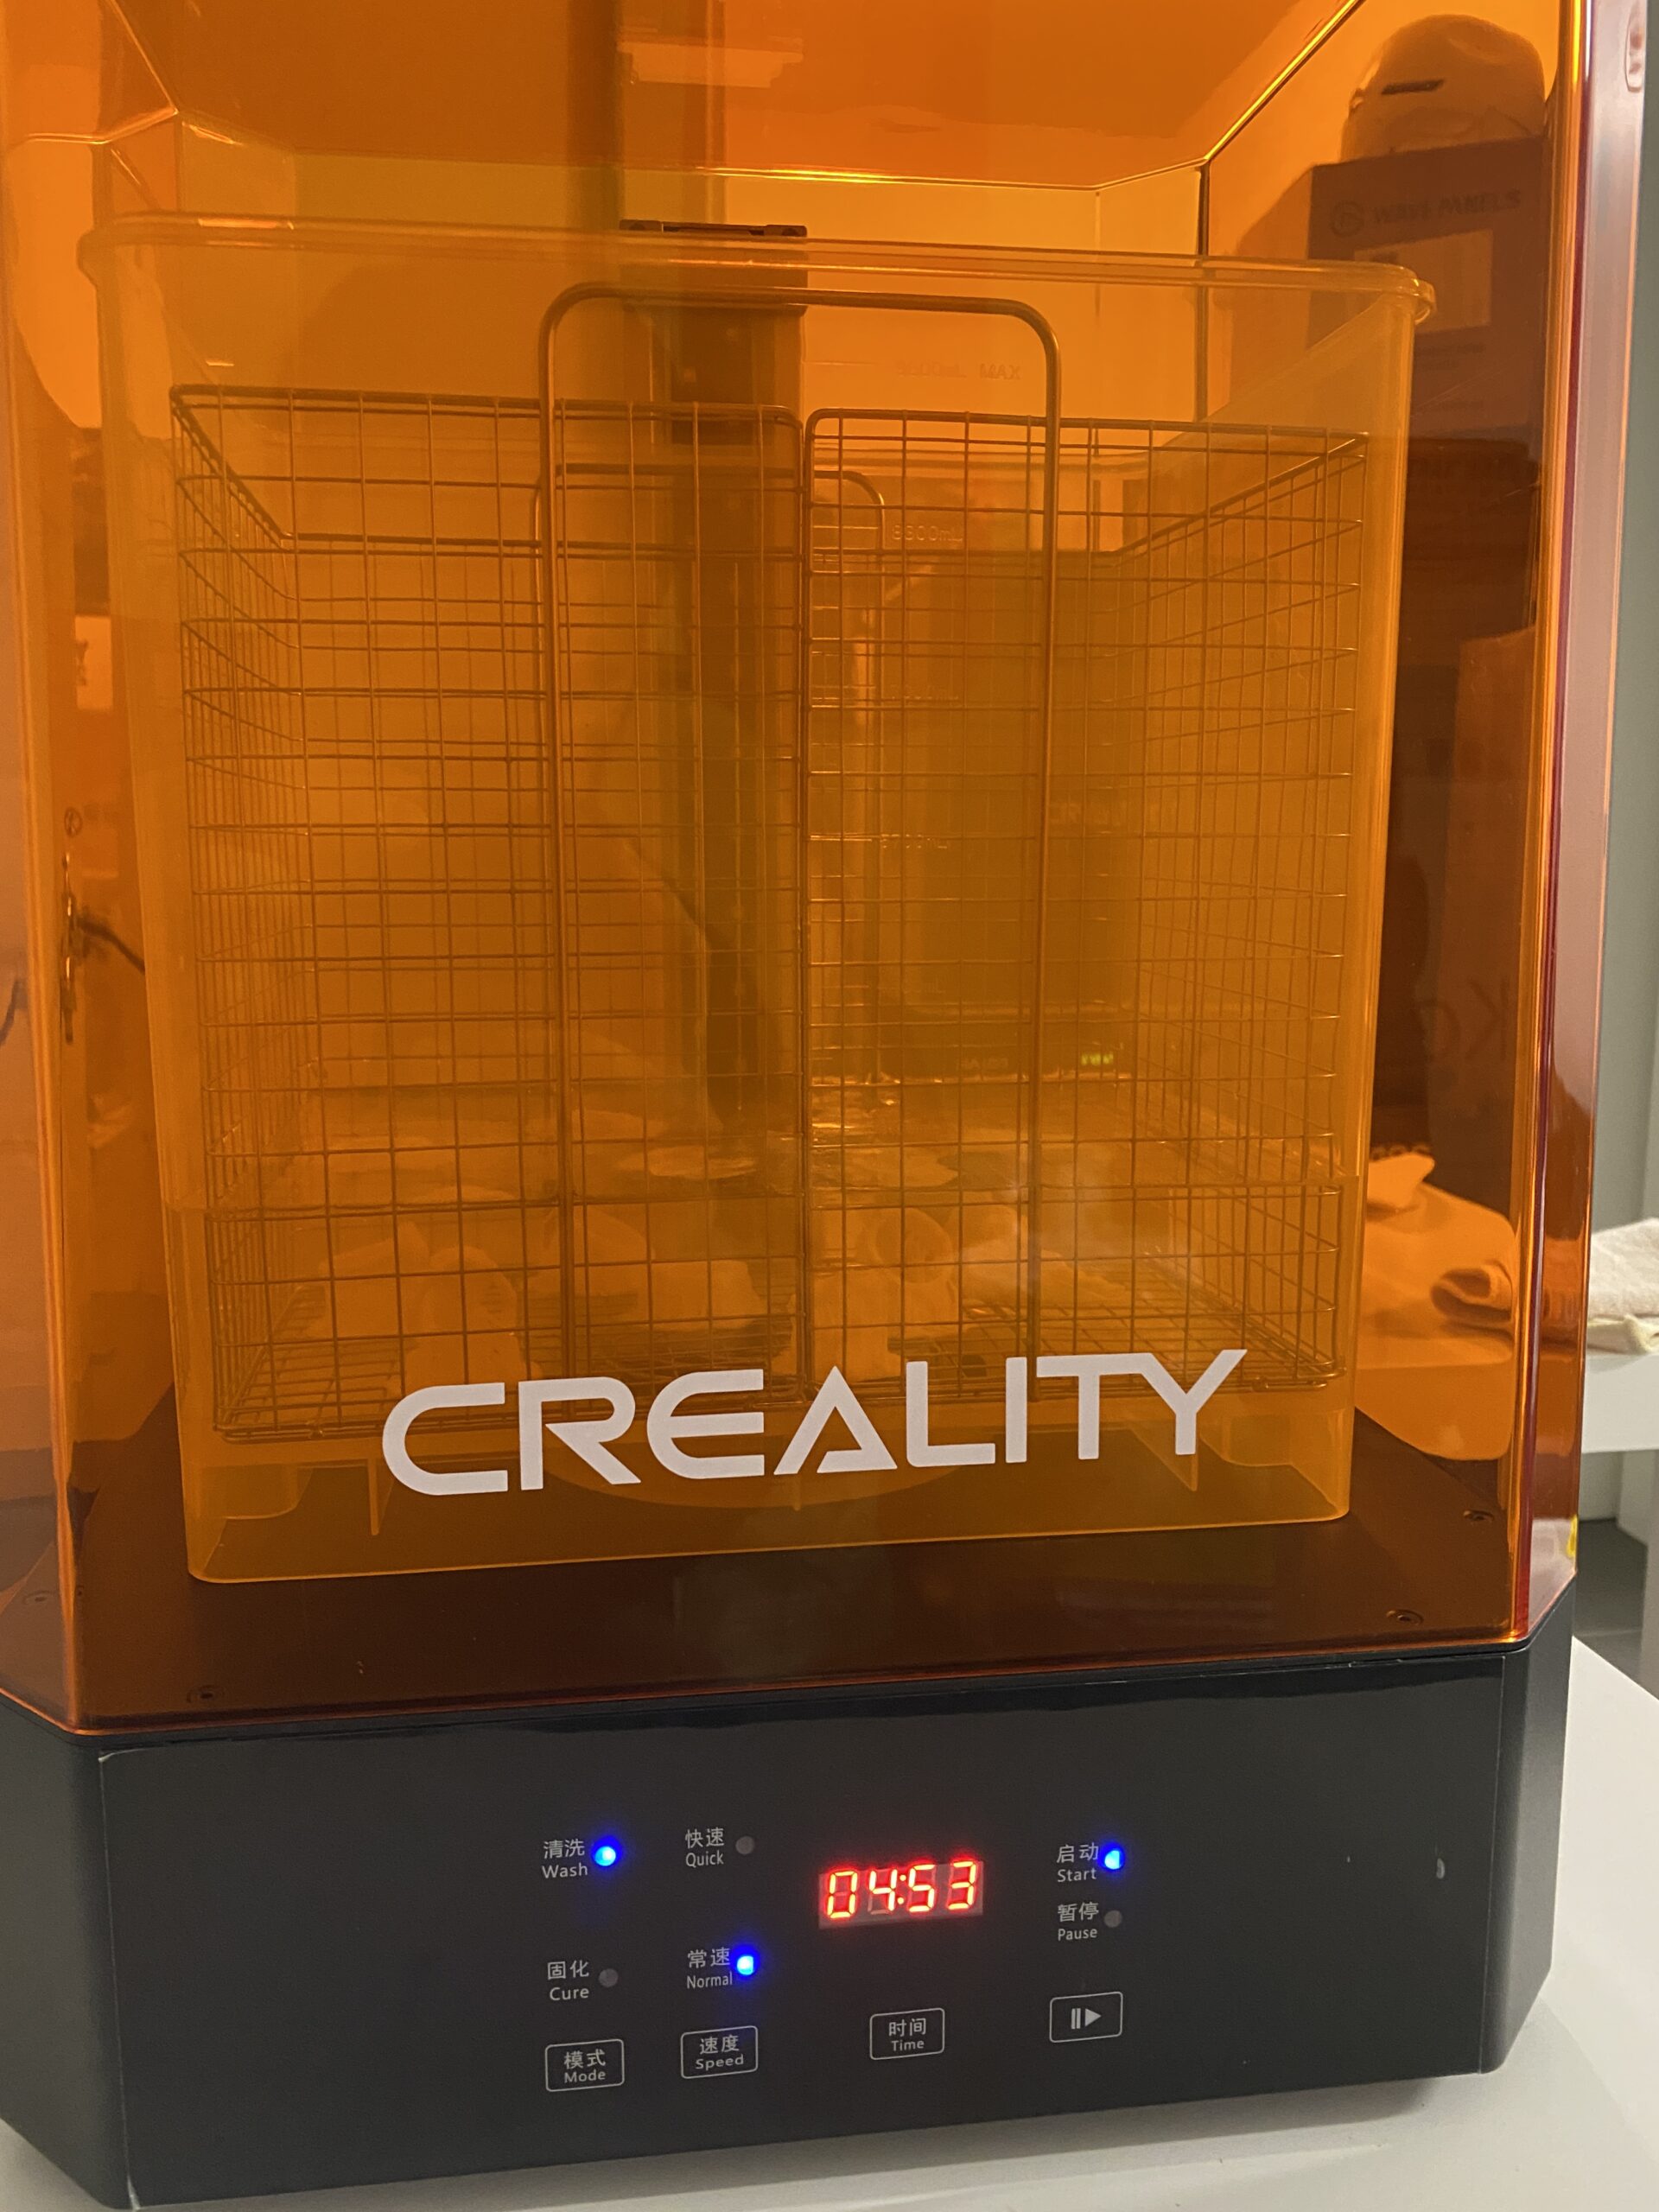
In the middle of the UW-02 is a dual-band LED strip (385 nm and 405 nm) covering an area of 7.8 x 11.8 inches. To ensure even curing, the base rotates fully 360° at a fast pace (depending on the speed you set it to). Note here that for safety reasons, if the lid is open, the UV lights won’t go on.
Curing as well as washing our models was very easy and only required the pressing of a few buttons.
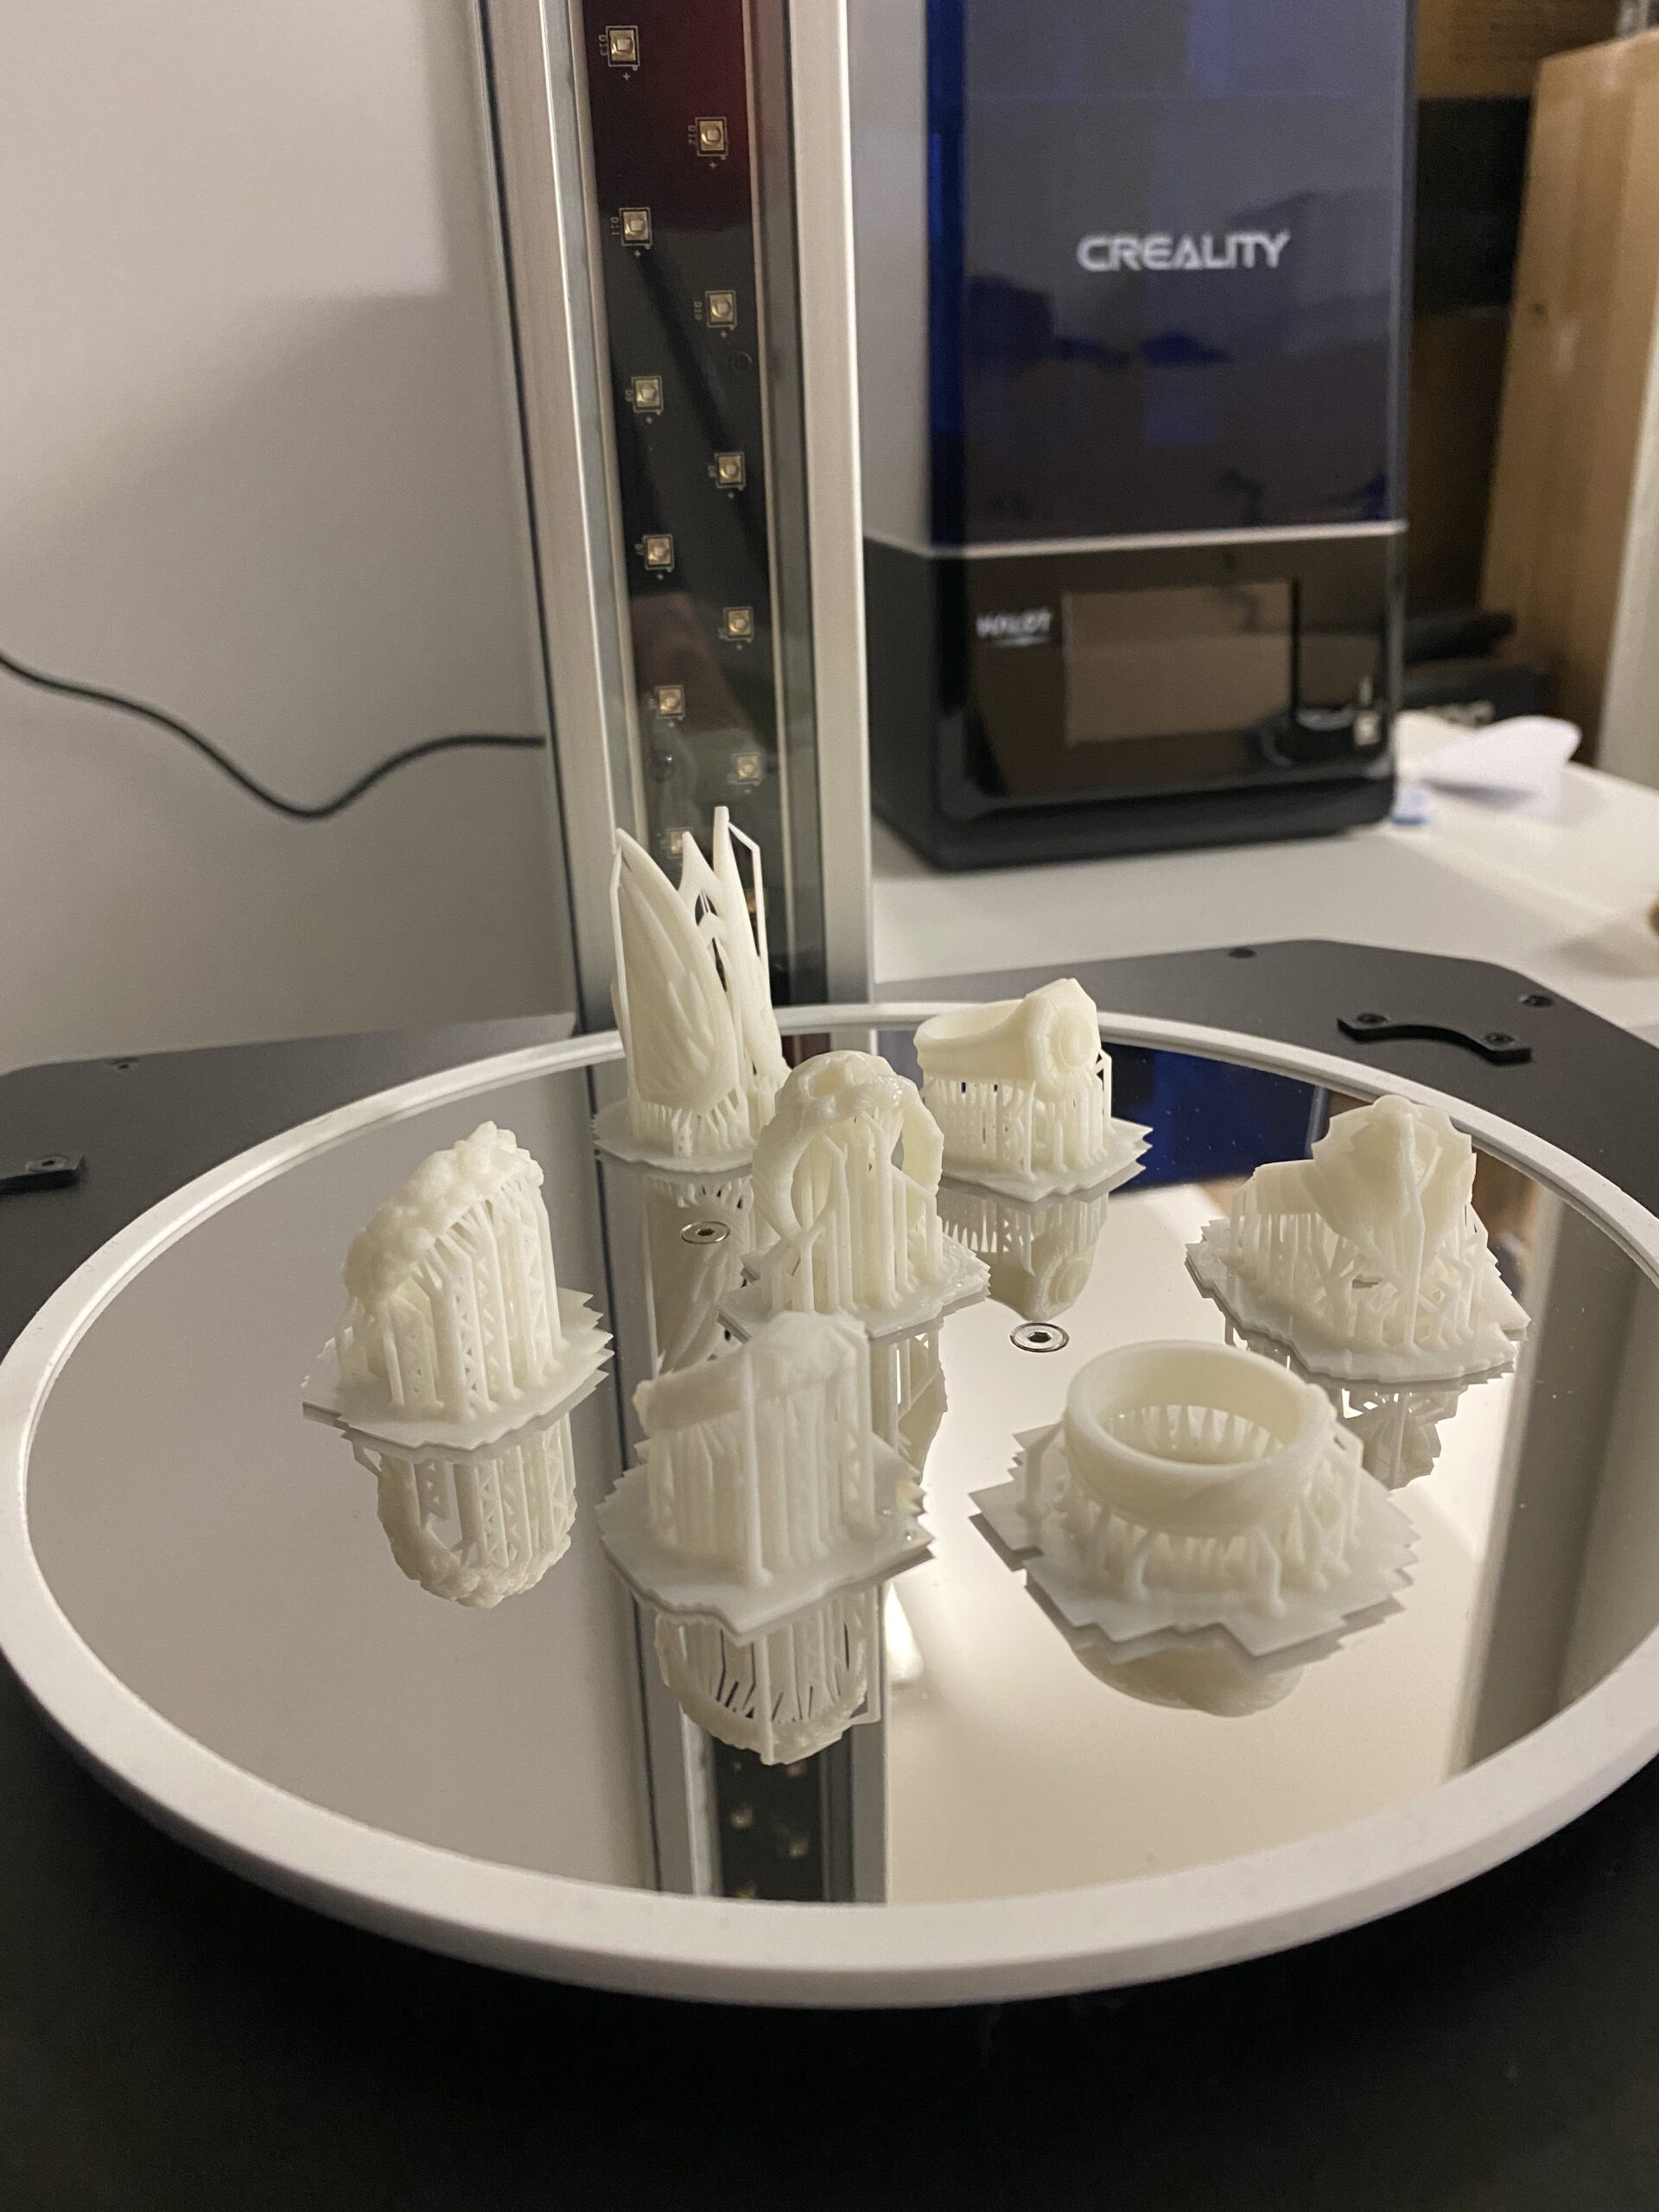
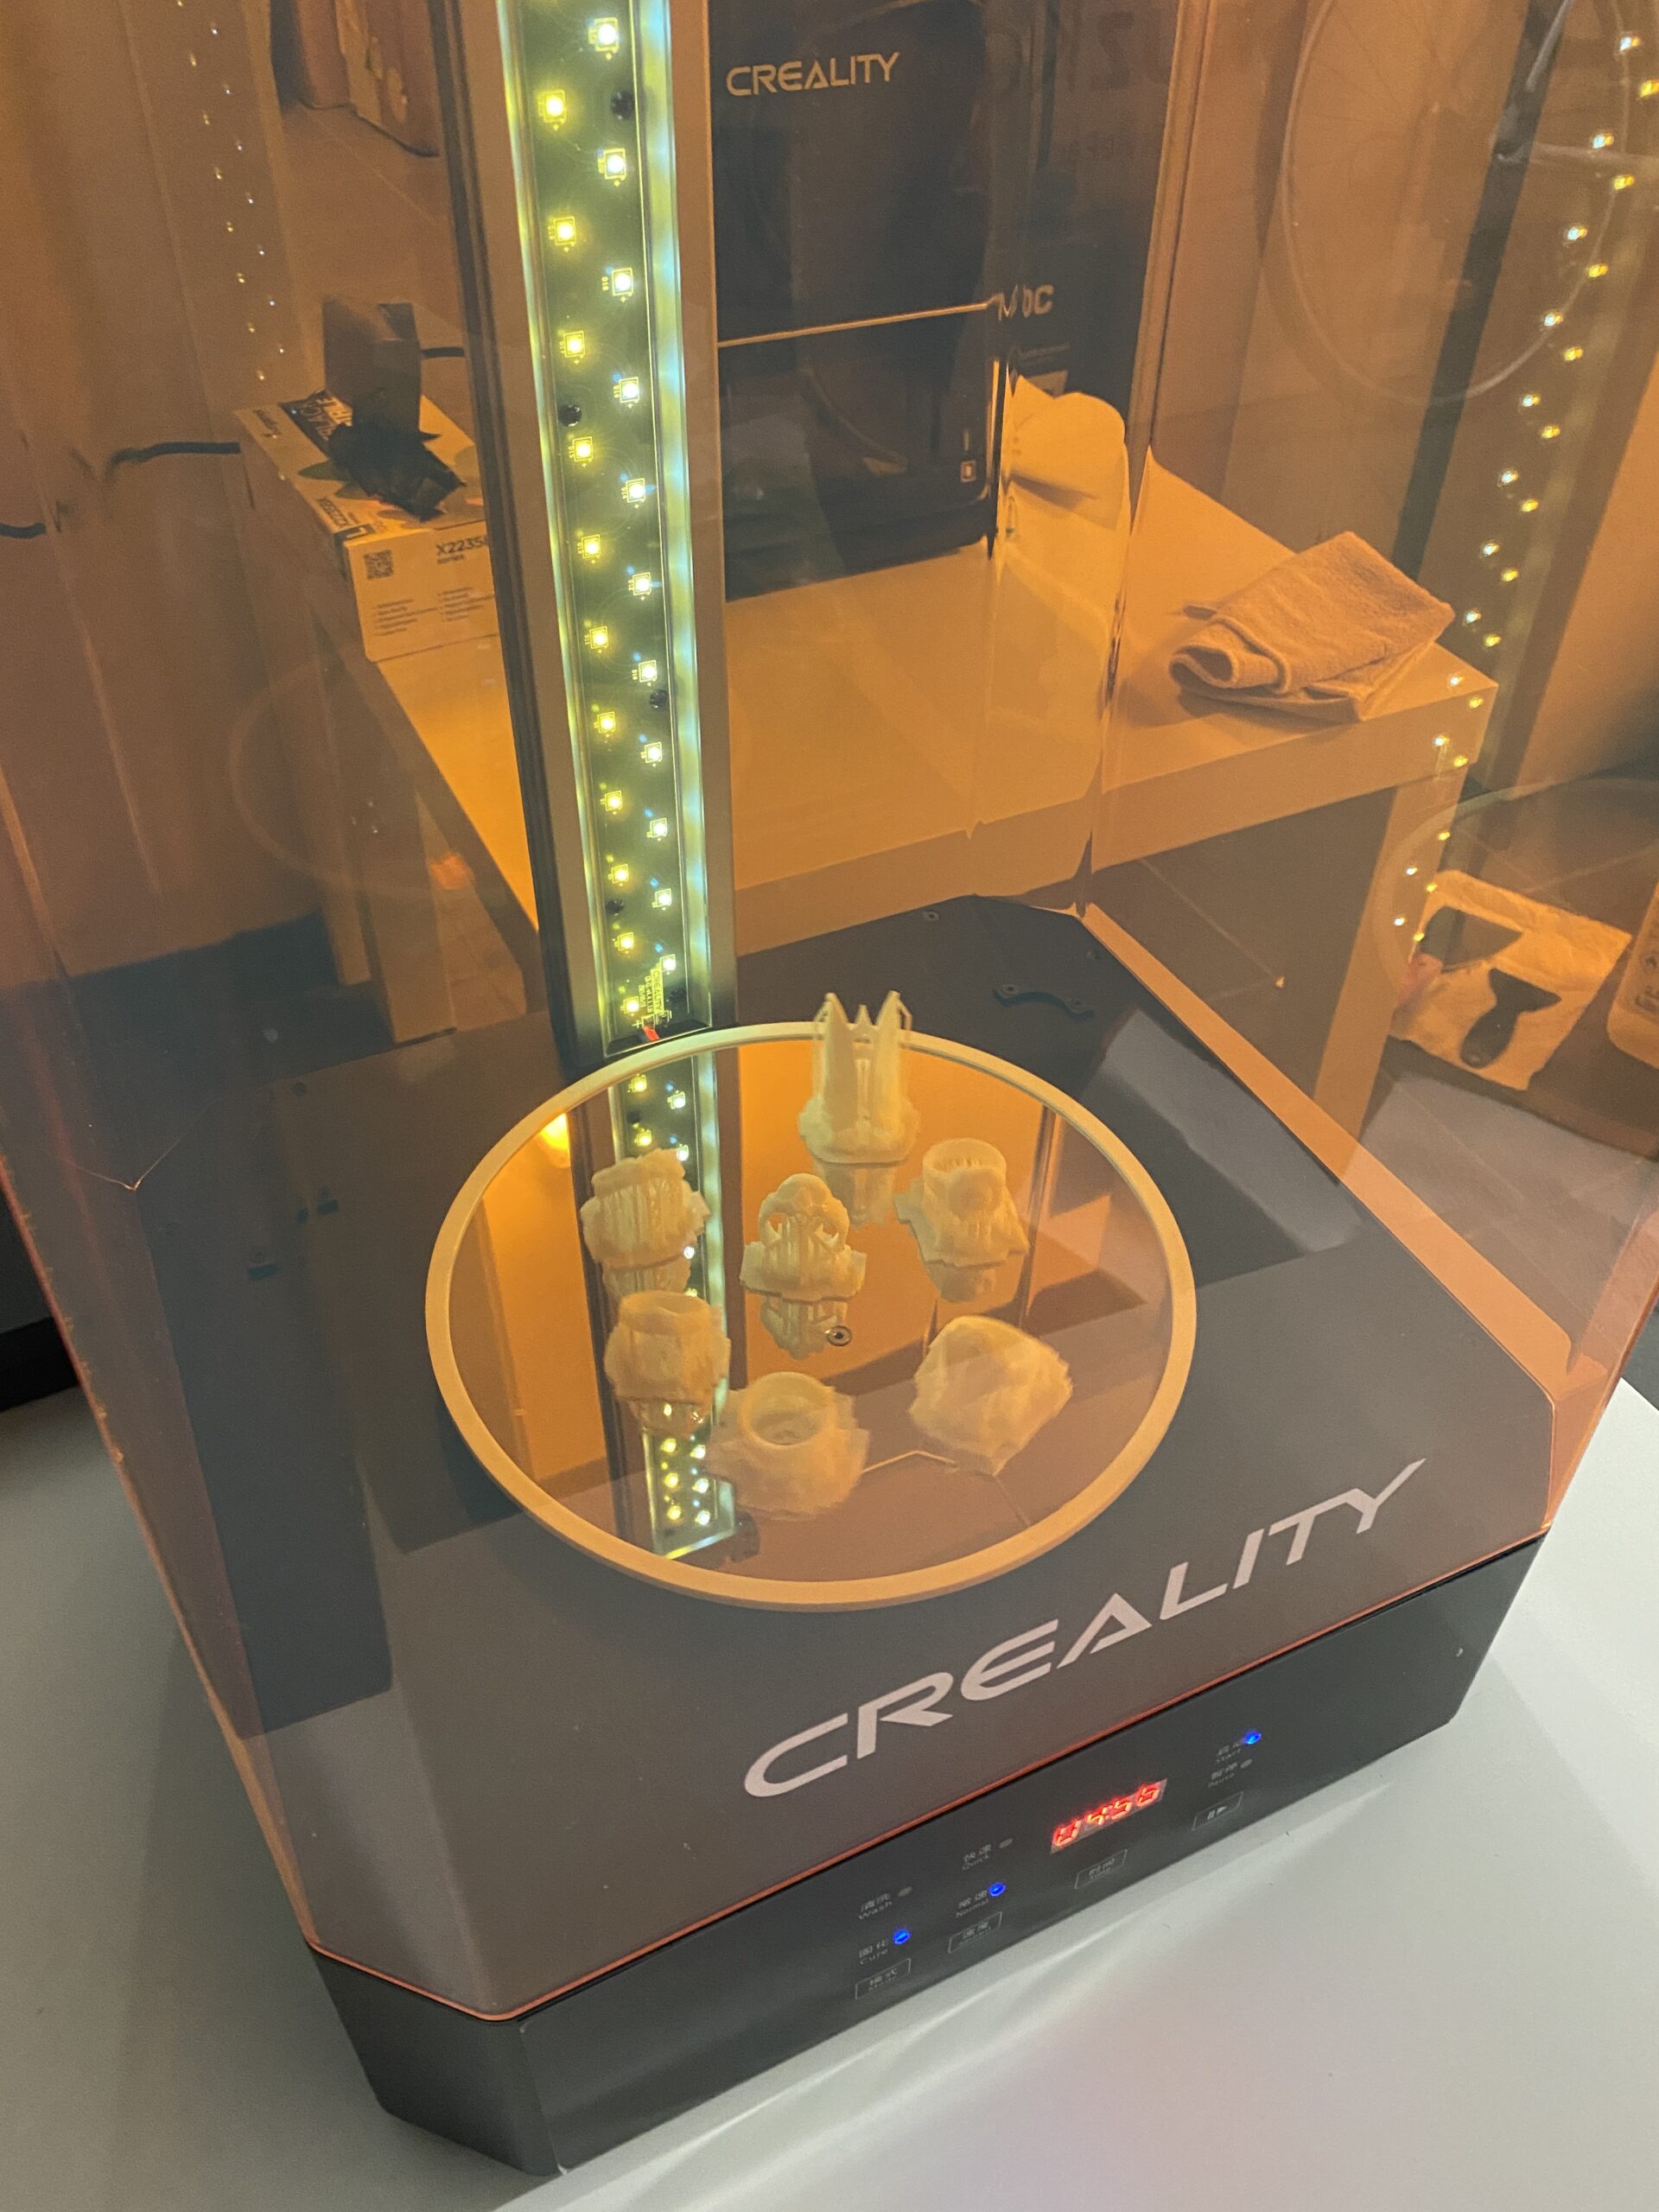
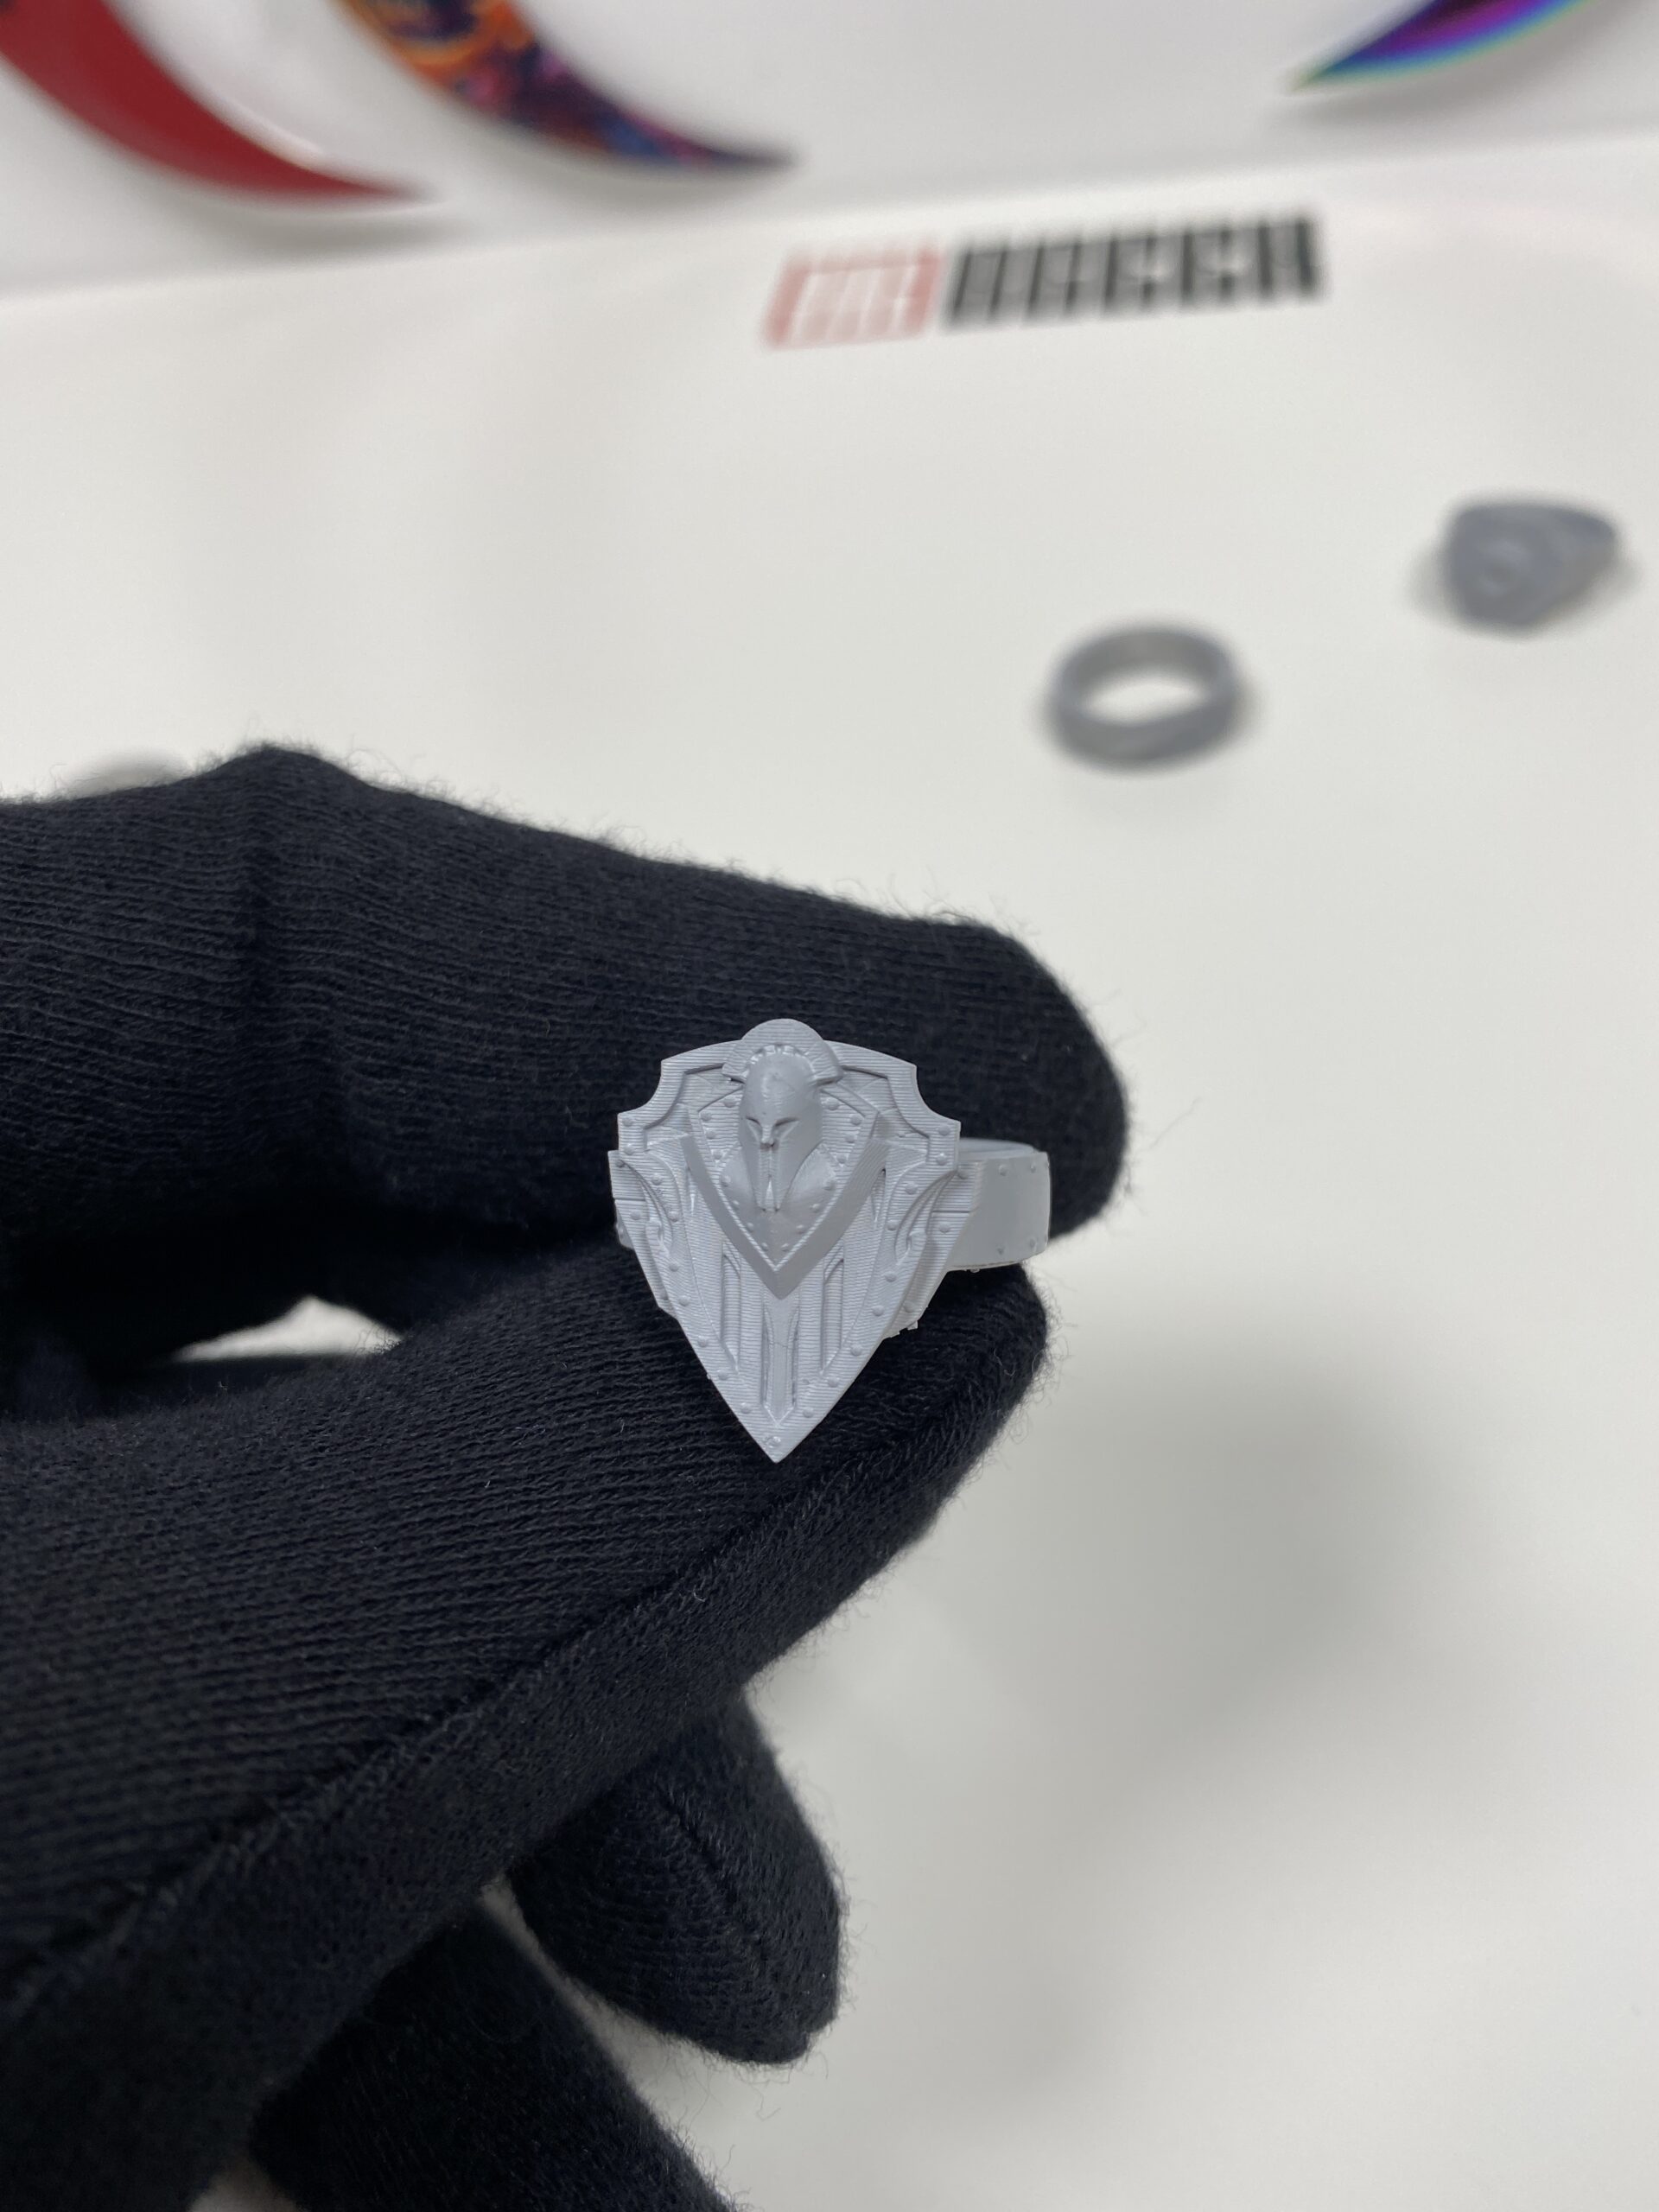
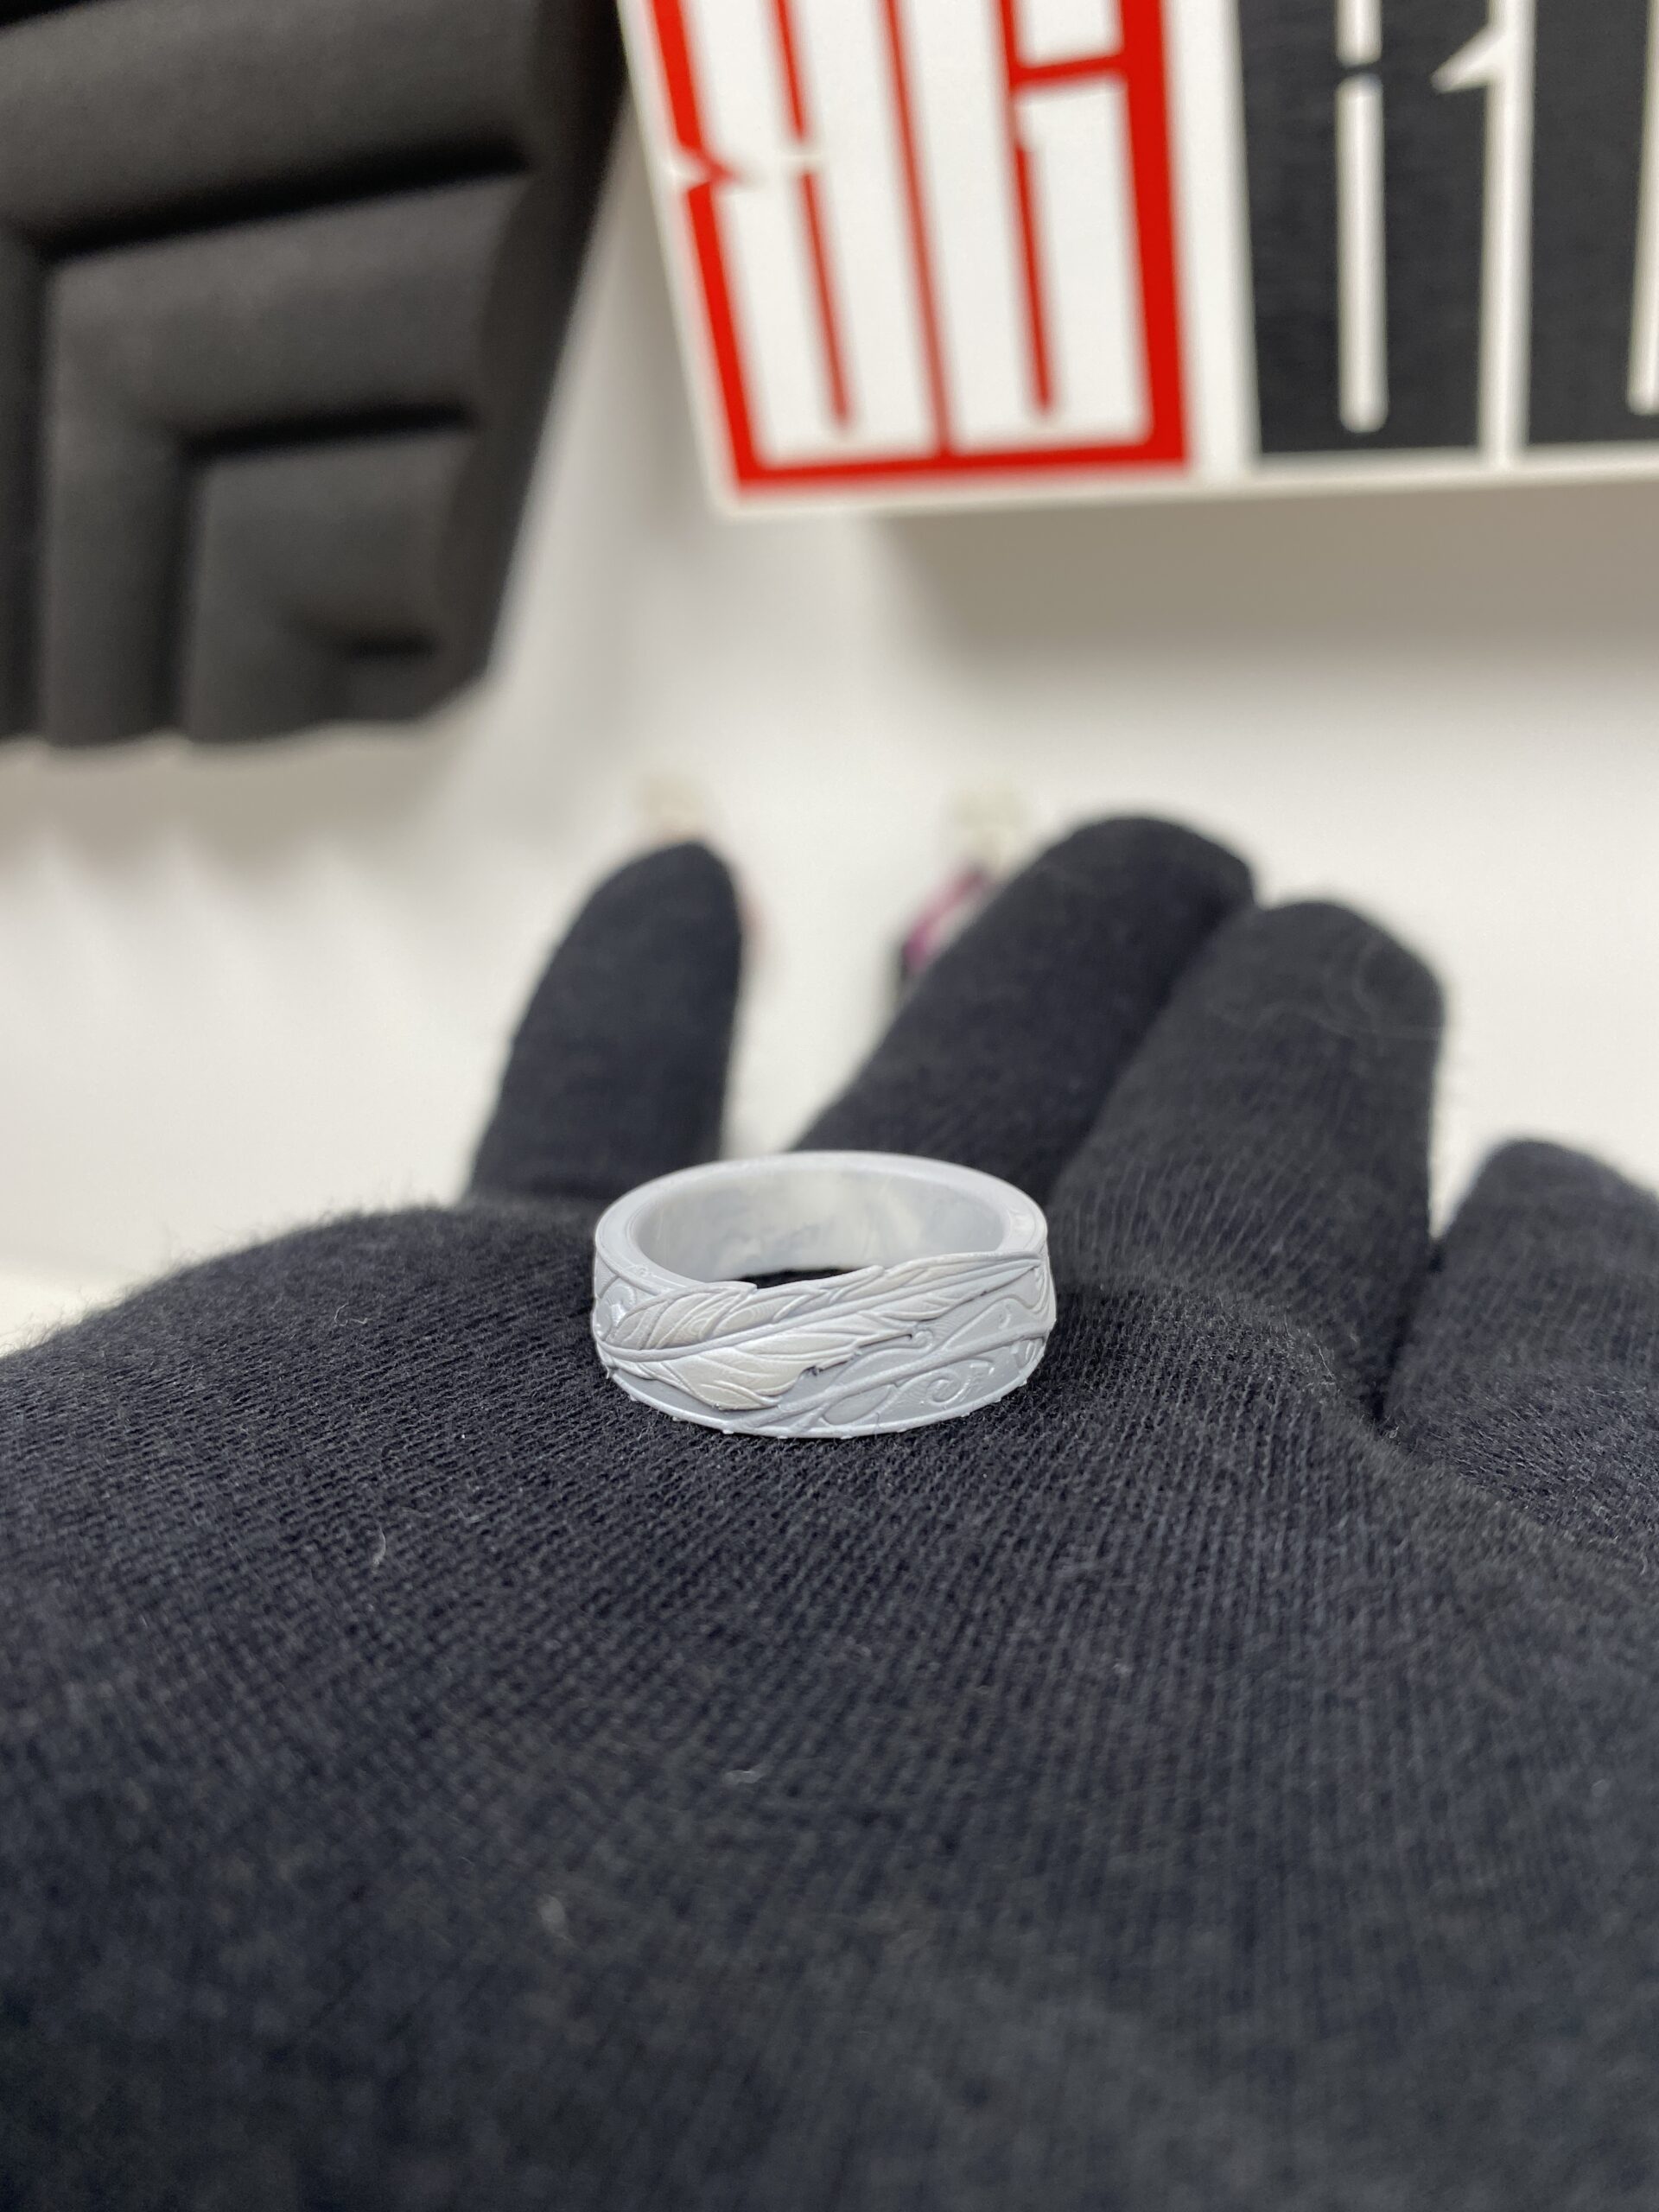
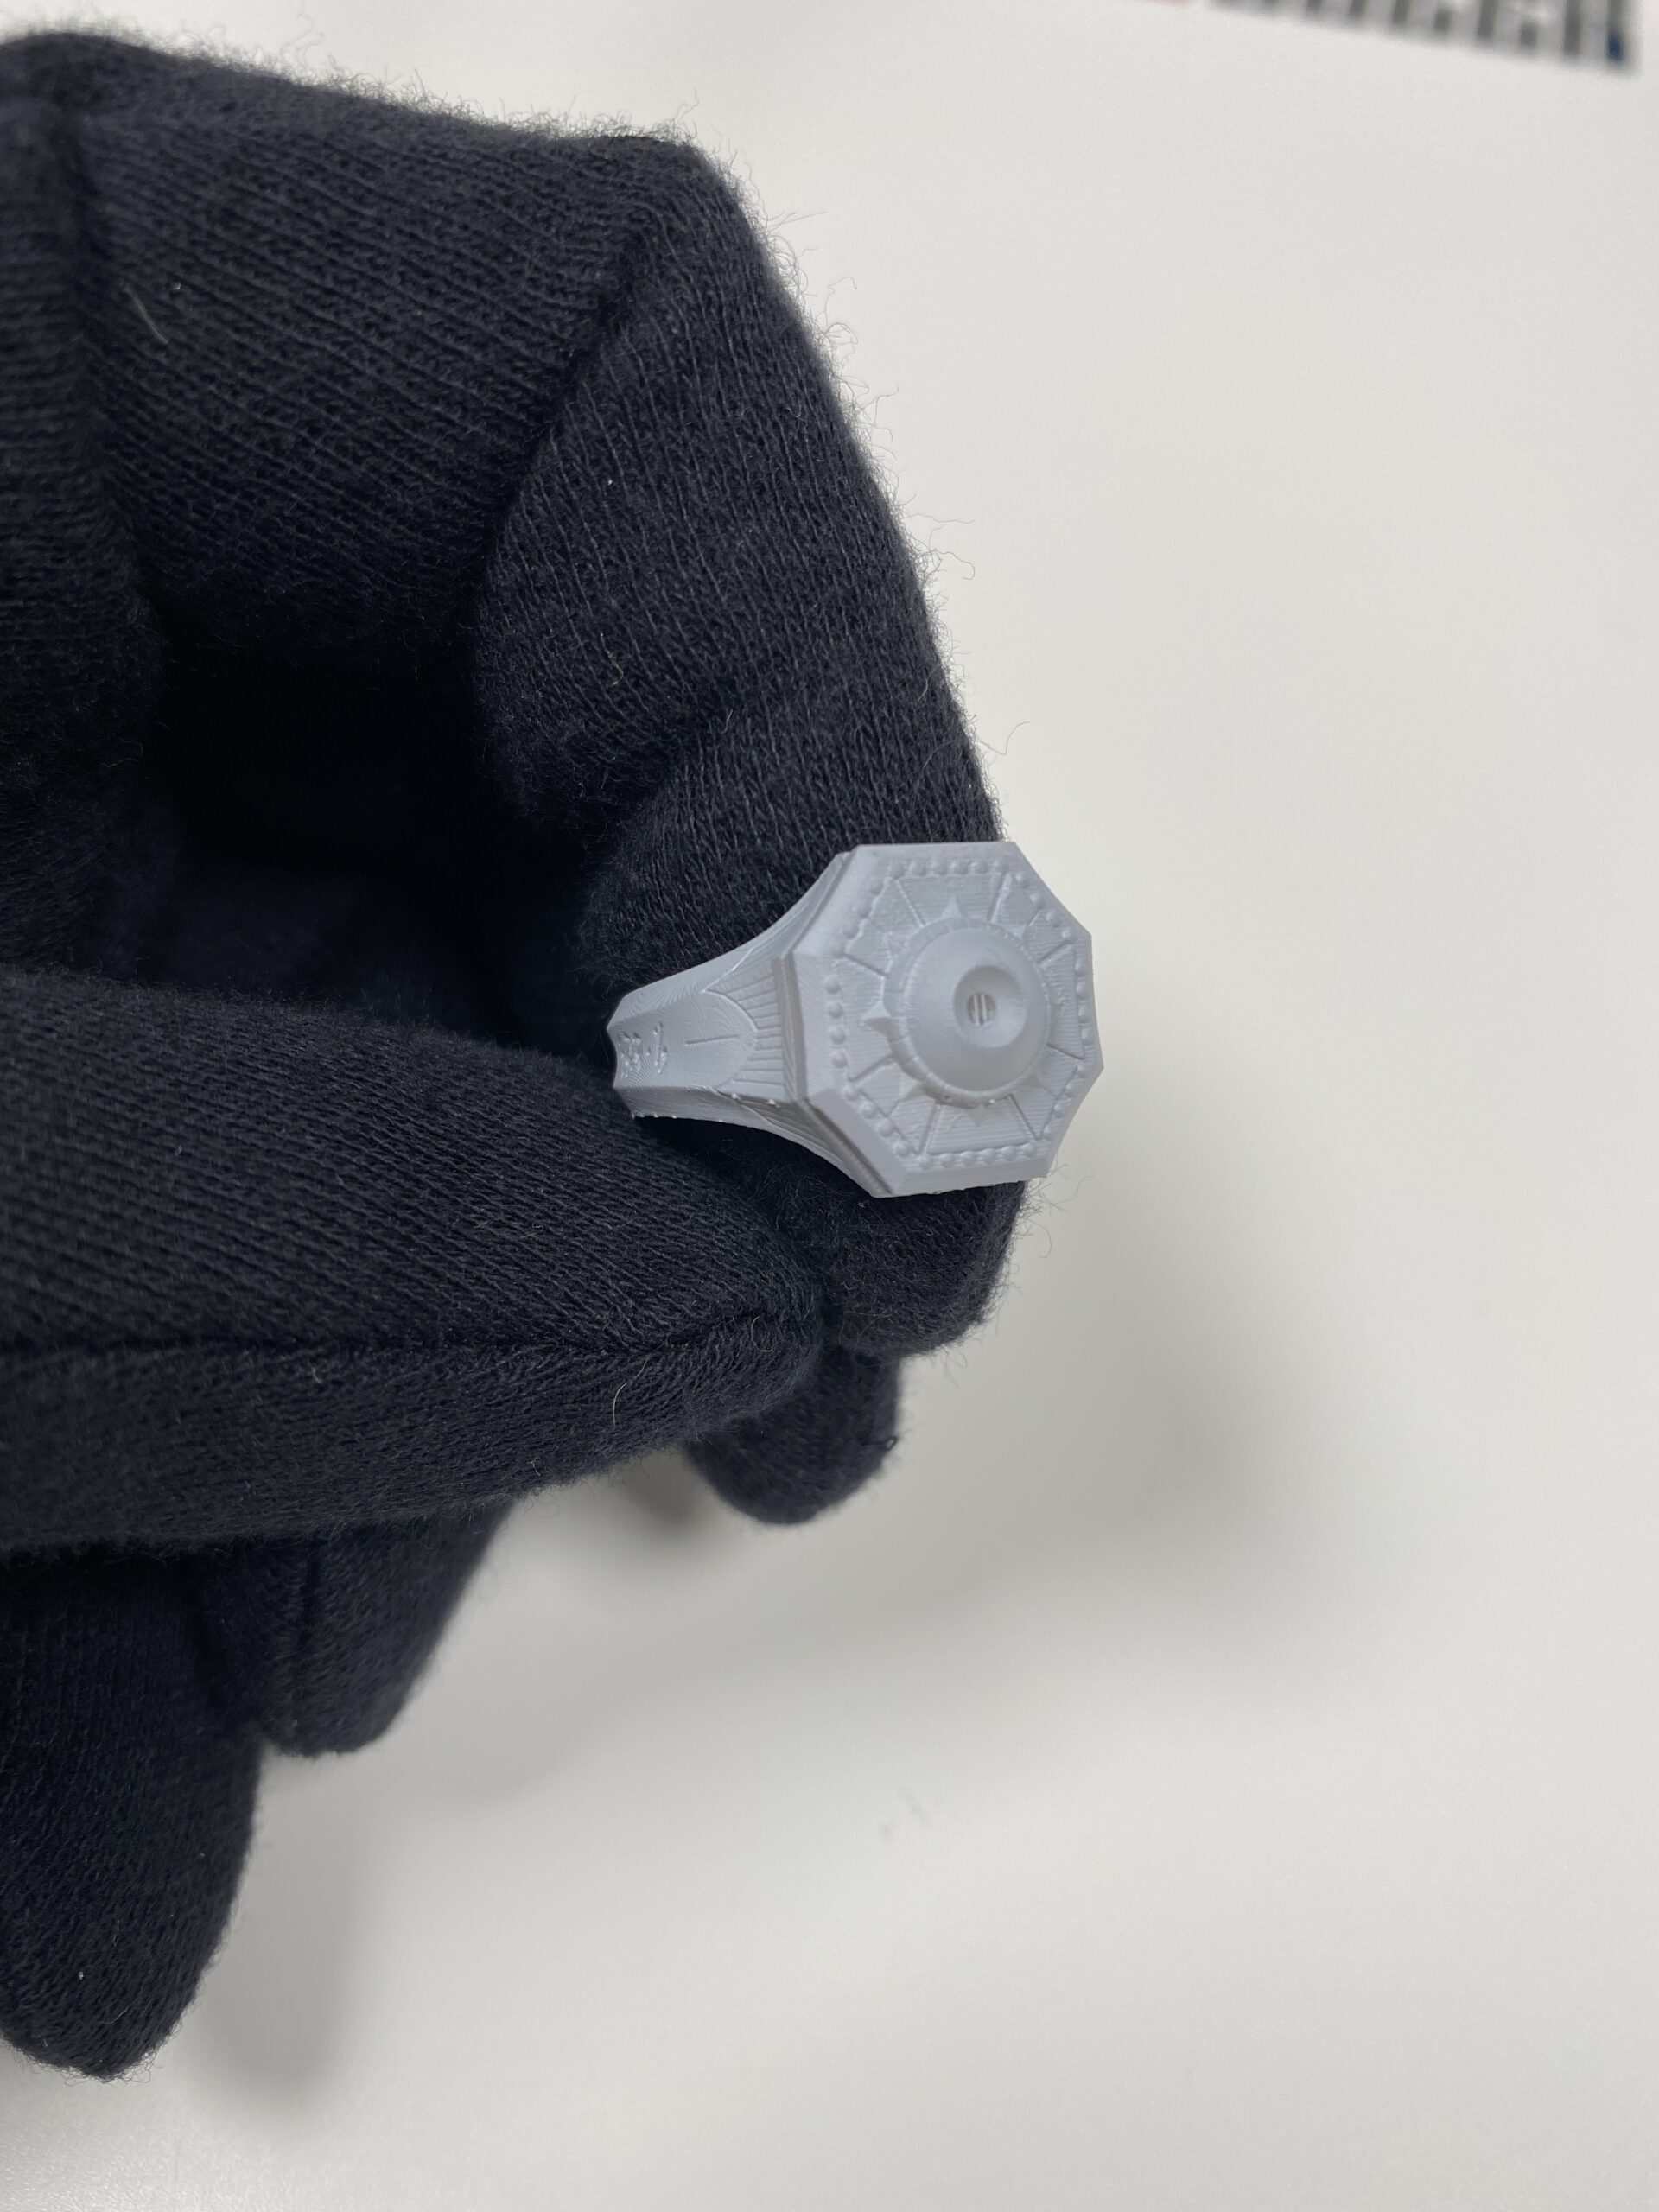
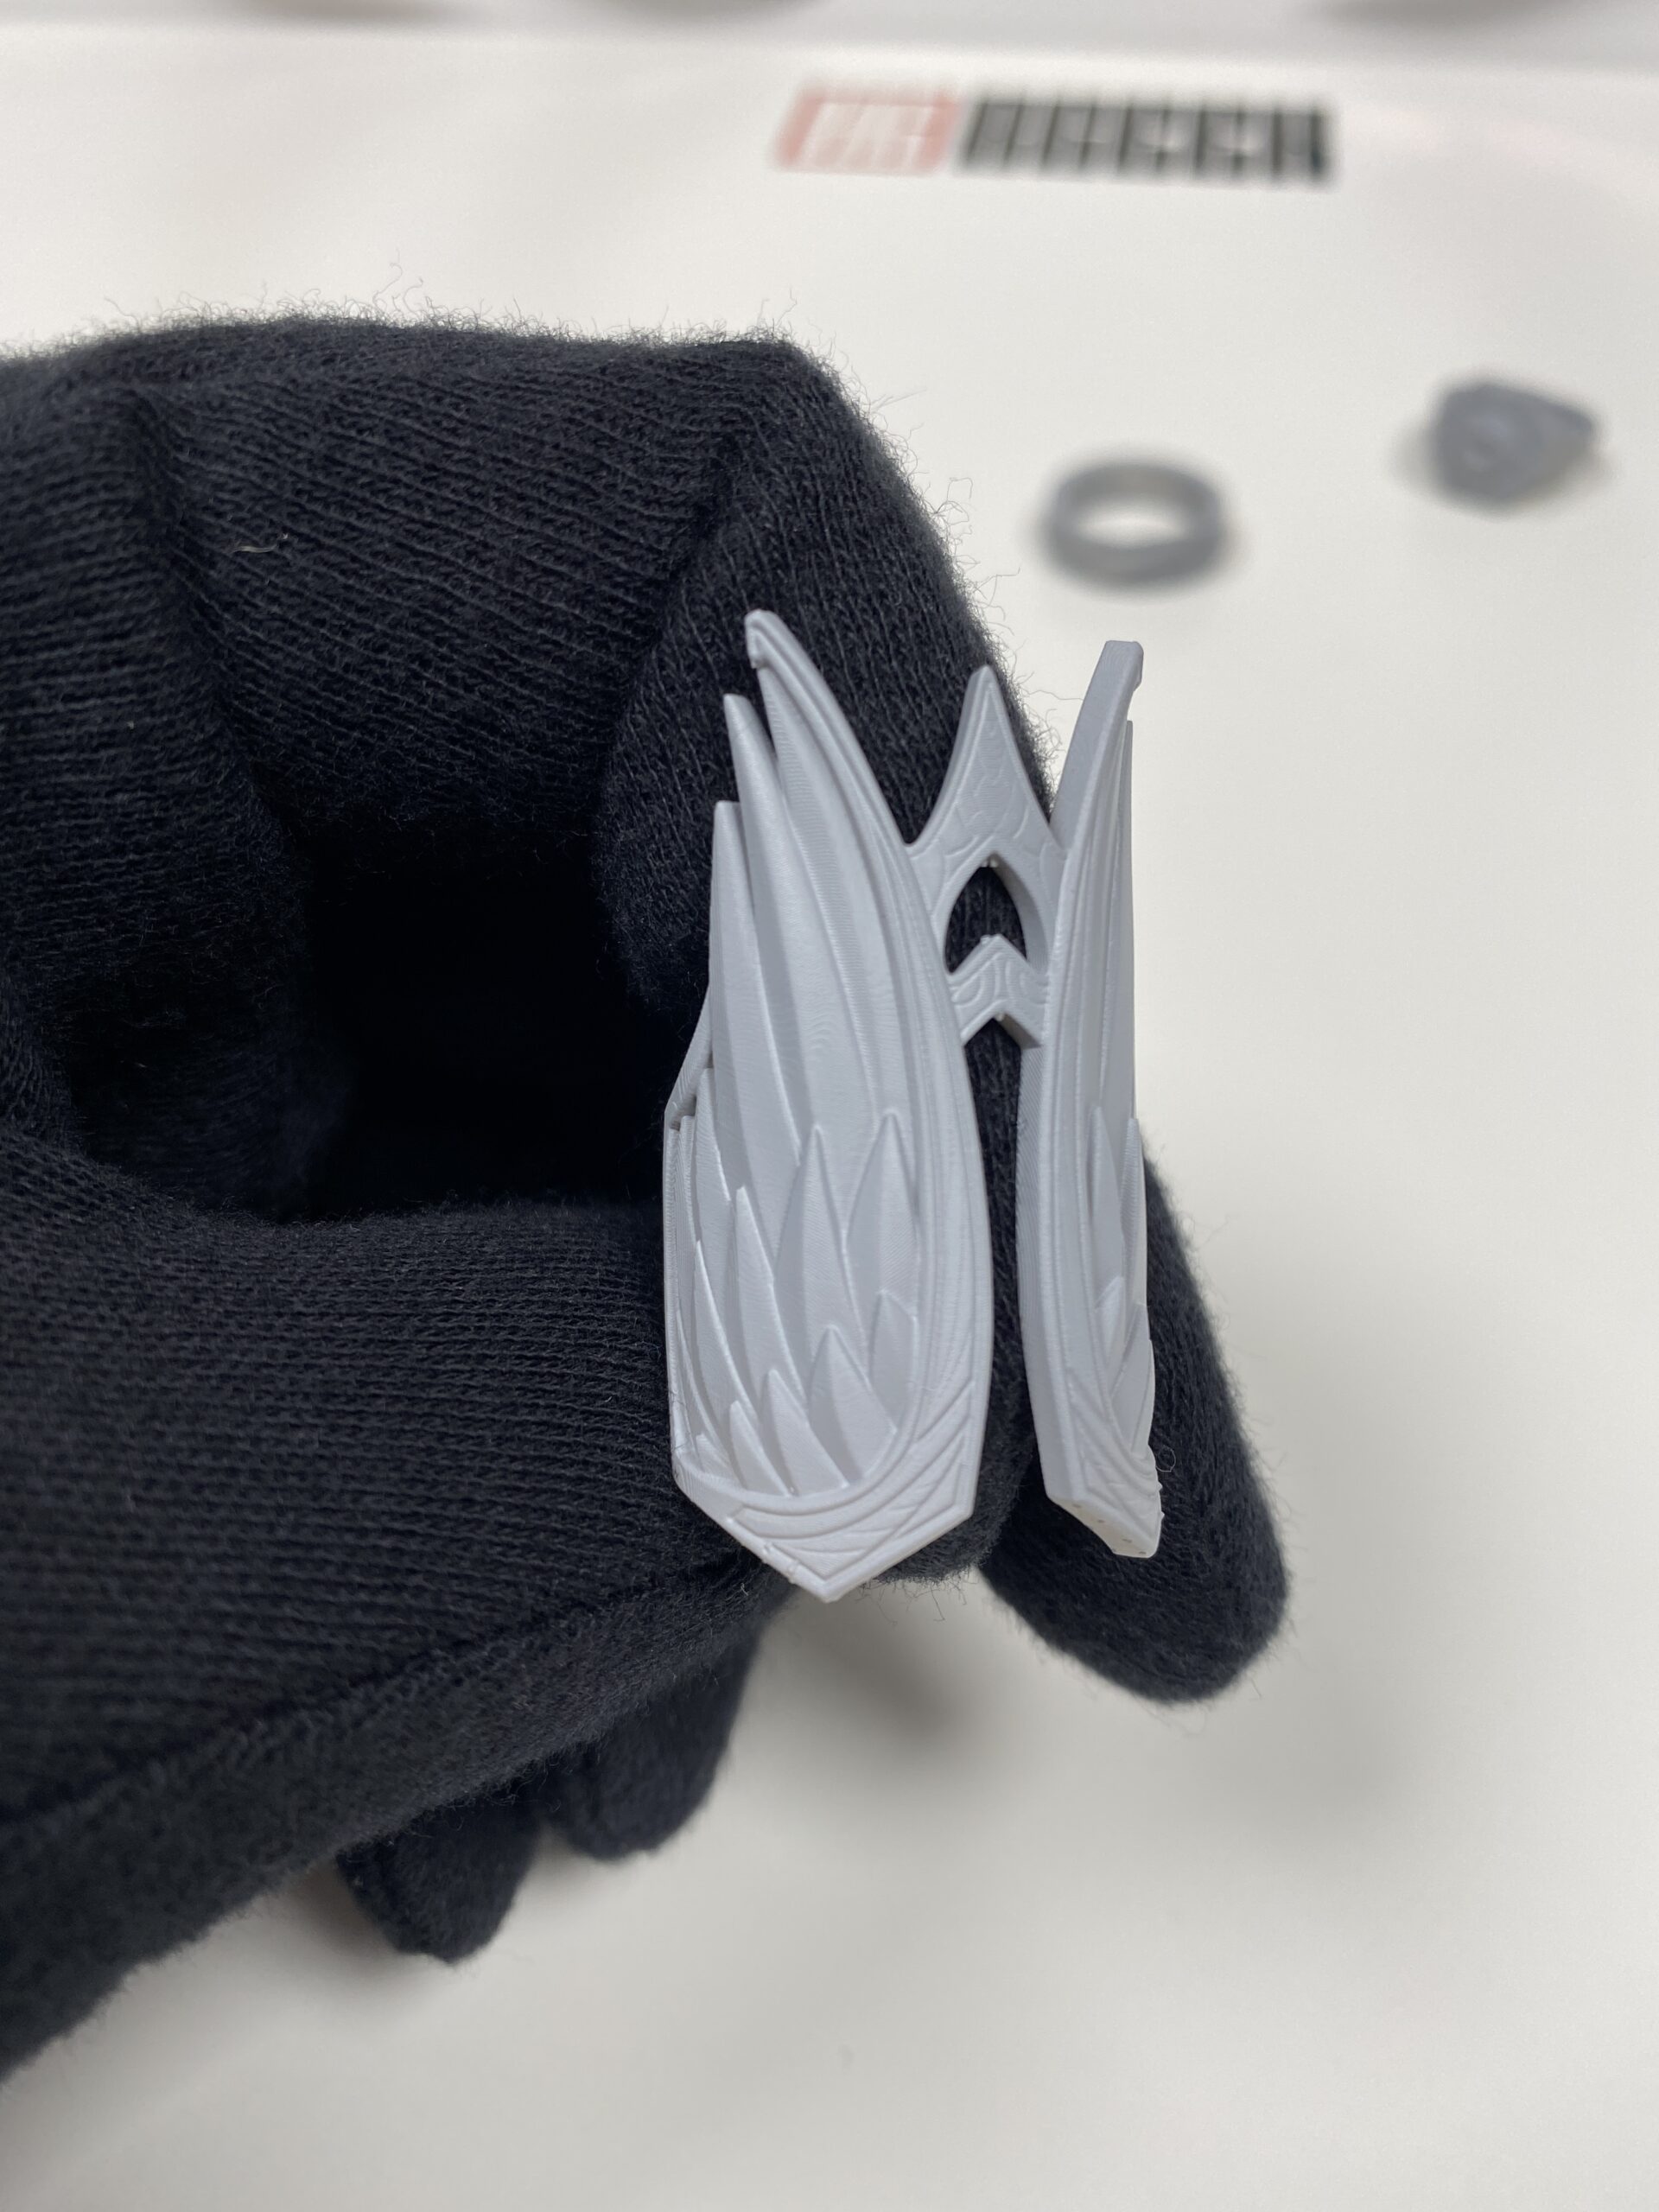
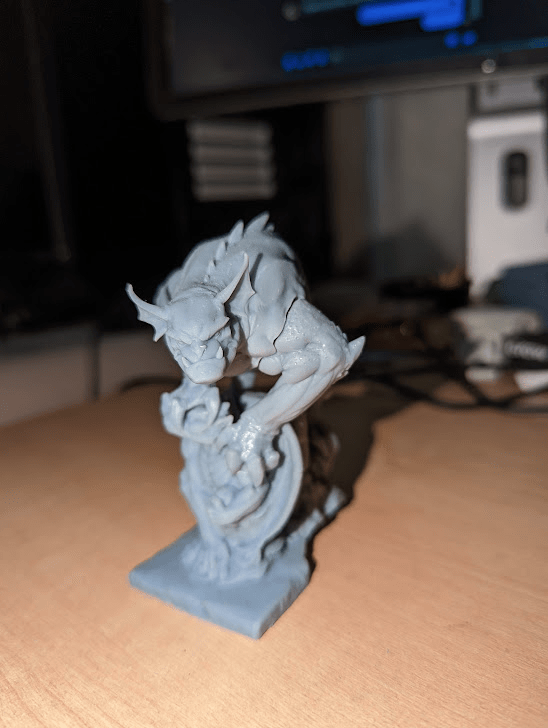
So, after we finished curing the rings, our models look like this. (I kept the support on because I wanted to show up close exactly what the print looks like as it comes out of the printer without touching it).
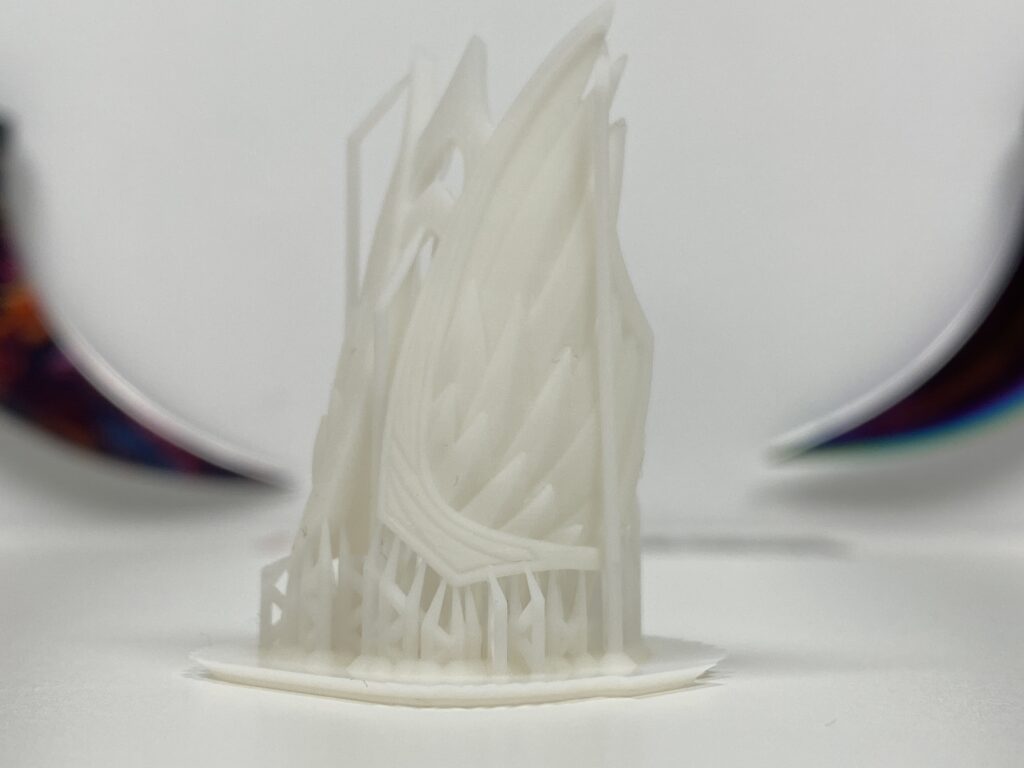
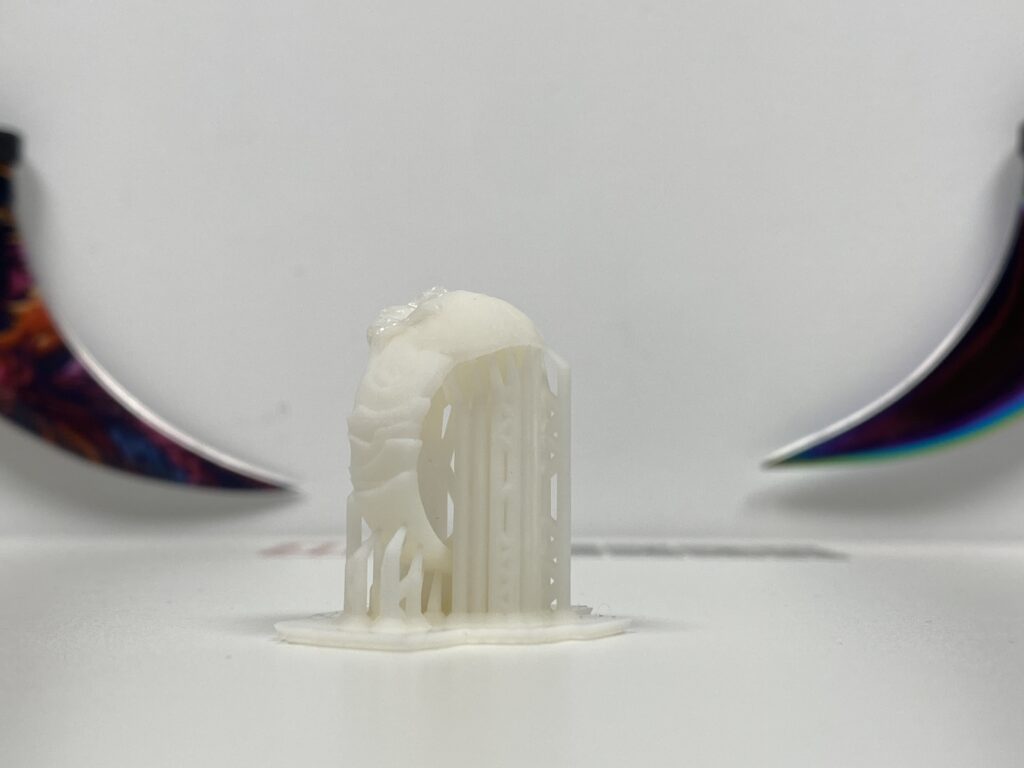
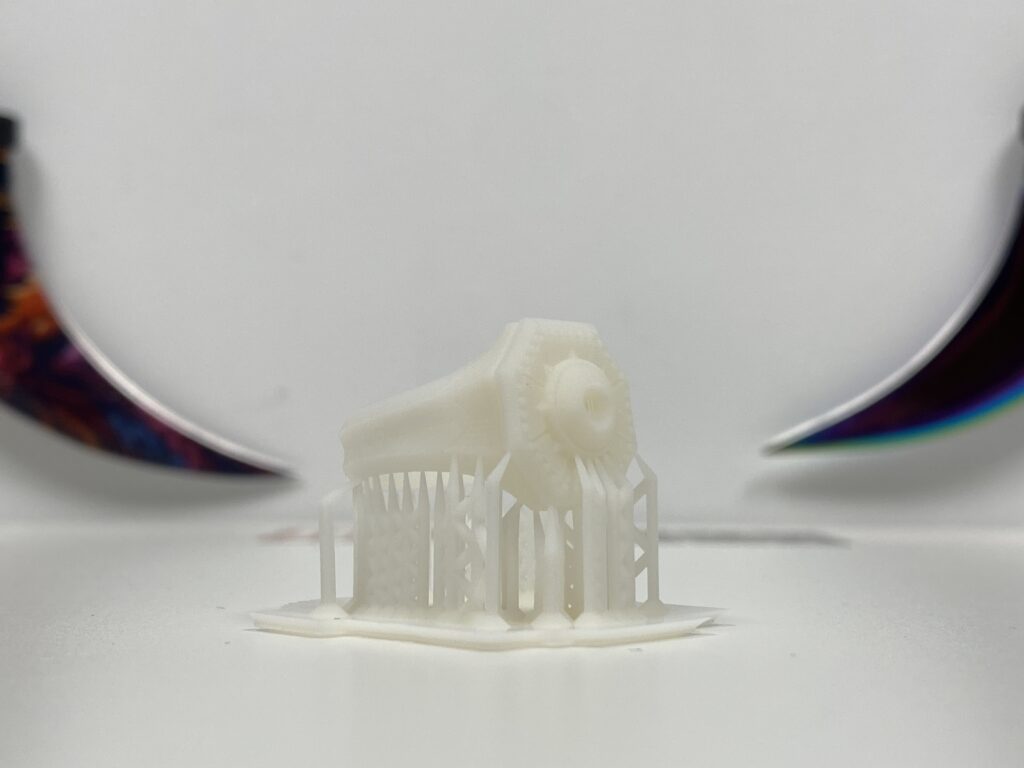
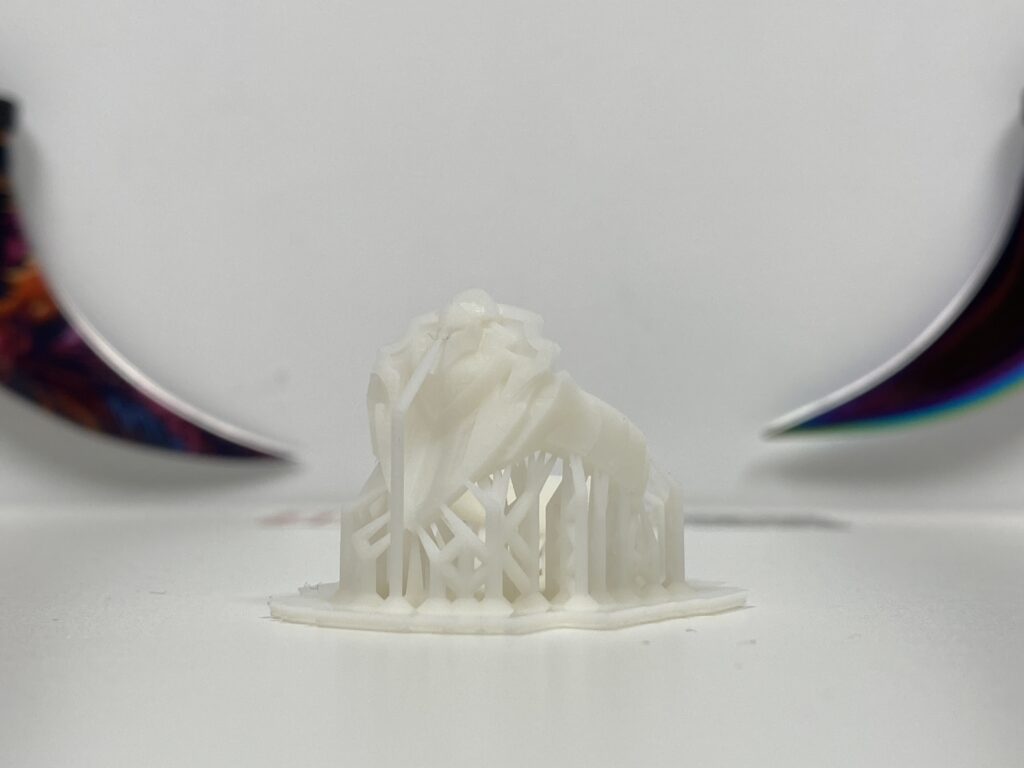
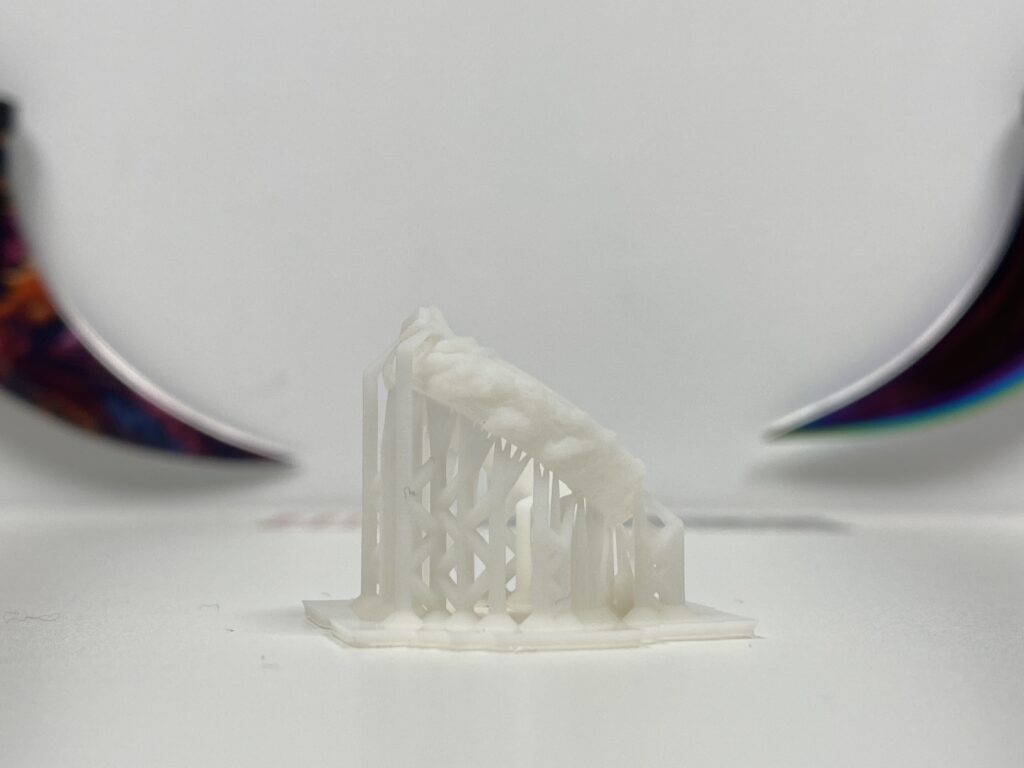
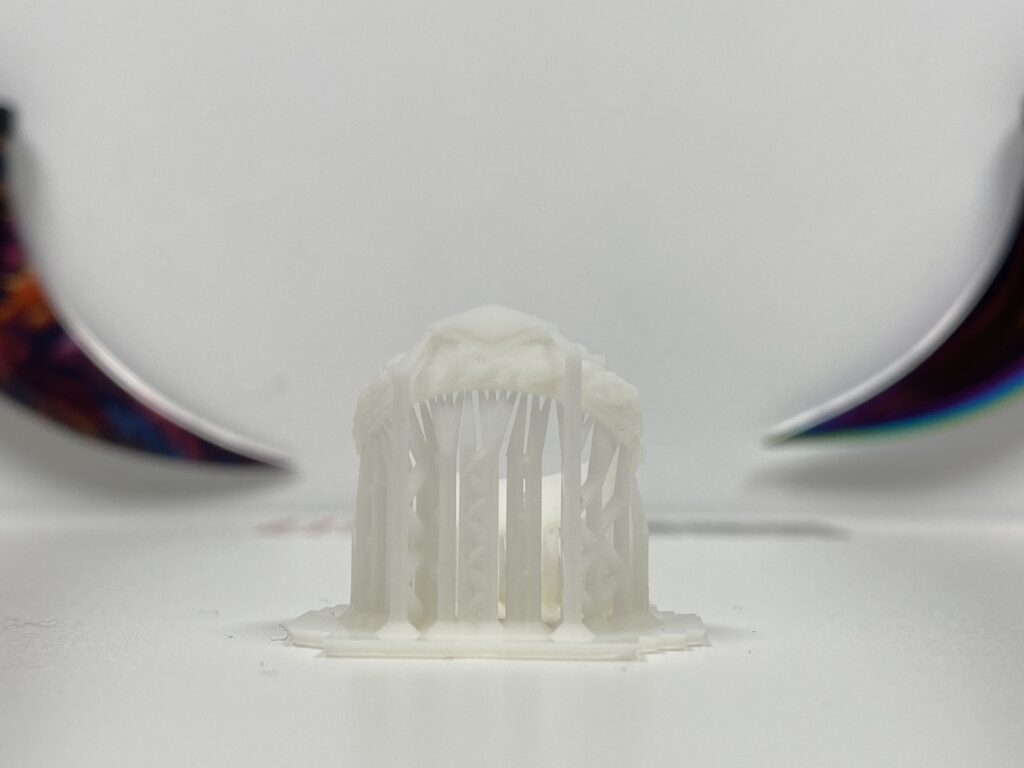
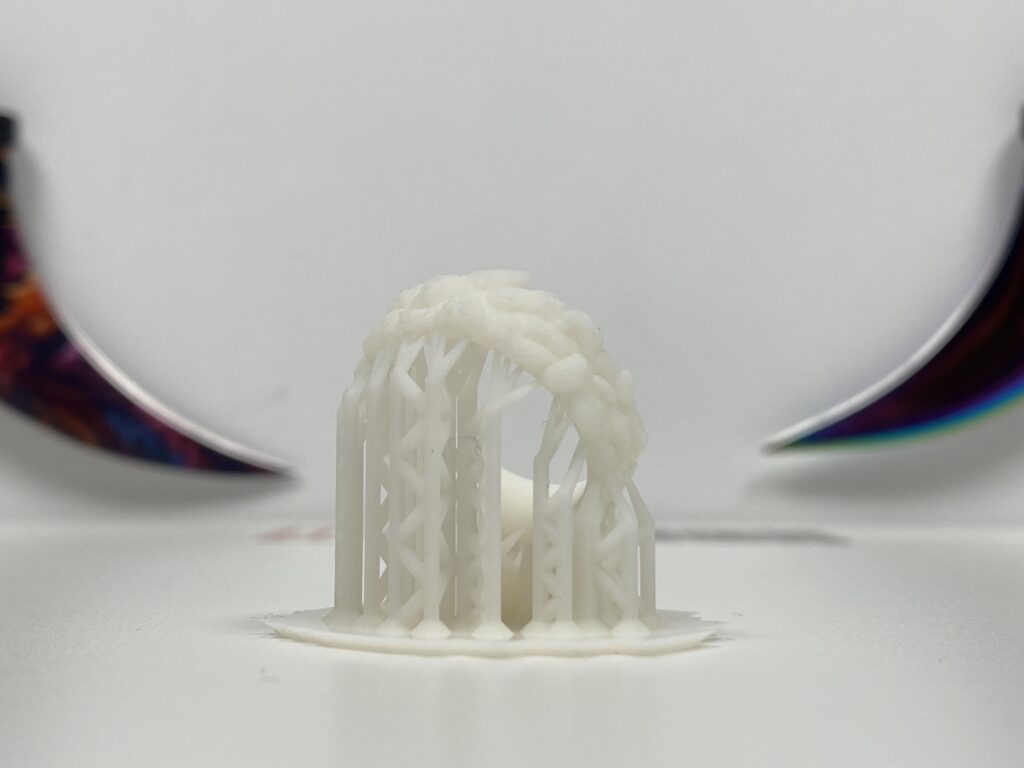
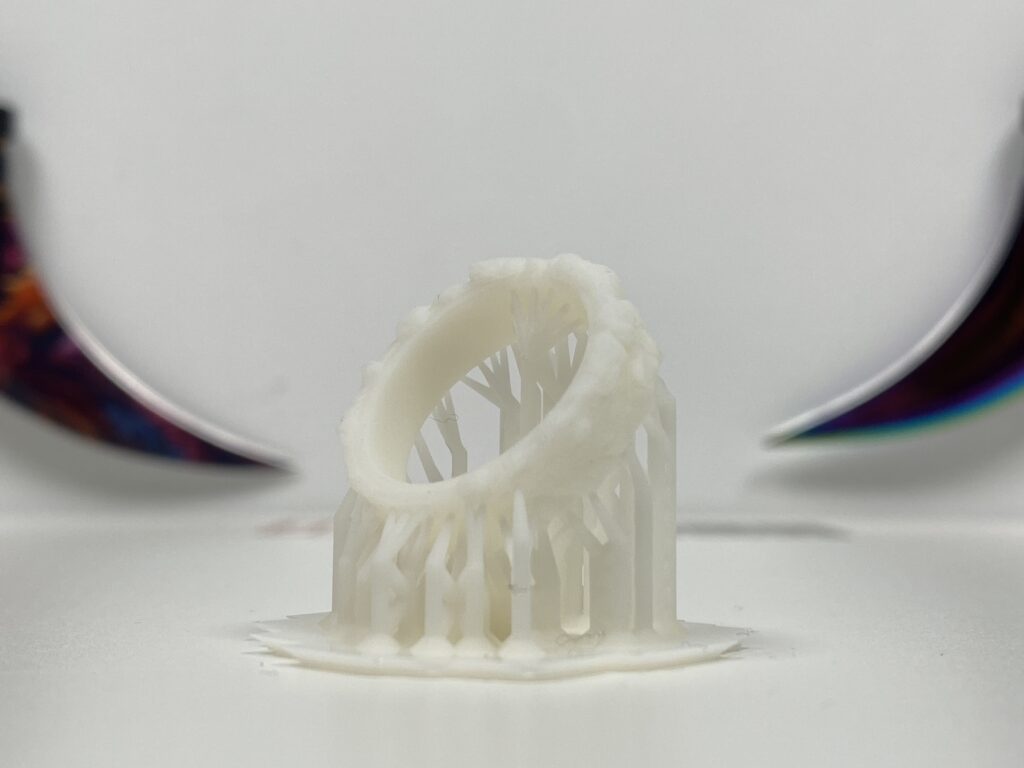

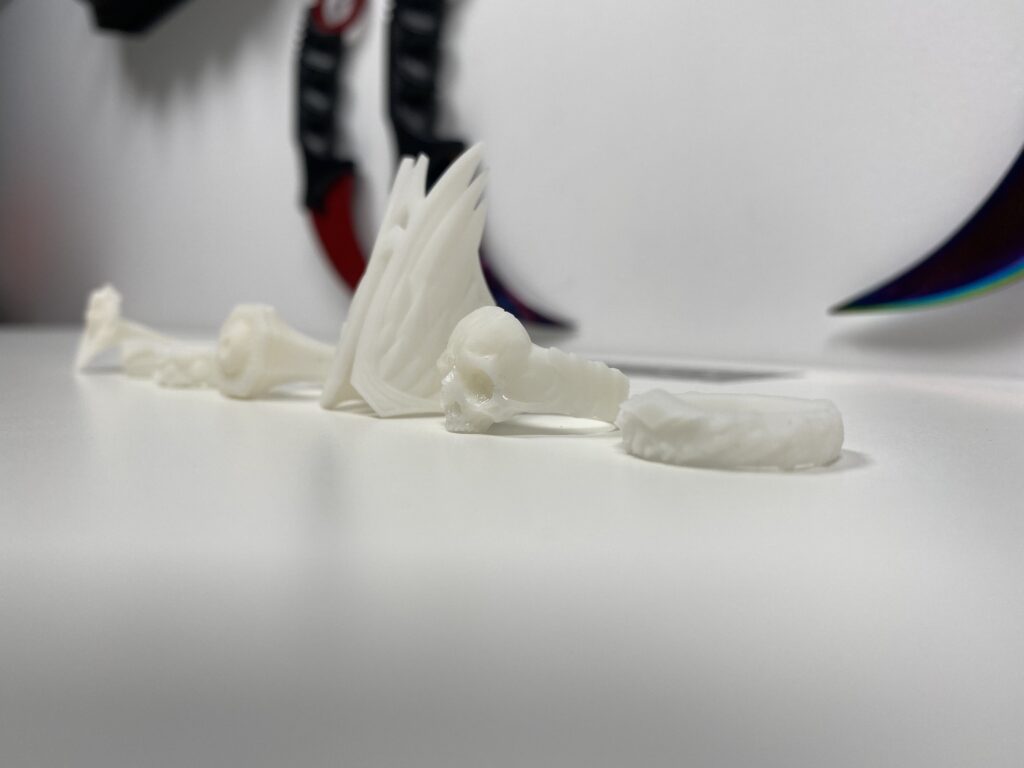
Since the resin that Creality sent me is white and unfortunately the white color doesn’t allow details to pop, I used a primer spray and they look like this
Features of Creality Halot One Plus
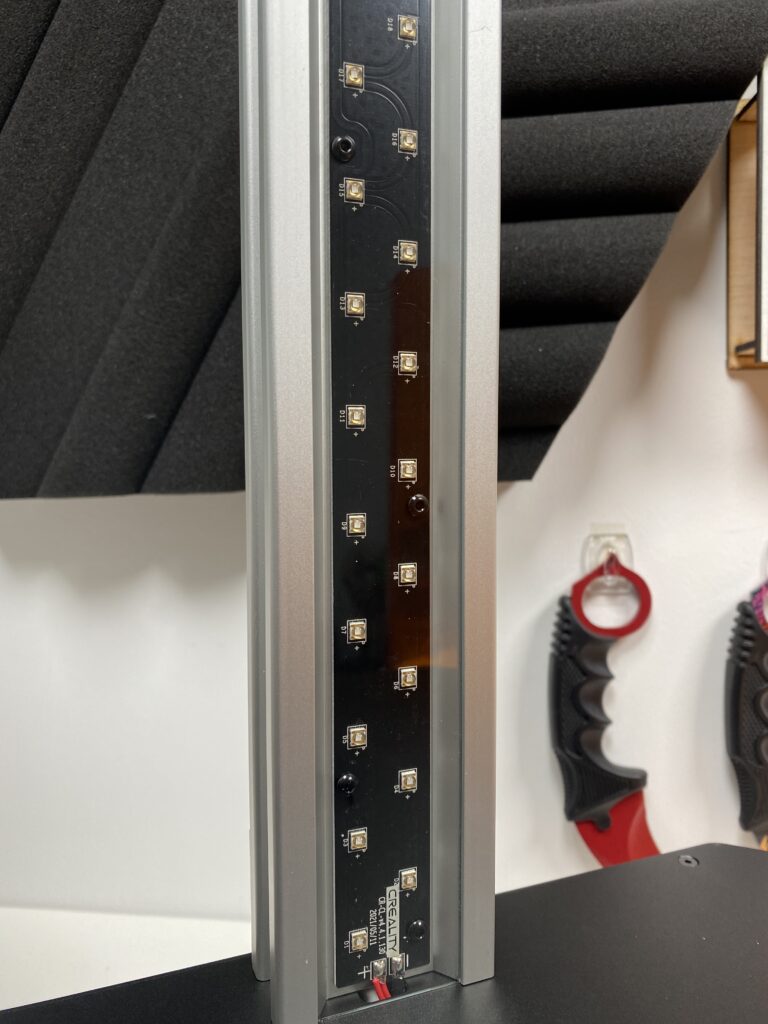
4K Monochrome LCD screen
The Halot One Plus features a 7.9-inch monochrome LCD display with a resolution of 4320 x 2560 (4K). This allows high-quality models to be printed and as you have seen above it does it perfectly. The XY pixel size at 40 micrometers (µm) is not extreme. It is the classic pixel size in printers of the same category. It is enough though that the layers are not visible.
Monochrome LCD is one of two types of display used in resin printers. It helps to create very high-resolution prints with beautiful details. The lack of color helps with this. Since each pixel appears only in white or black, prints have a stronger contrast ratio.
Another advantage of monochrome LCDs is that printing time is significantly reduced. Greyscale lighting allows much more light to hit the resin, helping it cure faster. This makes the Halot One Plus finish with each layer within the 1-4 seconds time frame. The light intensity reaches 4500 uw/m² (which is quite strong) and as with most resin printers, it has a lifespan of around 2000 hours of use.
Dual linear rail on the Z axis
The Halot One Plus features a dual linear rail (guide) on the Z axis that ensures the printer moves smoothly and accurately. The result is higher quality prints with fewer visible streaks or defects.
This design helps to print larger objects with a layer thickness of 0.01 mm without visible horizontal lines in the prints.
Another innovation of Creality is that they put the “ending” of the rail at the top of the machine. For this reason, when we level the printer, we should first wait for the base to reach the top and then go down again from there.
Specs
| Model | HALOT-ONE PLUS |
| Print size | 172x702x760mm |
| Screen Size | 7.9 inches |
| Screen resolution | 4320×2560 (4K) |
| XY-axis resolution | 0.04mm |
| Printing speed | 1-4 seconds per layer |
| Weight | 0.01-0.2 mm |
| Touch screen | 5-inch HD Full-view, Multitouch Screen |
| Operating Principle | Built-in light source |
| Wavelength | 405 nm |
| Power | 100W |
| Printing size | 236x243x418 mm |
| Box size | 370x300x530 mm |
| Net weight | 6.8 kg |
| Gross weight | 8.6 kg |
| Slicing software | HALOT BOX, LycheeSlicer, Chitubox |
| Data transfer methods | USB disk, Creality Cloud, HALOT BOX WiFi |
| Supported languages | English, French, German, Spanish, Portuguese, Japanese, Korean, Turkish, Italian, Russian, Dutch, Polish, Simplified Chinese, Traditional Chinese |
Verdict
3D printers are the dream of every figure collector, cosplayer, jewelry maker, and Warhammer hobbyist. You print out whatever comes to your mind, paint them however you like and you’re ready to enrich your collection.
Halot One Plus is the ideal printer for entry-level users as well as for more experienced users. It is easy to use, its results are always perfect and it really hasn’t failed a single print to date. It is small but with a large printing platform. All these make it the perfect resin printer.
An offer is currently live and the Halot One Plus can be yours for €519 (€629 official price) through Creality’s official European site. Combined with the Creality UW-02 at the price of €259, you are ready to spend many kilos of resin and turn them into your favorite heroes. Imagine if you could print all the Digimon you like.
At this point, I would like to thank Creality for providing the review units we used.