Anycubic is a company that has been well-known in the field of 3D printers since 2015. It is one of the big and respected names mainly for its resin printers. They surprised us though and sent us an FDM printer to test. And not just any printer, but their largest model. The Anycubic Kobra 2 Max!
To give you an idea of how large the printing surface is, I’ll just mention that it can print models up to half a meter in height. This is because when I was talking to them, I mentioned that I work with several cosplayers and we decided that this particular printer is the best choice.
Unboxing
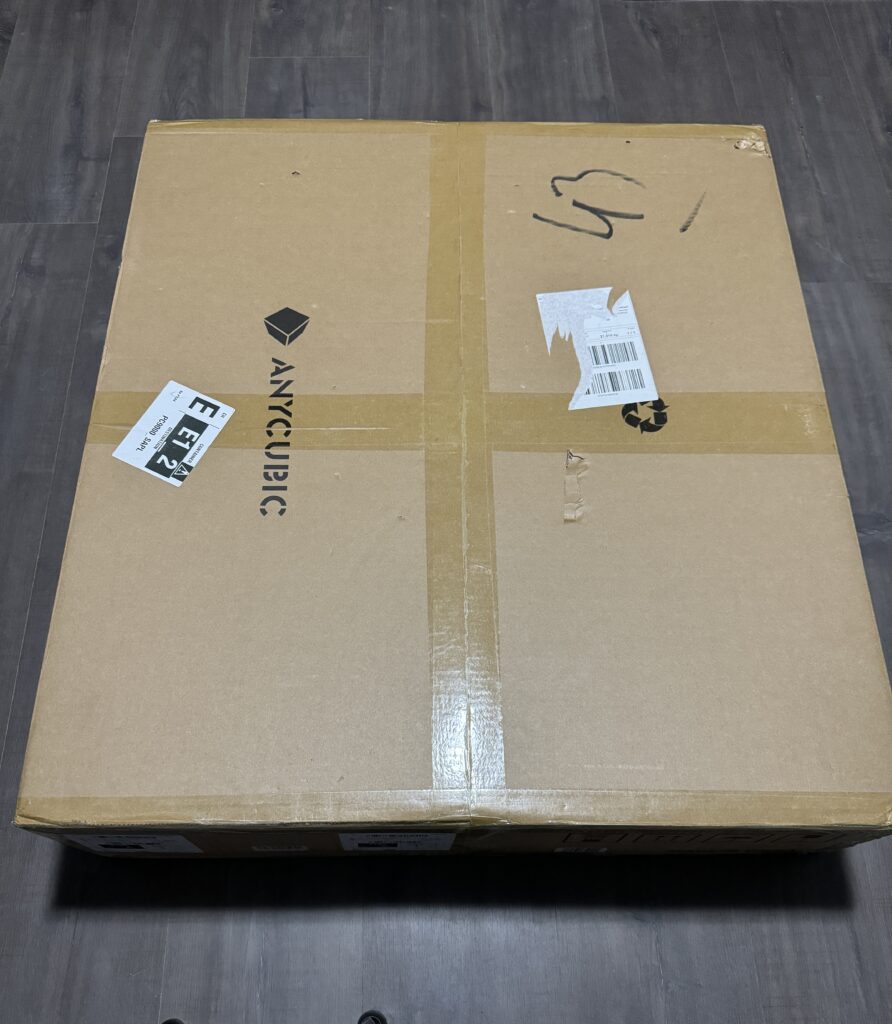
Since the box of Anycubic Kobra 2 Max is huge, it didn’t fit on our unboxing table, I decided to take pictures, step by step as I opened its box. In fact, it has a very large surface but not so much height and we will see the reason later.
Opening the box we find two layers of protective foam. One at the top and one at the bottom of the printer.
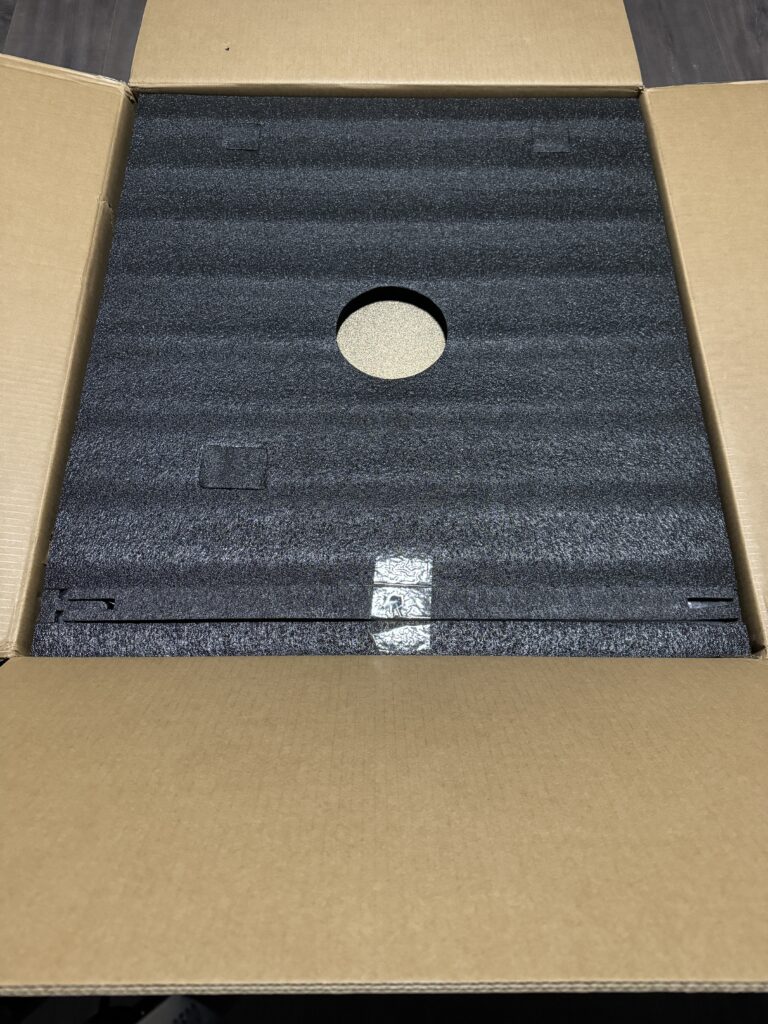
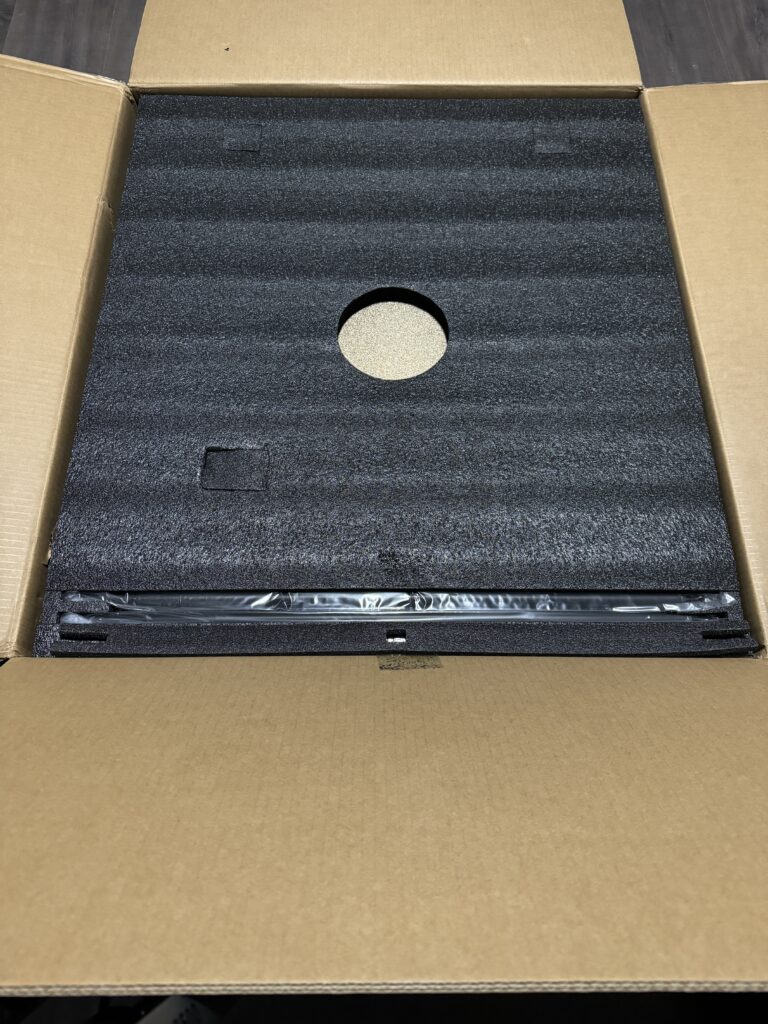
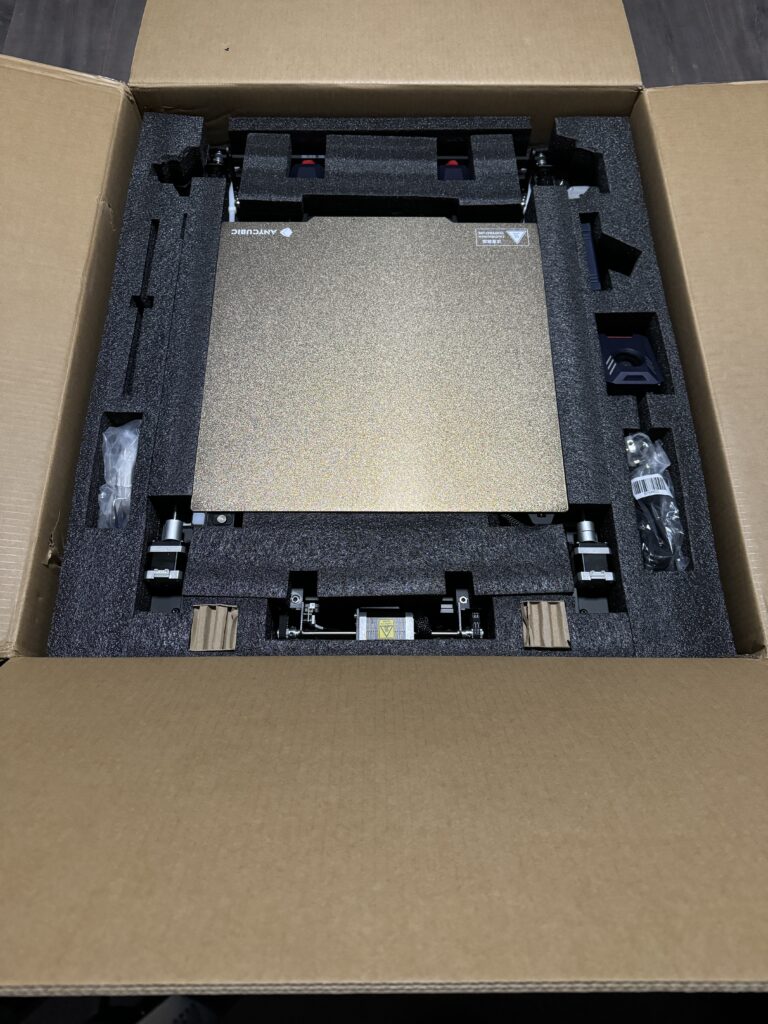
As can be seen from the photos, it is so well-packed that even if this particular one were to step on a mine, it would not suffer as much. But let’s see in detail what is inside the box.
- The Anycubic Kobra 2 Max zipped to one piece (while it comes into two pieces)
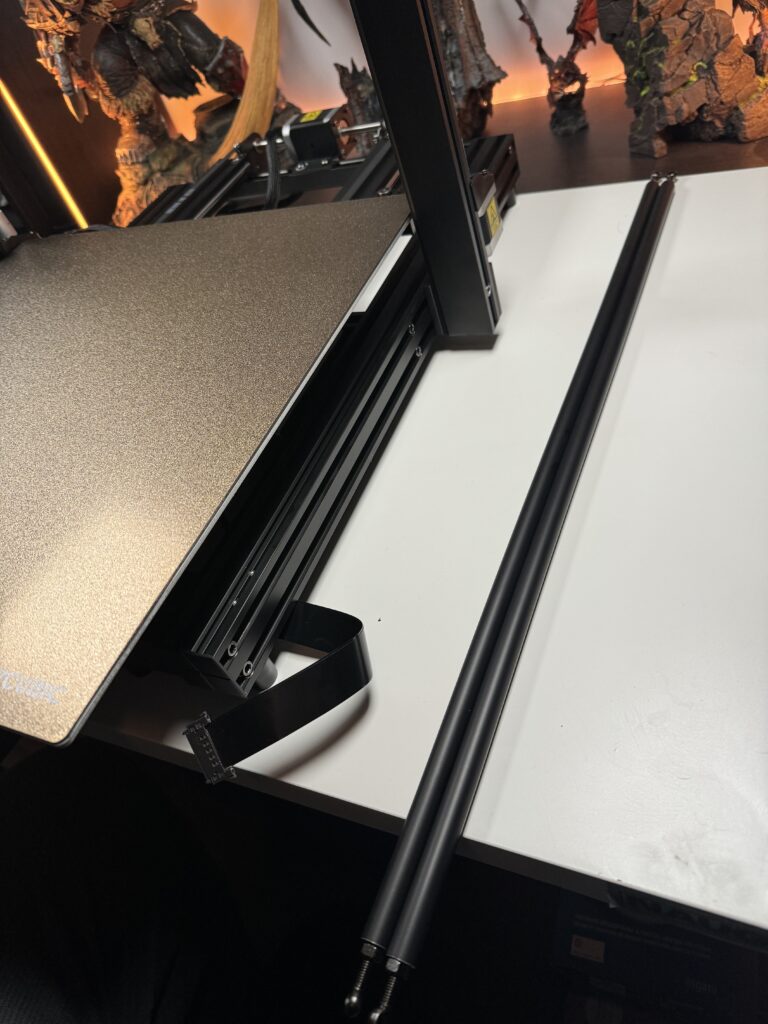
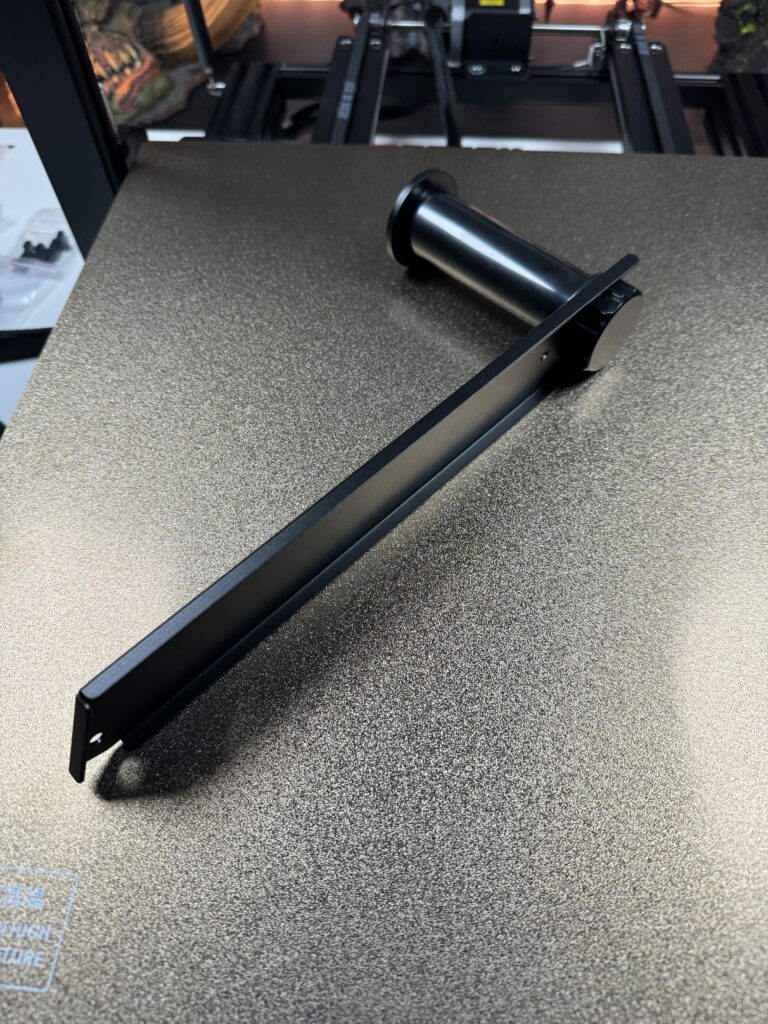
- 2x bars that keep the Z-axis stable
- 1x power supply cable
- 1x touch screen
- 1x metal base where the rod for the filament rolls screws as well as the plastic rod itself
- 1x print head
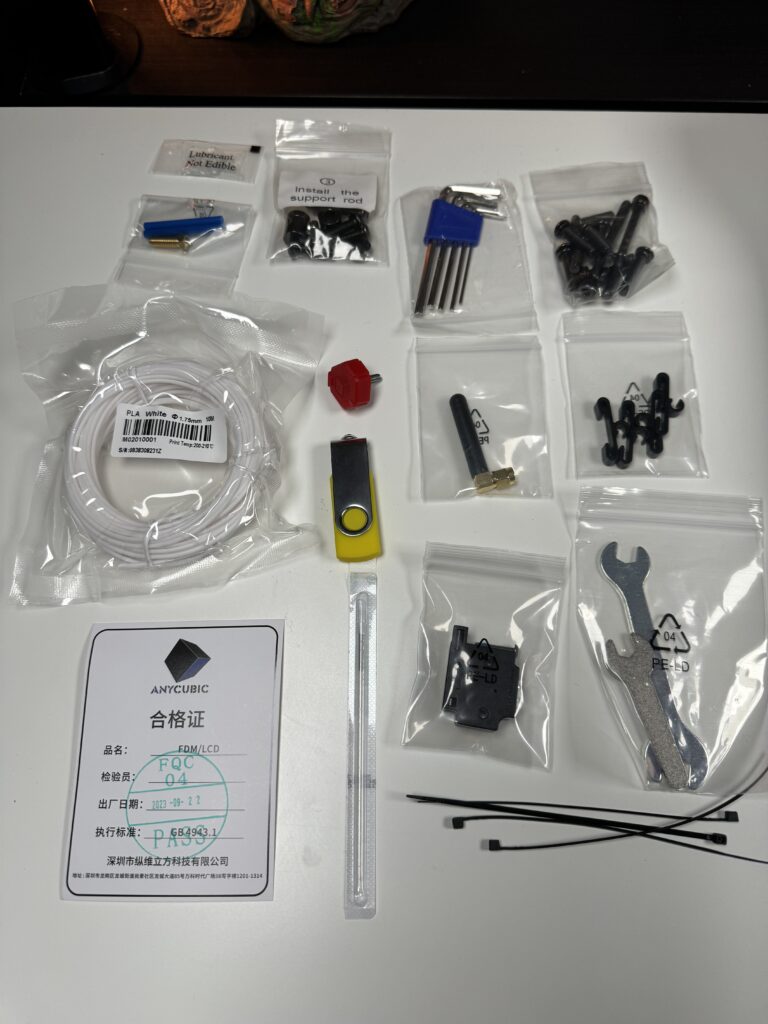
- 1x bag of tools and screws
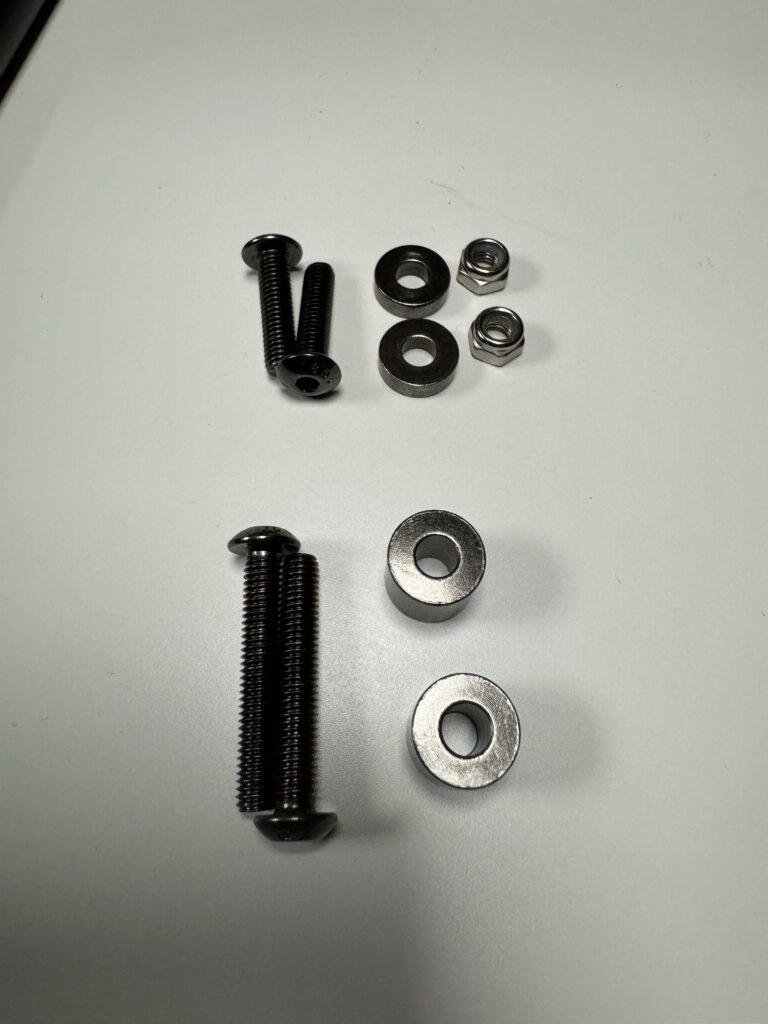
- Screws: 4x M3*6, 6x M5*20, 4x M5*25, 2x M5*30, 2x M5*60
- 2x nuts, 2x thin washers and 2x thick washers
- 1x USB stick
- 1x extra nozzle
- 4x allen keys (4.0/3.0/2.5/2.0/1.5)
- 4x plastic clamps
- 2x wrenches
- 1x nozzle cleaning needle
- 1x test filament
- 1x grease bag
- And of course the manuals
Setting Up the Printer
Before we move further, we need to assemble the Anycubic Kobra 2 Max. I’ve been playing around with many out-of-the-box printers lately. So, let’s get back to the good old days.
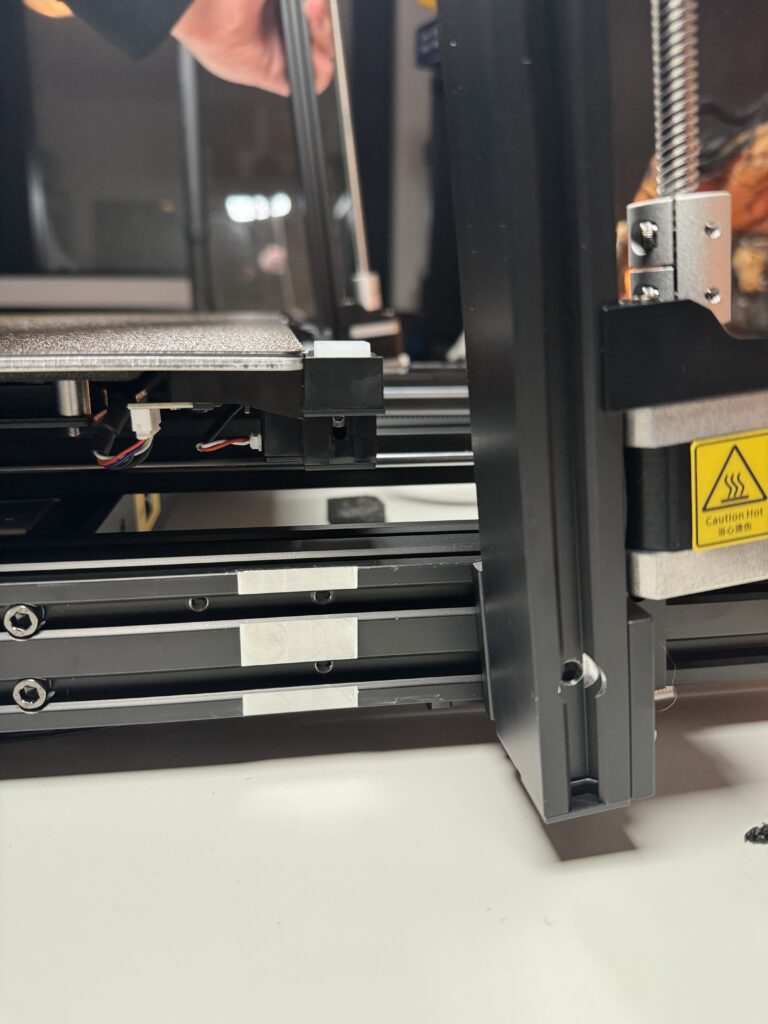
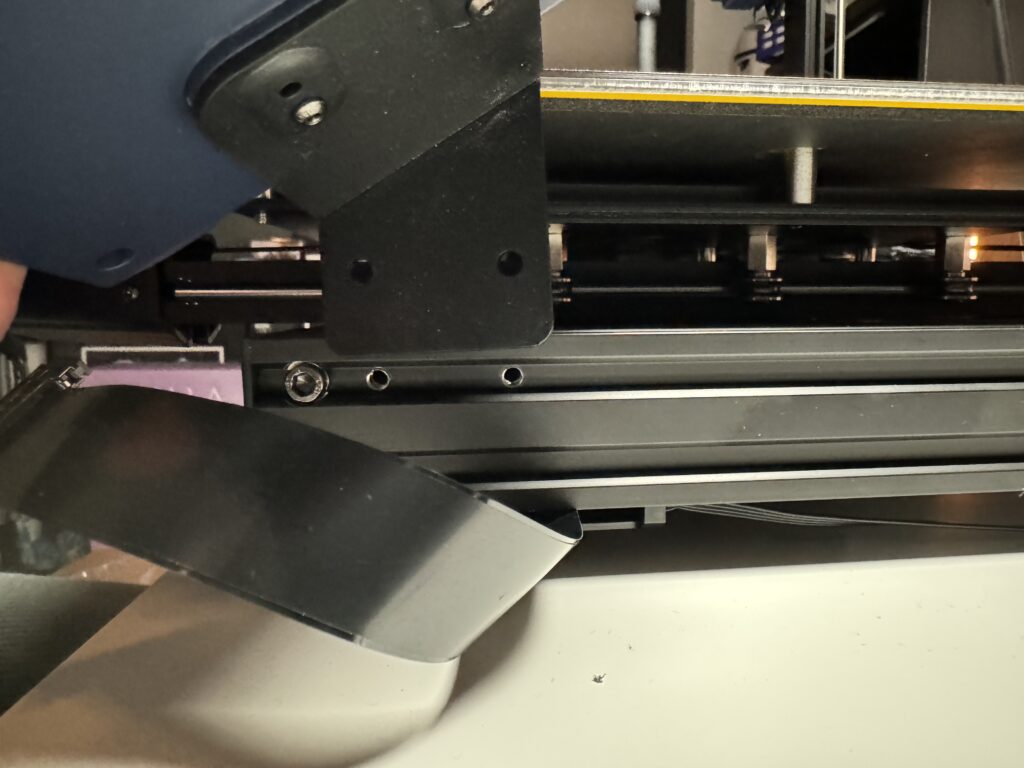
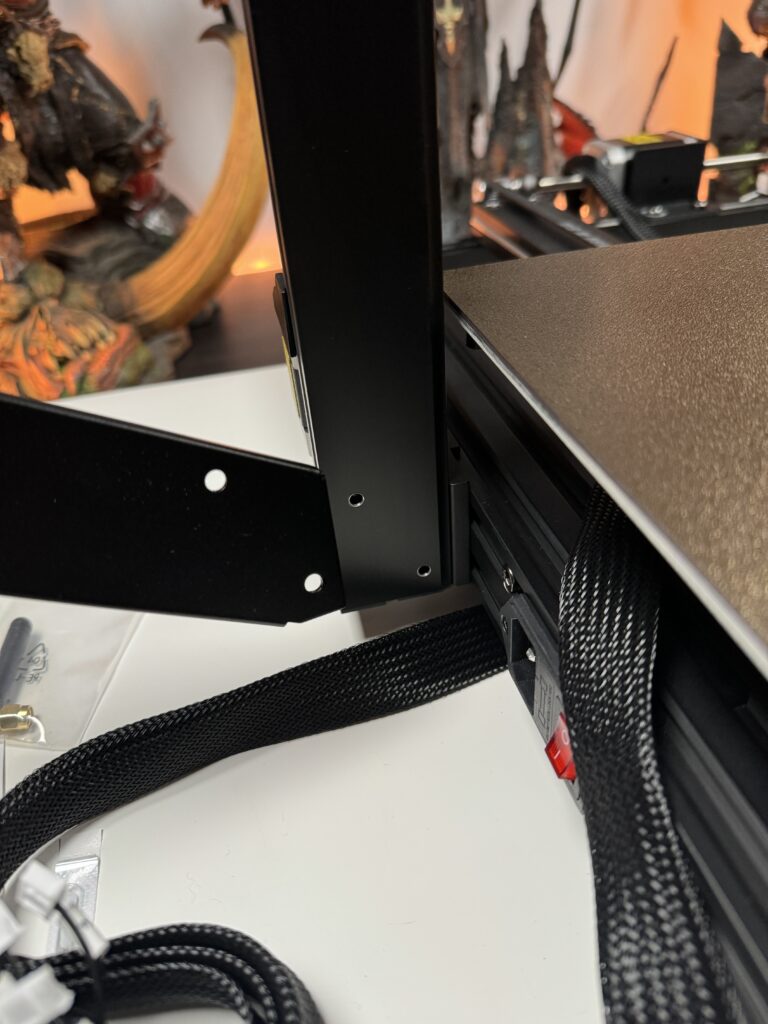
Firstly, we will have to separate the frame of the Z-axis from the base of the printer. We do this by unscrewing a total of 16 screws. As shown in the photo below, there are 4 metal mounts with 4 screws each.
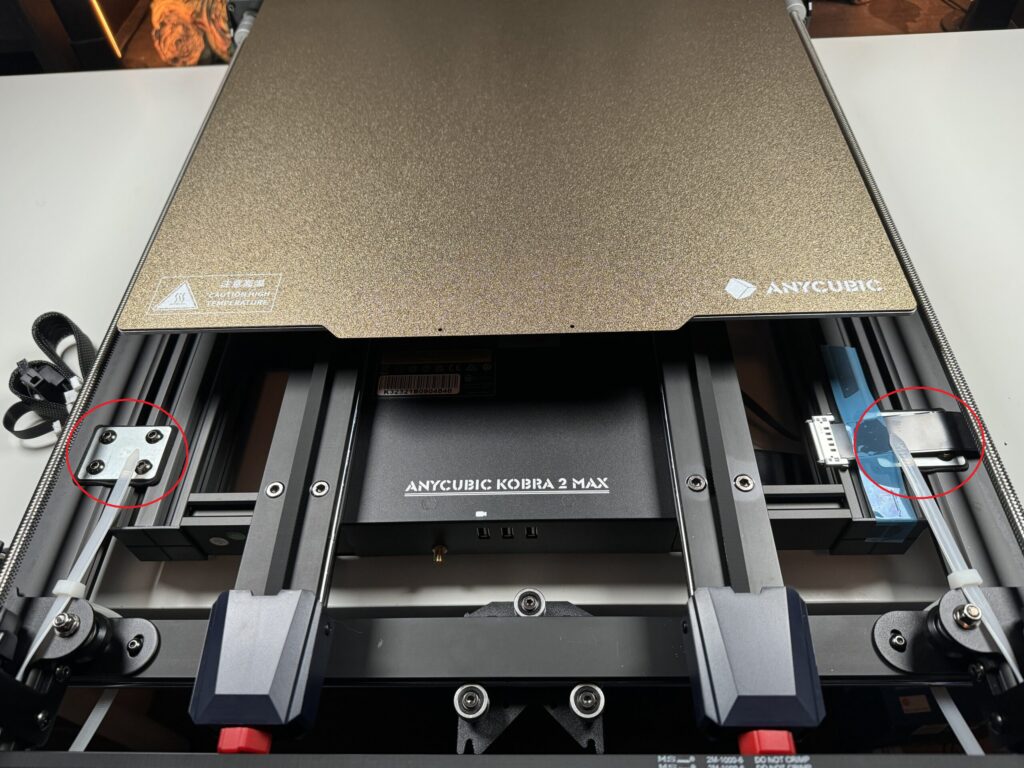
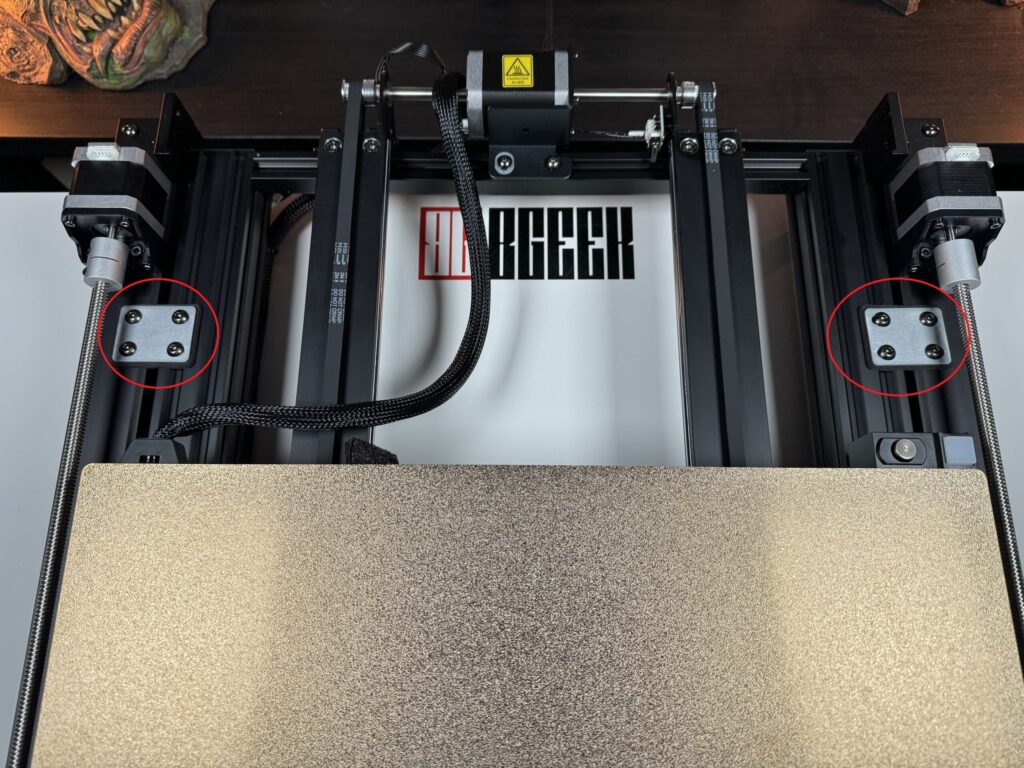
Then we screw the frame of the Z-axis onto the base of the printer. On the left side, right next to the power switch and on the right side, next to the base screws are the holes for our screws.
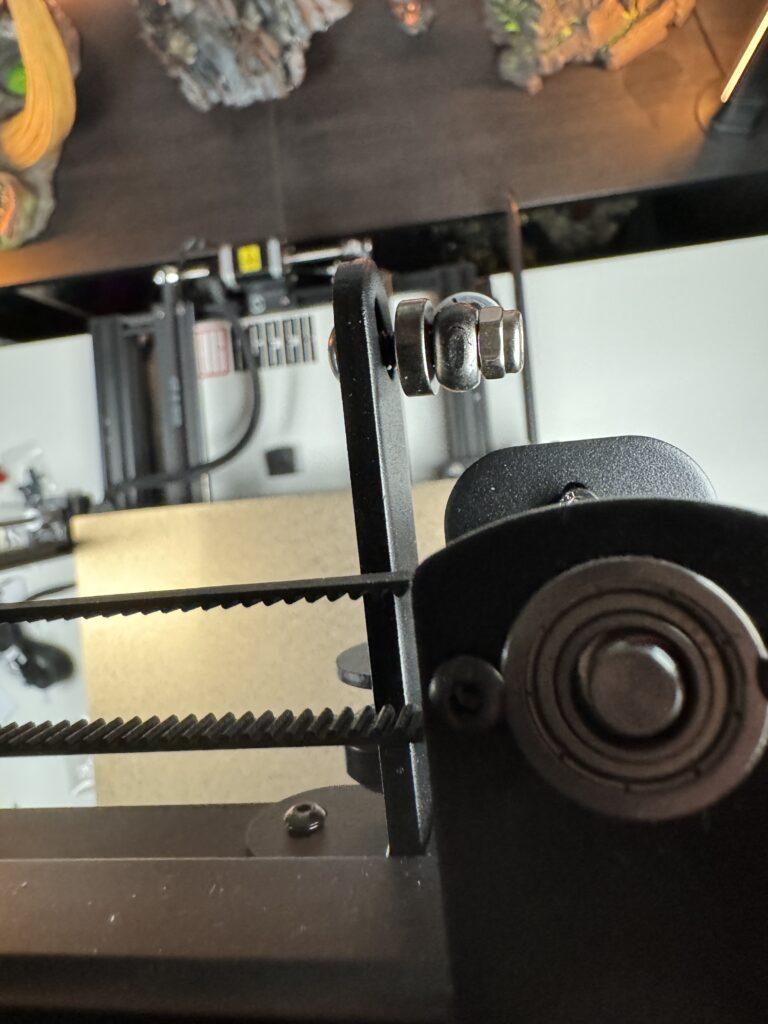
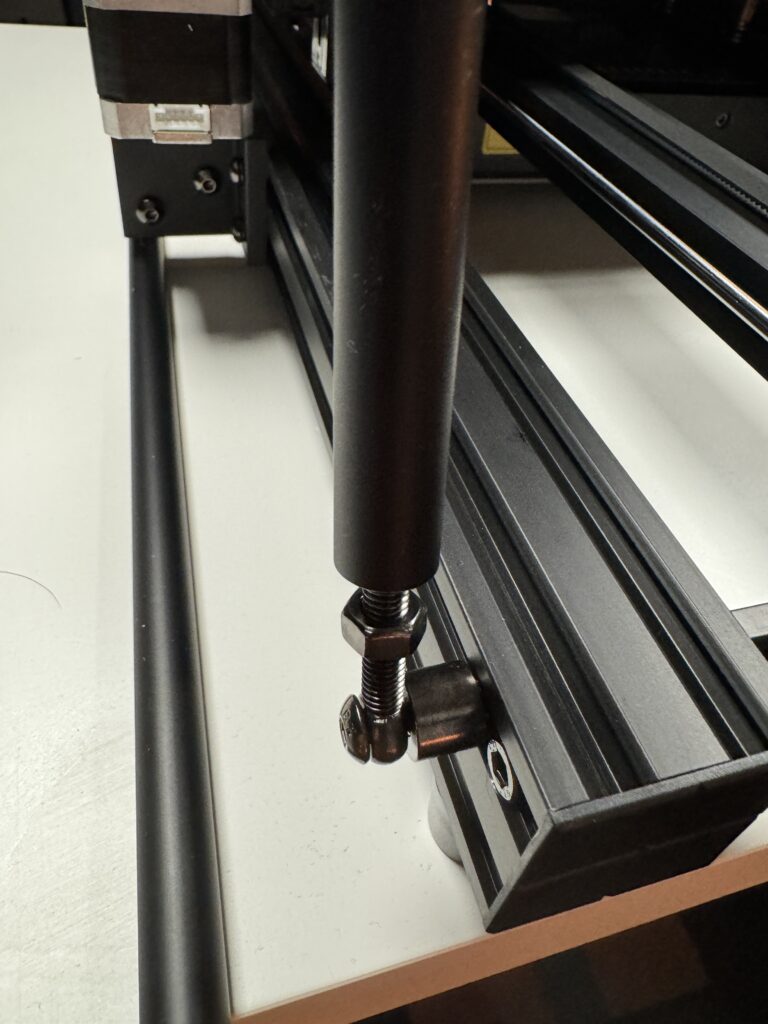
Let’s screw in the 2 rods that hold the Z-axis steady on the base and prevent it from wobbling. These screw into the top corners of the Z-axis and into the back of the base in the corner right next to the existing screws.

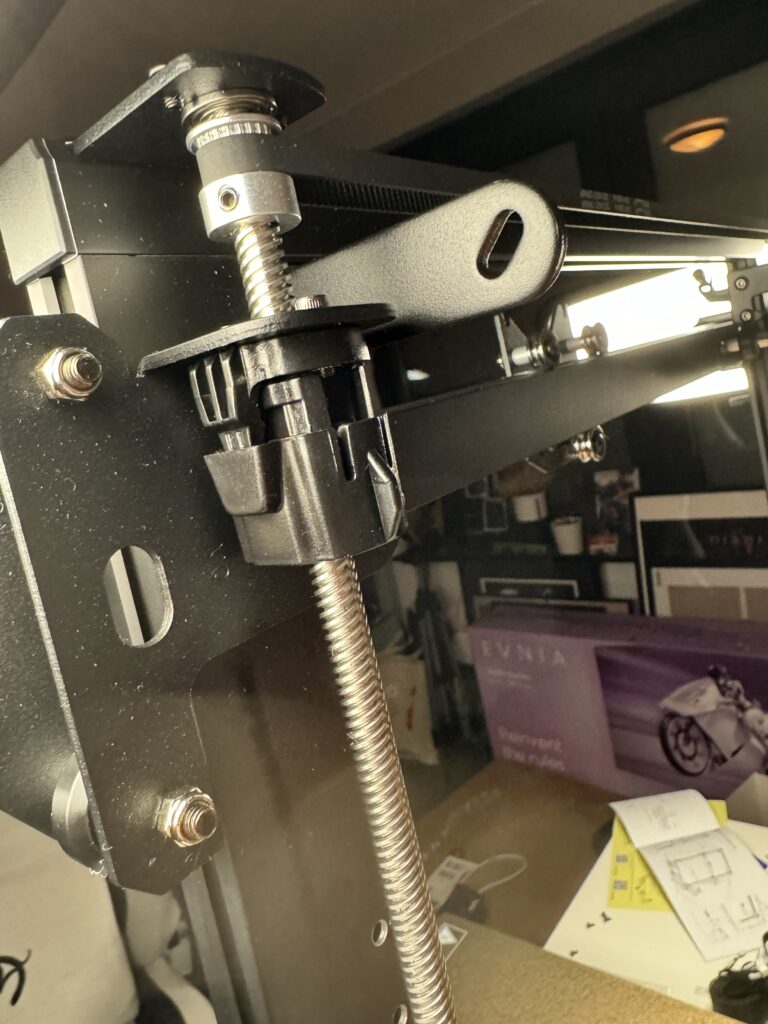
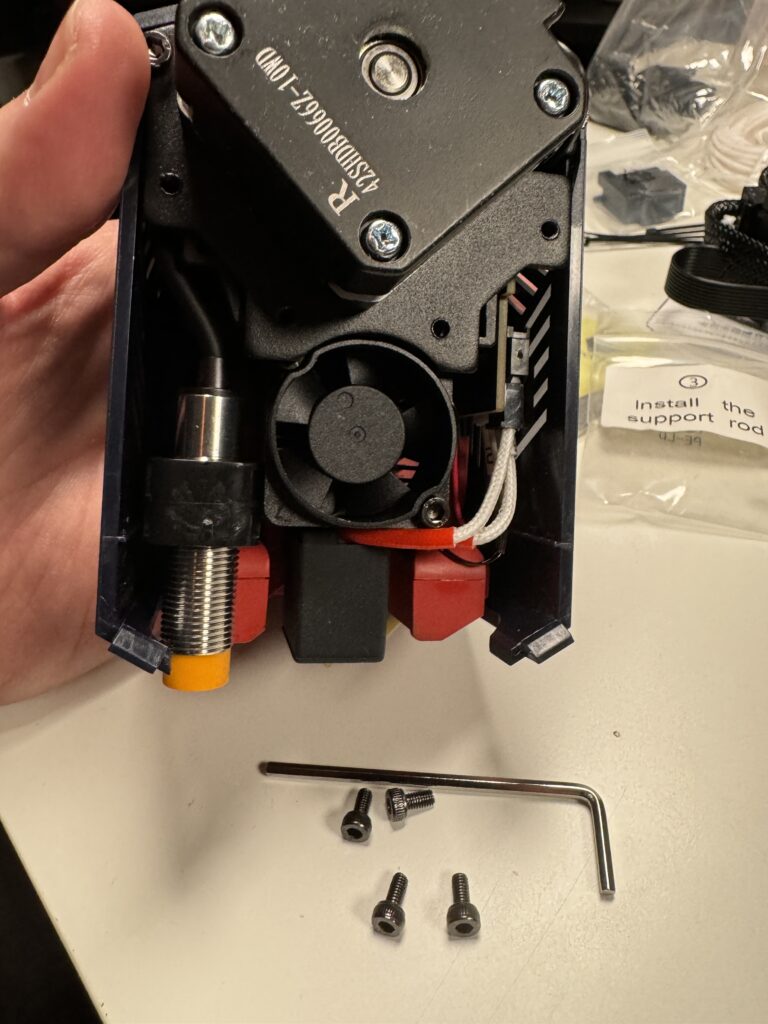
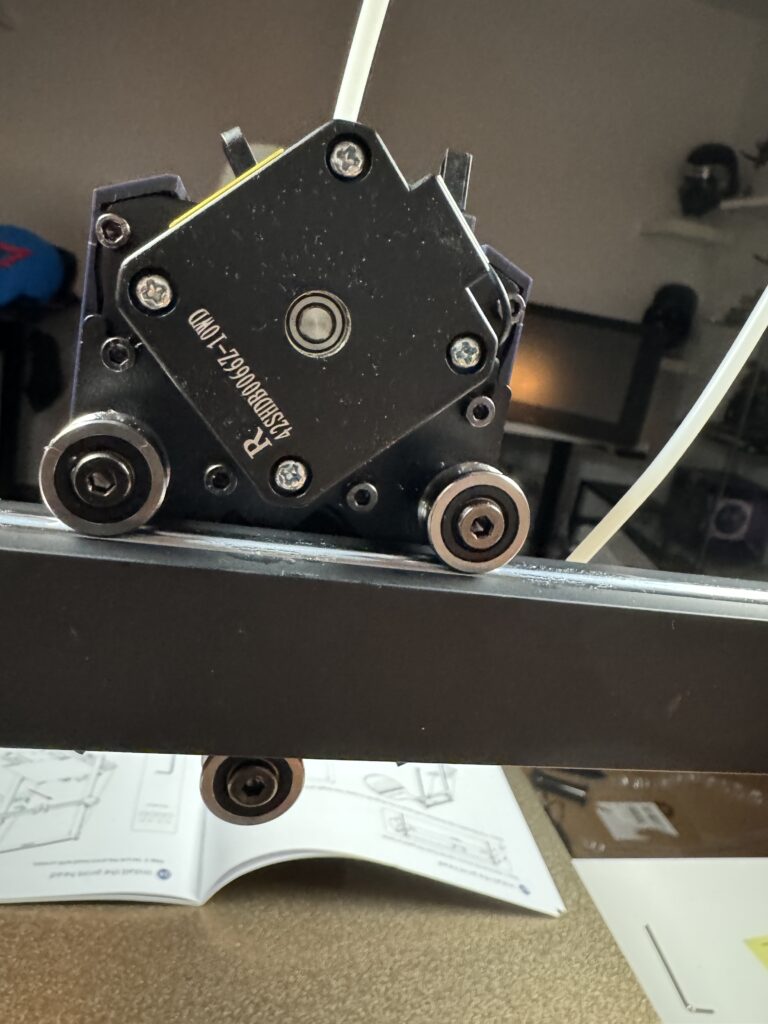
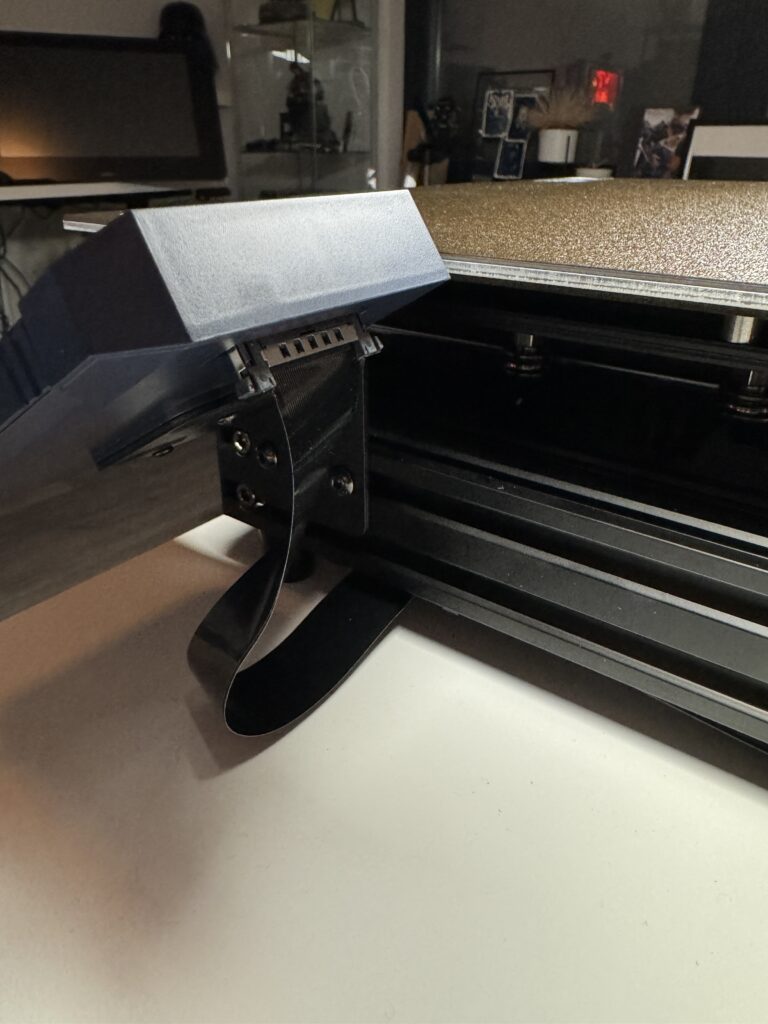
Our next step is to install the print head and filament sensor. On the back of the print head, there are four holes that we need to line up with the mount of the head on the shaft. We screw them in and we’re done.
The thread sensor goes into the left part of the axis. You need to be careful because there are two holes for the screw. We will use the one that leaves a small gap between the sensor and the nozzle.
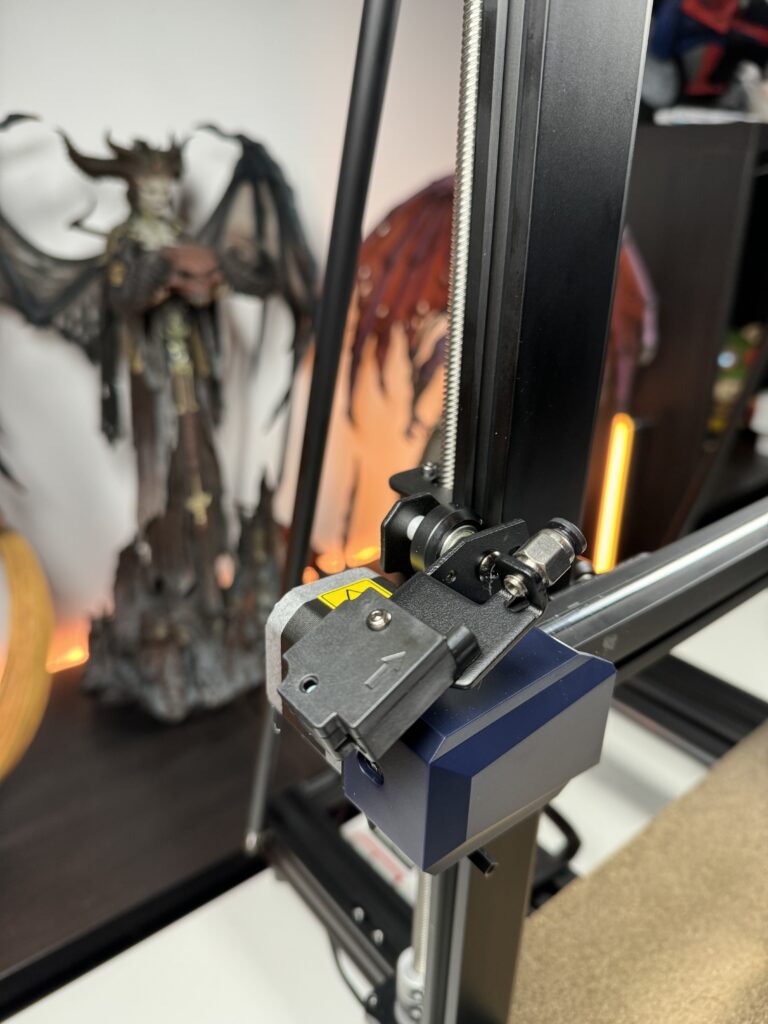
Now is a good opportunity to use the clamps and “tie” the small tube where the filament goes through, to the power cable of the head. That way we can keep it in place during our printing sessions.
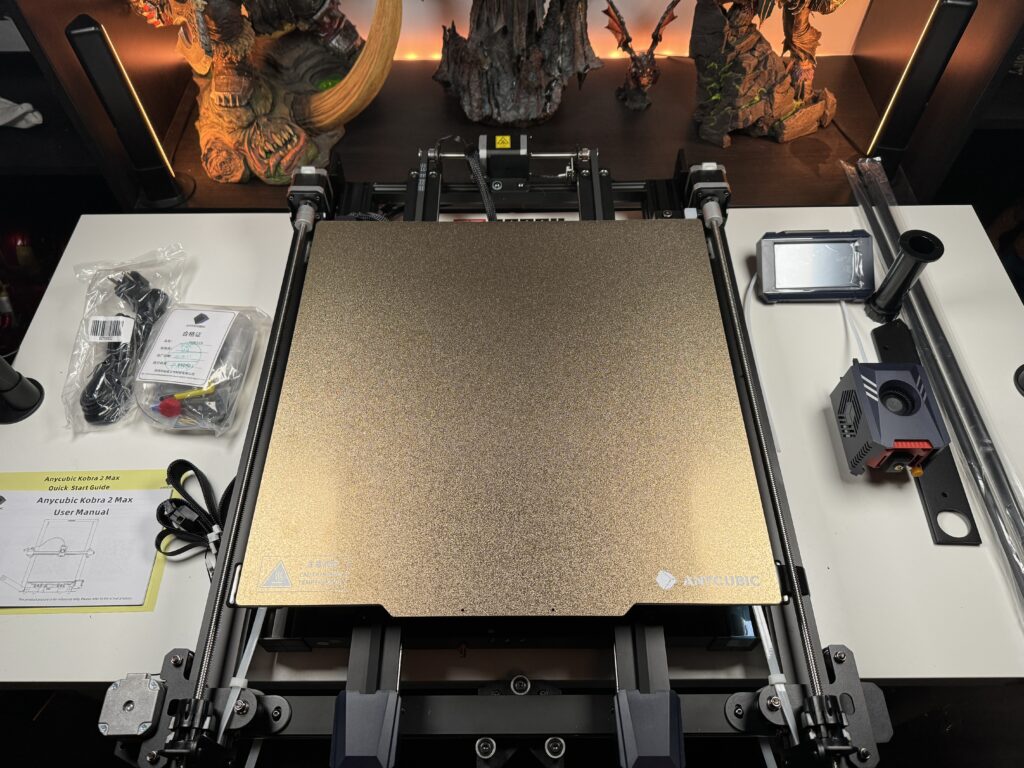
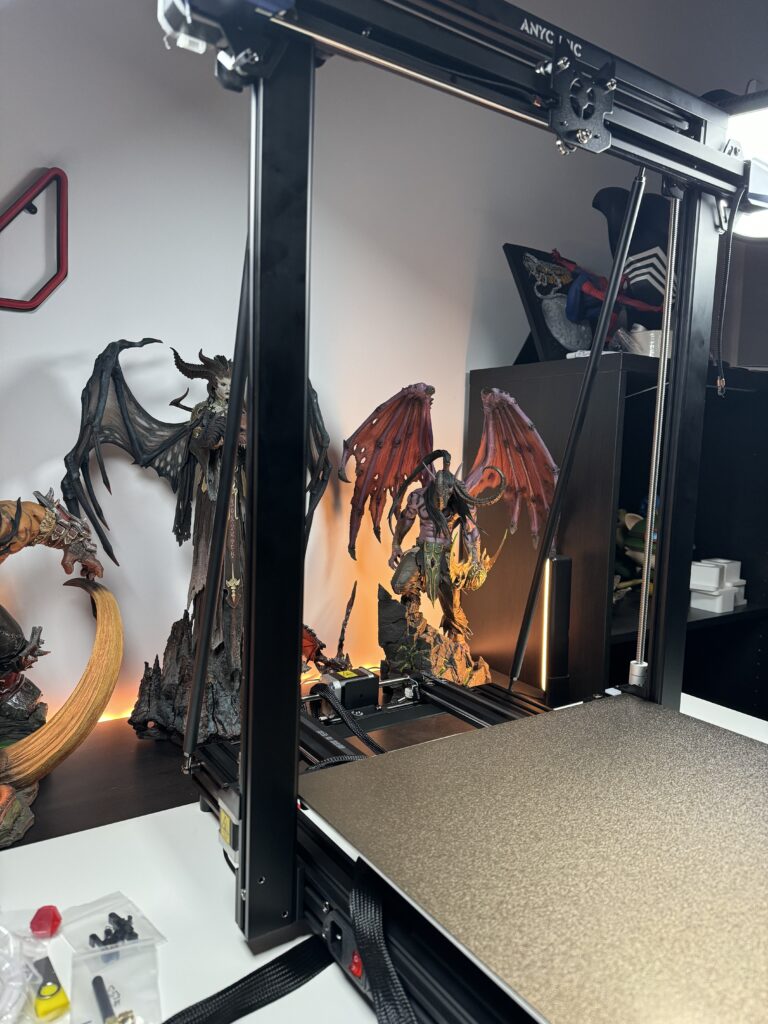
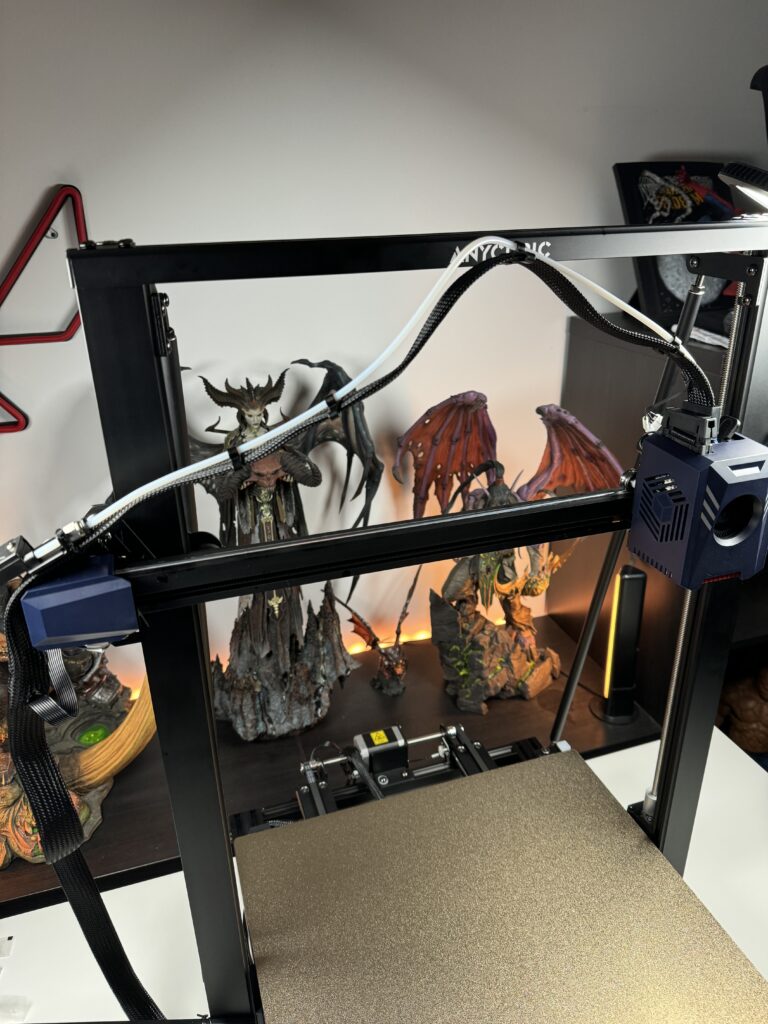
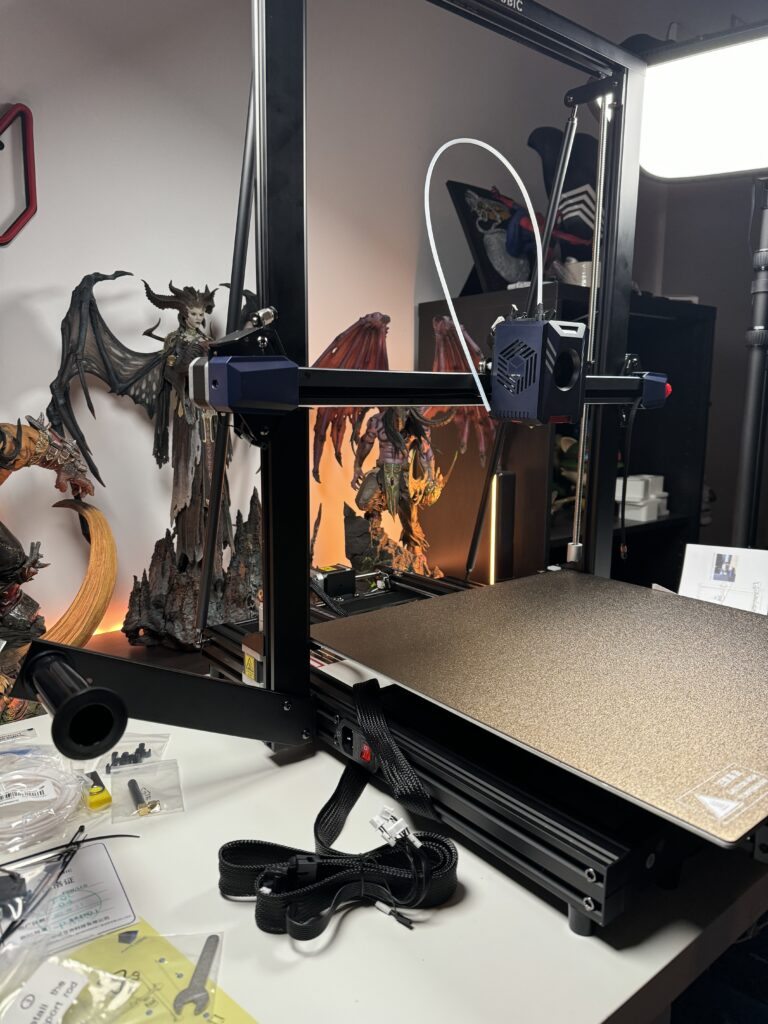
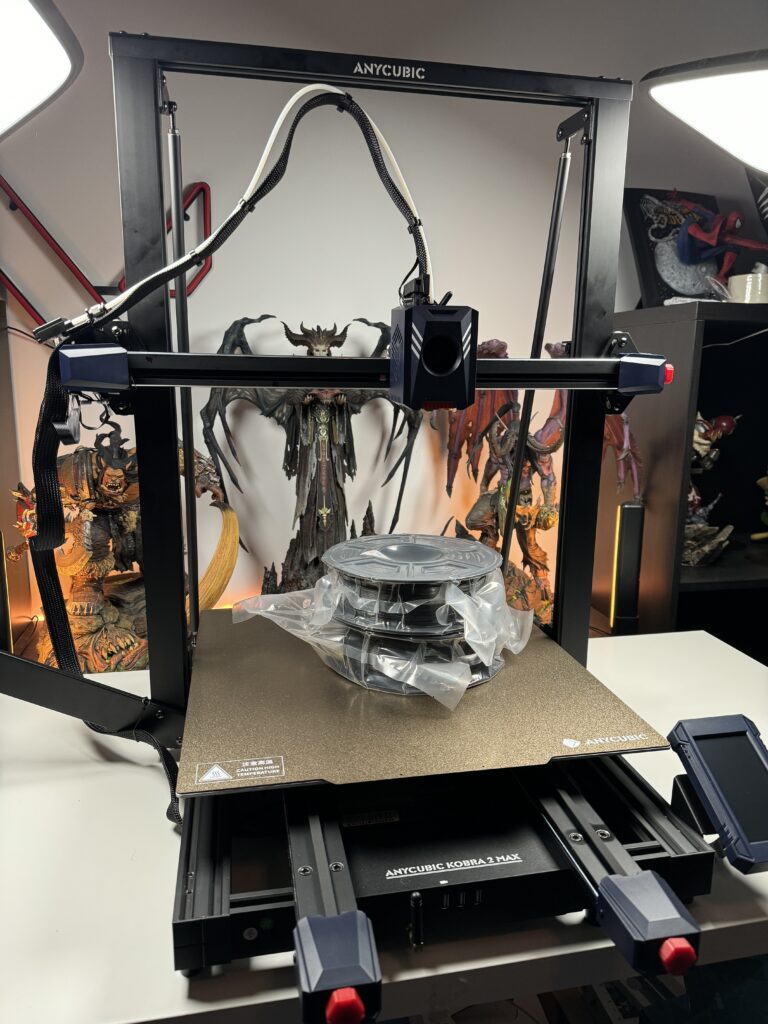
When we do all of the above, our printer will look something like this.
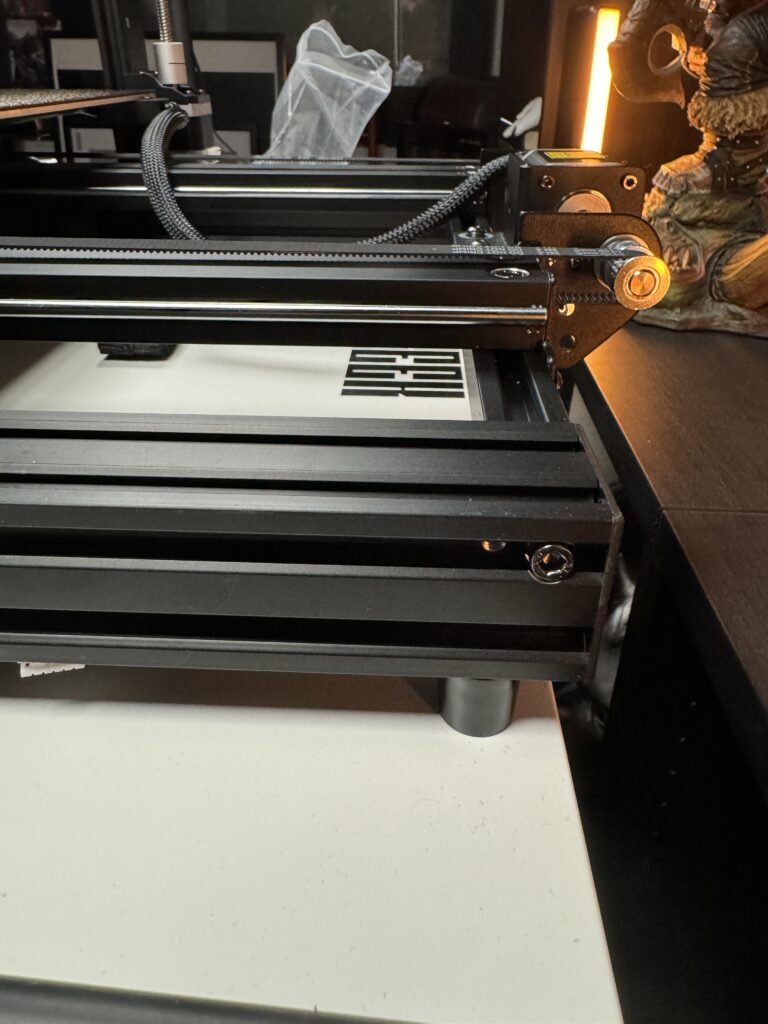
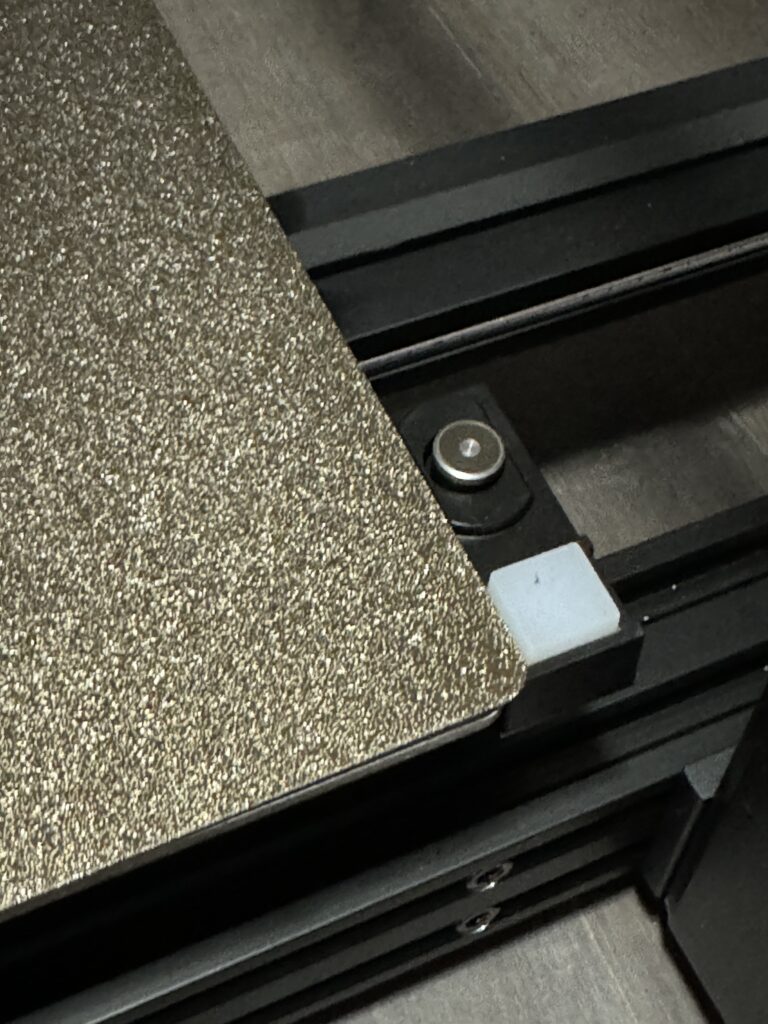
Finally, we will install the screen, as well as the mount for the roll of filament, and tighten the belt clamps and the two axles. The belts should be so tight that the head and the bed can move easily without much pressure but at the same time without wobbling. Therefore, they must be stable and move easily.

And finally, we are ready to plug in the power cord and turn on the Anycubic Kobra 2 Max. Let’s sit back now for a second and take a look at its design and features.
Design and Features of Anycubic Kobra 2 Max
The design of the Anycubic Kobra 2 Max is the classic design, found in every FDM bedslinger printer. The only difference is that the base for the filament roll is neither on the back nor on the Z-axis frame, but on the left of the printer.
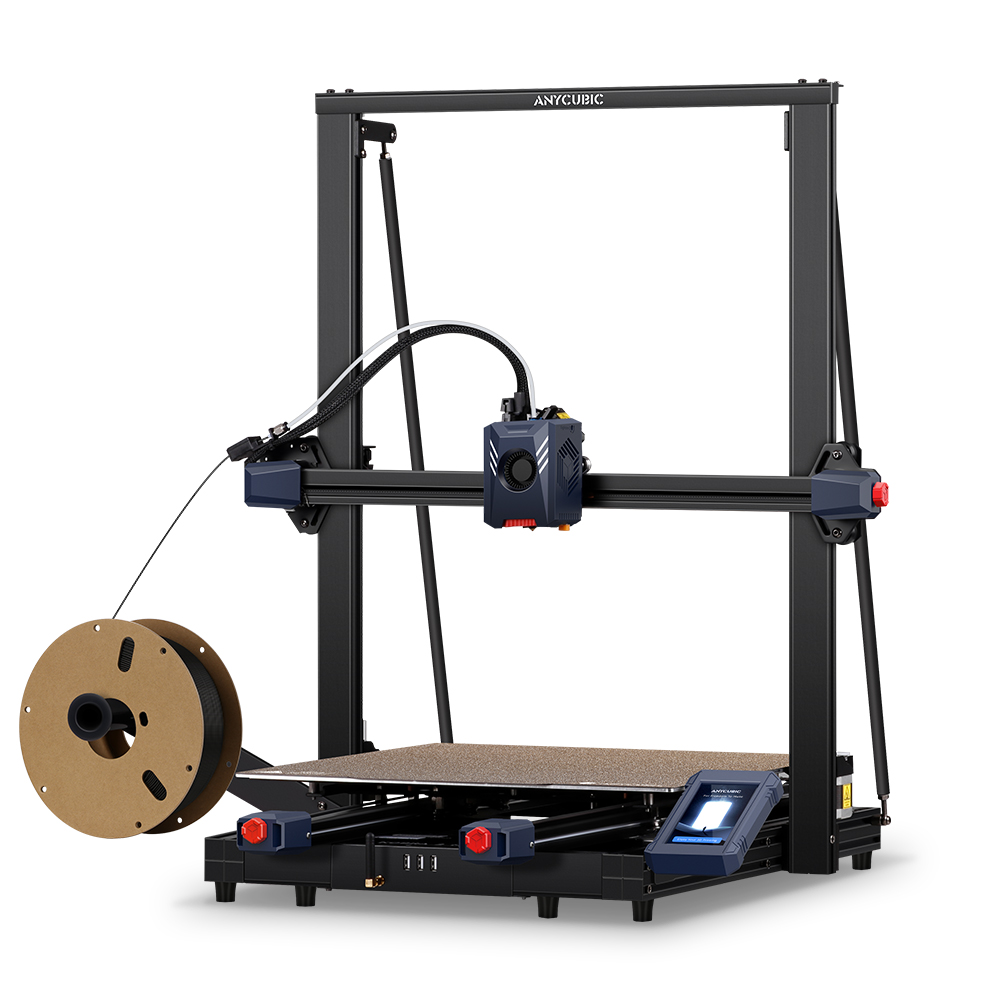
Otherwise, we have the power supply on the base of the printer, with the port and power switch on the left. A large print bed accompanied by a high frame for the Z-axis. A print head in blue colour with red and white details. The entire frame is metal in black and we see how the tensioners stand out since they are plastic and in an intense red shade.
The Screen
The Anycubic Kobra 2 Max screen is a 4.3″ LCD touchscreen. Its brightness is quite good and the touch response is generally satisfactory. The software running the printer did not have any crashes during the time I used it to make the screen usage unpleasant.
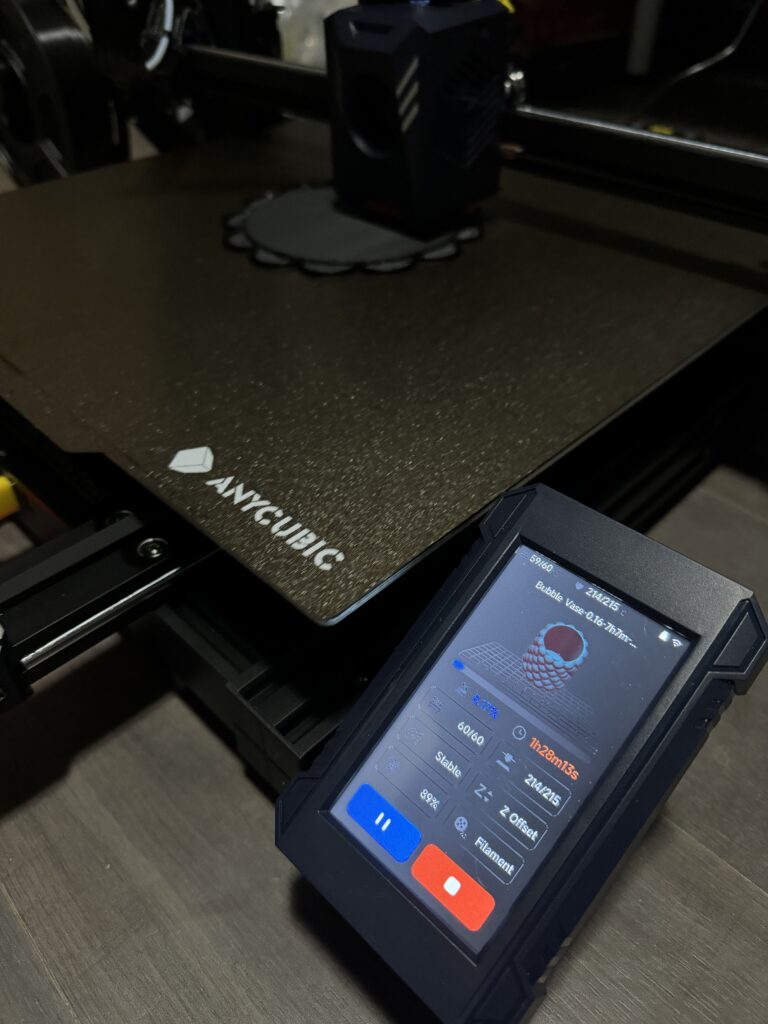
The LCD also displays a print progress indicator, which can be used to estimate the time remaining for a print. During printing, you can play with the Anycubic Kobra 2 Max settings. With speed, Z-axis displacement (baby-stepping), temperatures and of course you can pause or cancel printing altogether.
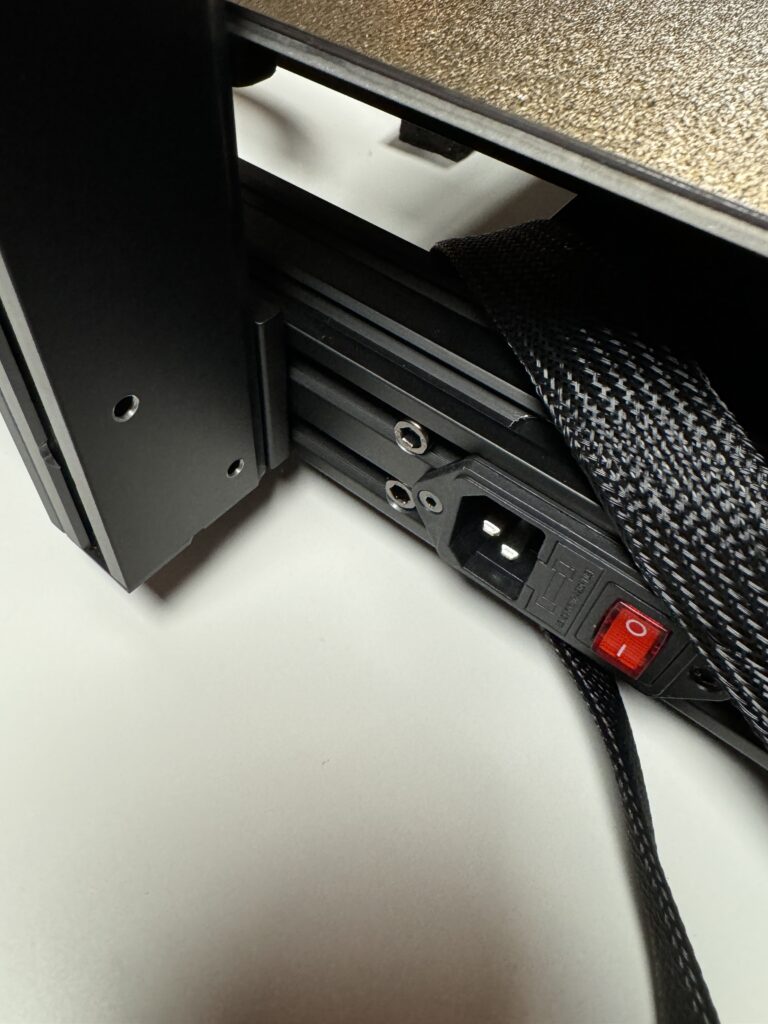
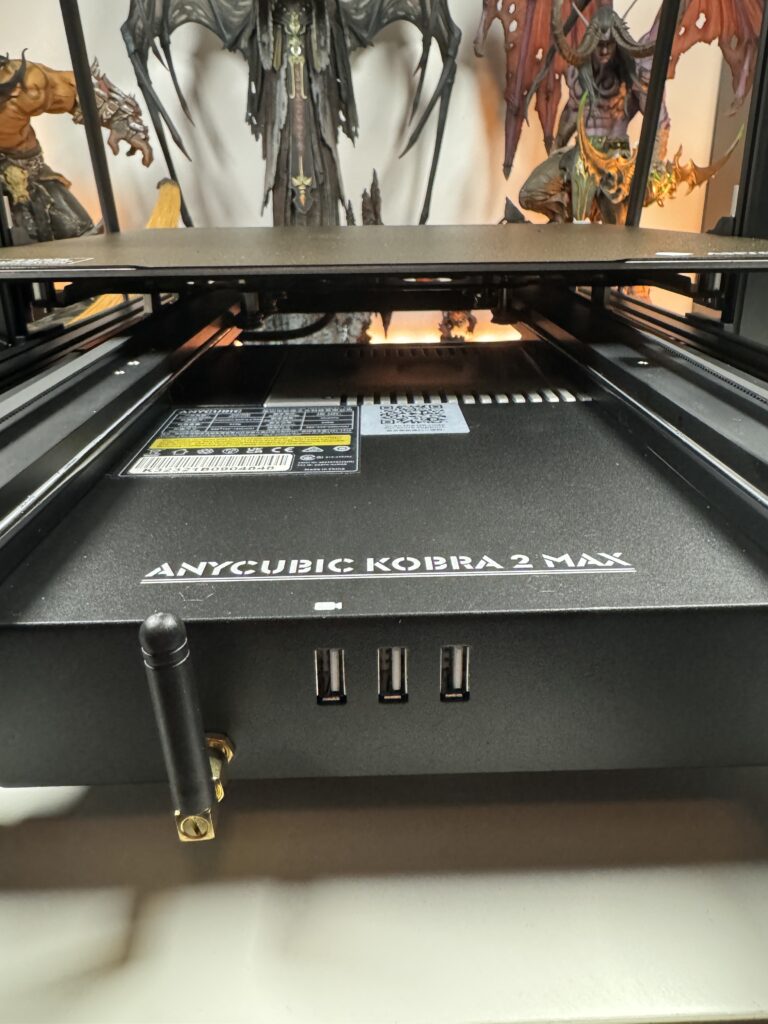
The Ports and the Power Supply
The only ports we find on the Anycubic Kobra 2 Max are the power supply on the left side, on the front side 3 USB ports and one for the wireless network antenna.
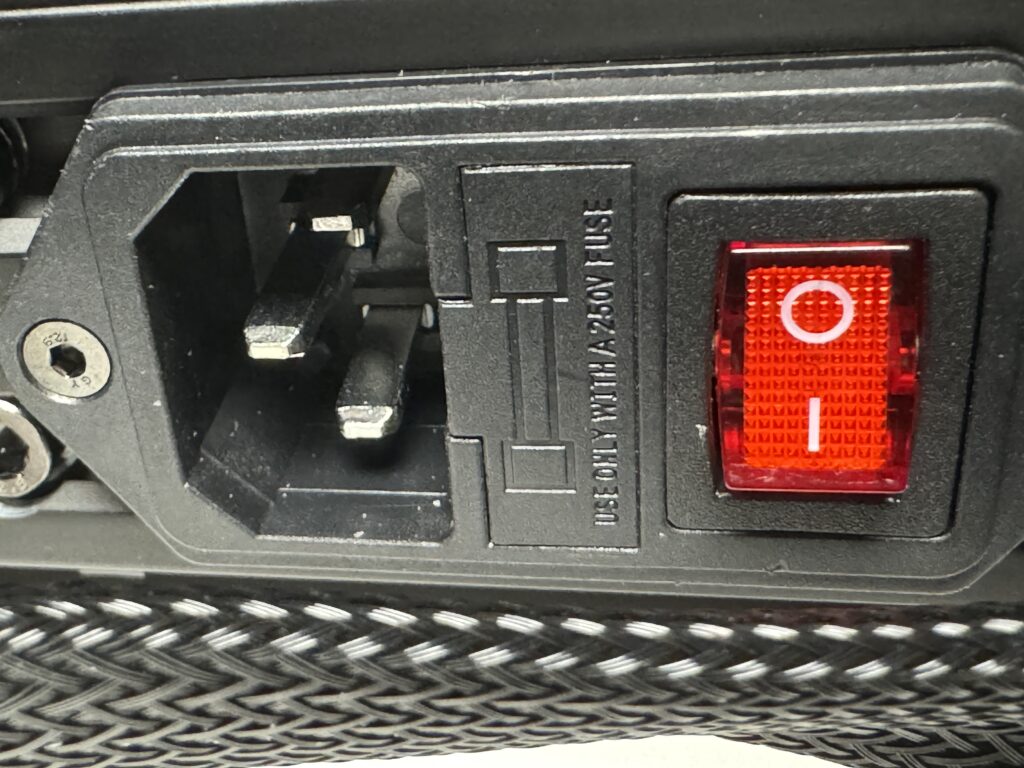
The power supply is 500W and is located on the left, under the bed. I looked for the classic switch that adjusts the voltage either for Europe or America but it is not needed in this particular one. It is configured for the European market.
Printing Bed
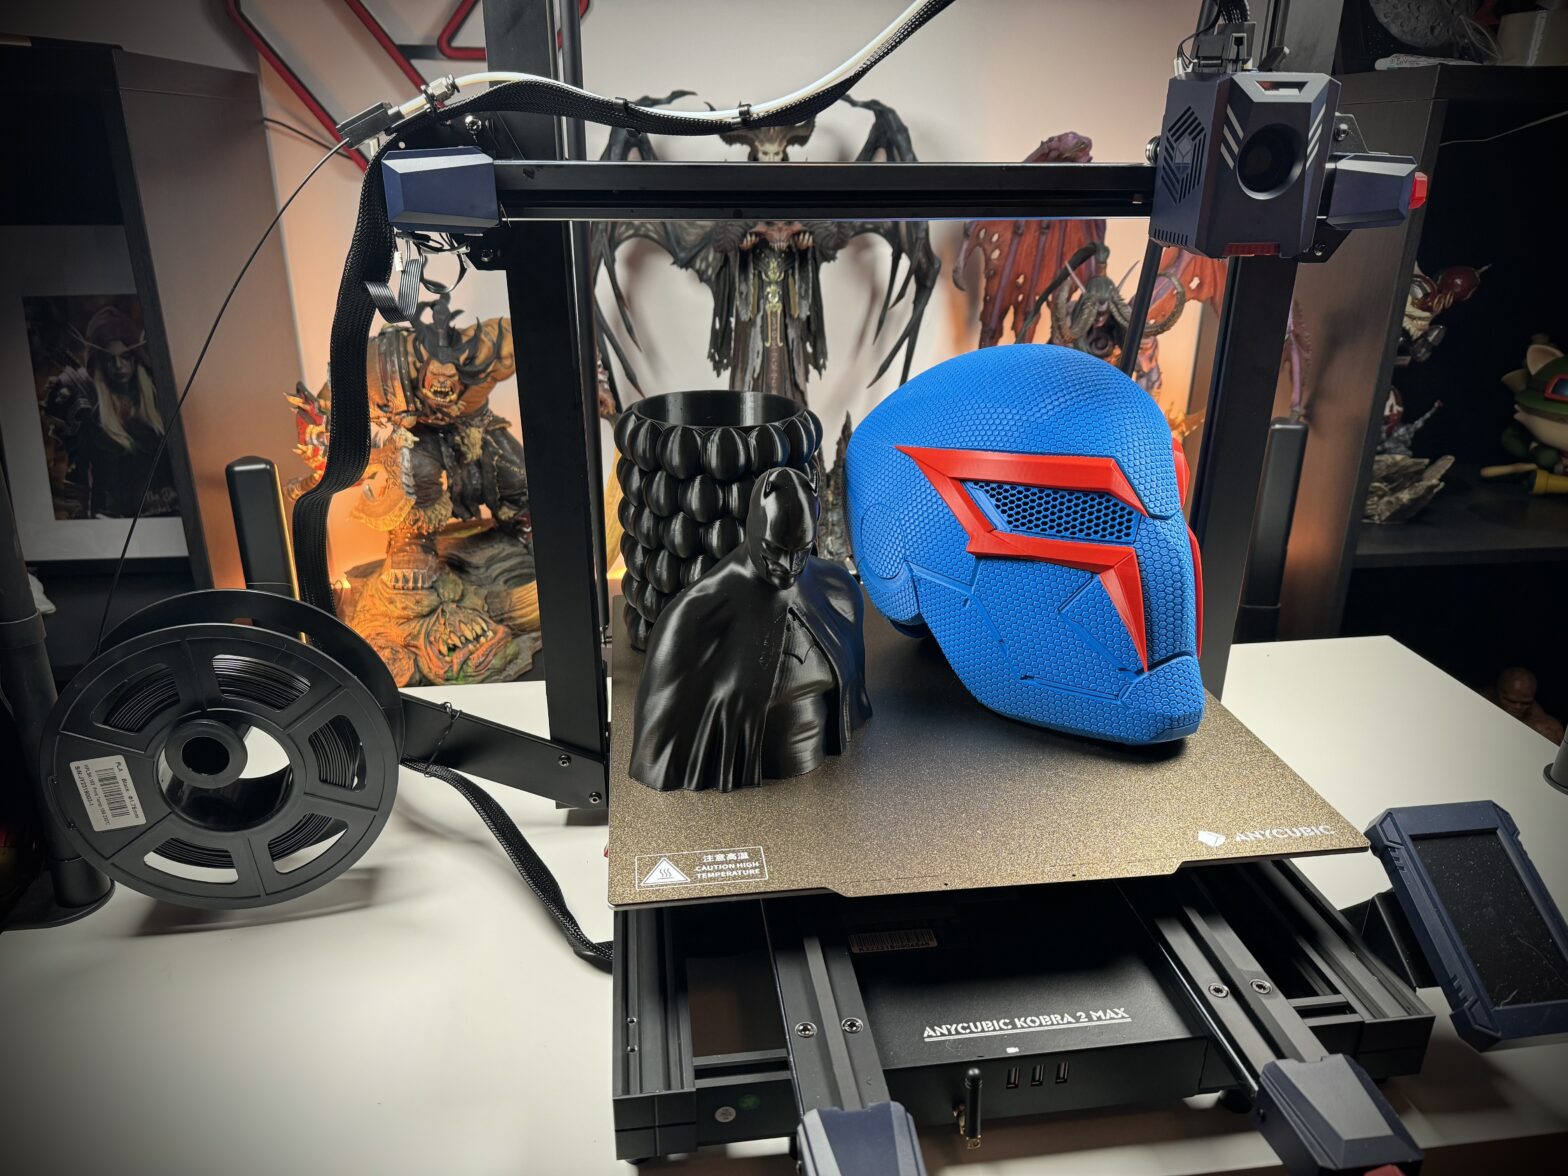
Now on to my favourite part of Anycubic Kobra 2 Max. I LOVE large print volumes printers. Yes, there is a risk if you print something huge and it fails at 90% that you cry for the rest of the day. But if everything goes well, you save time and effort by glueing pieces here and there to assemble a large model.
What’s better than putting a wearable helmet to print and after 1-2 days getting it in your hands ready to wear? And now you will ask me “Yes, but how big is the print bed, Mike?”. Do not worry. I am here to answer your question:
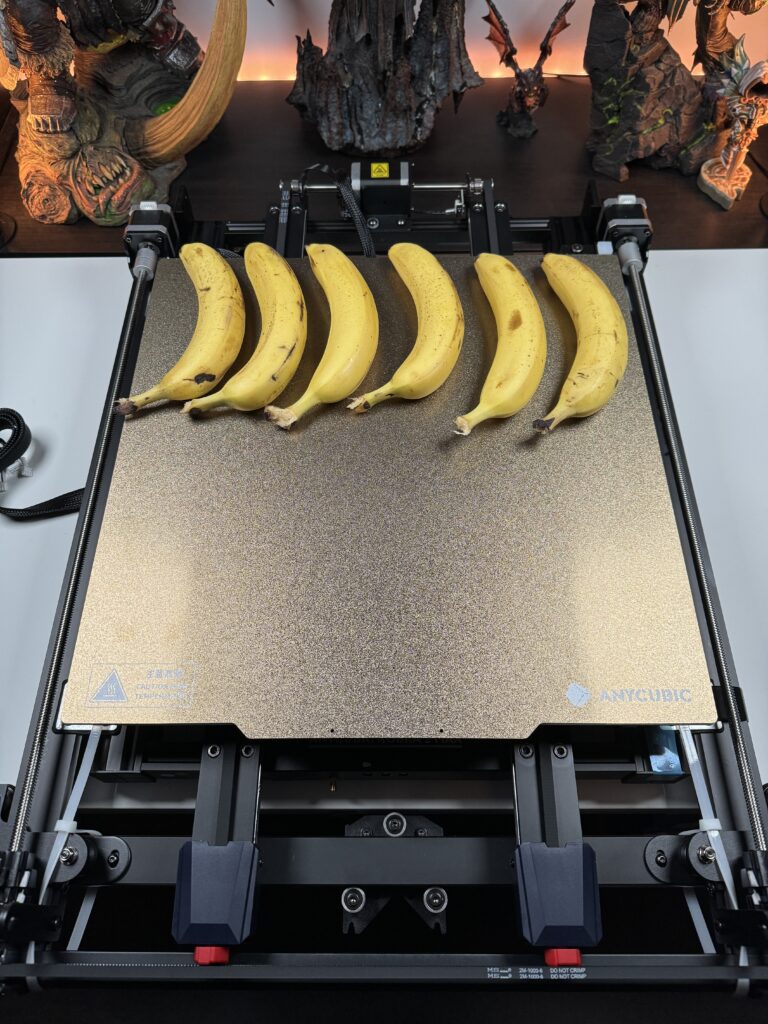
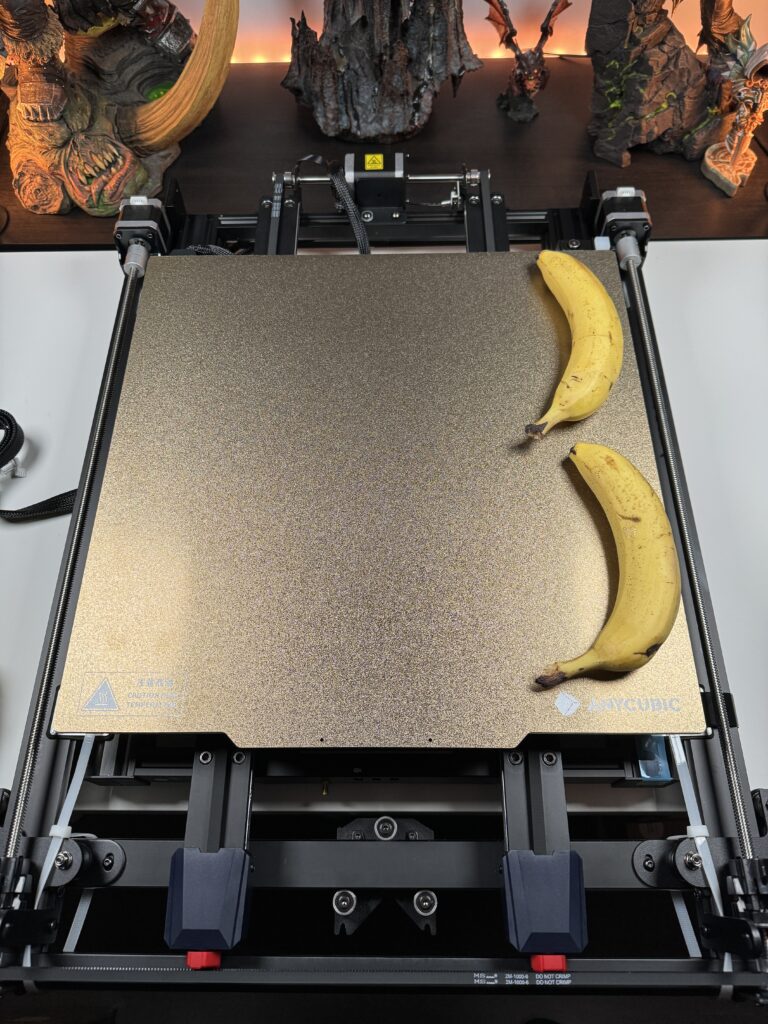
Jokes aside, the Anycubic Kobra 2 Max print bed can print up to 420 x 420 x 500mm or a volume of 88 litres. The temperature that the bed can reach is 90°C and the plate is made of flexible magnetic steel that helps to stay stable on the base with a simple bend the model will come off the metal sheet.
Print Head
The print head of Anycubic Kobra 2 Max comes with a 0.4mm hardened steel nozzle pre-installed and can reach temperatures up to 260°C. Inside the package, there is a second nozzle of the same size because you never know what can go wrong. The extruder is not the classic Bowden style but uses double gears. Which for some people is a great upgrade.
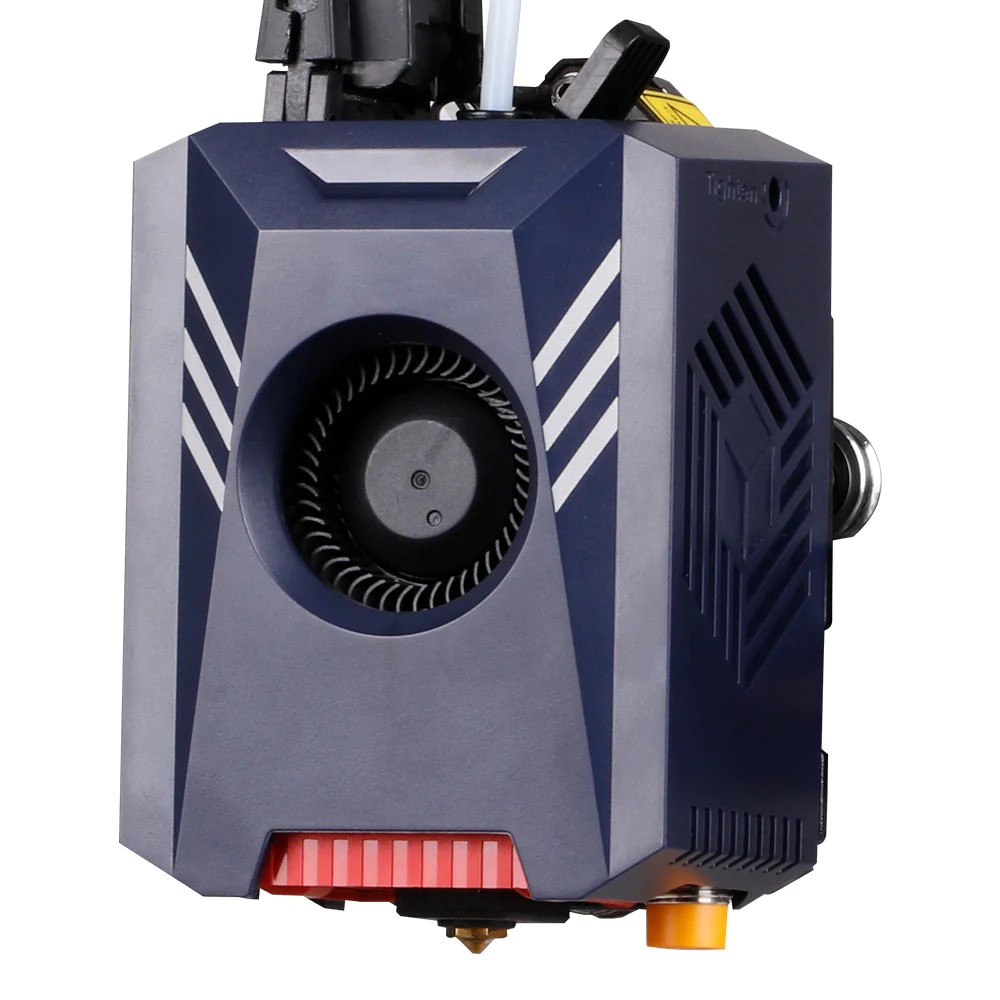
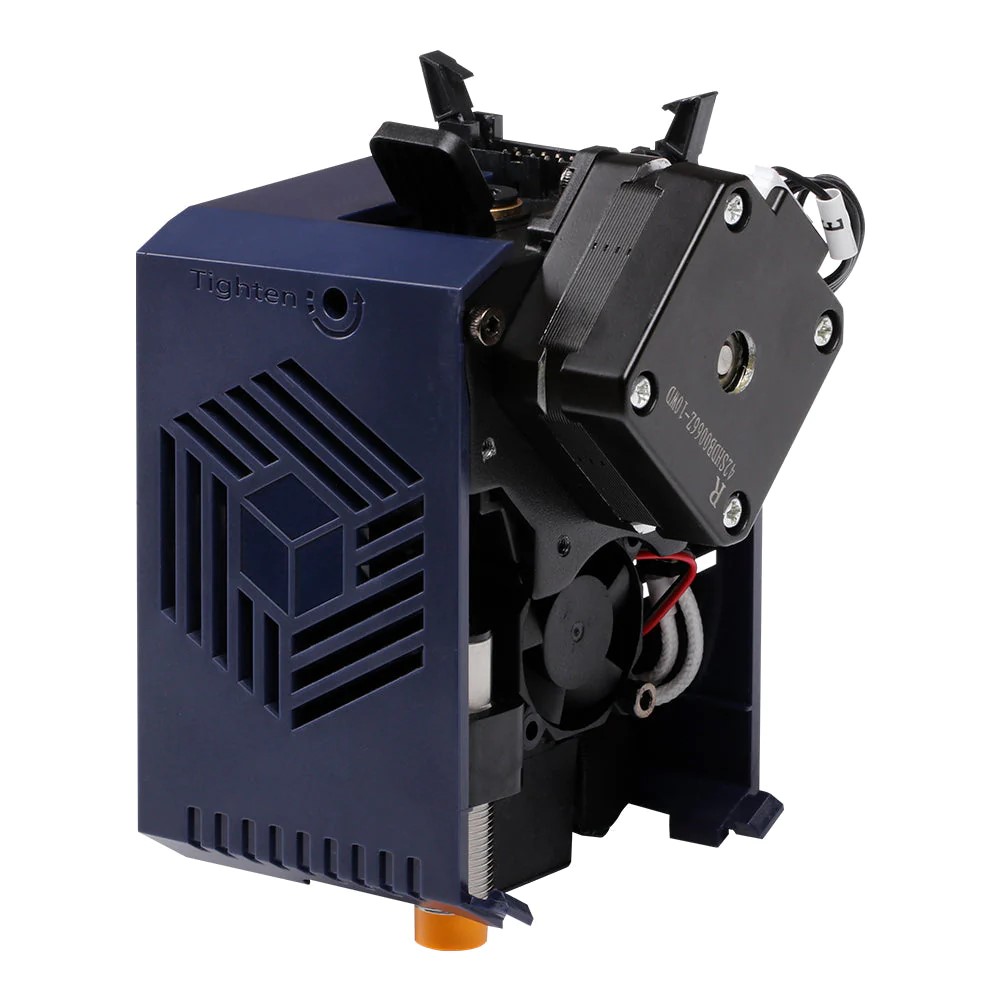
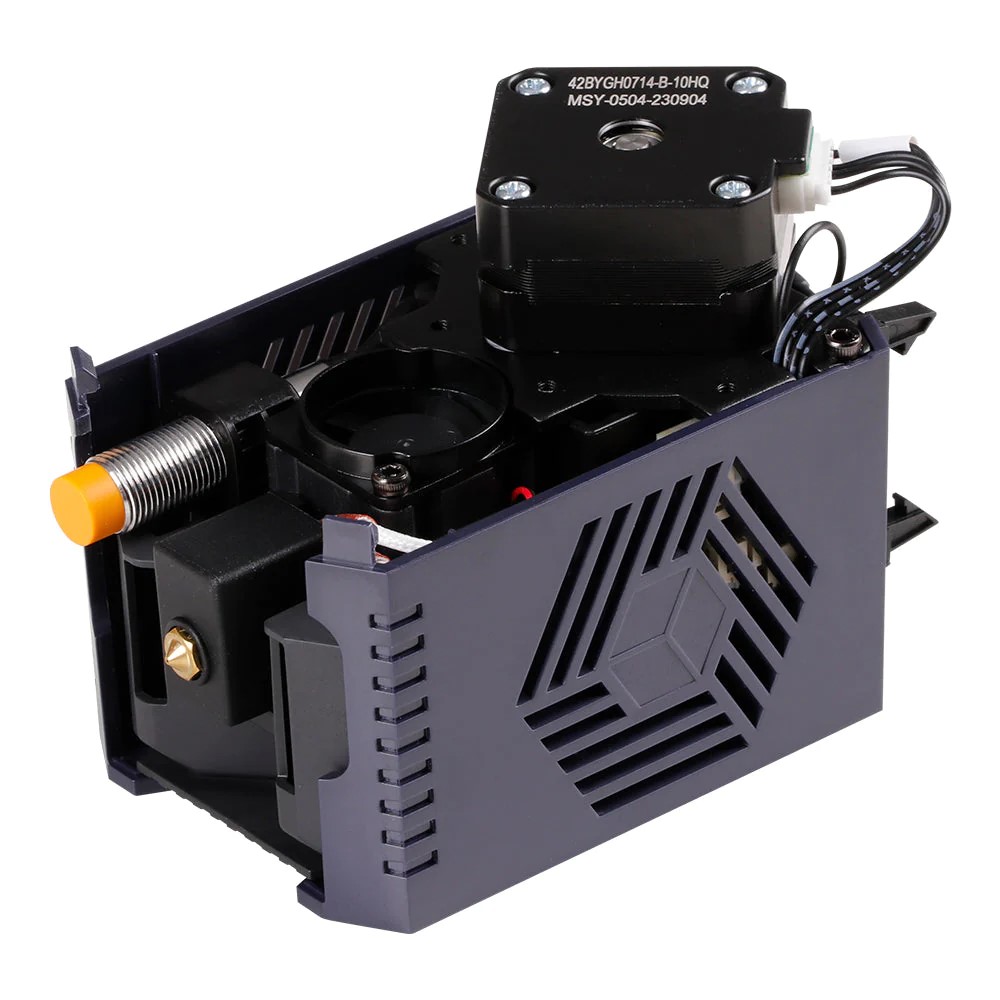
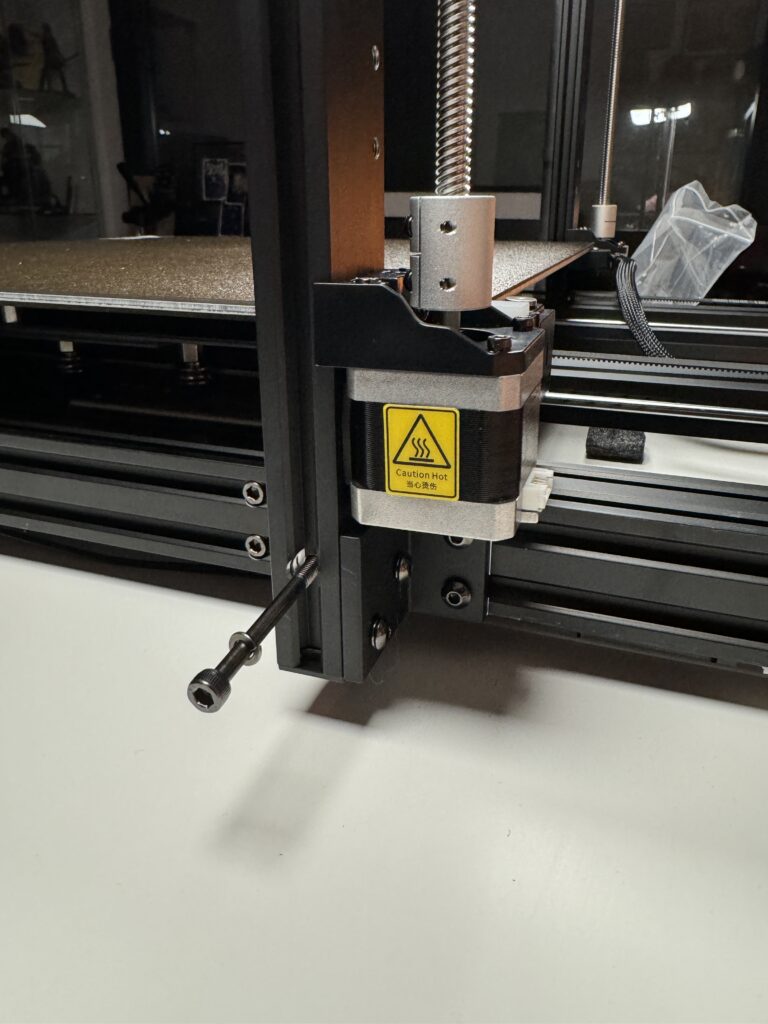
Anycubic uses an innovation that helps with smoother prints. The Kobra 2 Max features a dual motor, Z-axis adjustment, dual metal shafts and SG15 bearings for the most stable prints.
Of course, Anycubic Kobra 2 Max supports PLA, ABS and TPU. I used only PLA in three different colours for my prints of this review.
For ease of configuration, the Anycubic Kobra 2 Max also features an improved LeviQ 2.0 automatic levelling system with an intelligent Z-offset. When combined with the improved 49-point automatic levelling system and vibration control, it is ready for long-term printing and gives us a smooth model without any visible layers.
The LeviQ 2.0 sensor is right next to the square nozzle cleaner.
Main Characteristics
The most important selling points of the Anycubic Kobra 2 Max are of course the large print surface, the high print speed and its intelligent automatic configuration.
We have talked about the Anycubic Kobra 2 Max printing surface and LeviQ 2.0. But how does the Kobra 2 Max cope with speed? Achieving a remarkable maximum speed of 500mm/s, the Anycubic Kobra 2 Max offers a quick solution for professionals and beginners interested in printing large models up to 1/4 of the time it would take with another printer.
The acceleration rate can reach 10000mm/s², offering maximum speed even for complex large-format models, without sacrificing accuracy and detail. Even at the recommended print speed of 300mm/s, it’s enough to set Anycubic Kobra 2 Max apart from the common FDM printers.
Table of features
| Printer type | FDM |
| Print volume | Dual motor, dual Z-axis |
| Print speed | 300-500mm/s |
| Print bed sheet | Flexible Magnetic Steel Textured PEl 420x420mm |
| Filament type | PLA/ABS/PETG/TPU |
| Printer size | 740x735x640mm |
| Print size | 500x420x420mm |
| Print bed temperature | Up to 90°C |
| X and Y Axis | Double metal shafts |
| Z-Axis | 4.3″ LCD colour touchscreen |
| Screen | 4.3″ LCD color touch screen |
| Ports | 3x USB ports |
| Layer height | From 50 to 350 microns |
| Maximum Extruder Temperature | 260°C |
| Automatic leveling | Anycubic LeviQ 2.0 Automatic Leveling System (49-points) |
| Extruder | Anycubic Self-Developed Direct Extruder + Double Gears |
| Weight | 21 kg |
The First Print
We assembled our printer, took a look at its design and features, and now it’s time to put it to the test. As with any other printer, with the Anycubic Kobra 2 Max, we have to do some small checks before our first print.
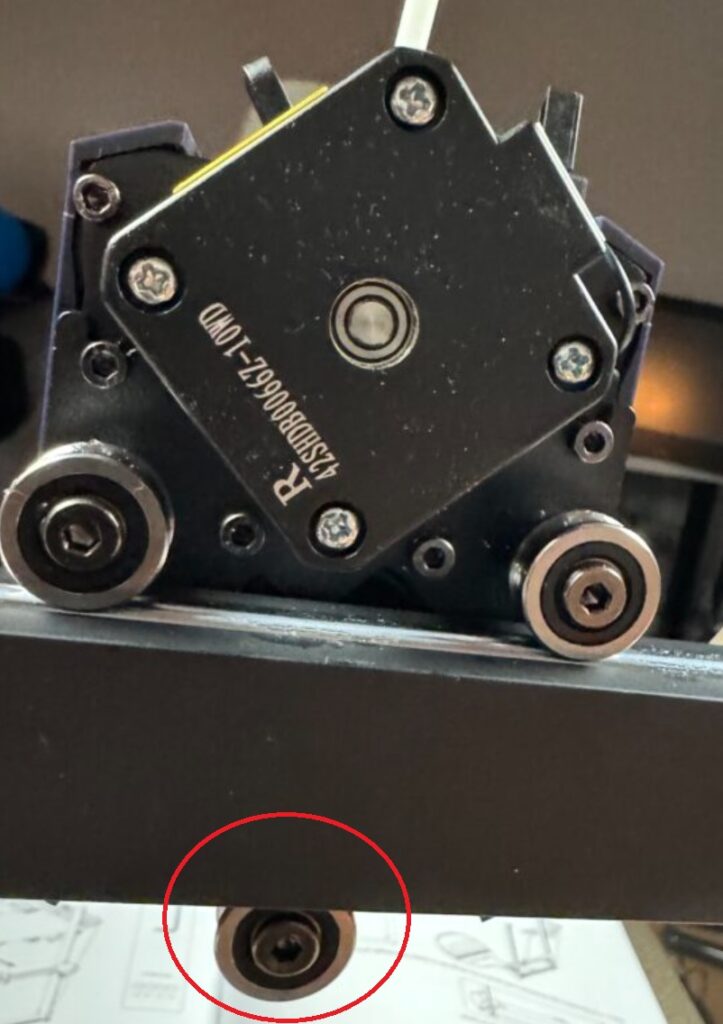
First, we should check and if necessary tighten or loosen the screw located at the bottom of the head. With one of the two wrenches, we can adjust the screw as needed.
The Anycubic Kobra 2 Max head should move easily on the shaft without much resistance but at the same time, it should not be so loose that the whole head wobbles.
We have to do the same with the screws under the print bed. The bed must be easily movable without resistance but also without shaking during movement.
Finally, using the red tensioners located, two on the bed axes and one on the head axis, we tighten the belts so that they are not loose enough but also not to the point where they start making strange sounds during movement.
That’s it. Now we need to find the model we want and start printing. We can do this in two ways. Either by using our smartphone or by using our computer. Let’s take a look at each one of them.
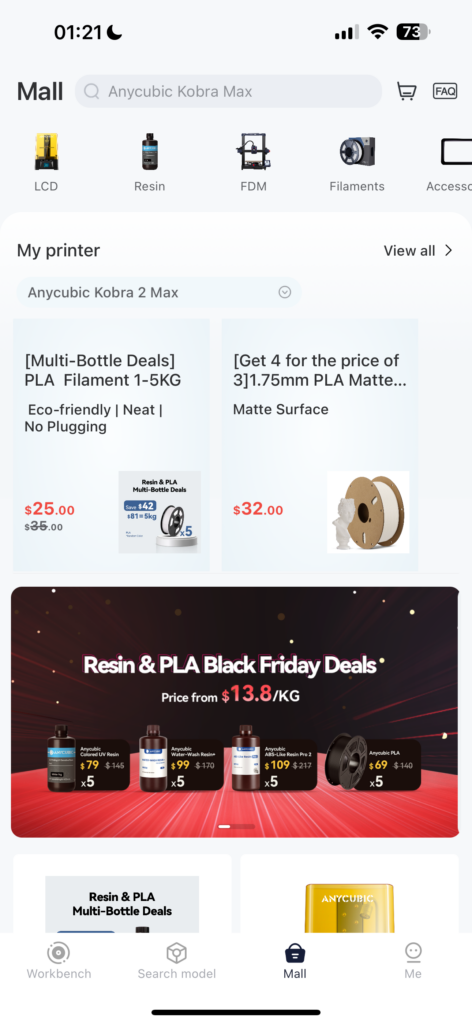
Anycubic App
Anycubic’s app has a clean and easy-to-use UI when paired with the Anycubic Kobra 2 Max. I love that more and more companies are adding the ability for users to upload STL files to their database and you can search for them directly from there and print them. Anycubic is one of these companies.
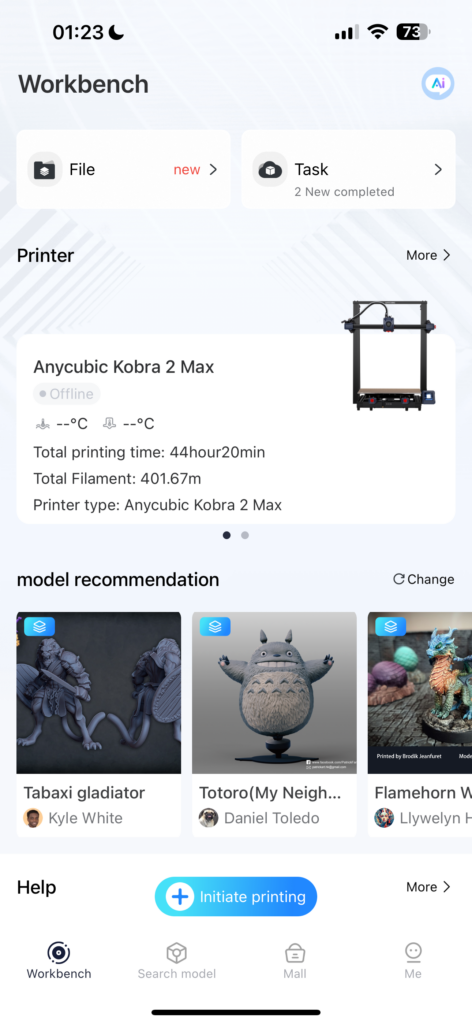
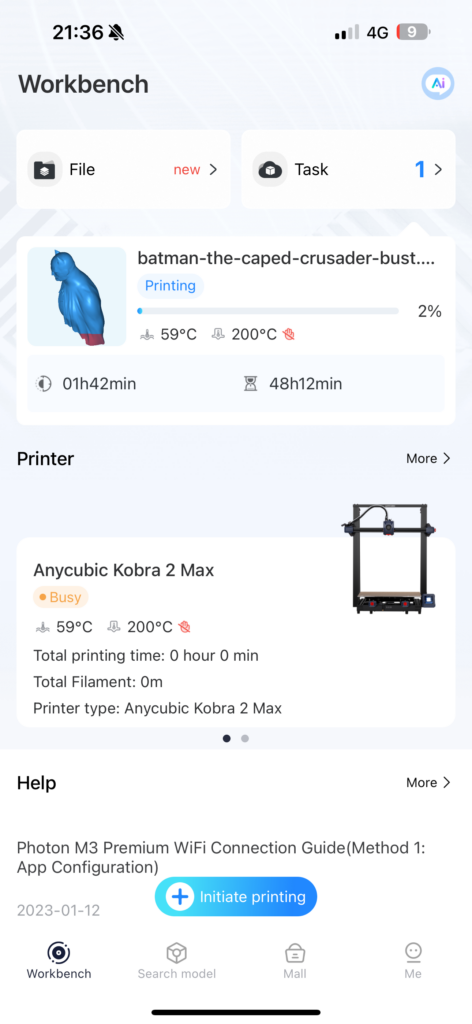
As soon as we open the app, the application takes us to the home page which is also the first tab called Workbench. If we select File at the top, it will open a list of all the files we have printed. The Task will show us all the operations we have done. That is, how many prints we made, whether they succeeded, failed or were cancelled.
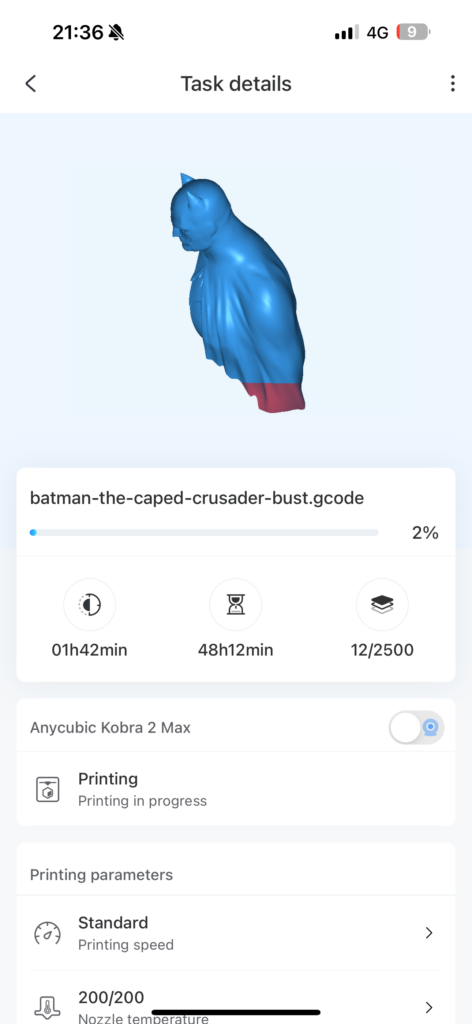
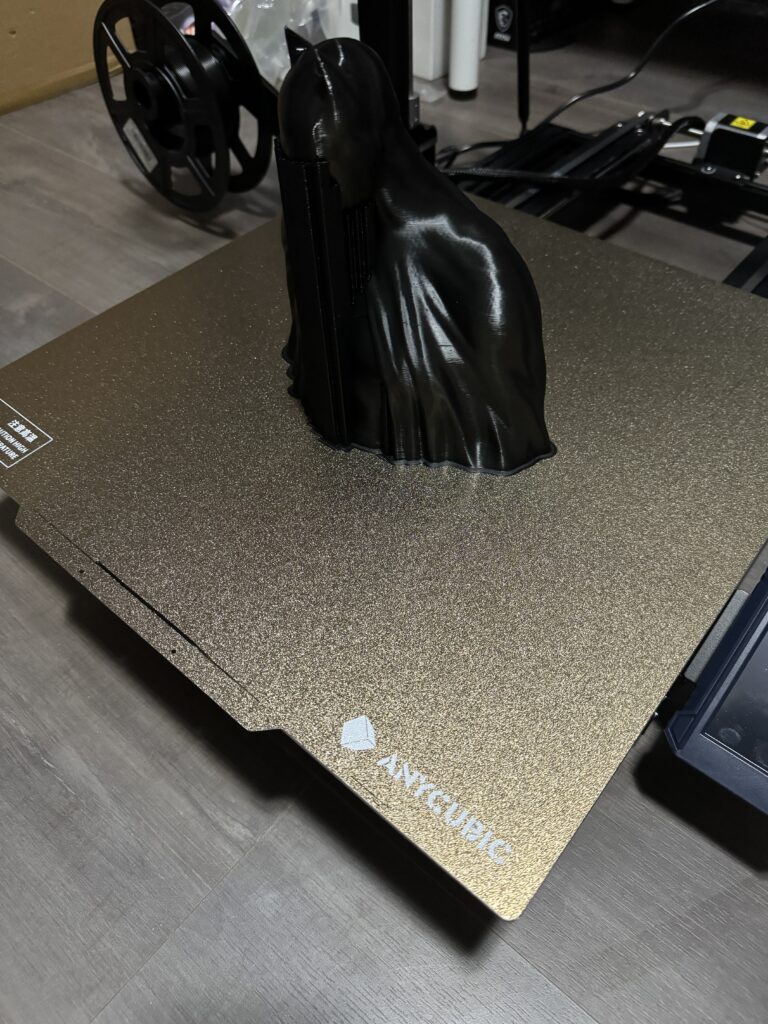
Right below that we have the list of our printers and in my case, it shows the Kobra 2 Max. In the first image, the printer is turned off and in the second, it is printing a bust of Batman. If we click on the print progress, then it takes us to the third image, where we can check our print from our mobile phone. We can activate our camera (if we have one connected), and change the print speed, the temperature of the nozzle and the bed. Of course, you can pause an Anycubic Kobra 2 Max print or even cancel it. And all this at the push of a button.
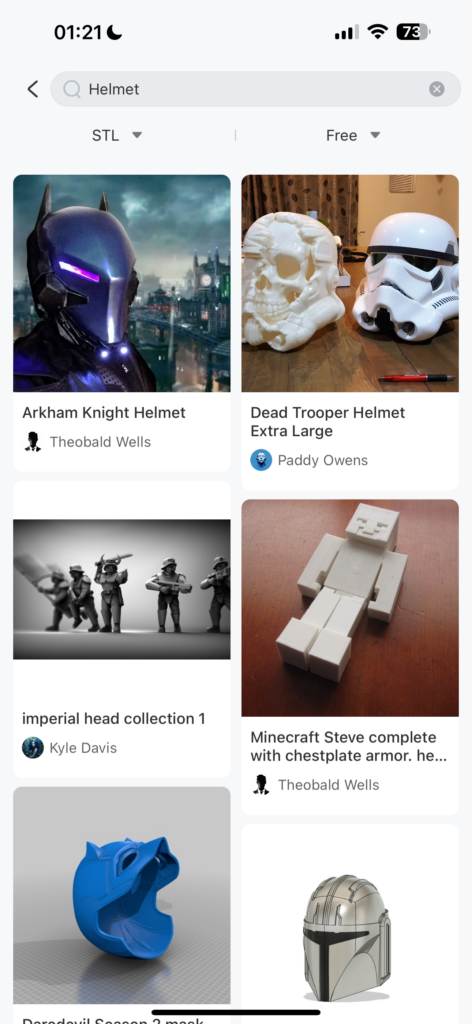
In the second tab named Search Model, there is a database with over a million models. Of course, I’m obsessed with helmets and it was the first thing I looked for. I was really happy with the results!
In the Mall located on the third tab, we can reach the Anycubic store where we can buy their printers and everything related to them. And finally in the fourth tab is the user’s profile.
Not to forget to mention that there are sliced models, ready to print and models that you can slice directly through the application. Configure them the way you want and then send them to print. A computer is not even necessary anymore.
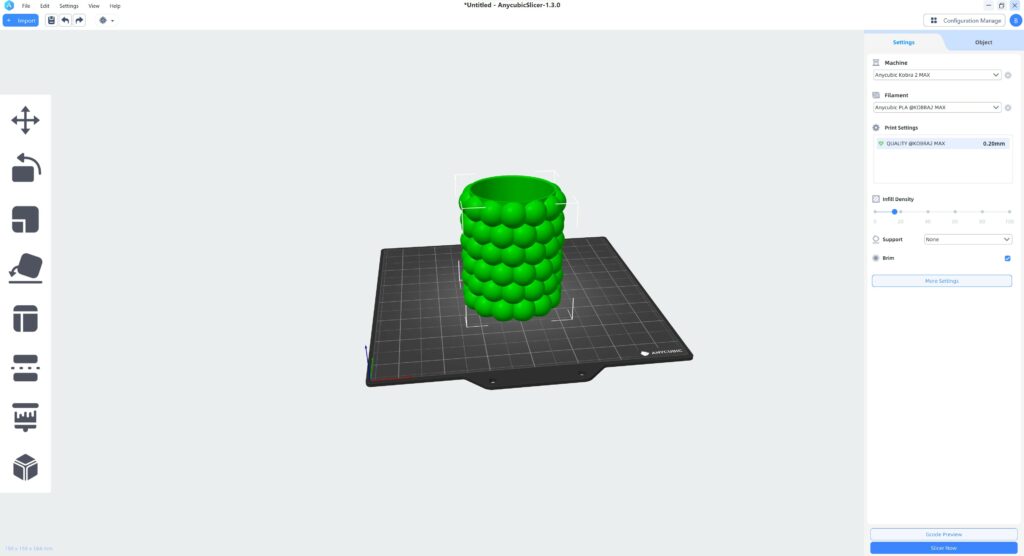
Anycubic’s Software
The classic way to slice and print a model is by using Anycubic software. The Anycubic Slicer. I won’t explain much about this software because it is quite similar to Cura Slicer, which if not all of us, certainly most of us know.
Some of My Prints
As I mentioned before, I have a thing for helmets so after I finished printing Batman I printed a wearable Spiderman 2099 helmet and finally a bubble vase for flowers which I enlarged by 200%.
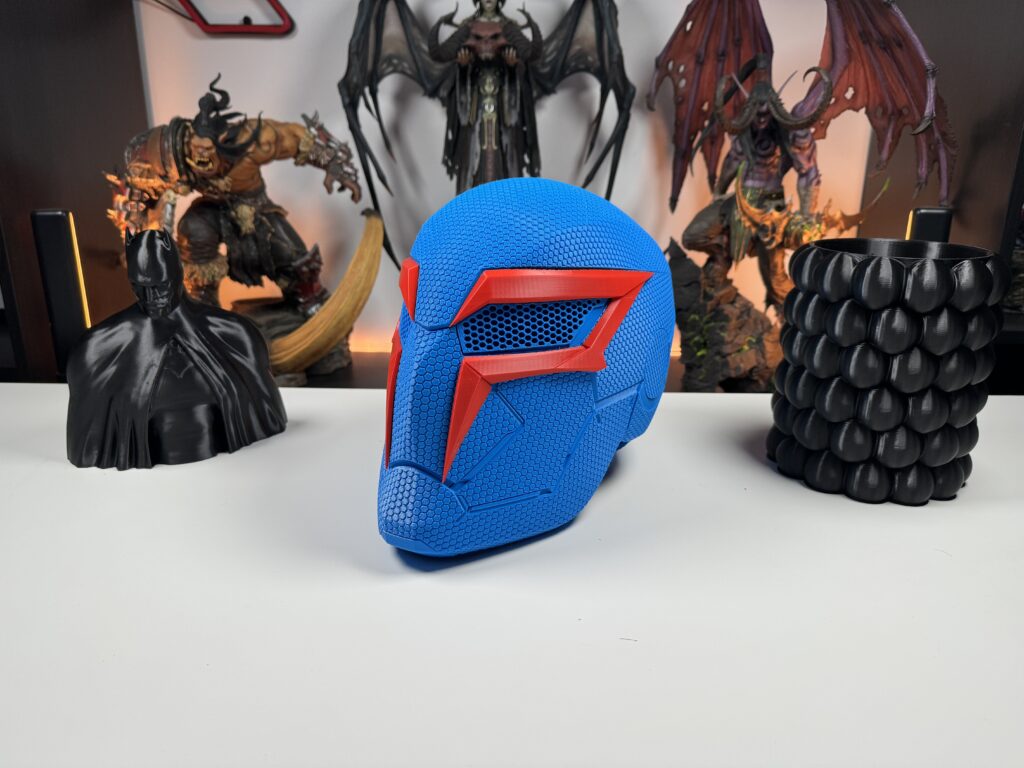
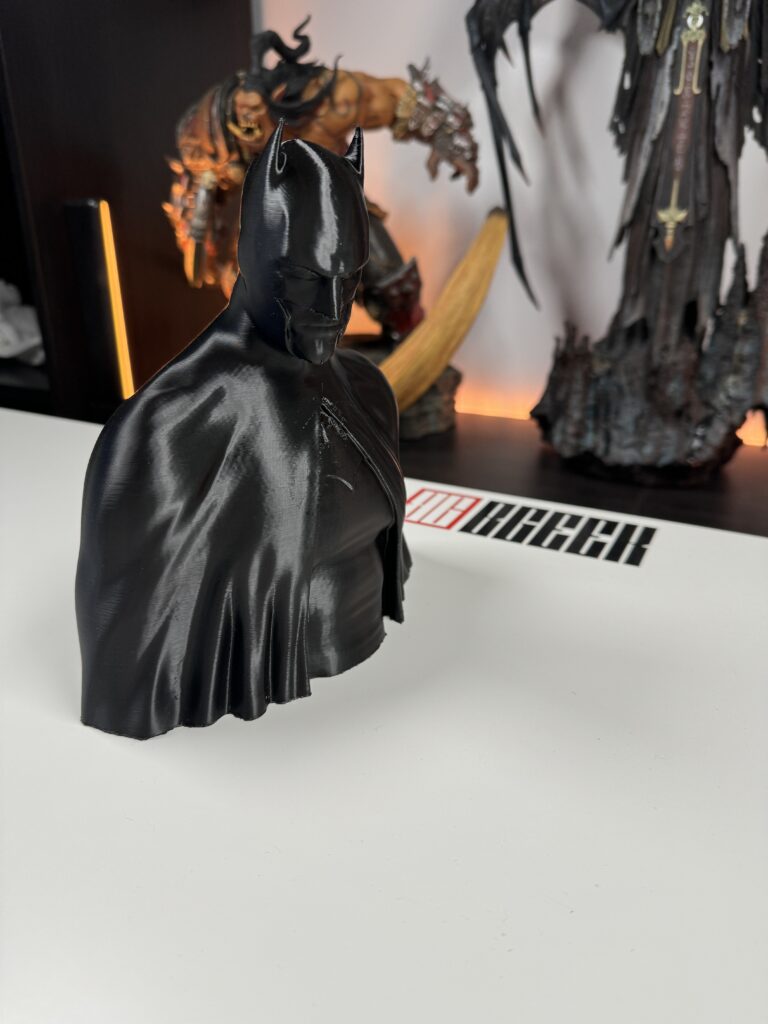
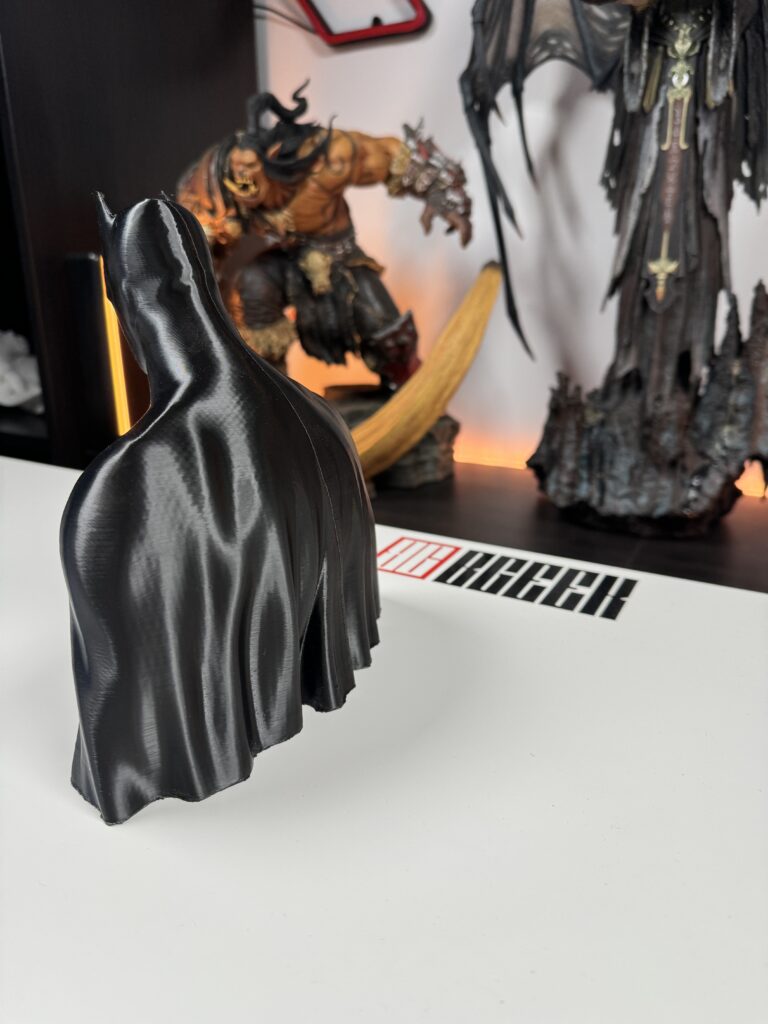
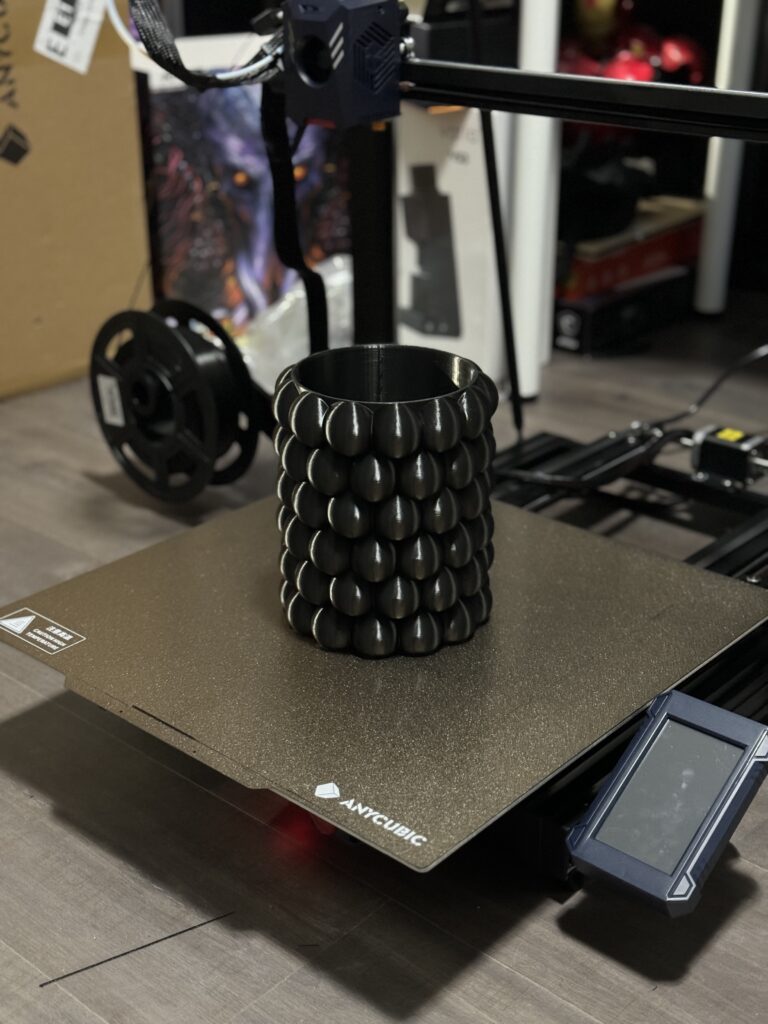
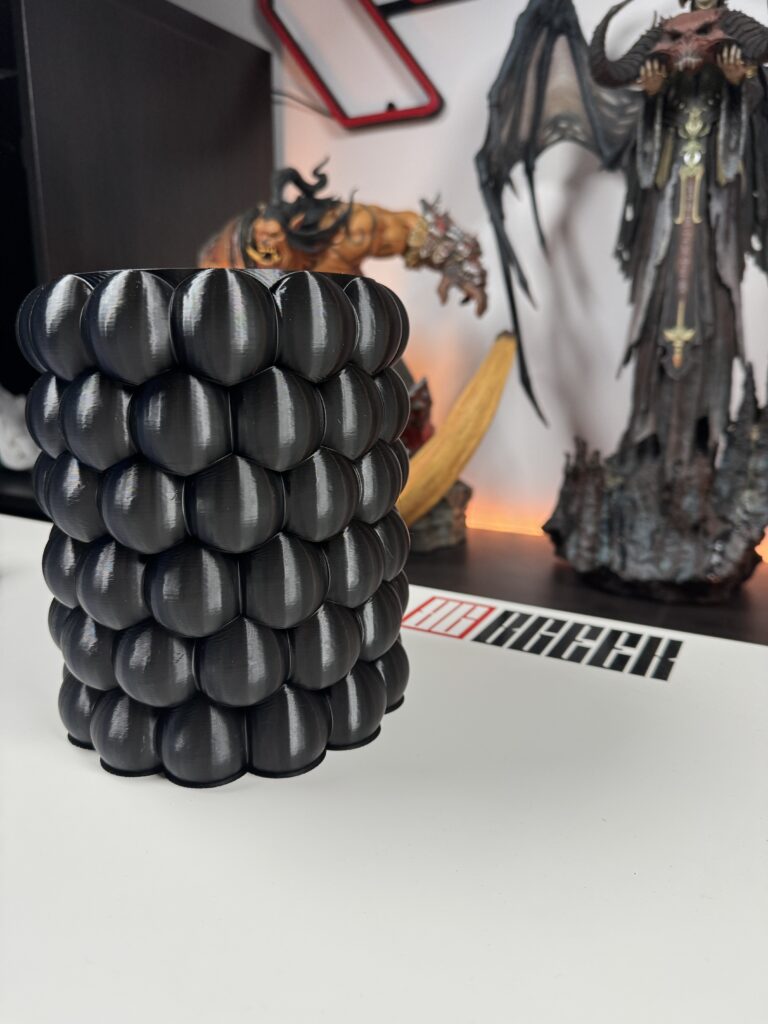
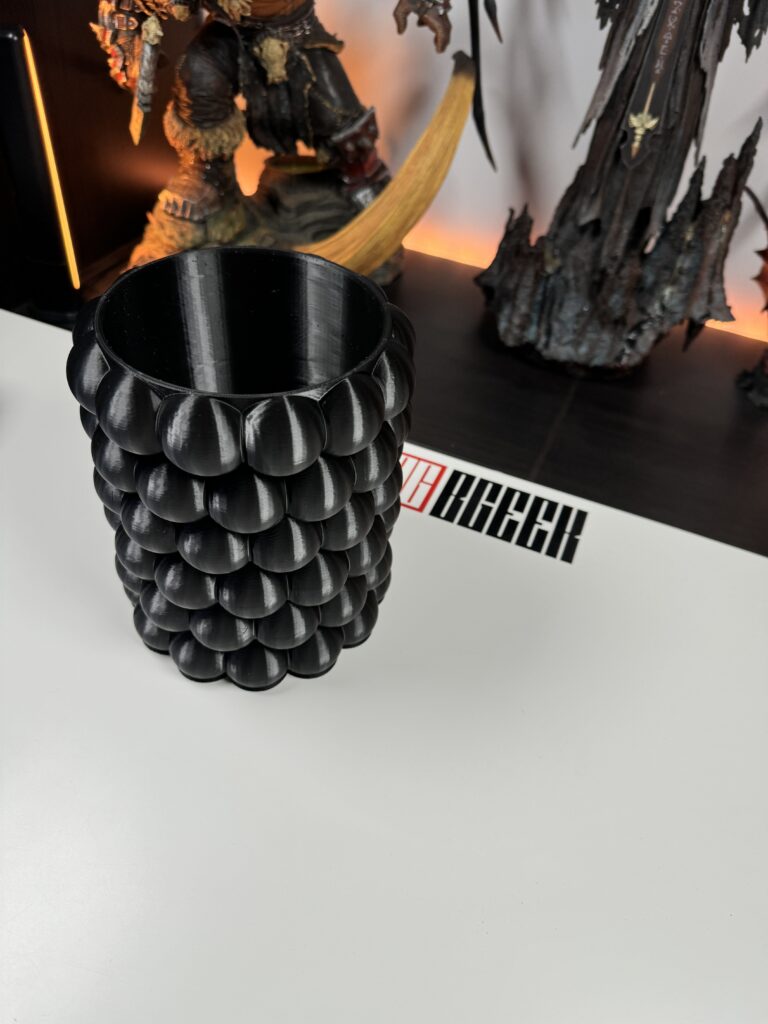
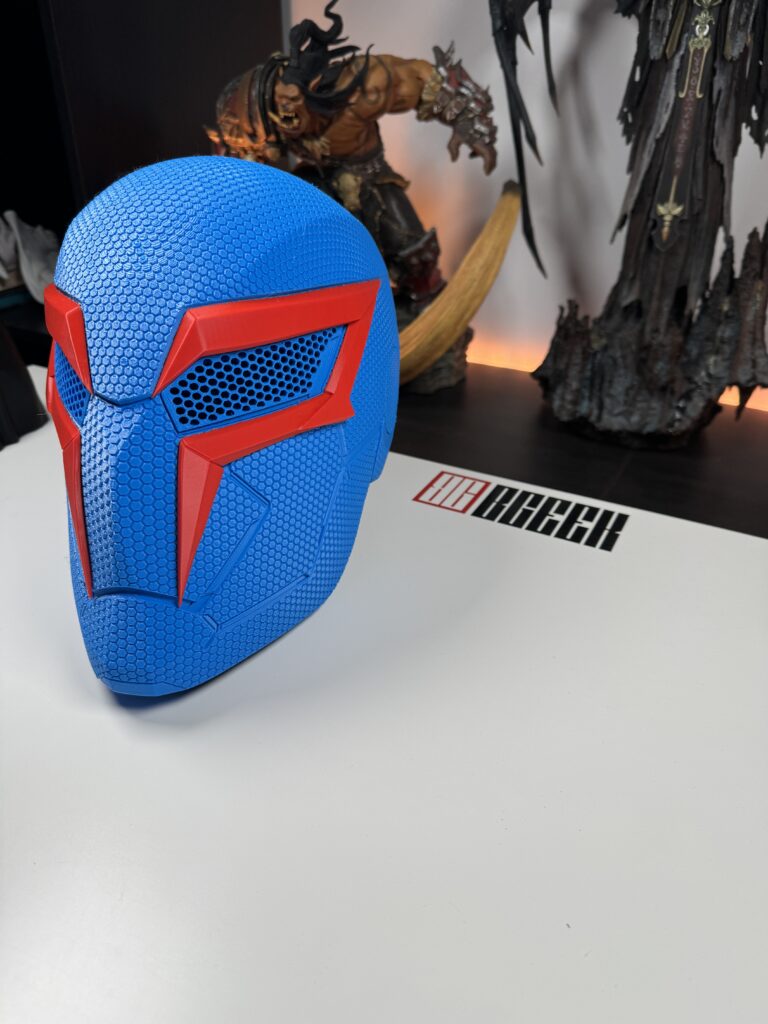
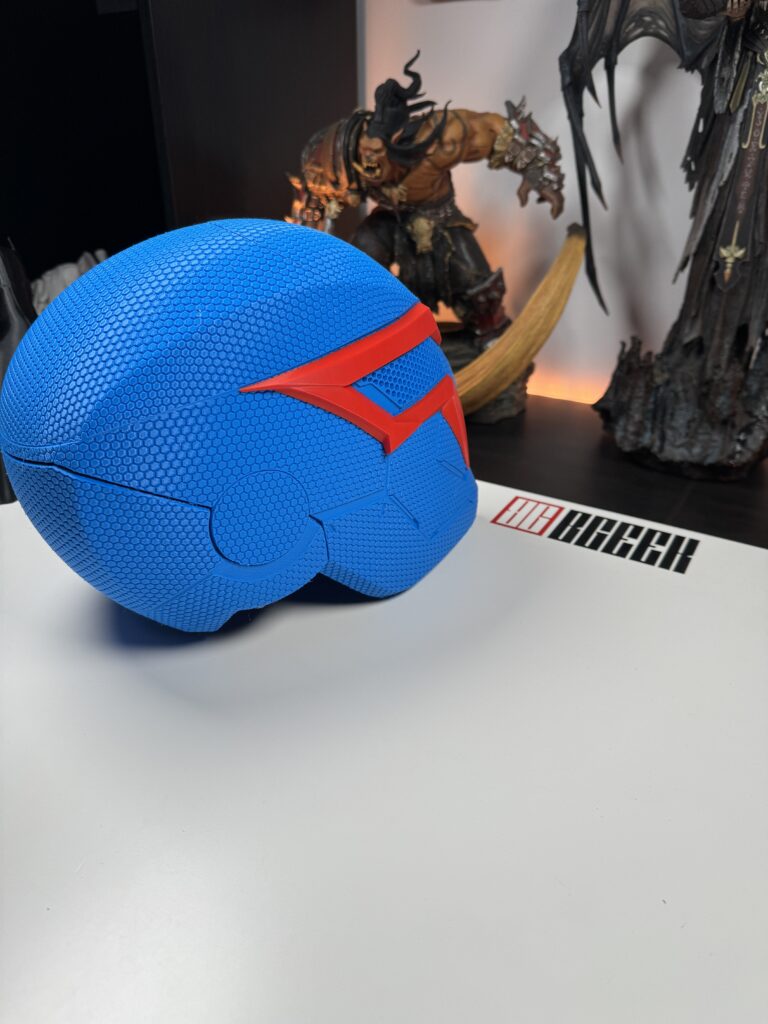
The models are without sanding or any processing after printing. All I did was remove the supports. As you can see, they are very smooth and without any issues.
Verdict
The Anycubic Kobra 2 Max is a printer that has its pros and cons. The positives are the printing speed which is faster than a normal FDM printer, the huge printing plate, the internal storage so that there is no need to use a USB stick, the automatic configuration (leveling, vibrations, etc.) and finally its friendly price. All this makes it accessible to experienced as well as new users who want to start the hobby now.
As for the Anycubic Kobra 2 Max negatives, I would add that it is quite noisy because the fans of the power supply and the motherboard work almost constantly at maximum, the issues it has with the software and finally, sometimes it would not start heating the nozzle by itself. I had to manually set it to 0 degrees and then it would start. Of course, this can be fixed with a future update.
The Anycubic Kobra 2 Max is sold in the official Anycubic store at the price of $558 which corresponds to €515 (at the time of writing). Keep in mind though that, you may not be able to take the printer with you on trips. But do you know what you can get? The BenQ GS50 to watch your movies wherever you are!
At this point, I would like to thank Anycubic for the review unit they provided to write this article.