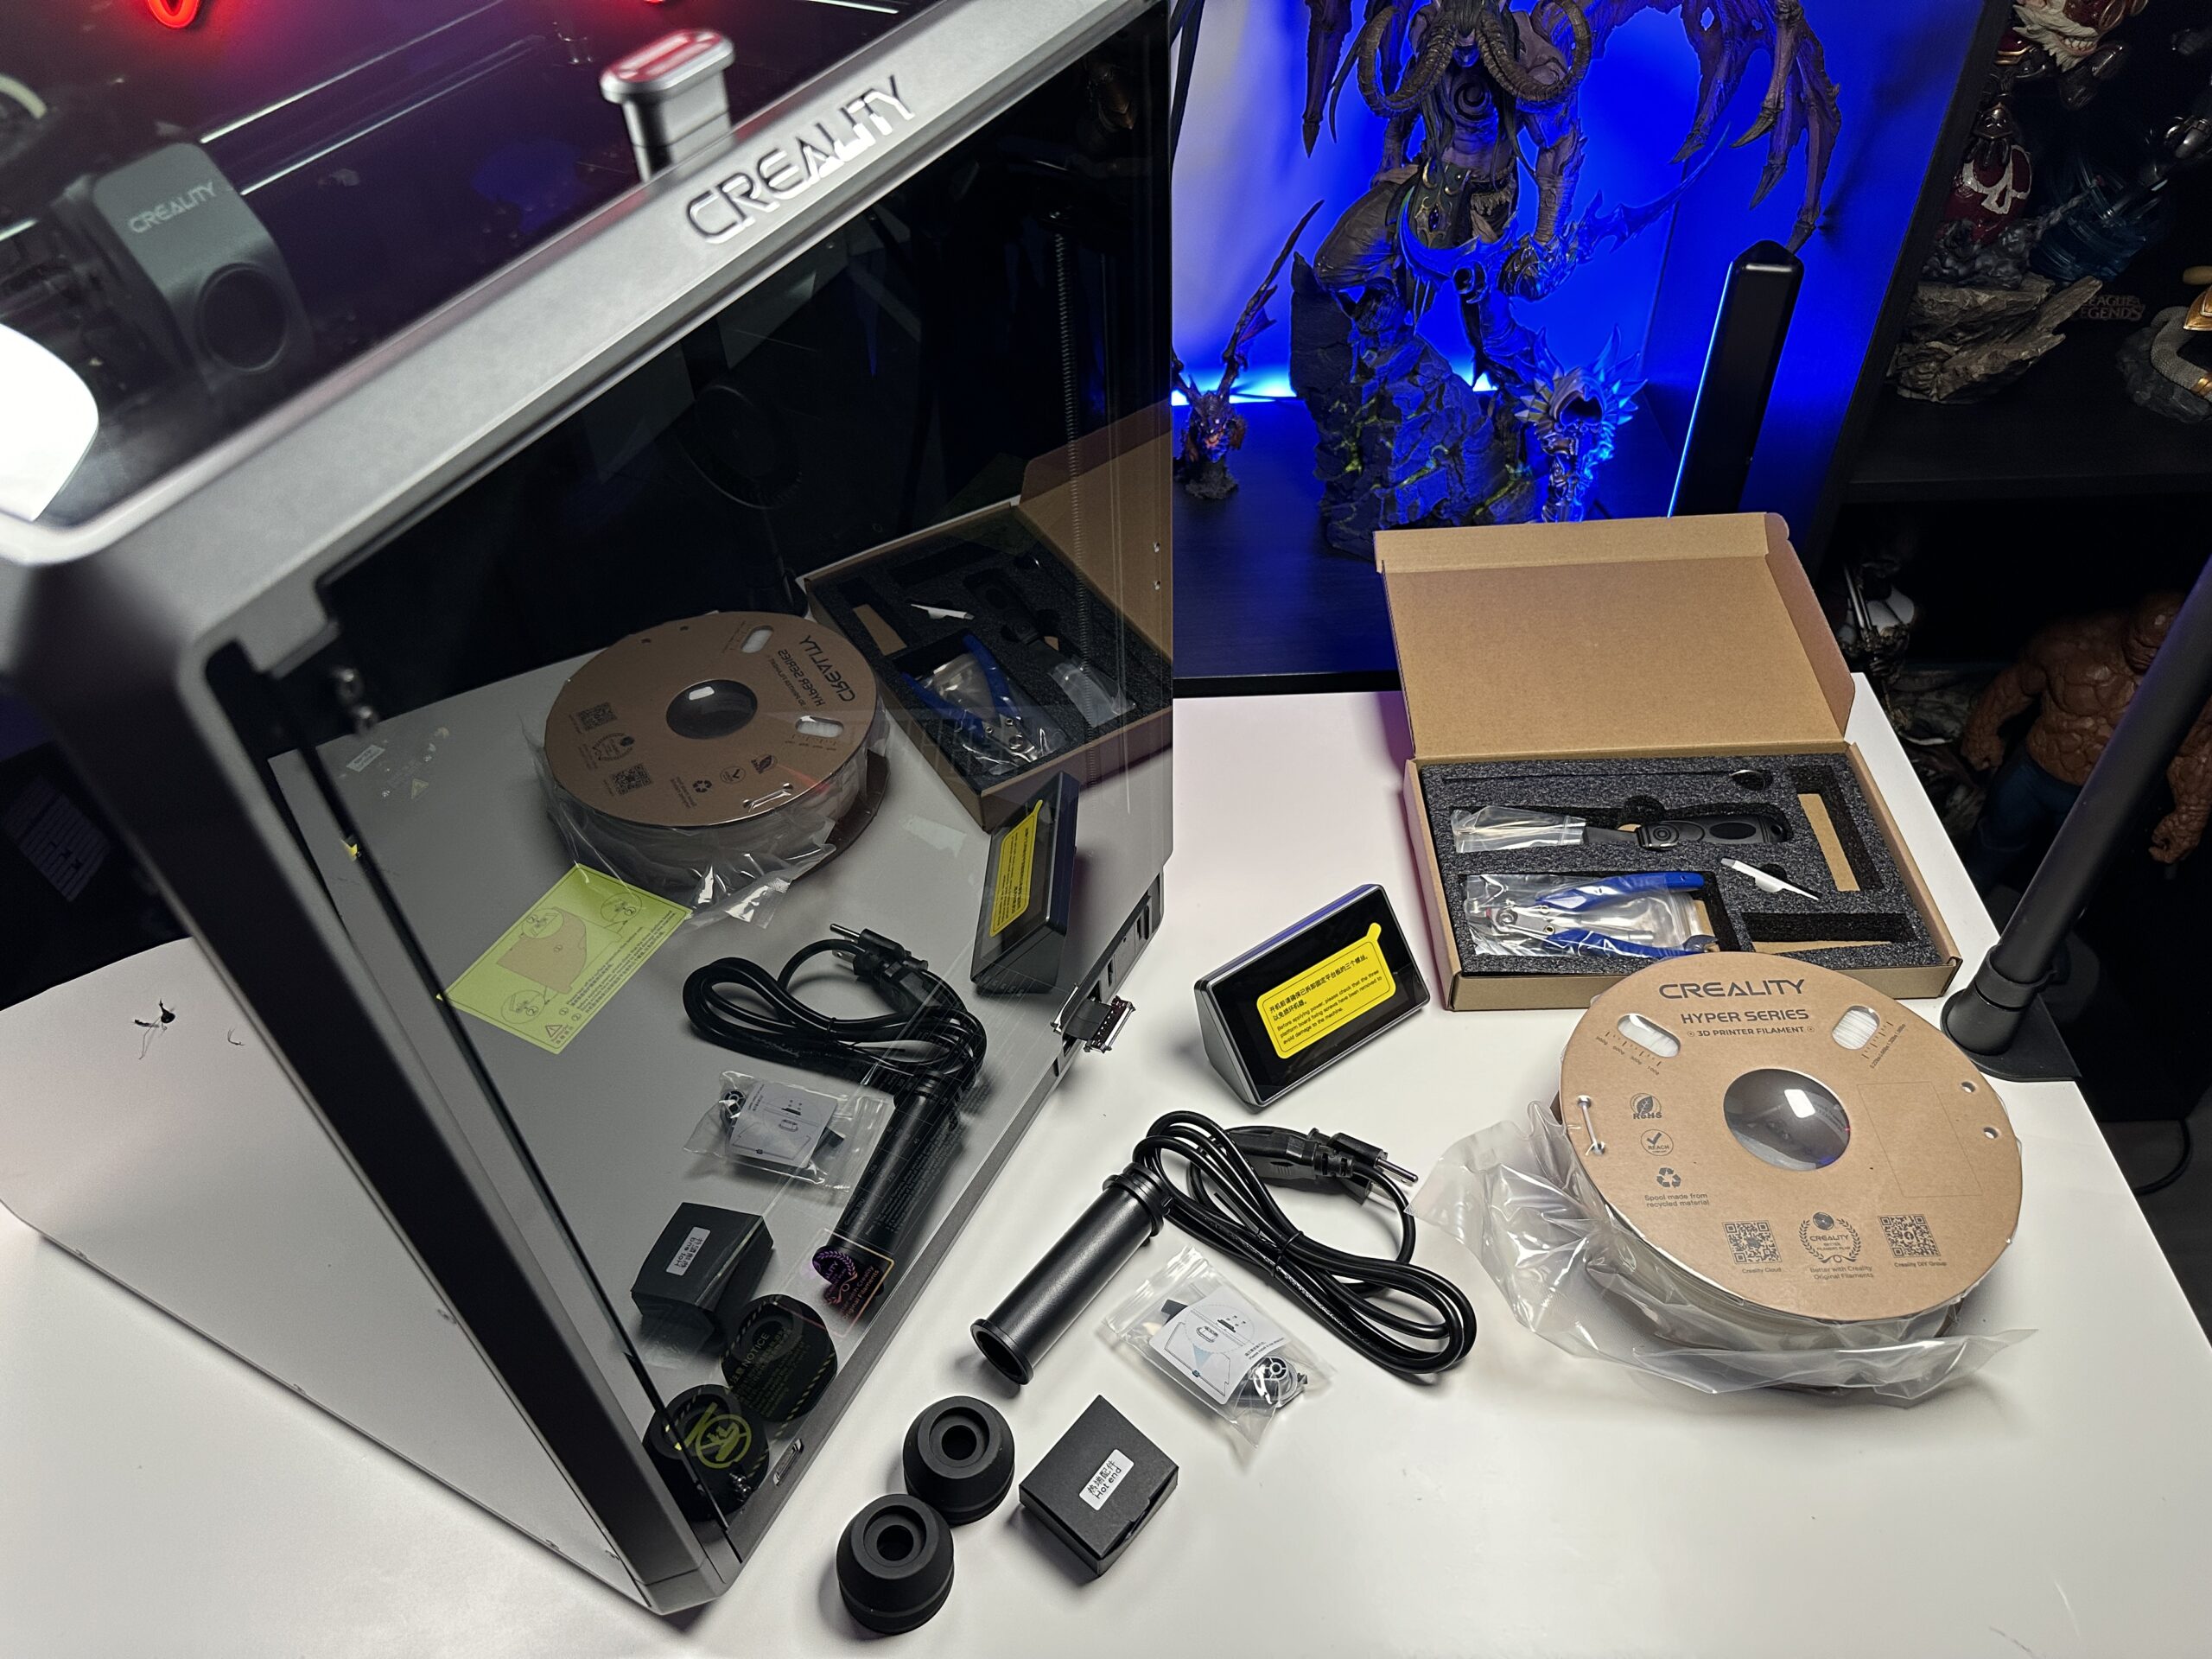
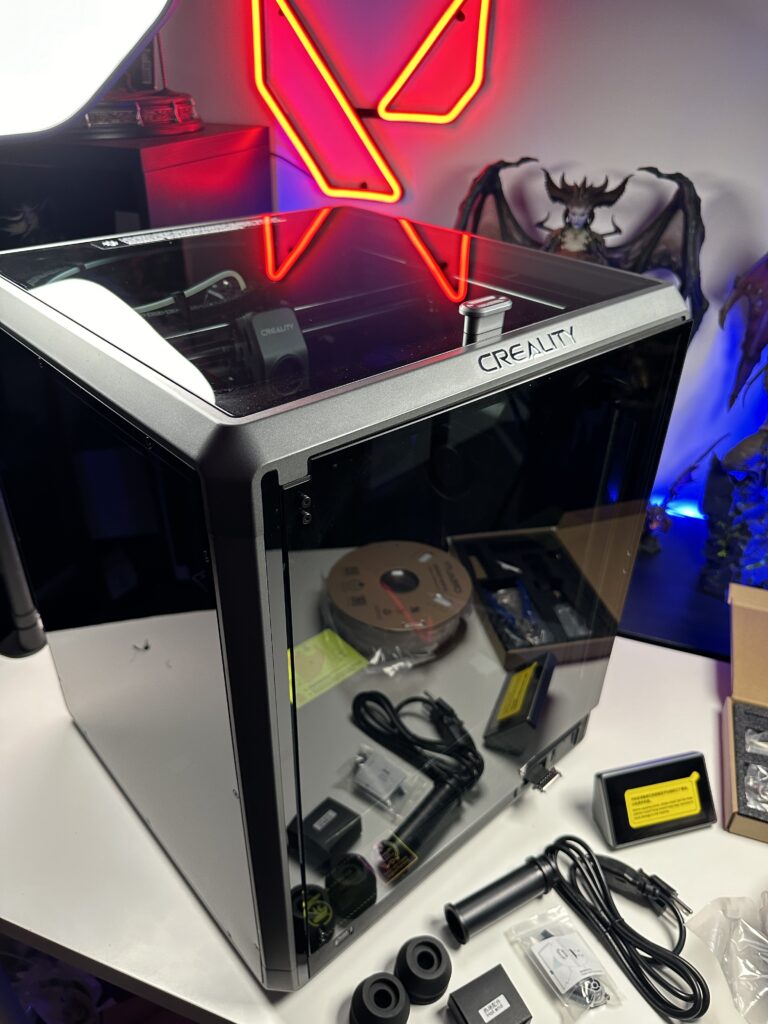
Unboxing
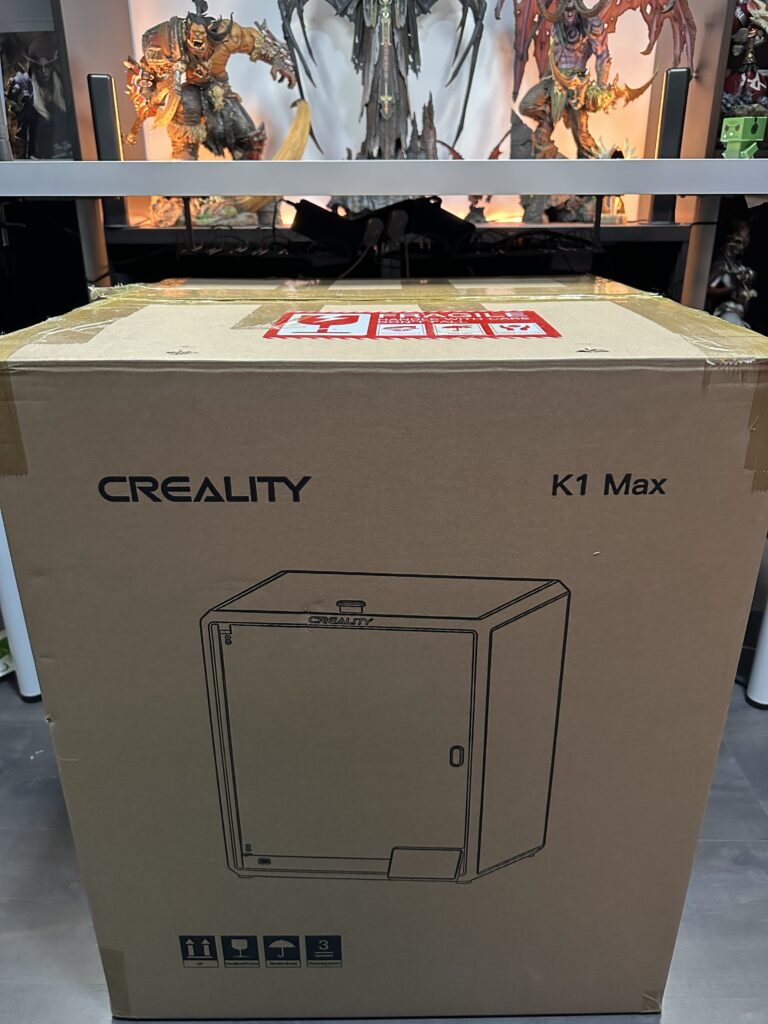
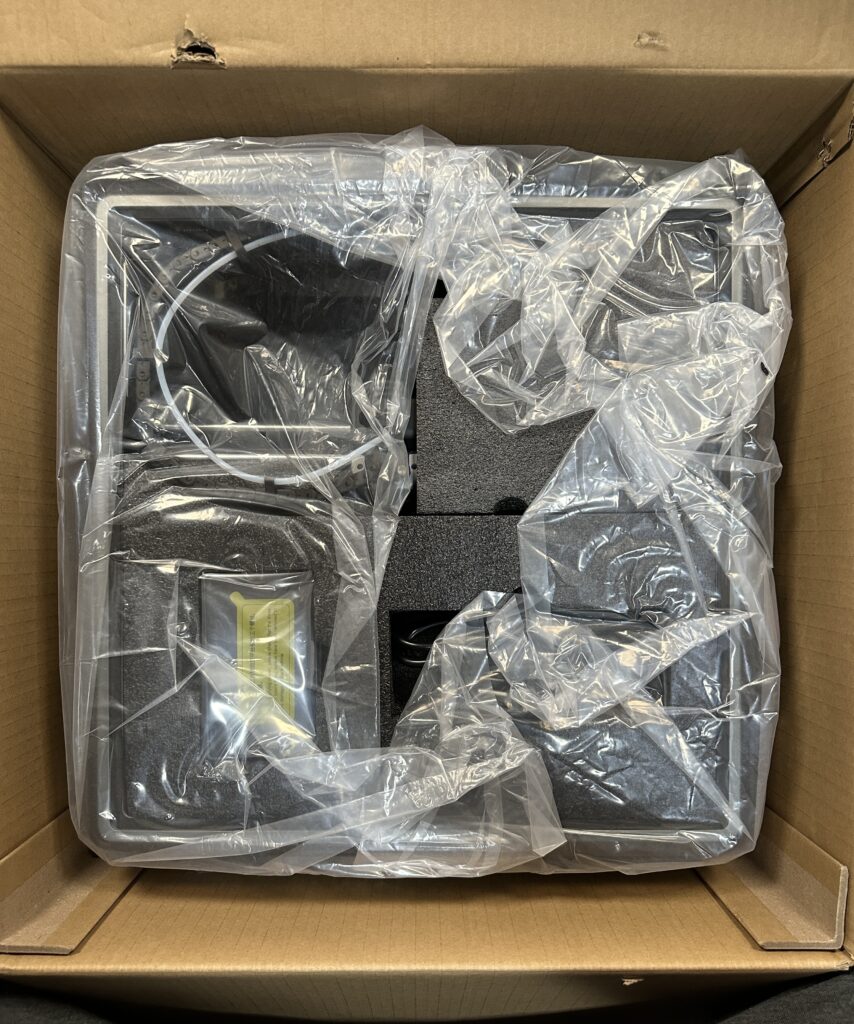
- The Creality K1 Max
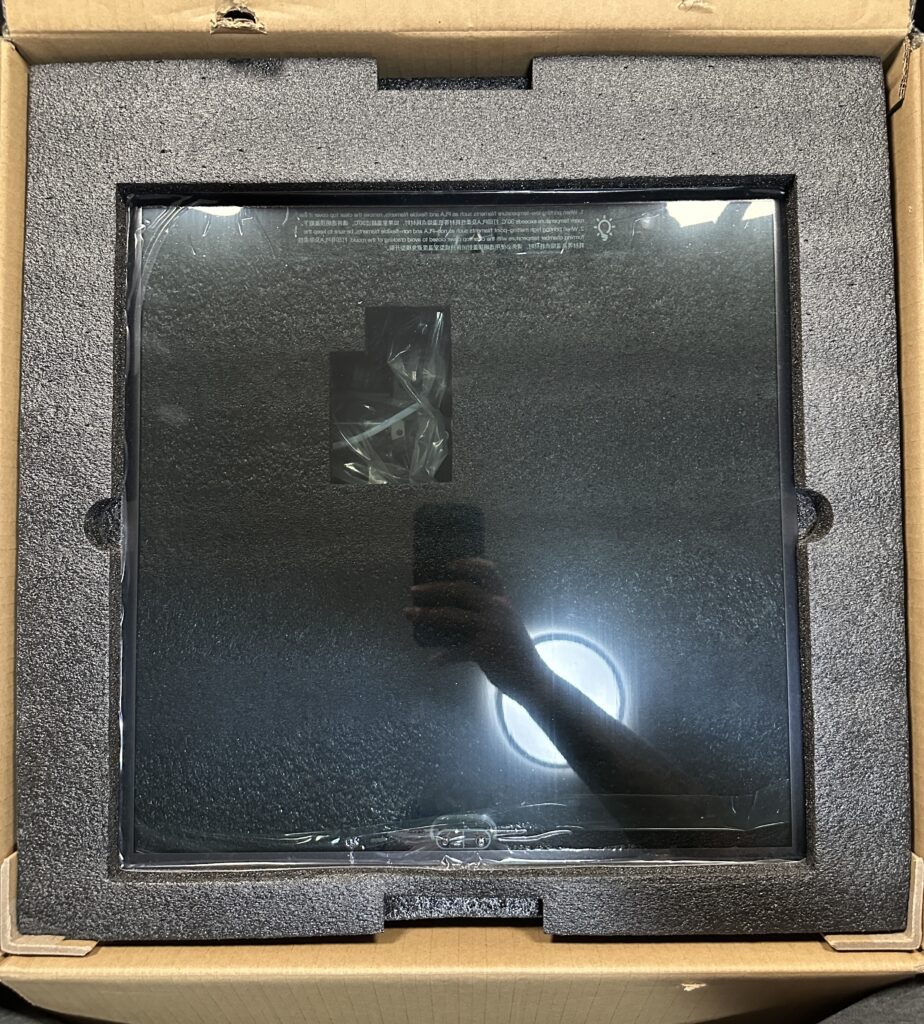
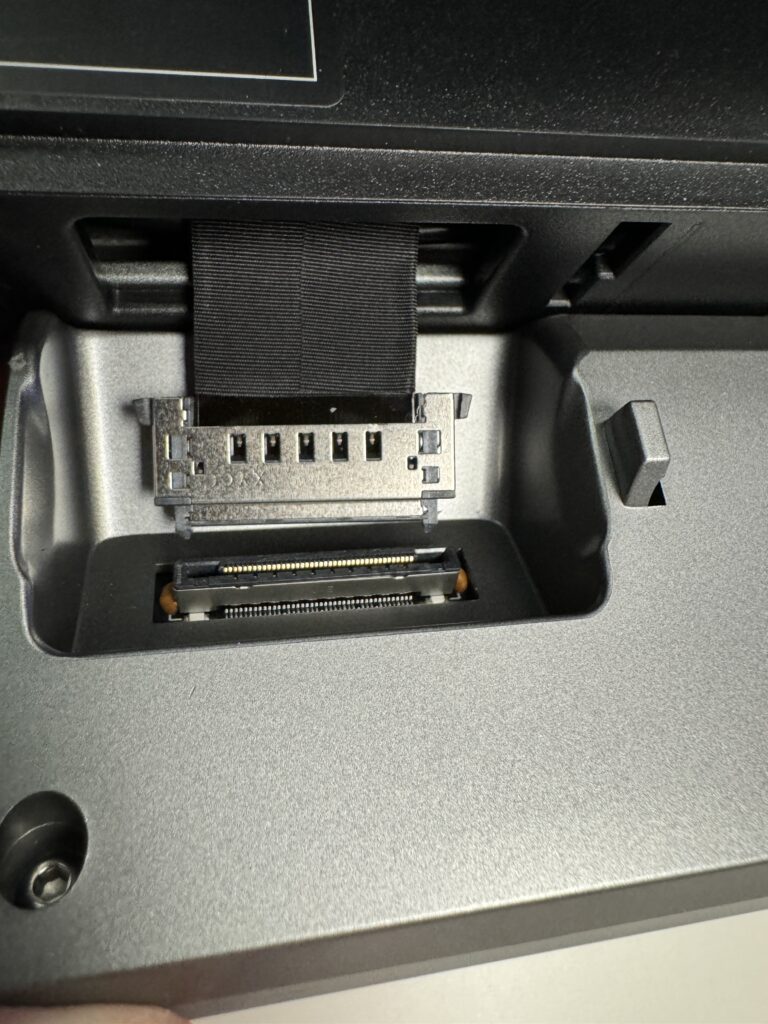
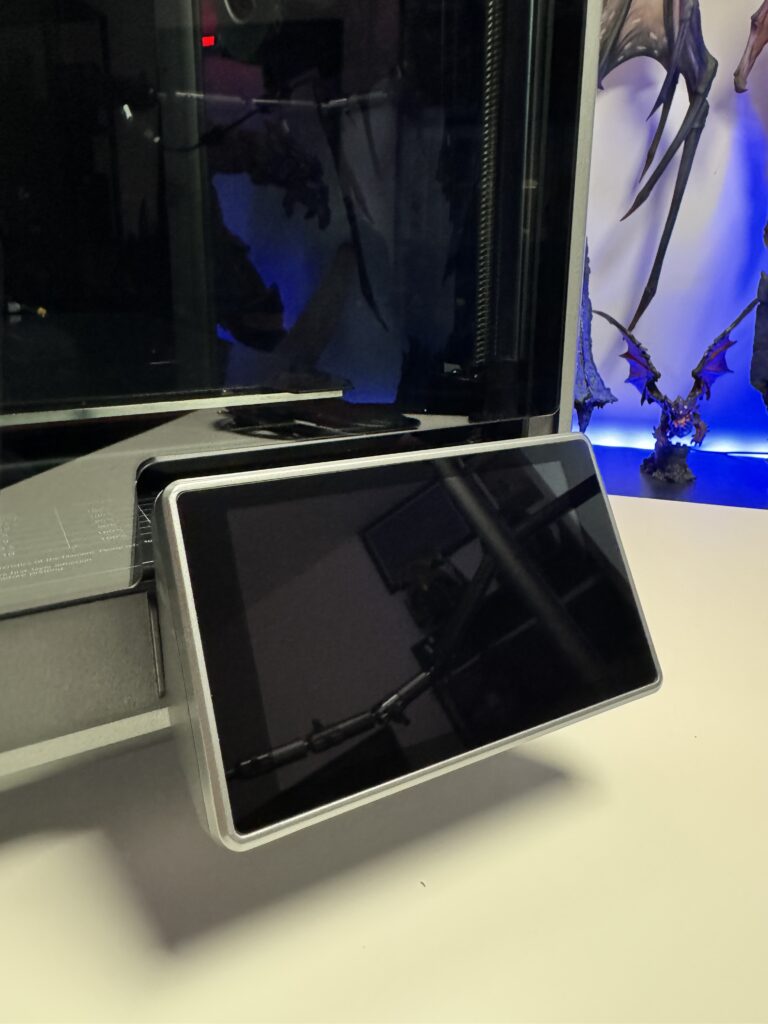
- The touchscreen
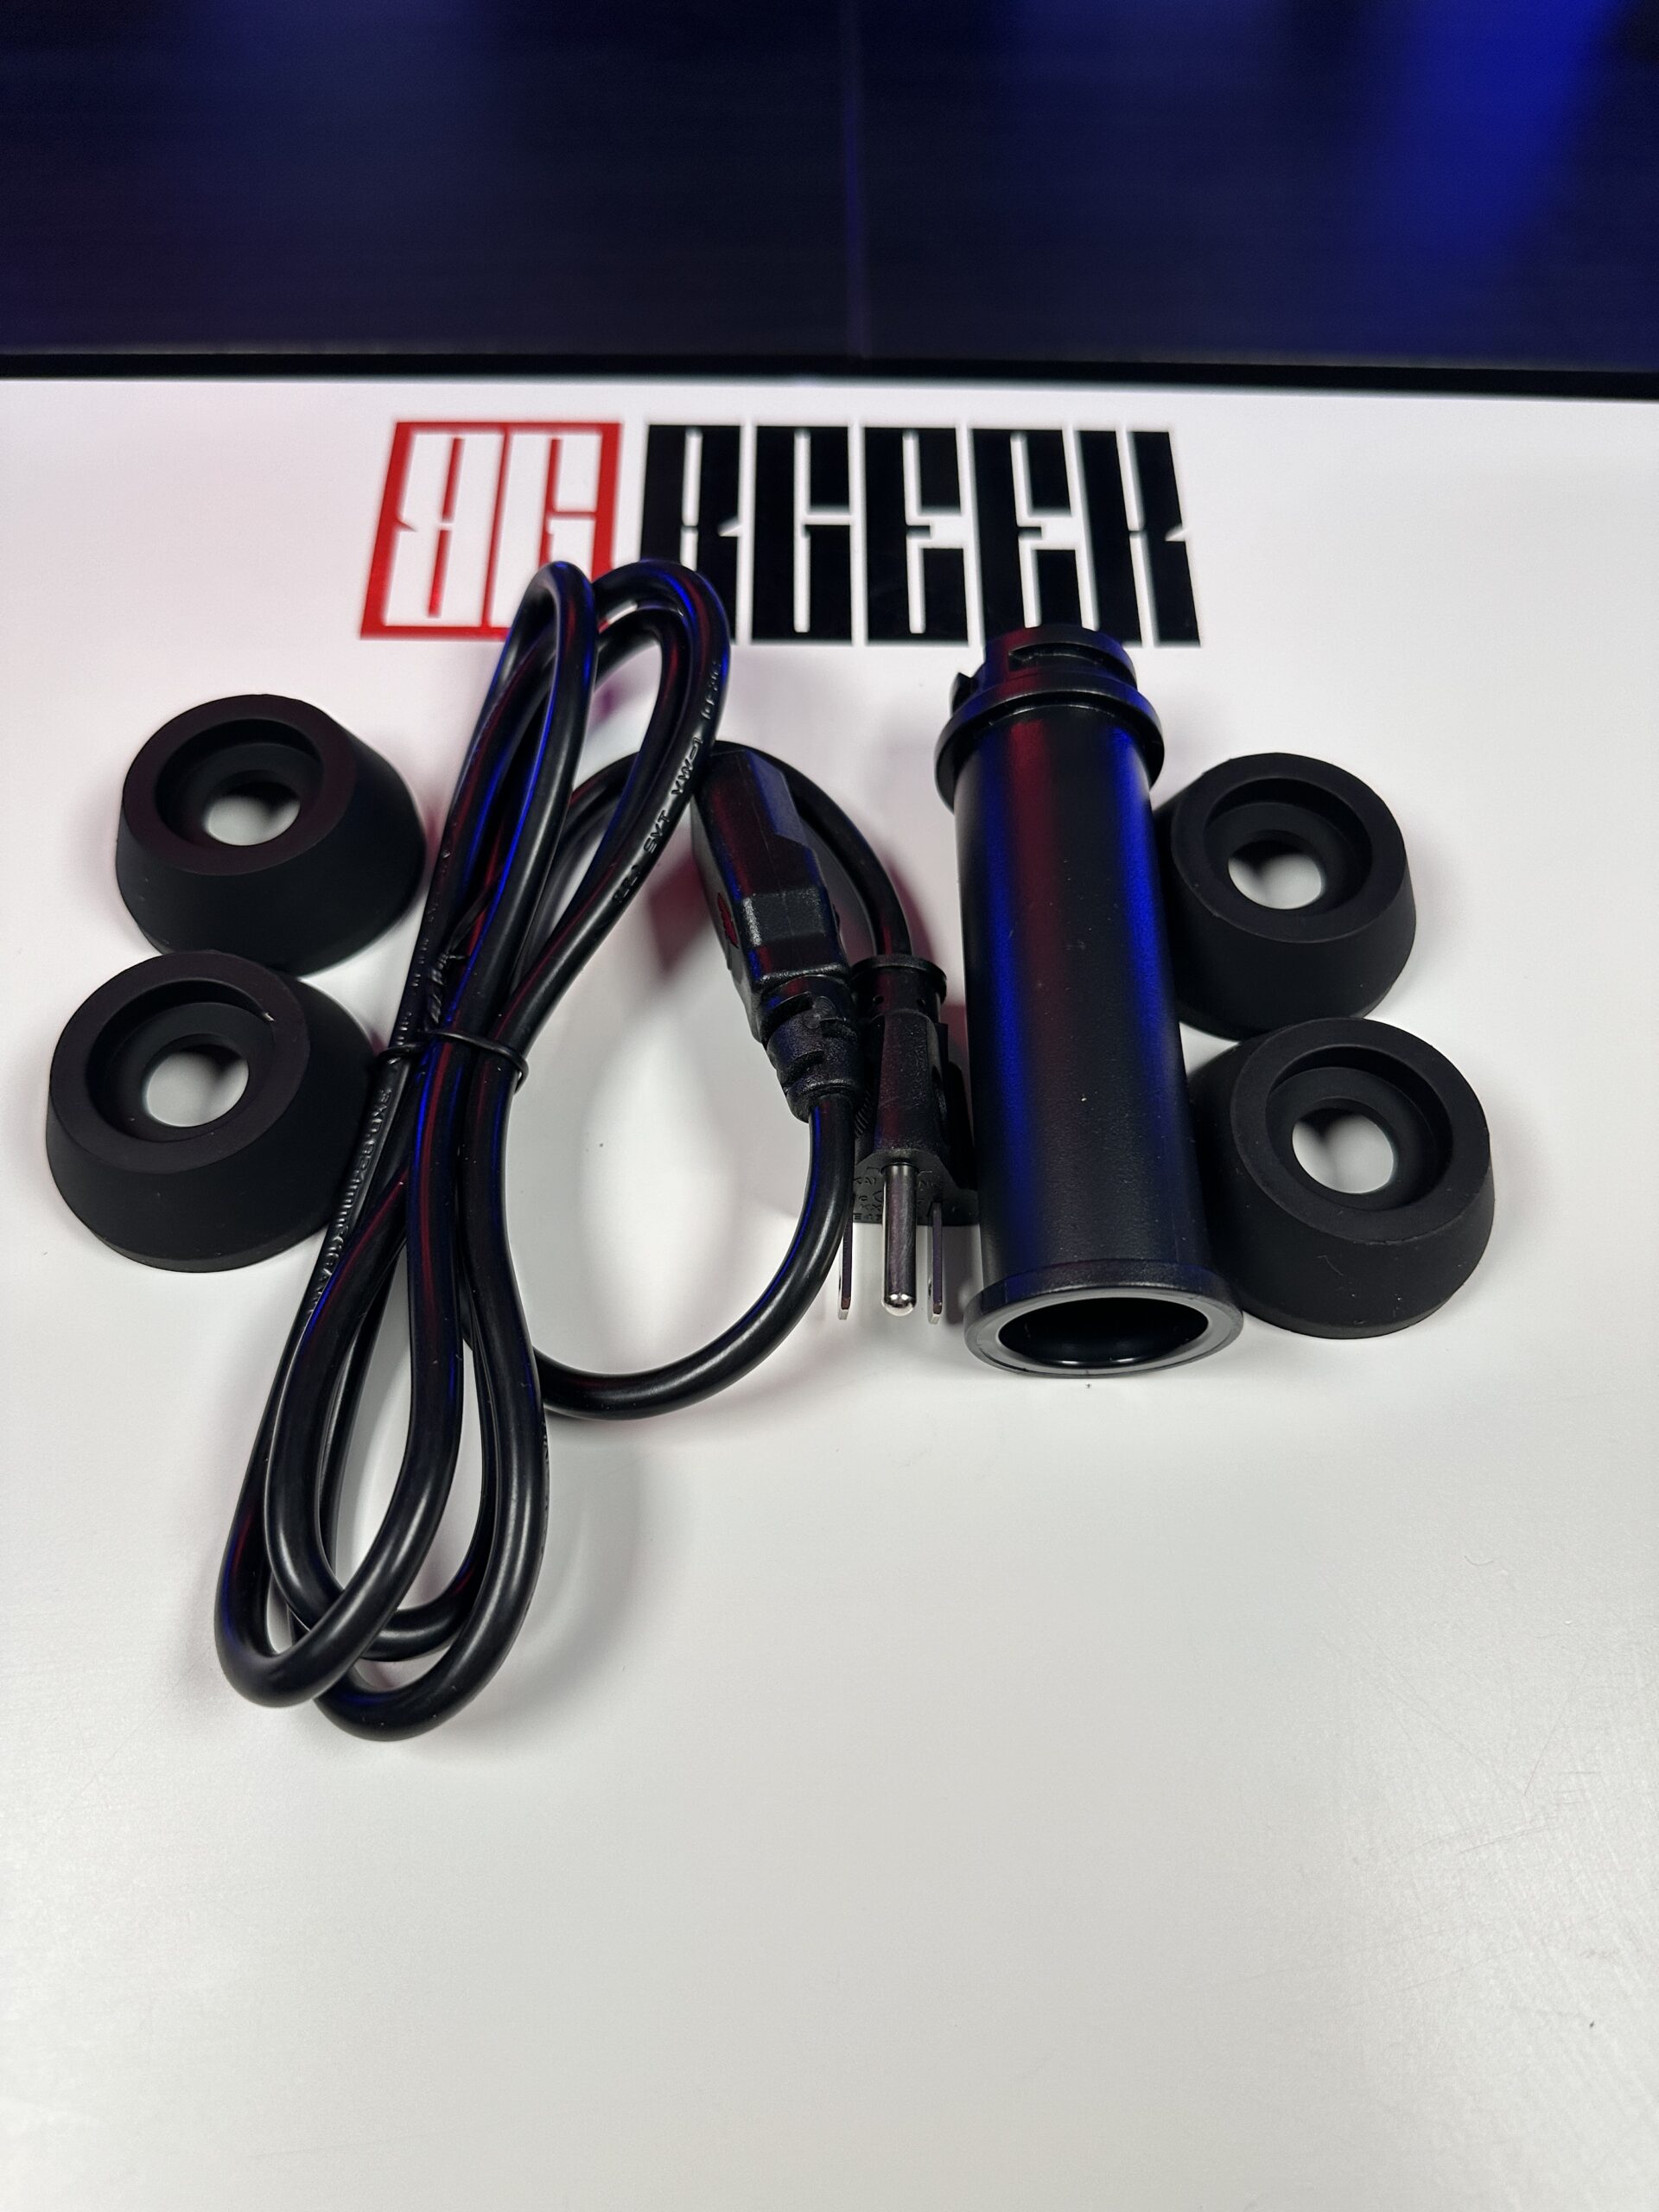
- The power cord
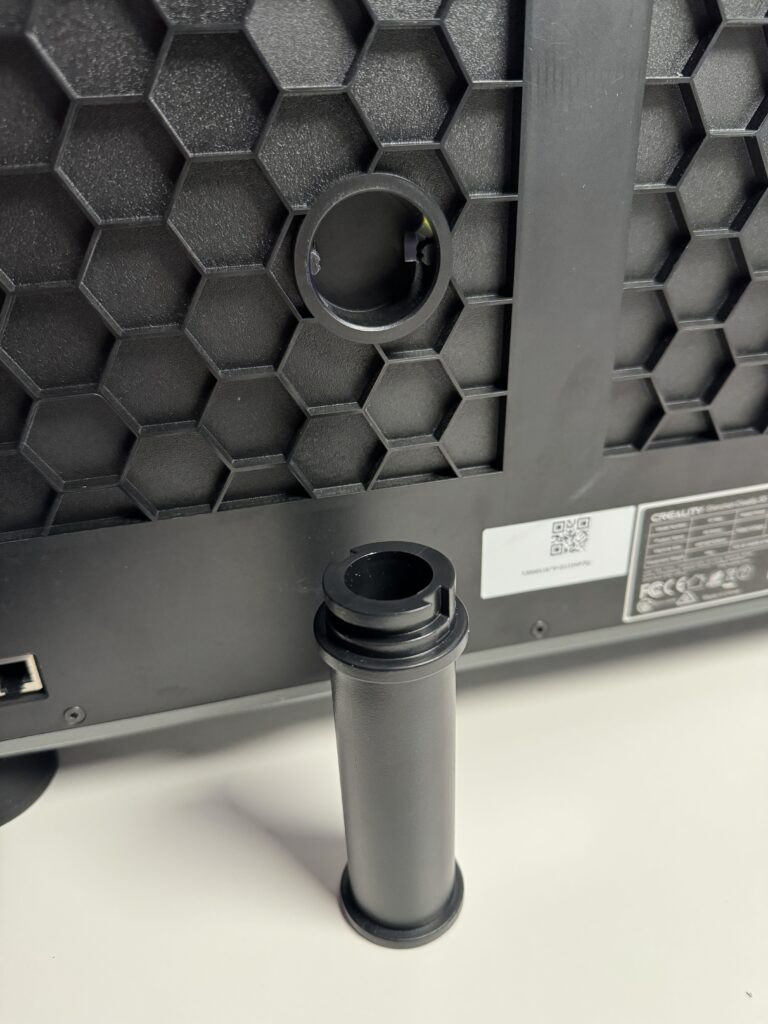
- The mount for the filament roll
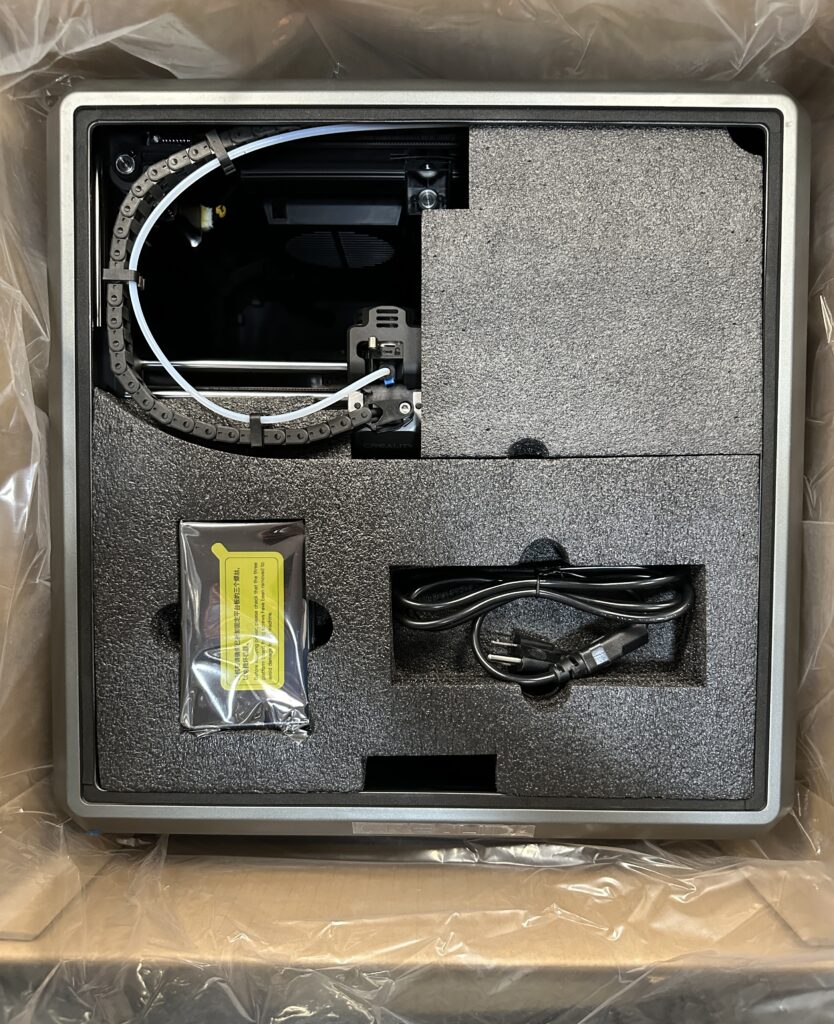
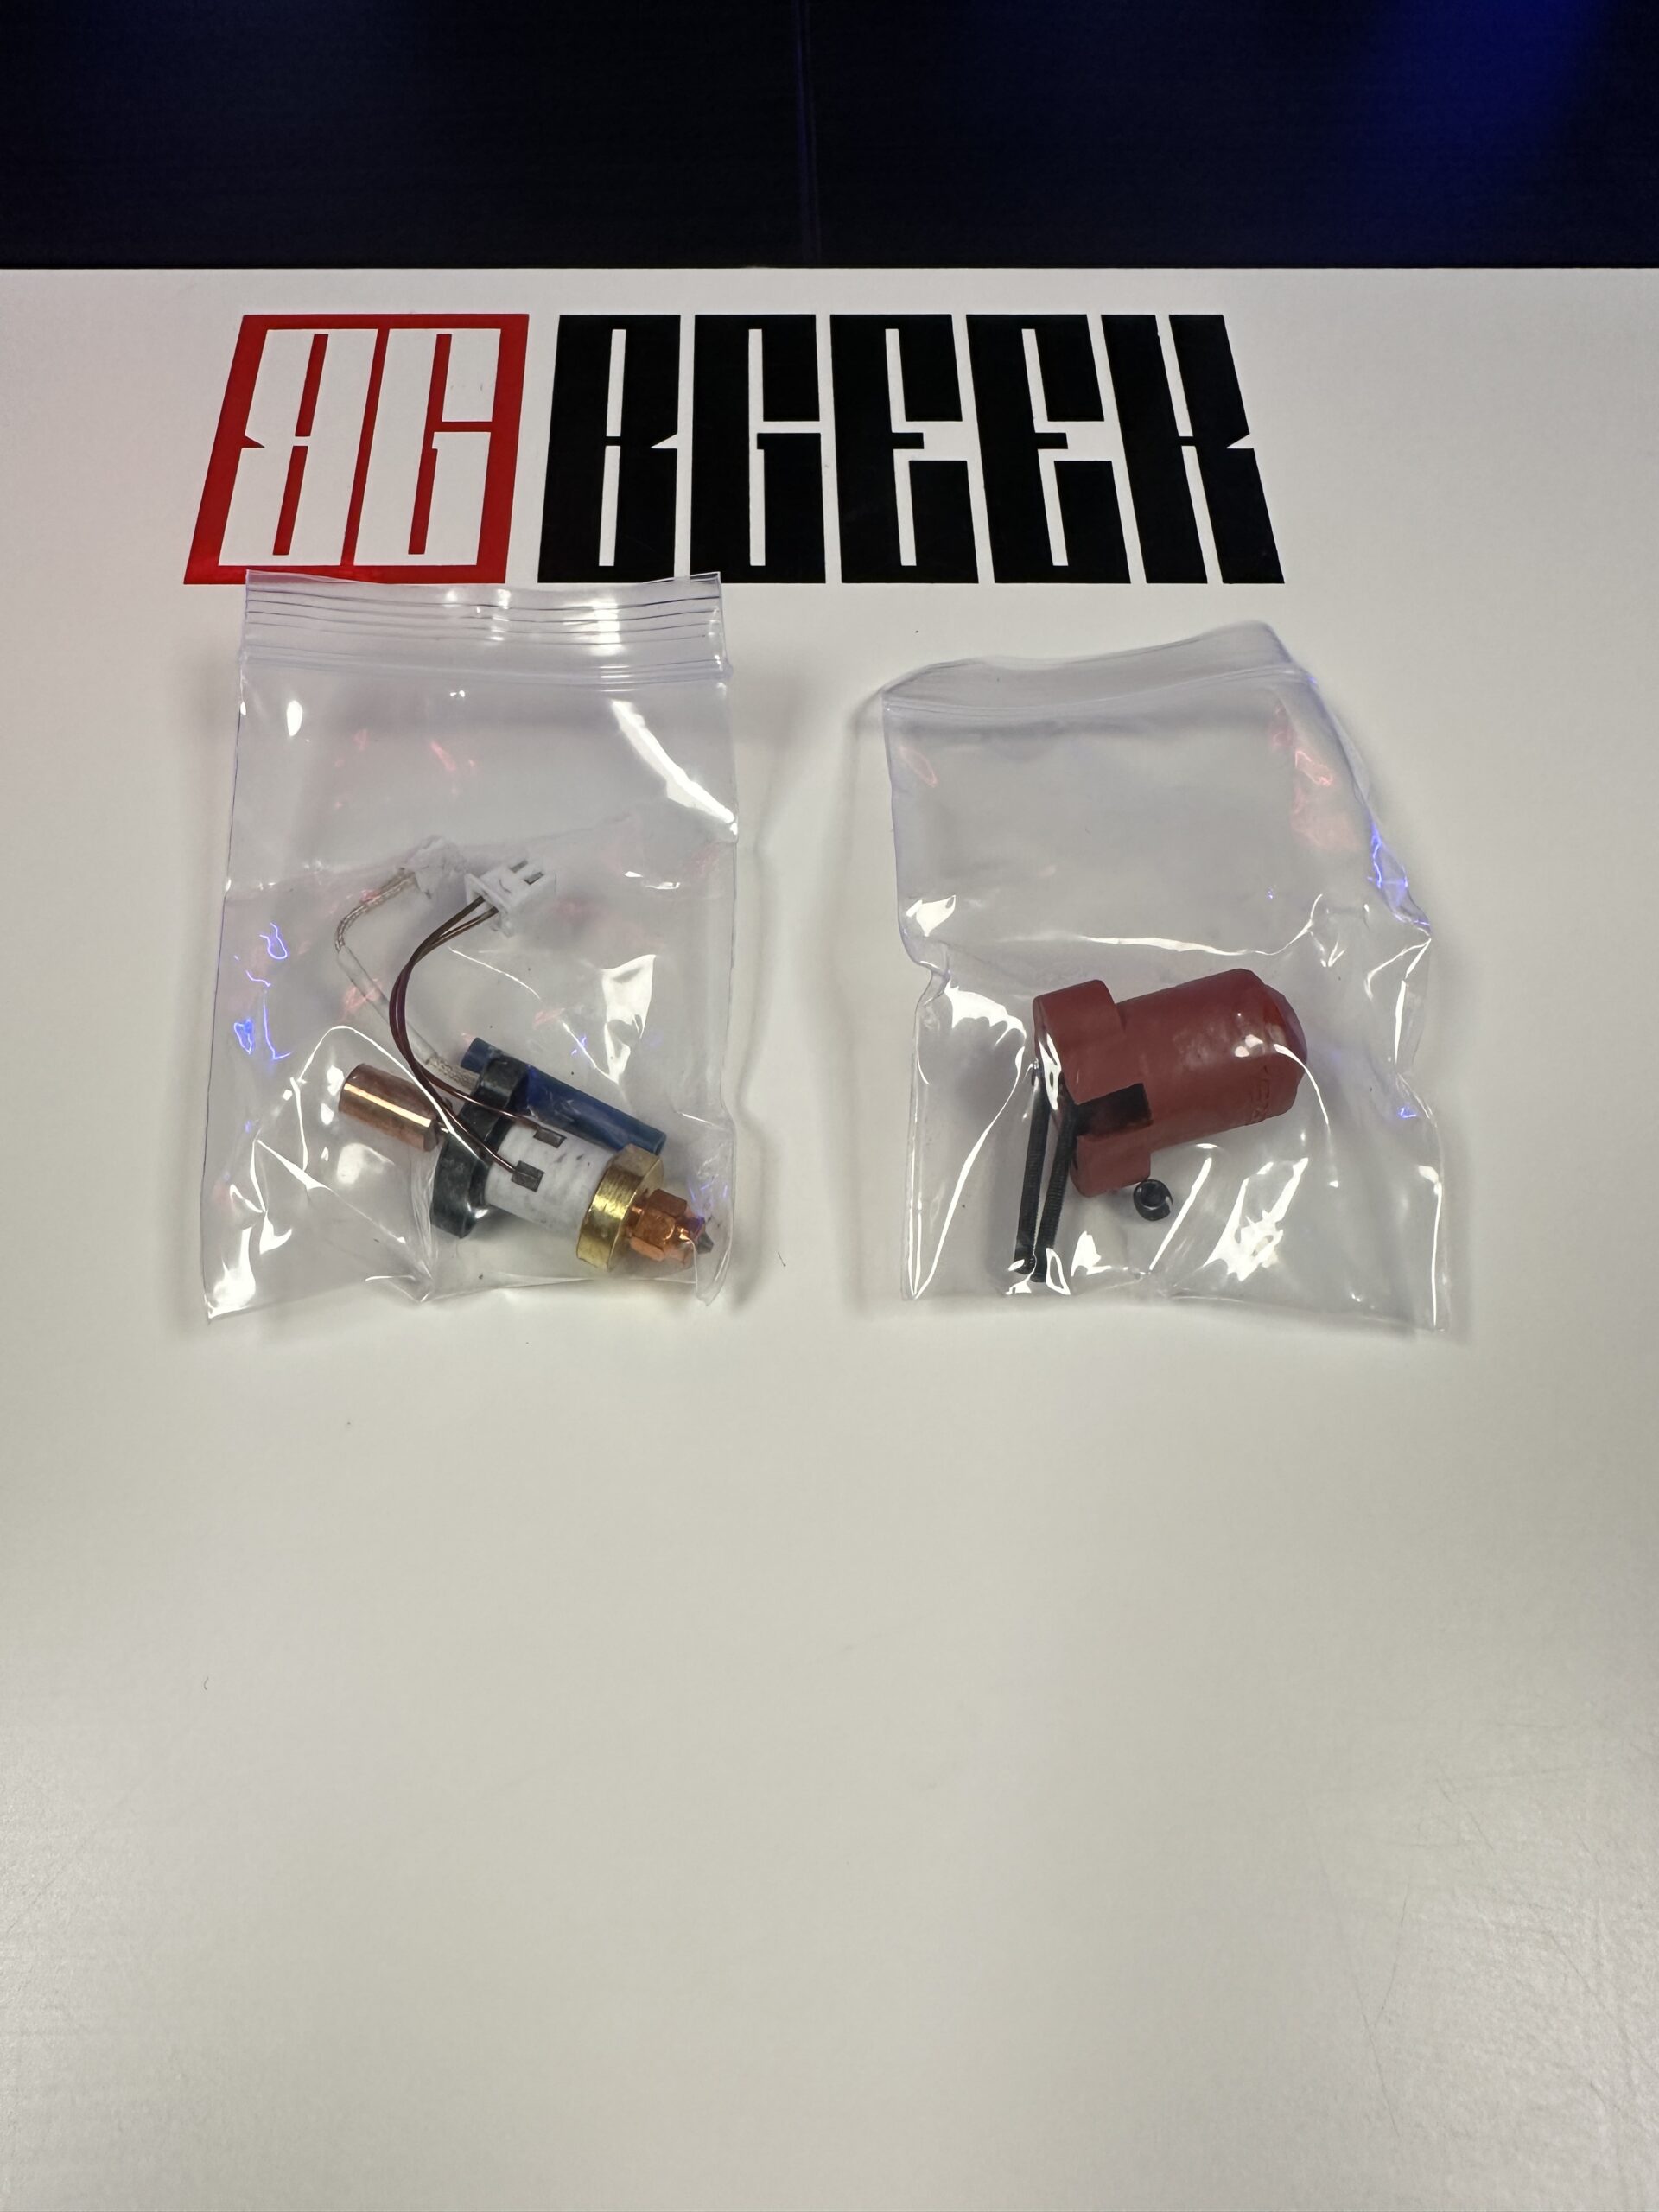
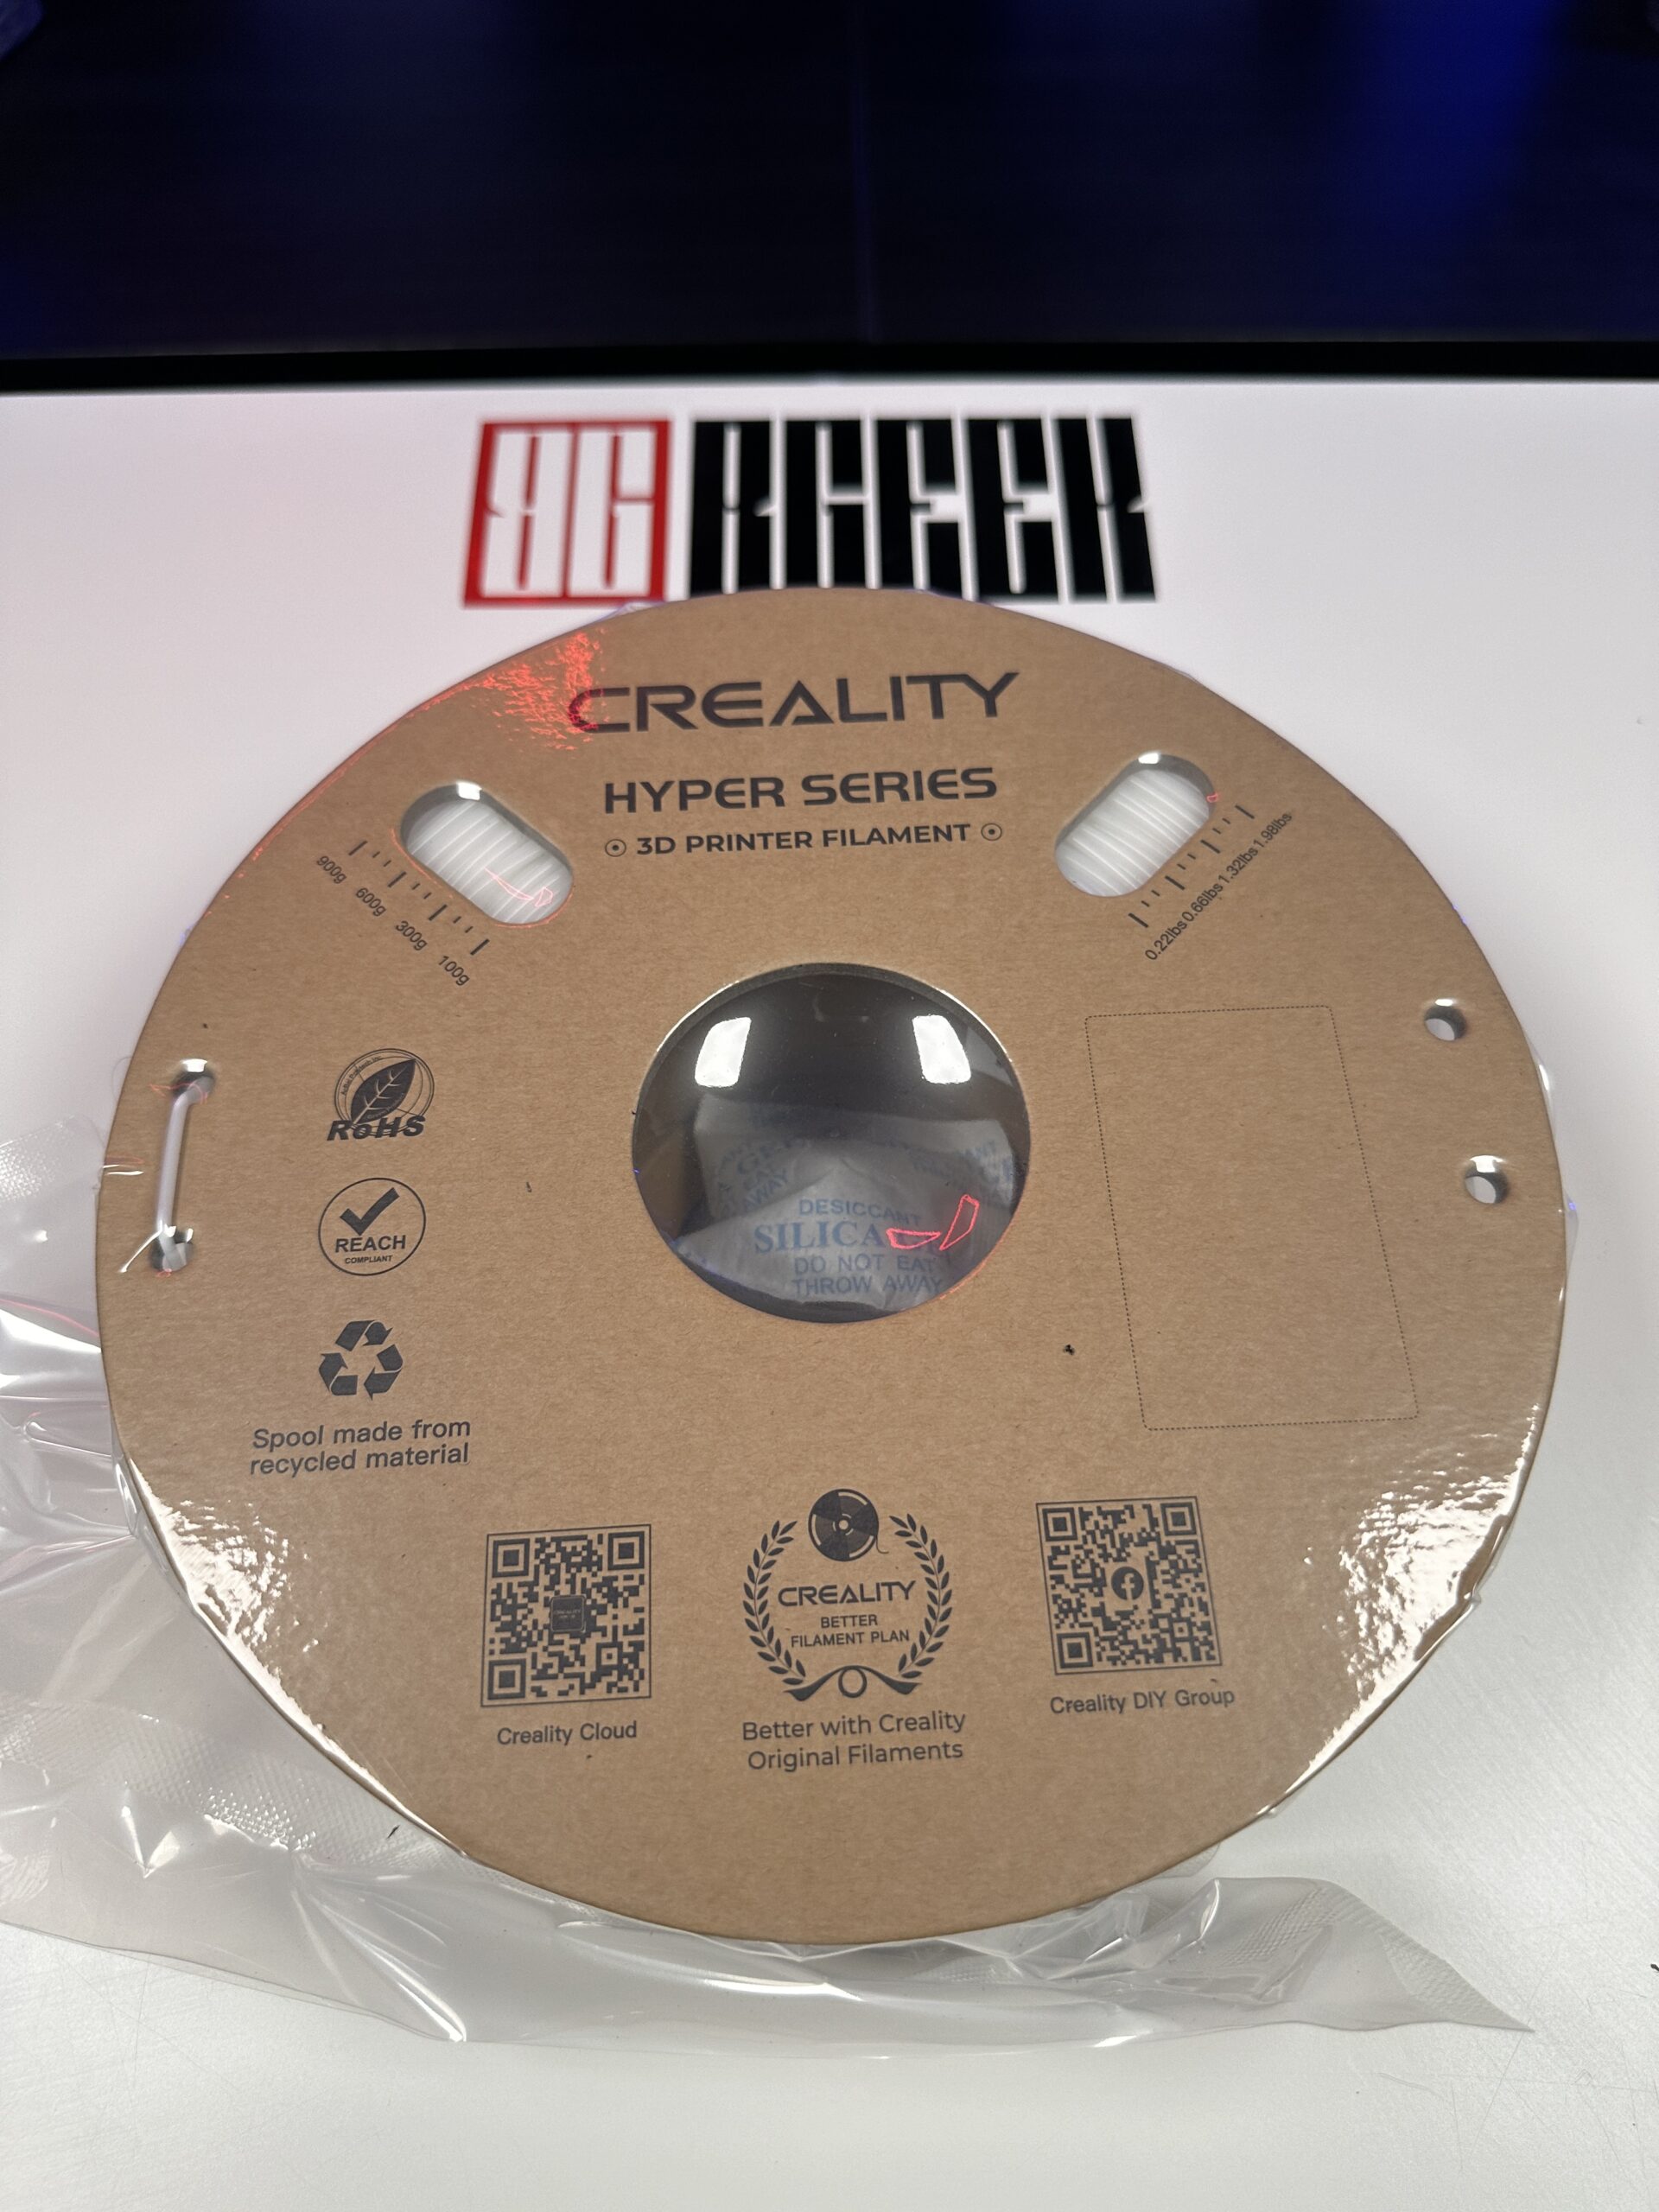
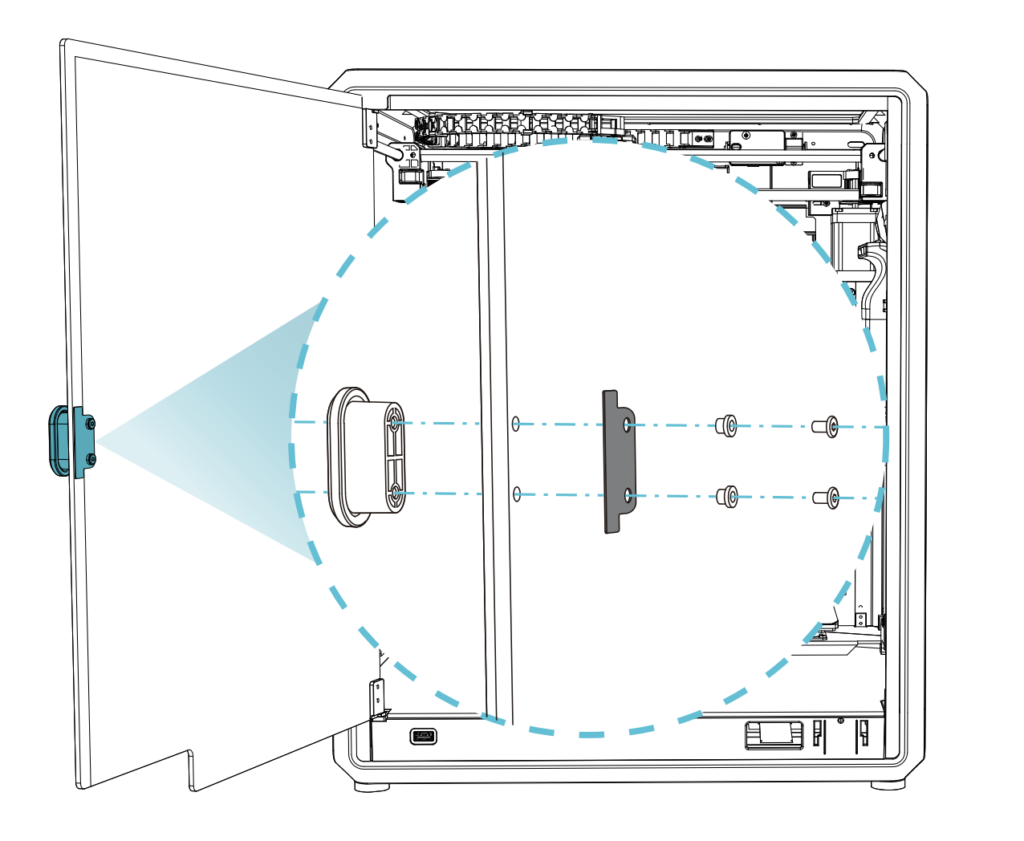
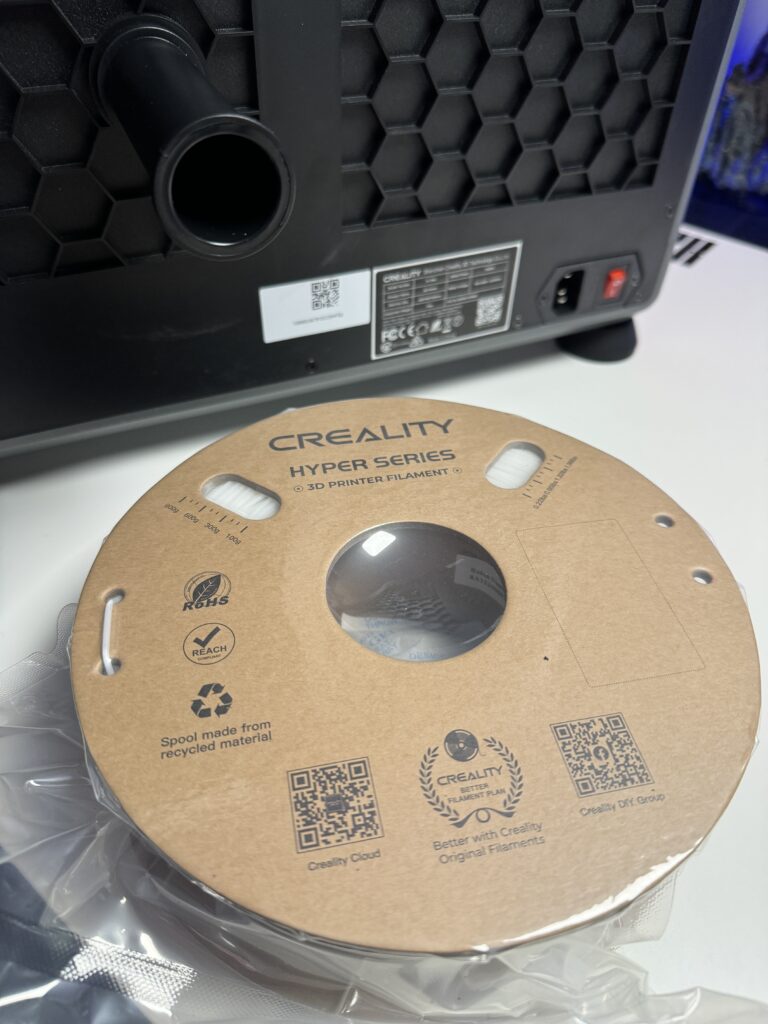
Four rubber feet that absorb shock and make the printer quieter to use One kilogram of Creality’s Hyper PLA (perhaps the only company that gives one kilogram of filament for testing inside each package) An extra hotend as a spare part in case of need - The door handle and its screws
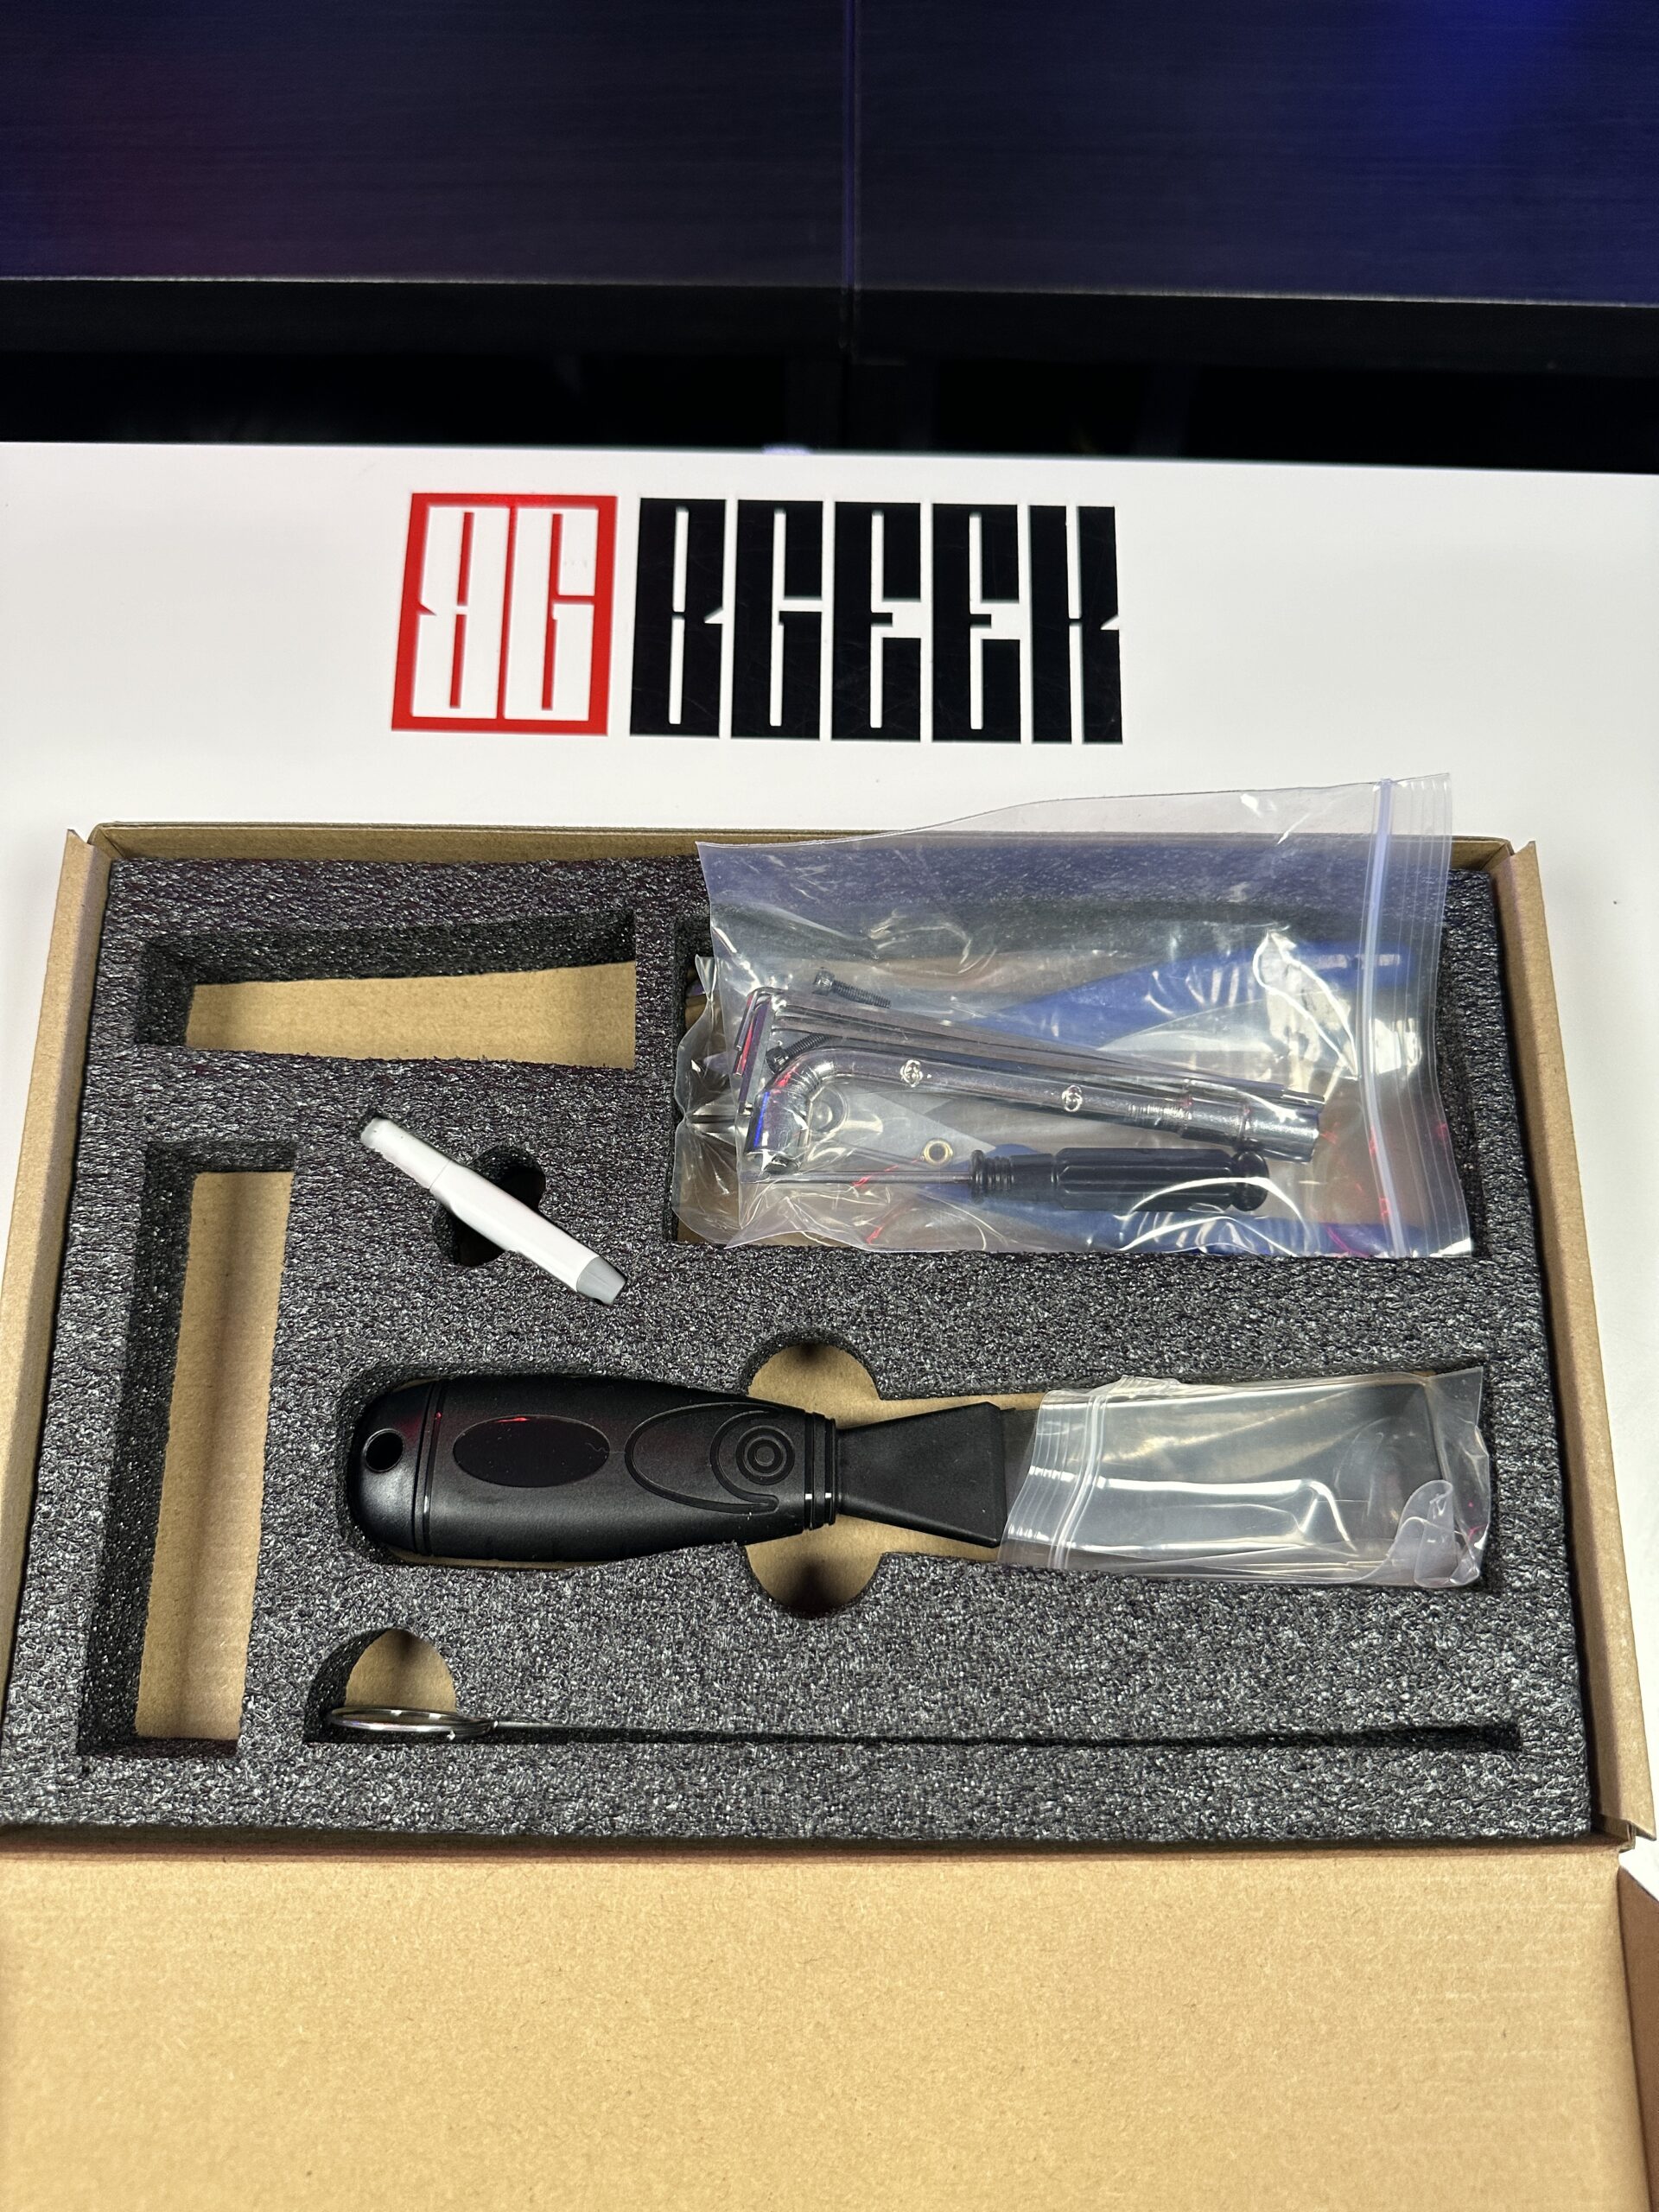
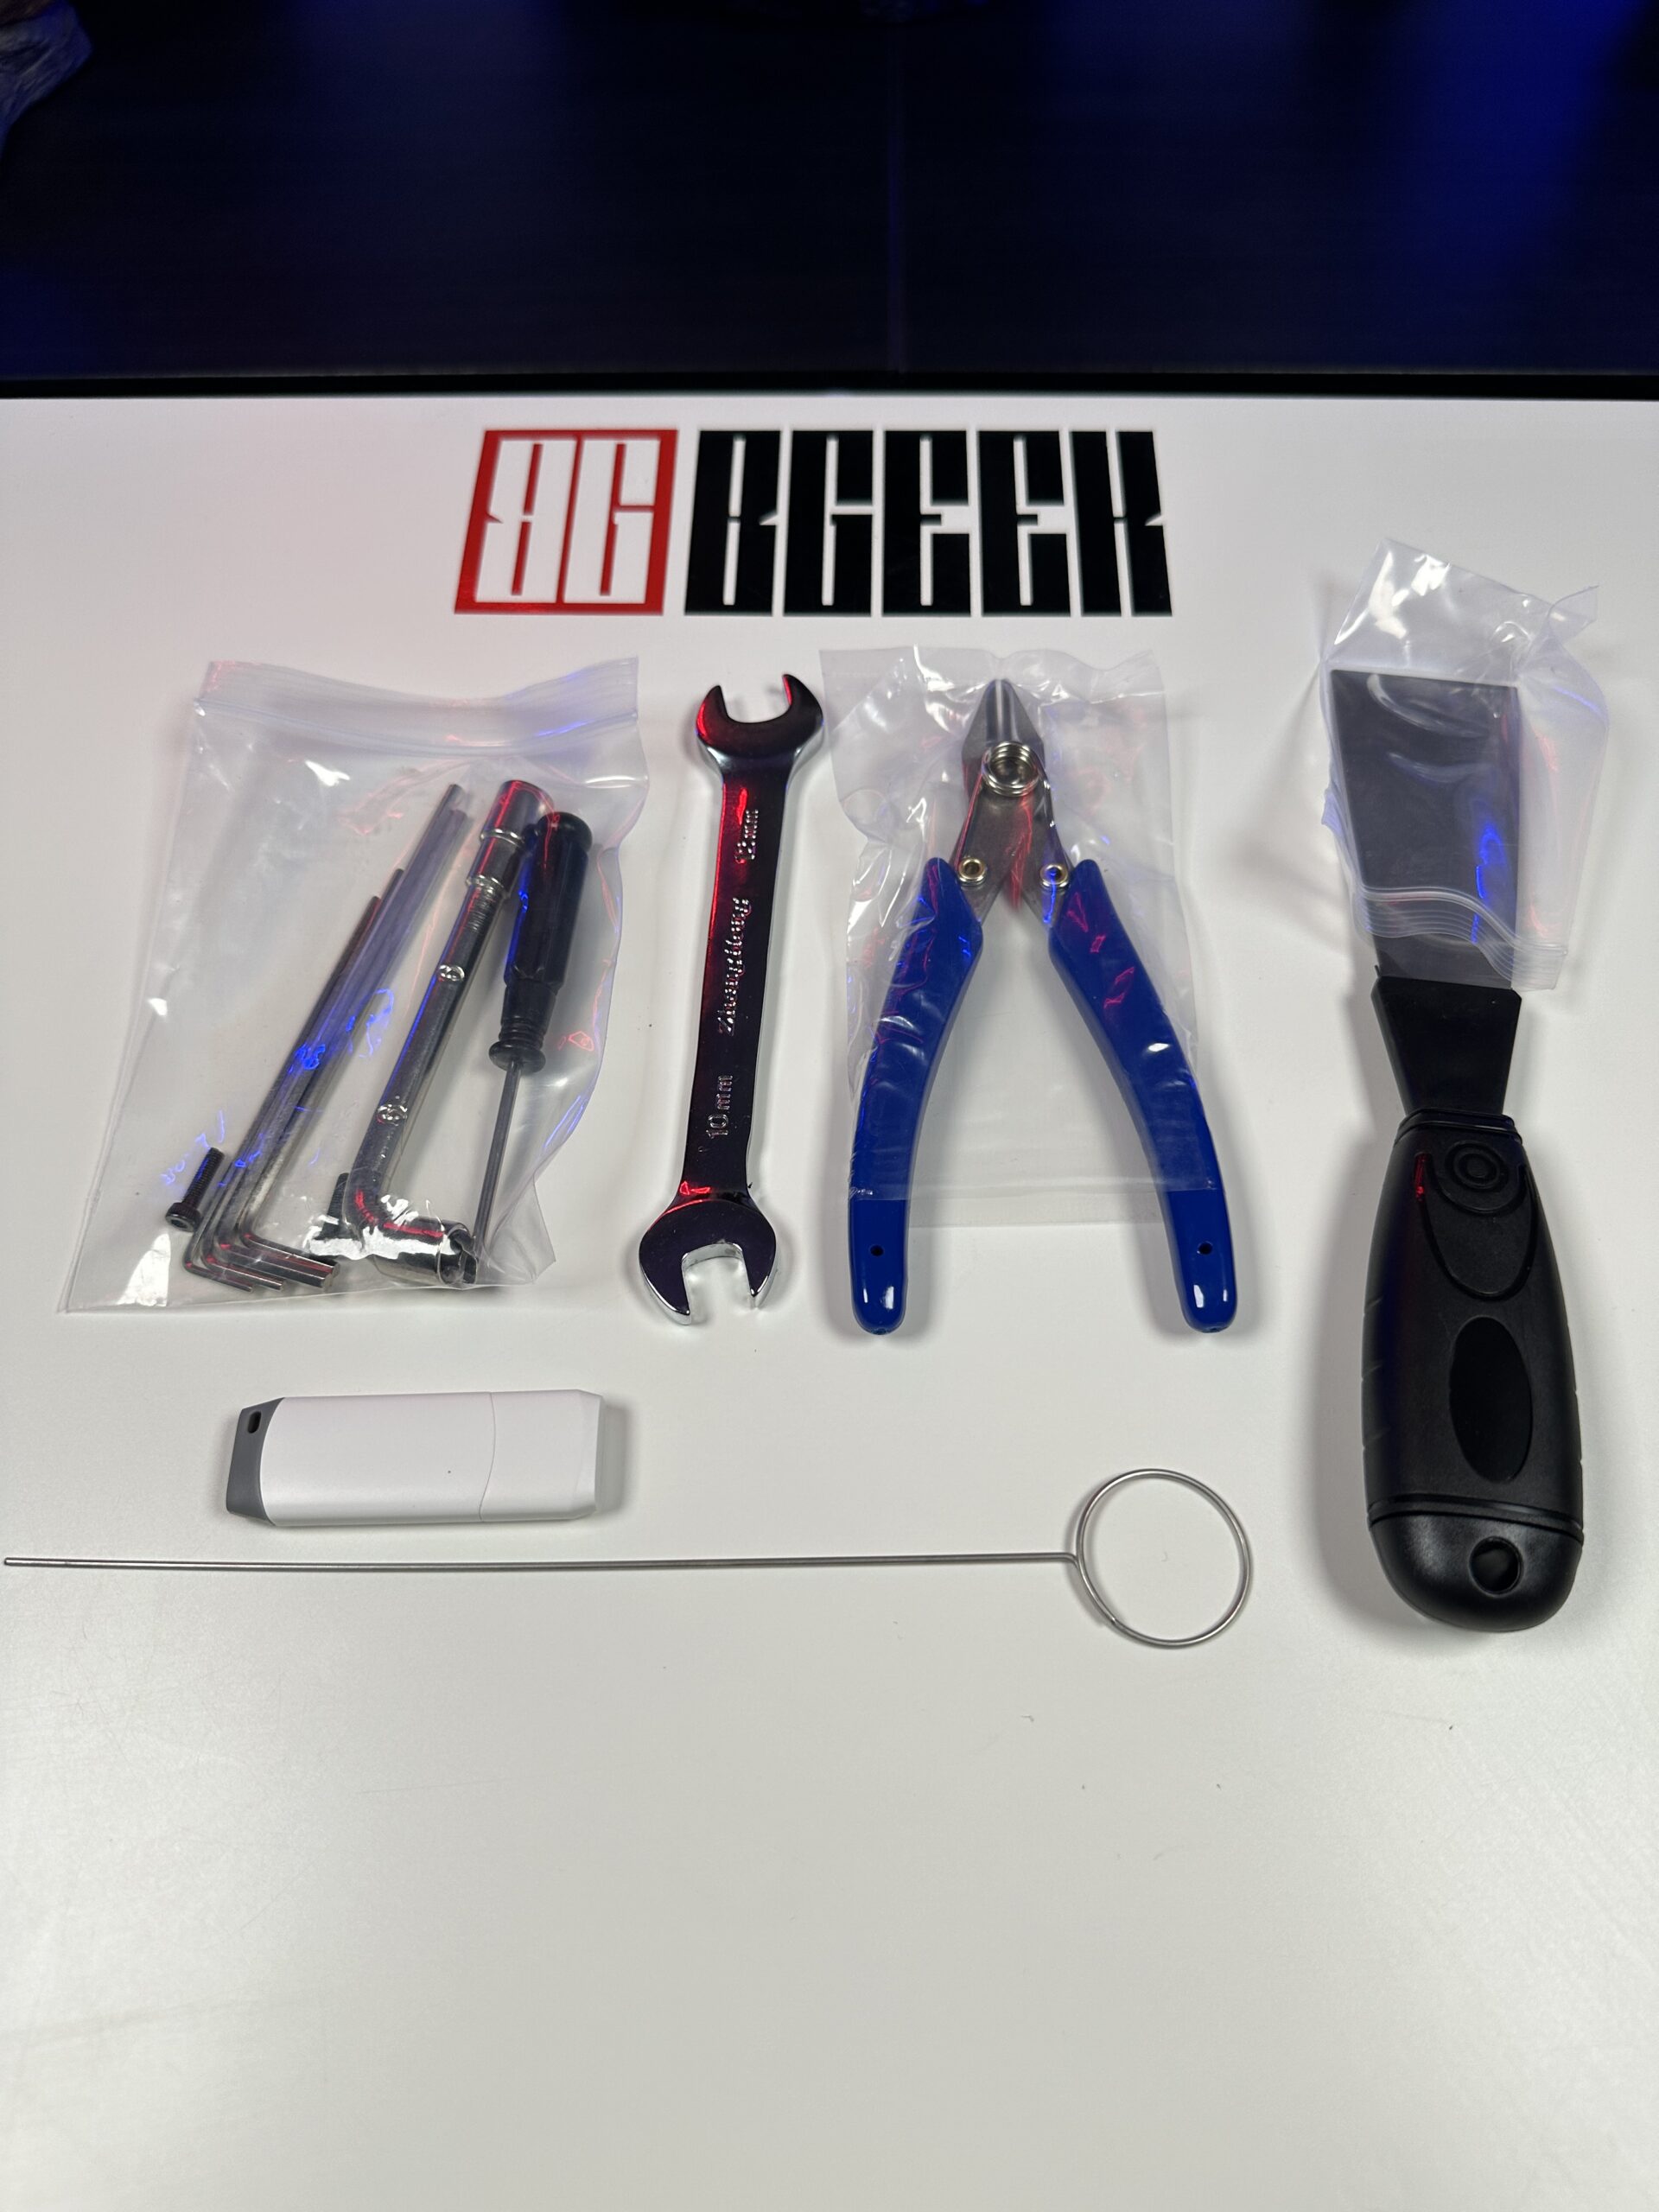
- A box of tools
- A wrench
- A screwdriver
- A metal spatula
One pair of cutting pliers (of very good quality) A tool for cleaning the 1.2mm nozzle - A USB stick
- A wrench for Μ6
Two M3x12 screws to adjust the intensity of the belt
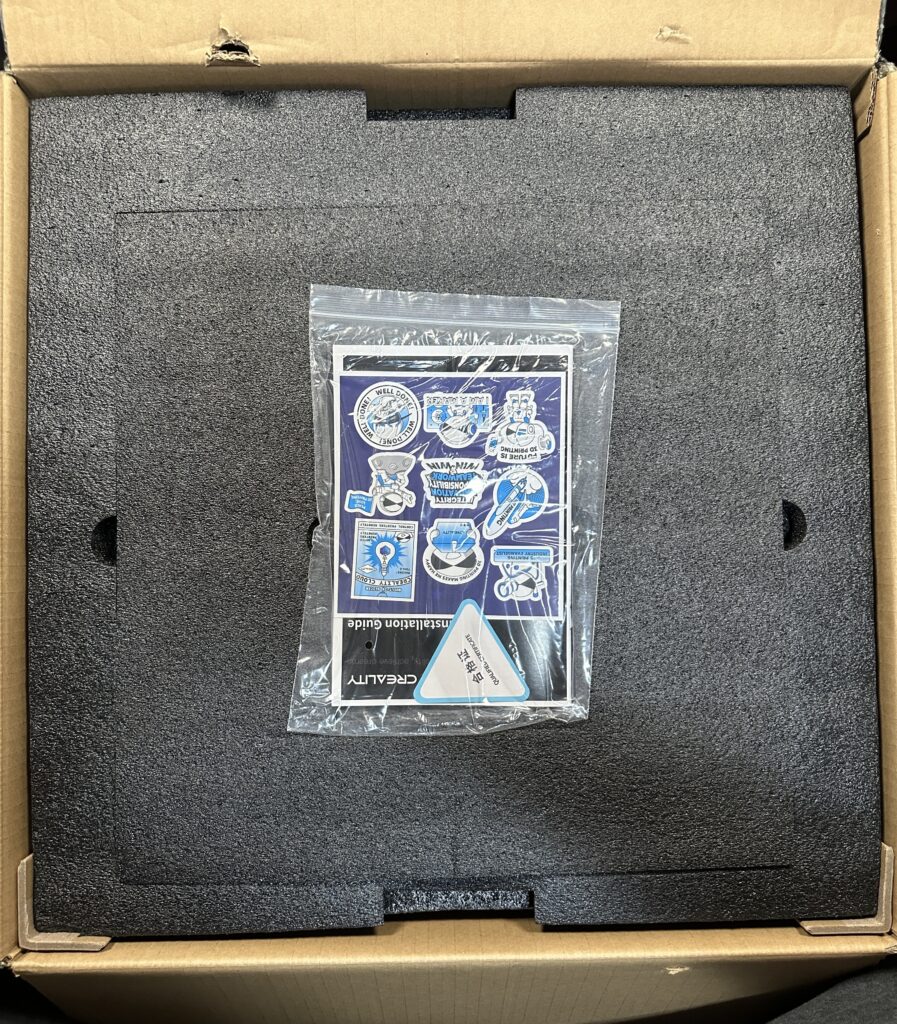
And let’s not forget the Creality manuals and stickers
Basic settings
The filament roll mount goes into the back and screws in by turning it clockwise.
The rubber feet simply snap into the 4 corners of the printer.
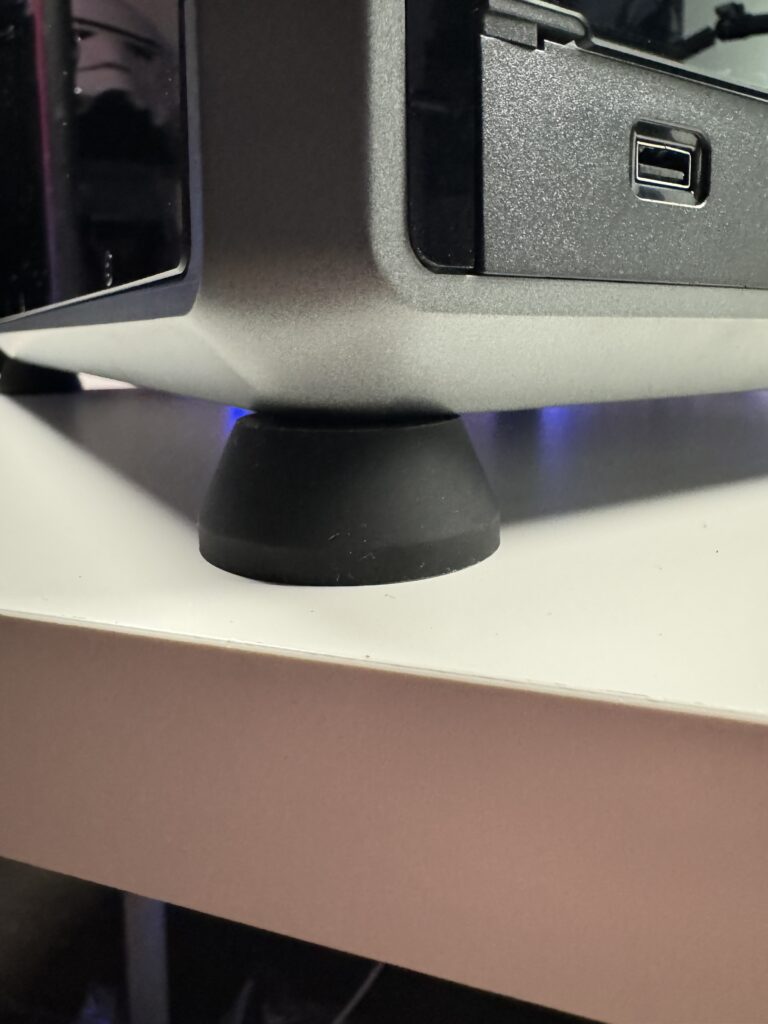
The footrests sit perfectly and absorb shocks successfully.
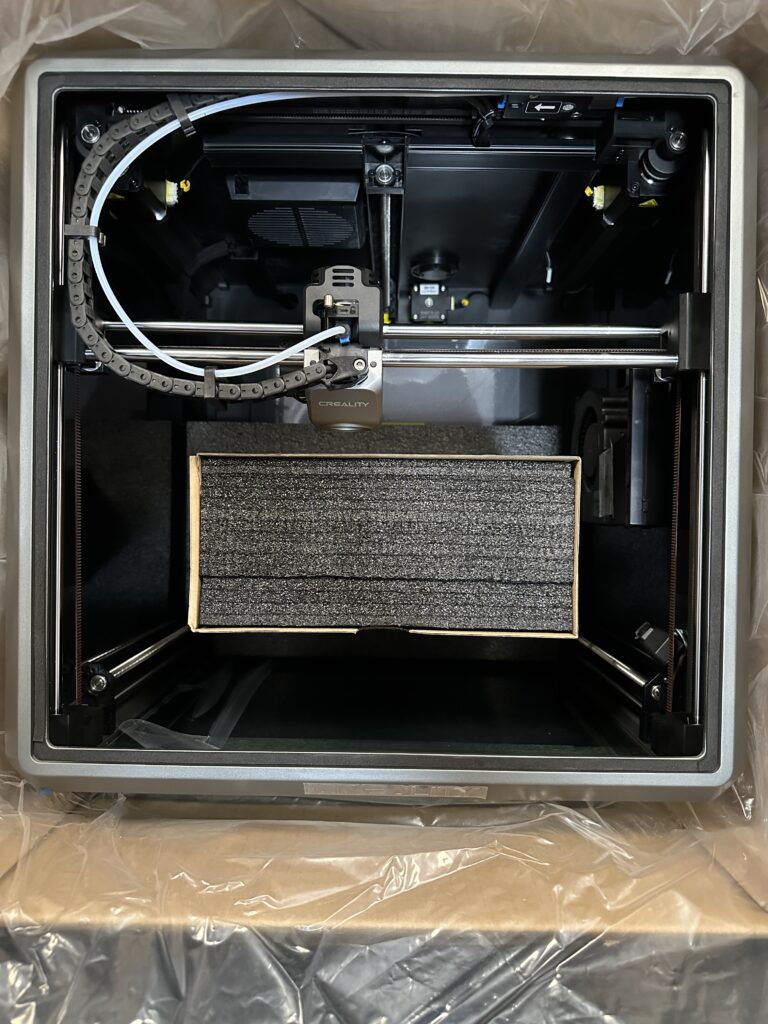
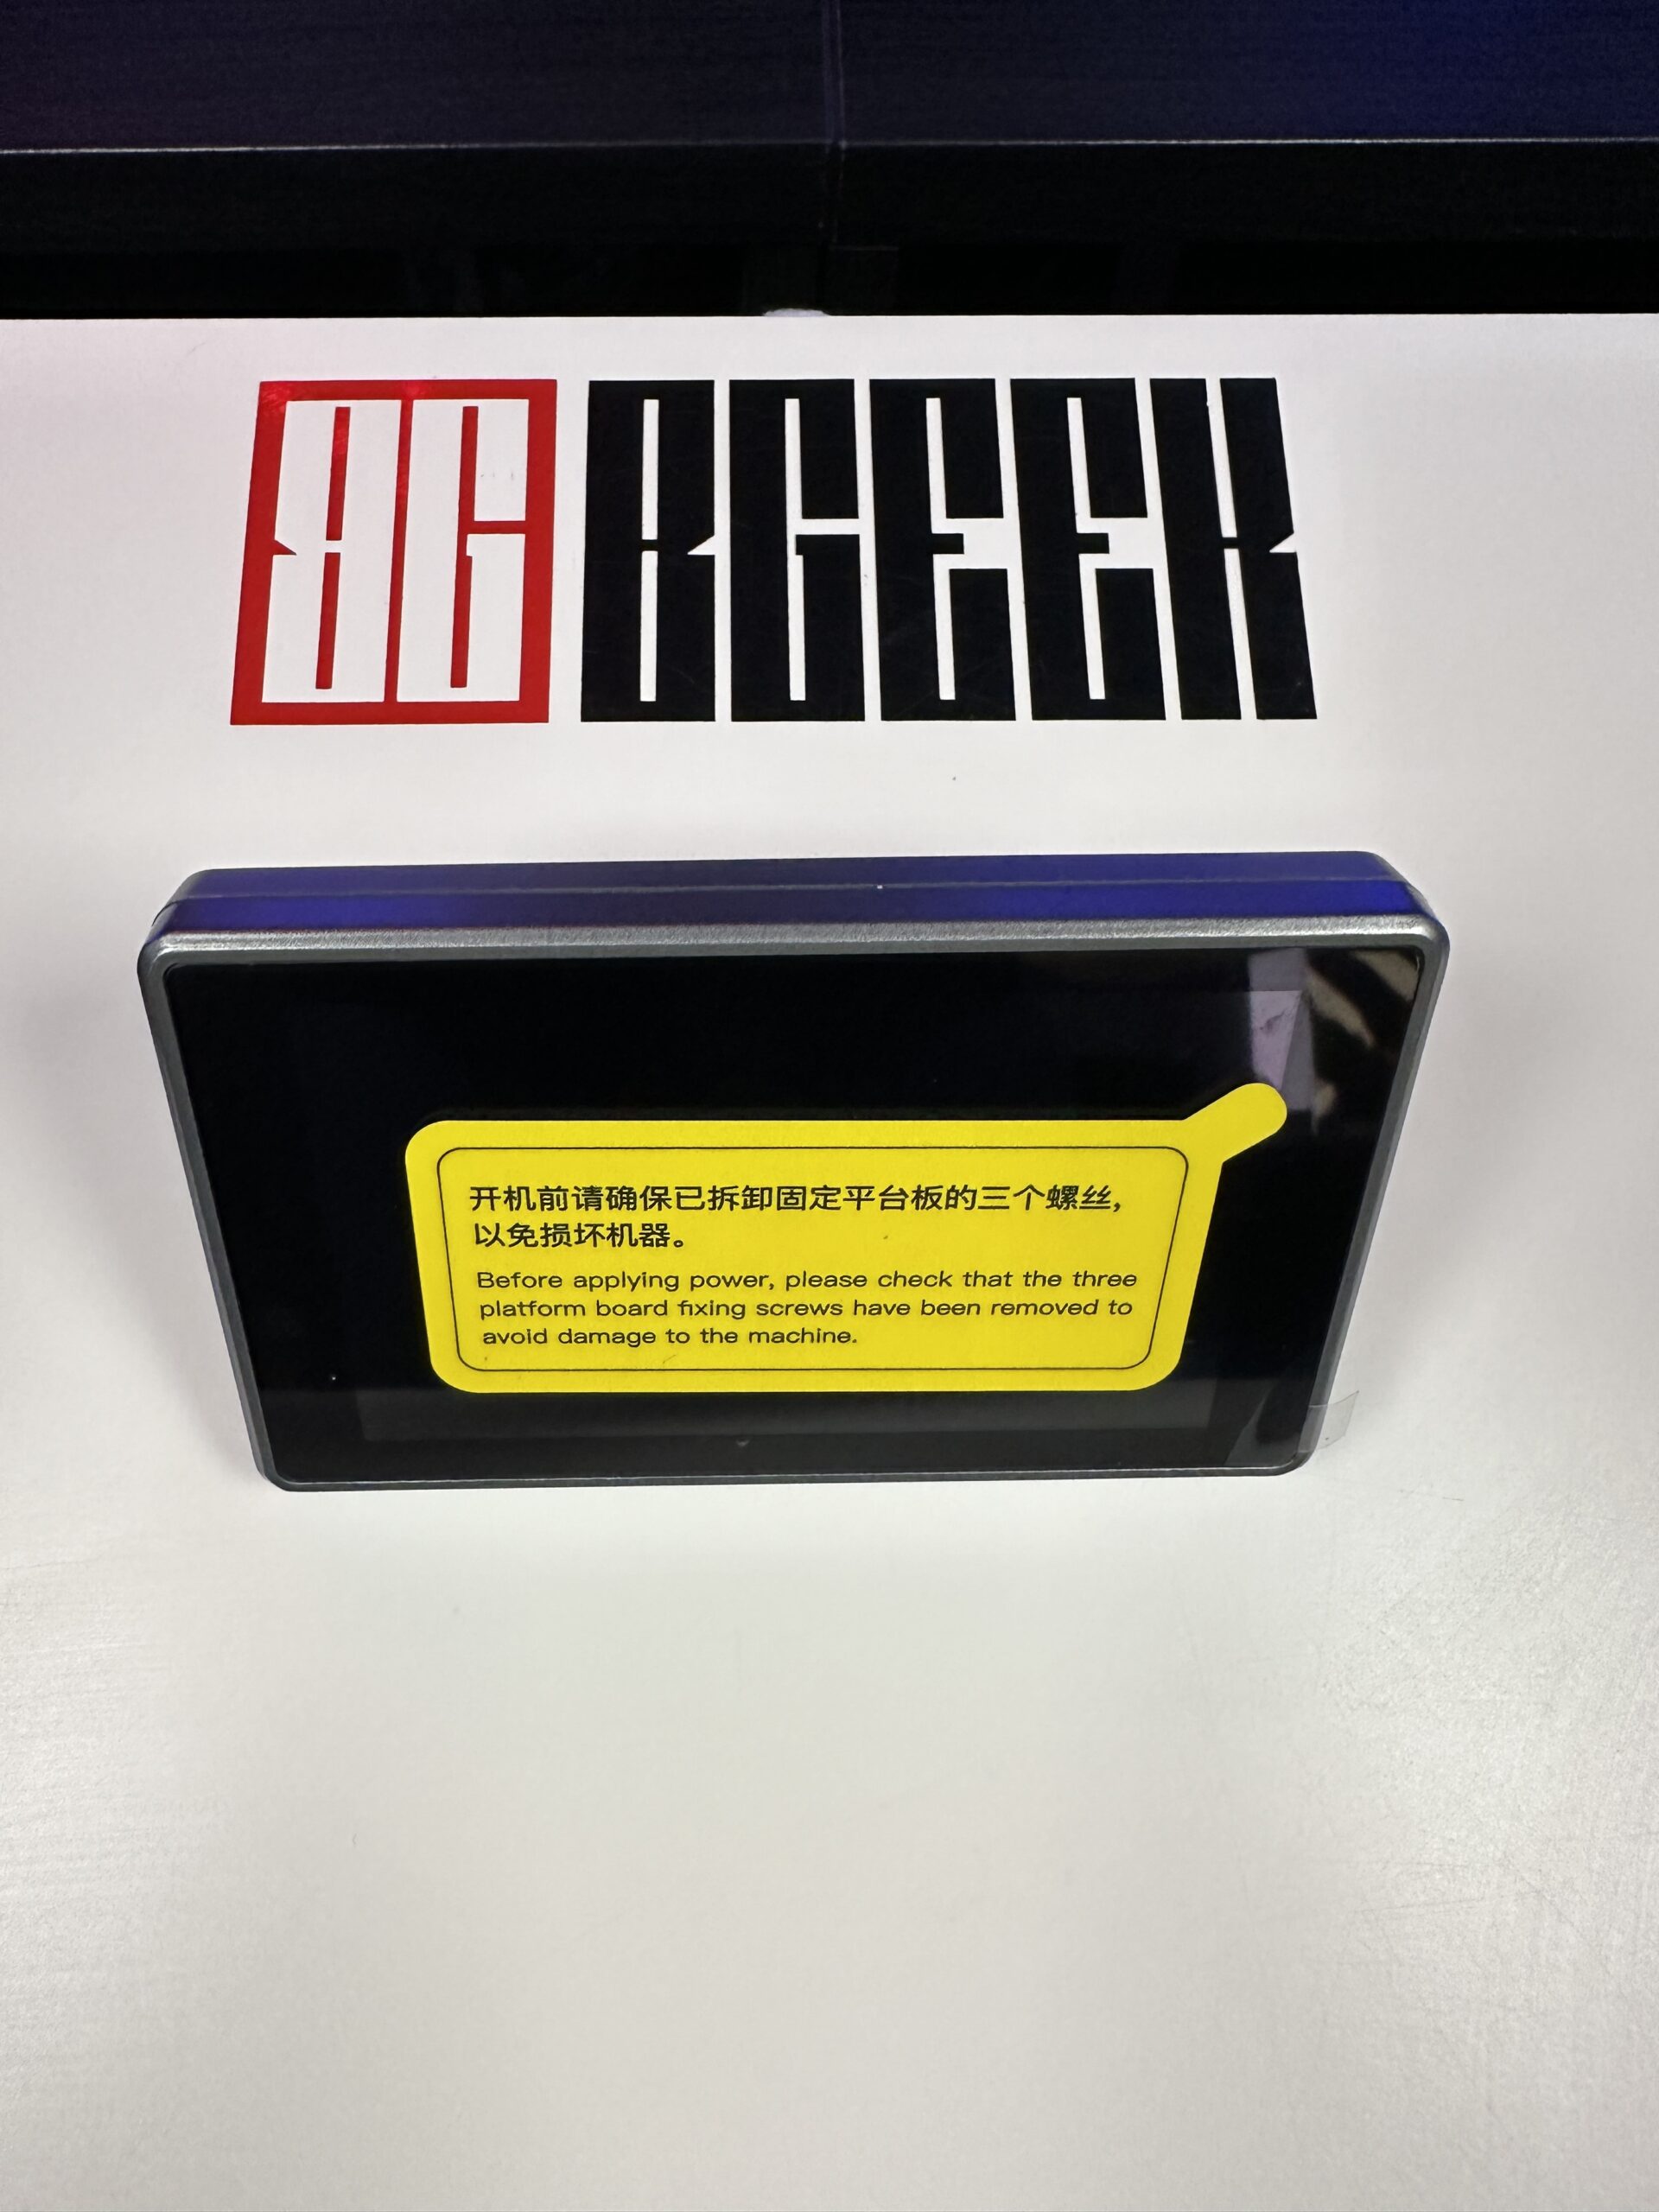
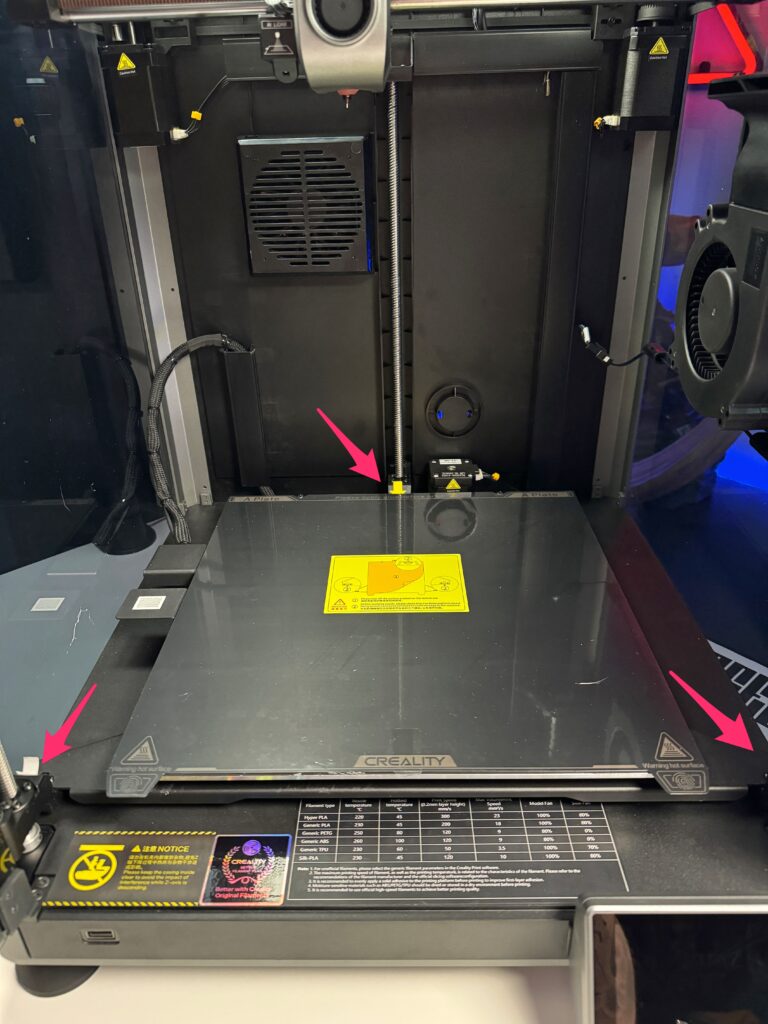
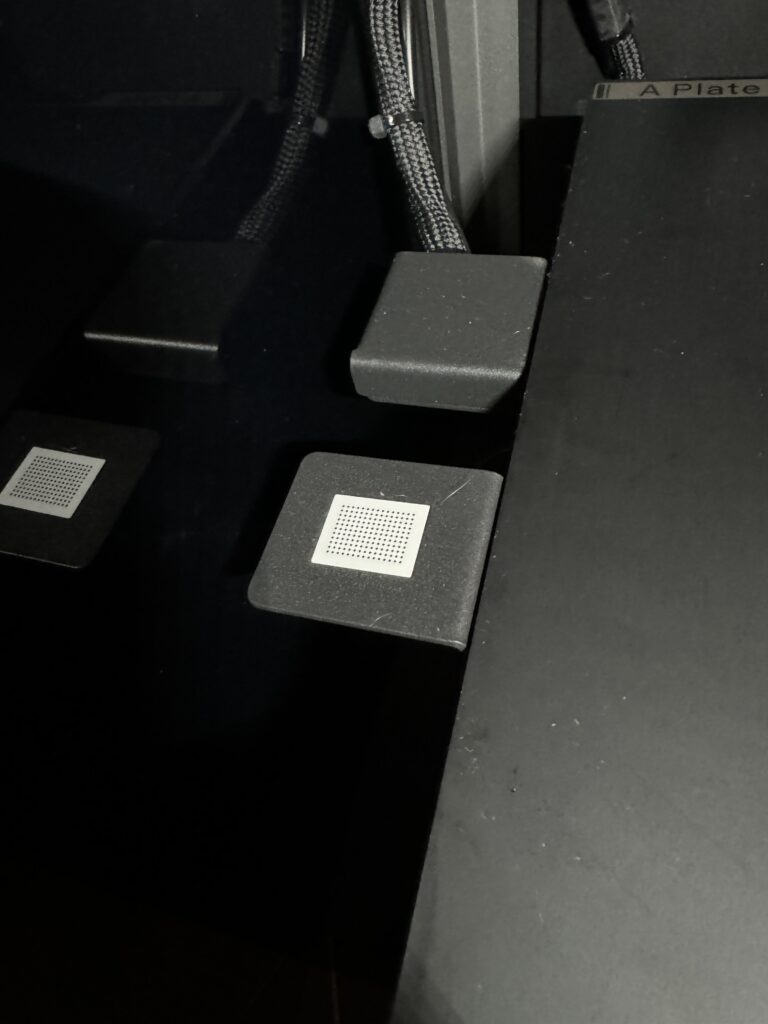
I left the most important part for last. Do not start the printer before removing the three screws holding the bed in place as you may damage the axis motors. The three screws are located at the points indicated by the arrows and are easily removed with the Allen that comes in the printer package.
Design and features
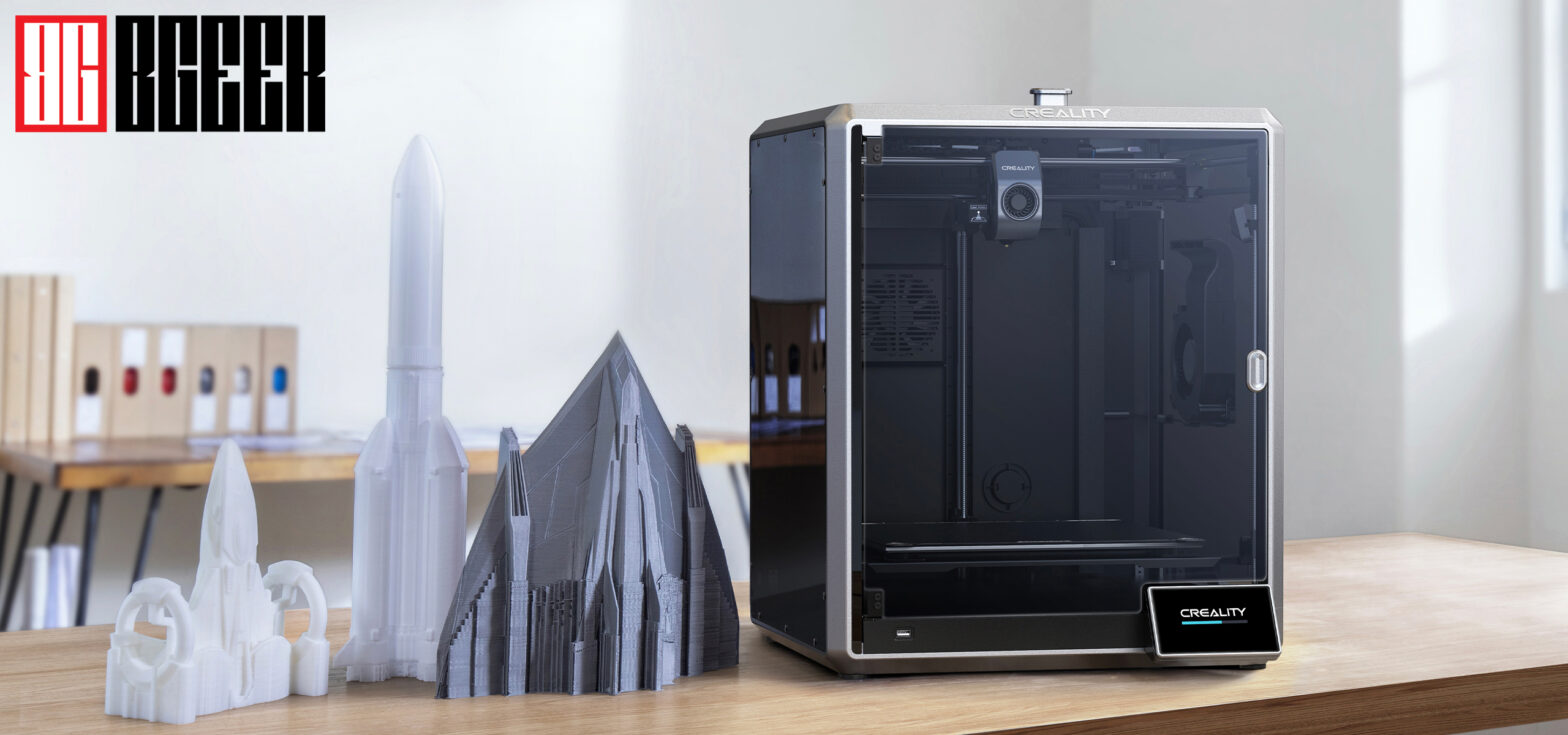
The Creality K1 Max is a well-designed printer made of good-quality materials. It is a fully enclosed Core XY in the colors of black and space gray.
The exterior of the Creality K1 Max
Its front is made of glass, the back is metal and the sides are plexiglass. The glass as well as the sides are tinted, giving the printer a dark tint that generally matches its colors. Its top is also closed with a removable tinted glass. While the frame is all in matte colors, the Creality logo on the top is the only shiny silver detail that makes it stand out even more.
The touchscreen
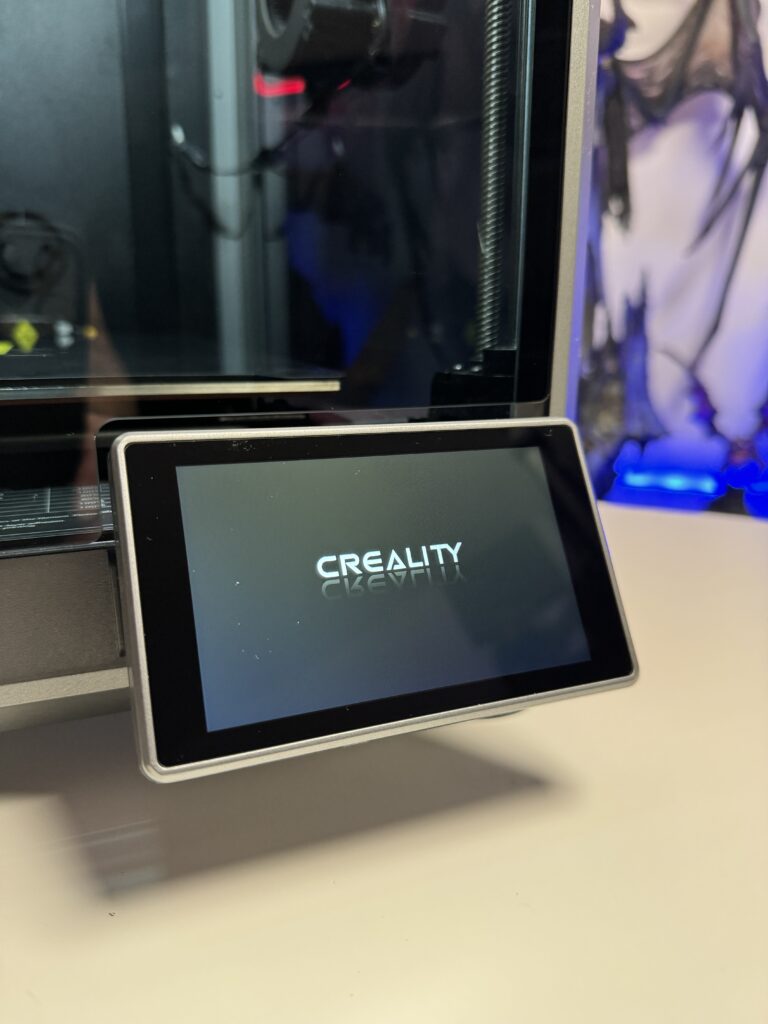
All selections and settings on the printer are made through the 4.3″ color touch screen. The response of the screen is correct and the user interface is simple and understandable.
The ports
On the front of the printer, we find a USB port. This port is used whether you want to upgrade the firmware of the printer or to print a model. Of course, these are done on the fly without the need for a USB stick, but if you are old school, you can do everything manually.
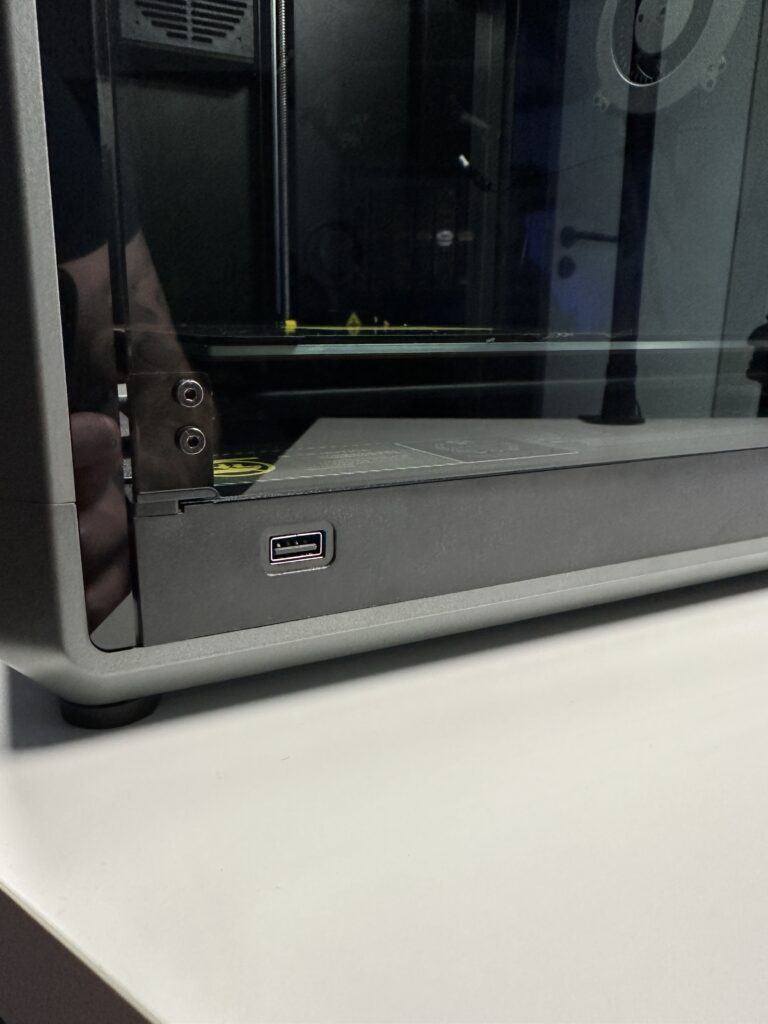
To tell the truth, at one point I wanted to downgrade to a previous firmware because the last one was giving me issues. The only way to downgrade is to save the previous version on the USB stick and install it from there.
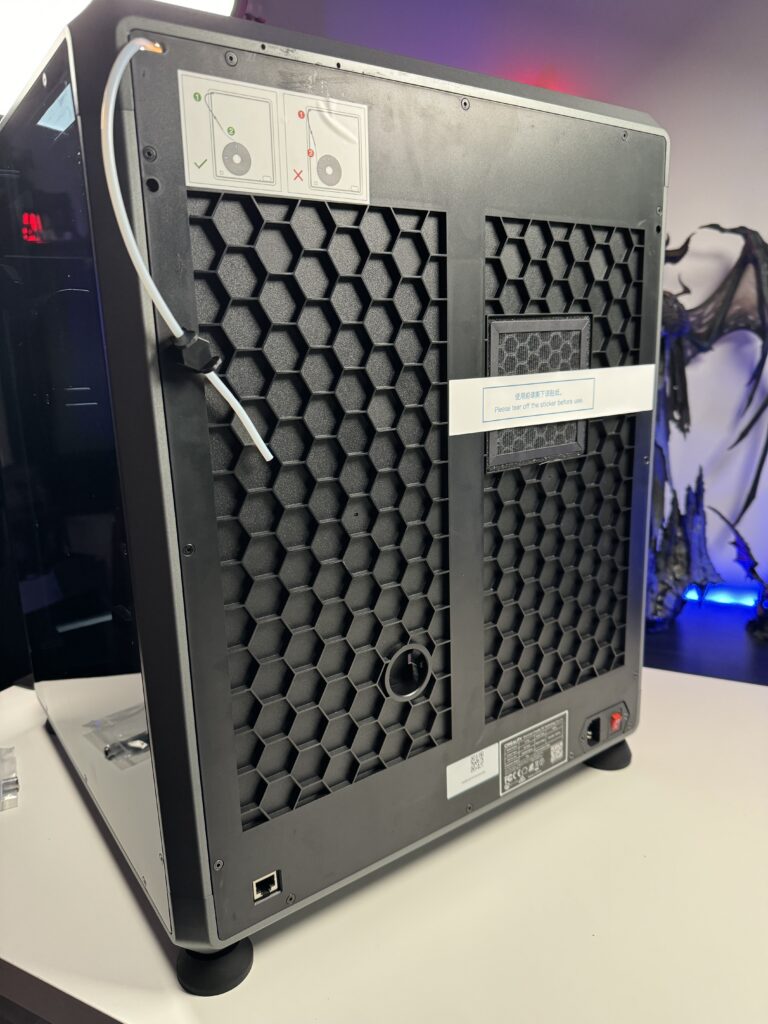
In the back lower left corner, there is the Creality K1 Max’s ethernet port in case you want to plug it into your home network. I personally prefer WiFi over the ethernet port, although with a direct ethernet connection, you can get higher speeds. I don’t think it’s worth having an extra cable on the printer that comes with its limitations (distance from network port, etc.).
The power supply
The power supply is truly a novelty. The day I wanted to connect the printer, I searched all over the internet but nobody mentioned this small but important detail. Before plugging in a new printer what do you do? You check the voltage on the power supply because you don’t want to fry the printer.
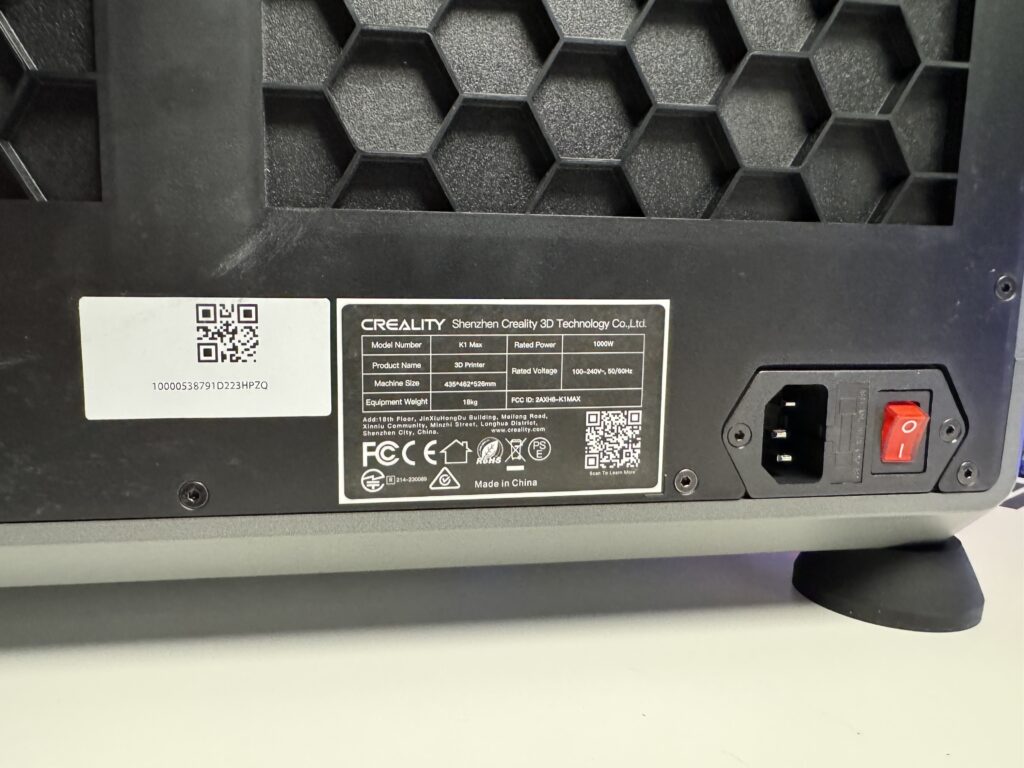
Because most printers are compatible with Europe and America, they come with a switch next to the power supply to adjust the current. Either this is 230V or 115V. As much as I searched the K1 Max, I couldn’t find this switch and that’s because it’s able to figure out what’s the correct voltage to use and adjusts it automatically. Magic!
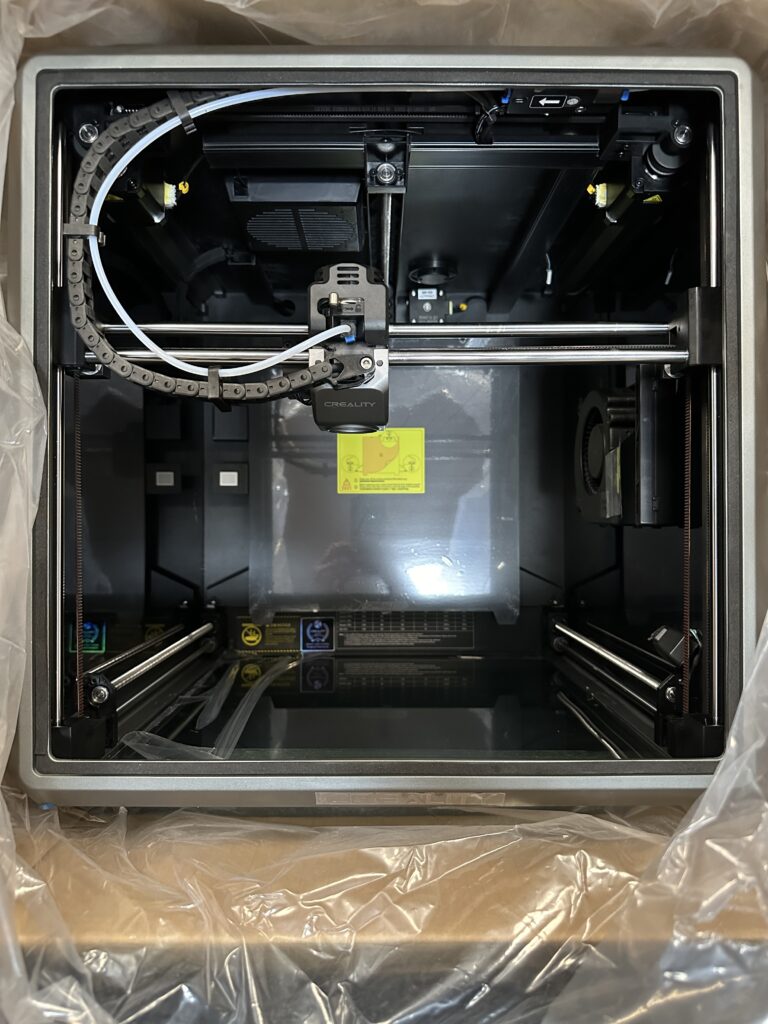
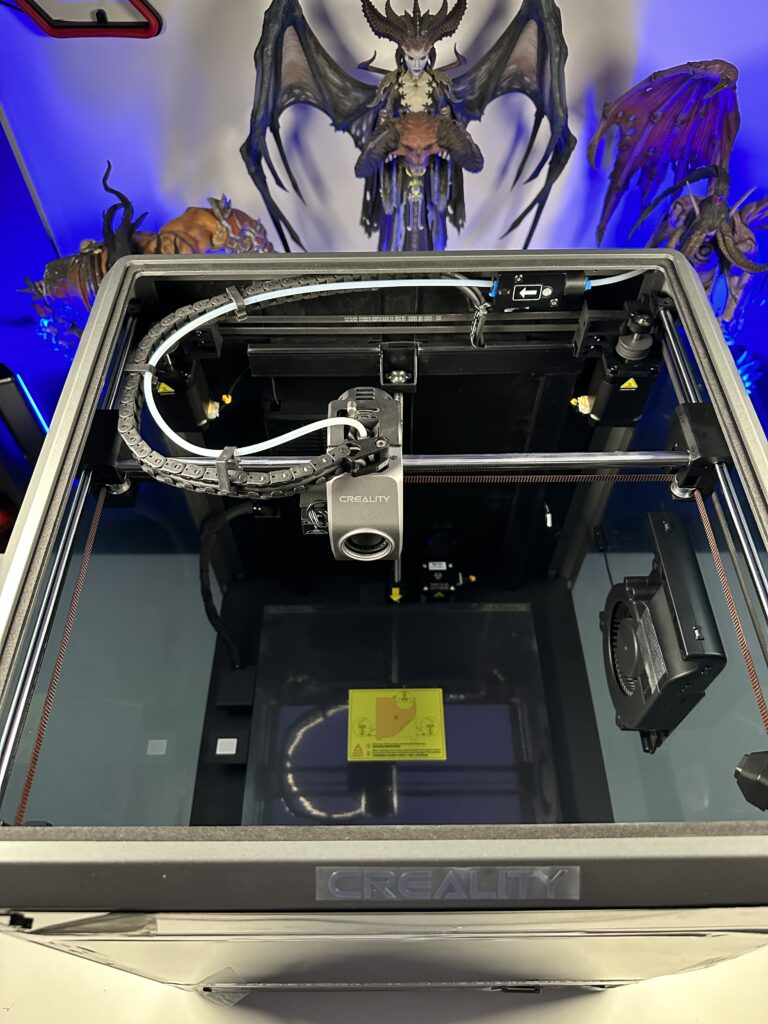
The interior
The interior of the Creality K1 Max is completely enclosed. This helps so that odors remain trapped and only come out after they have been filtered, and the printer can maintain the temperature of the bed and nozzle more easily since it is not affected by external heat.
Printing bed
The printing bed is the best part of the K1 Max for me. And that’s thanks to the large print surface that I lack from several printers I’ve had so far. Specifically, the K1 Max has a 300x300x300mm print area compared to the K1’s 220x220x250mm. The print bed is a magnetic flexible metal plate, for easy removal of prints. The bed can reach a temperature of 60℃ in just 90 seconds. Of course, size isn’t the only thing that makes it stand out.
Creality K1 Max has the ability to do a complete self-check before each print. Within this control is also included adjustment of the print bed. The bed is adjusted with the help of the print head. It moves to 6 points of the bed at 6 different heights. This means it makes a total of 36 measurements to avoid unevenness.
It then checks if the Z-axis is at the correct distance from the nozzle so that it achieves the perfect “first layer” on every print. This has always been the most annoying and hardest part to get 100% on if you are new to 3D printing. It is done manually with the help of a piece of paper which you place between the nozzle and the bed and check how much pressure there is on the paper when you try to move it back and forth. You have to do it in each corner of the bed and then in the center. Of course, it has to be done two or three times because every time you tighten the screw on one side, it loosens on the other.
The nozzle
The new hotend is covered by a ceramic heater and manages to heat up to 200℃ in just 40 seconds and melt the filament quickly and with the right flow. This, of course, was added to be able to cope with the fast print speeds of the K1 Max, achieving a flow rate of 32 ㎣/s. The K1 Max also incorporates a large fan mounted on the printhead to directly cool the model.
The Creality K1 Max comes pre-installed with a 0.4mm hardened steel nozzle but is compatible with 0.6 or 0.8mm. The hotend can reach temperatures of up to 300°C and the heated bed 110°C, so it can handle different types of plastic.
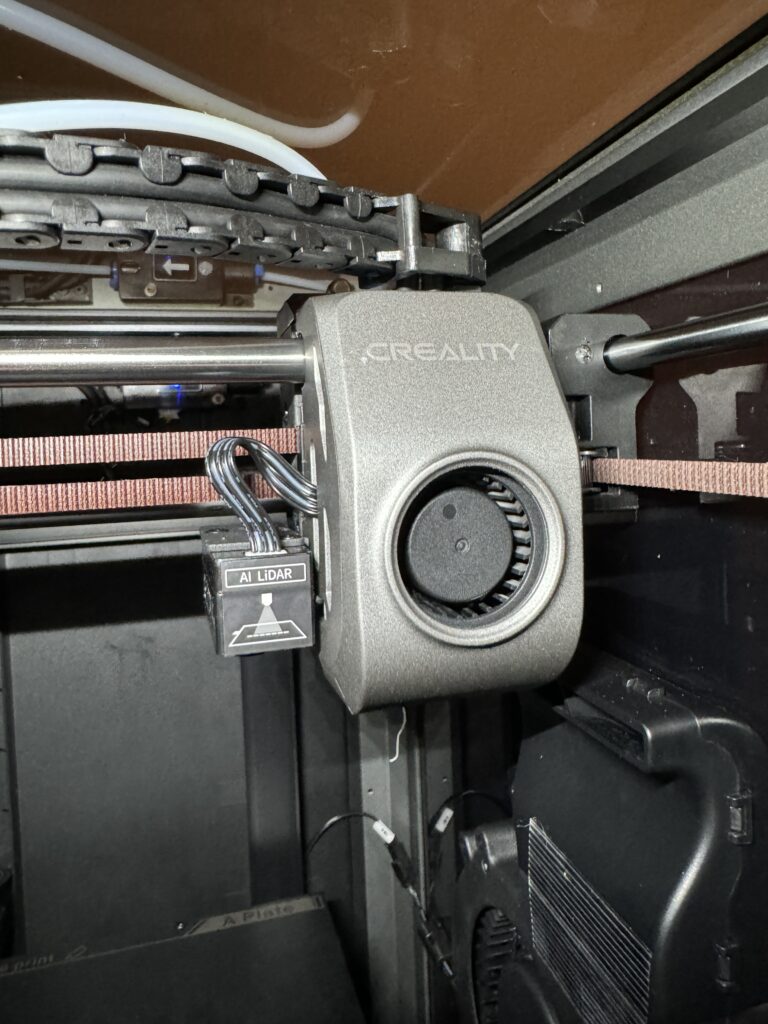
Not to forget to mention that on the left of the print head is the AI Lidar. Lidar is a smart laser scanner that helps with the correct setting of the bed we mentioned earlier. It uses a new measurement method without having to touch the print bed. It rapidly scans its surface with a laser to form a virtual surface of millions of points, enabling sophisticated and accurate automatic straight adjustment. Then, after the first layer is completed, the AI Lidar scans it to detect possible errors.
With the technology of the print bed and AI Lidar, it is almost guaranteed that before every print you will have the perfectly flat print bed which will reduce the chances of failed prints. (AI Lidar is only available on the Max version but can be purchased separately for the regular K1 as well).
Notable features
The camera
The camera has several functions. Its main purpose is to make a time-lapse video recording of the printing of each model. Of course, through the application on the computer and the mobile app, you can monitor the printing in real-time.
By enabling the AI features in the settings, the printer using the camera, can detect any errors in the print and send a notification. Or even stop printing until we confirm it can continue.

The camera’s best feature for me is detecting foreign objects on the print bed before each print. If, for example, you printed something at night, you forgot it in the printer and the next day you send a new print, K1 Max will detect it and inform you that the print bed is full.
Fans and cooling
The Creality K1 Max has a total of five fans. As we mentioned, it has a fan next to the nozzle to cool the model directly. There are still two fans on the head. One on the front and one on the right of the head box that activates at faster print speeds.
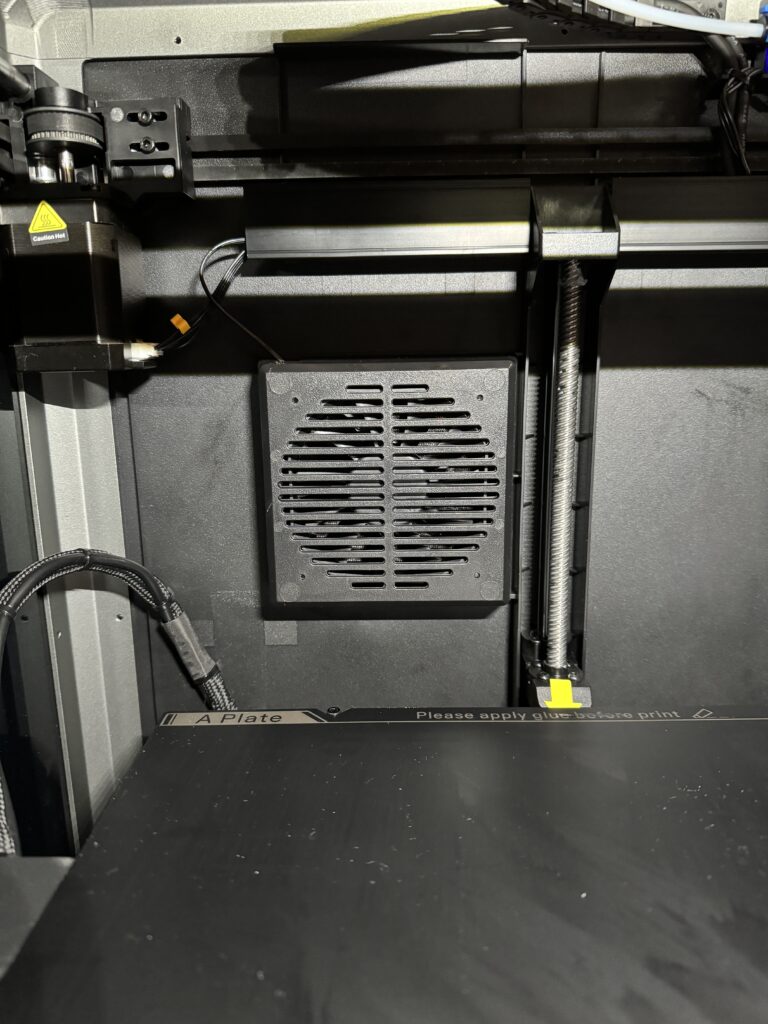
In addition, it has another 18W fan inside its chamber to keep the temperature relatively low and help with this cooling. This way it reduces the possibility of spaghetti effect or distortion during printing and reduces the need for extra support in our model. It goes without saying that you can control all the fans and their speed through the printer’s settings menu.
The motherboard fan is also “hidden” under the printer to keep it cool when the workload becomes heavier.
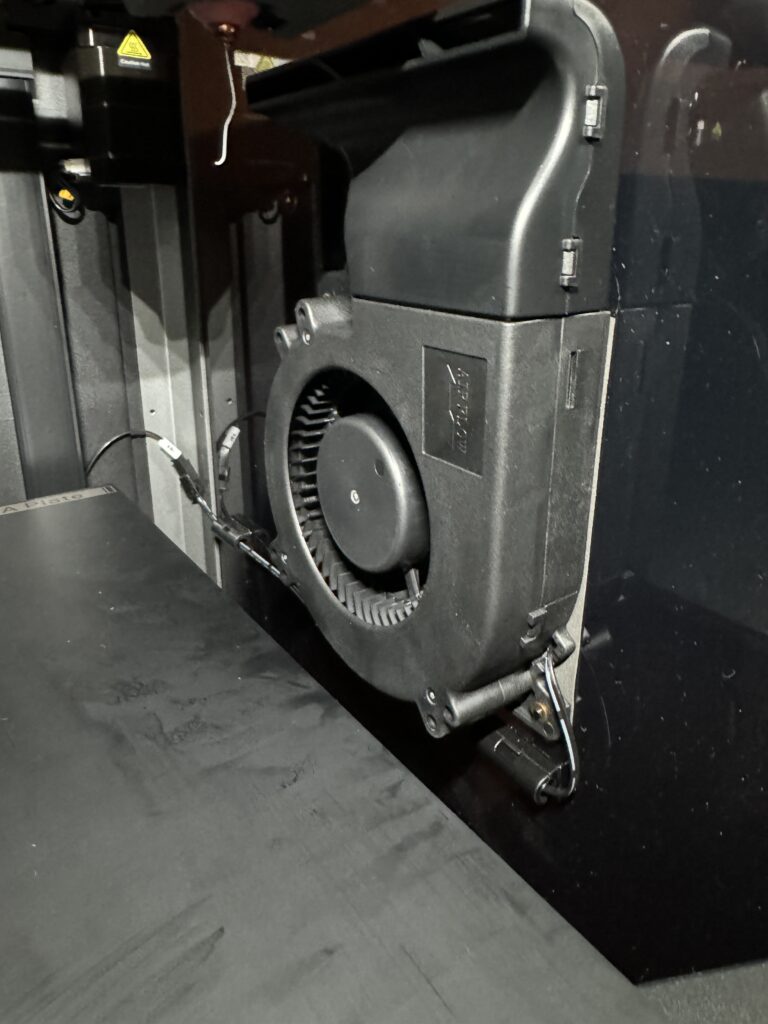
At the rear of the interior is an exhaust fan. This passes through a carbon filter to absorb the unpleasant (and toxic) smells when we print using ABS filament.
What happens when all the fans work at the same time? How loud is the noise they make? I have the Creality K1 Max in our guest room (next to the bedroom). Many users print without the glass cover on top. I always have the lid on when I’m printing for both noise and odor reduction. So with the lid closed, I don’t even hear the fans in the next room. Perhaps it helps that my house is well-soundproofed. Overall though, the K1 Max is pretty quiet even when printing. I think the rubber feet help a lot with this.
Speed
Now let’s go to the biggest selling point of Creality K1 Max. This of course is the speed at which it prints. Creality claims speeds of up to 600mm/s with a filament flow system of up to 32mm³/s. These speeds are achieved in the technology used by CoreXY printers with the bed moving towards the printhead rather than the other way around.
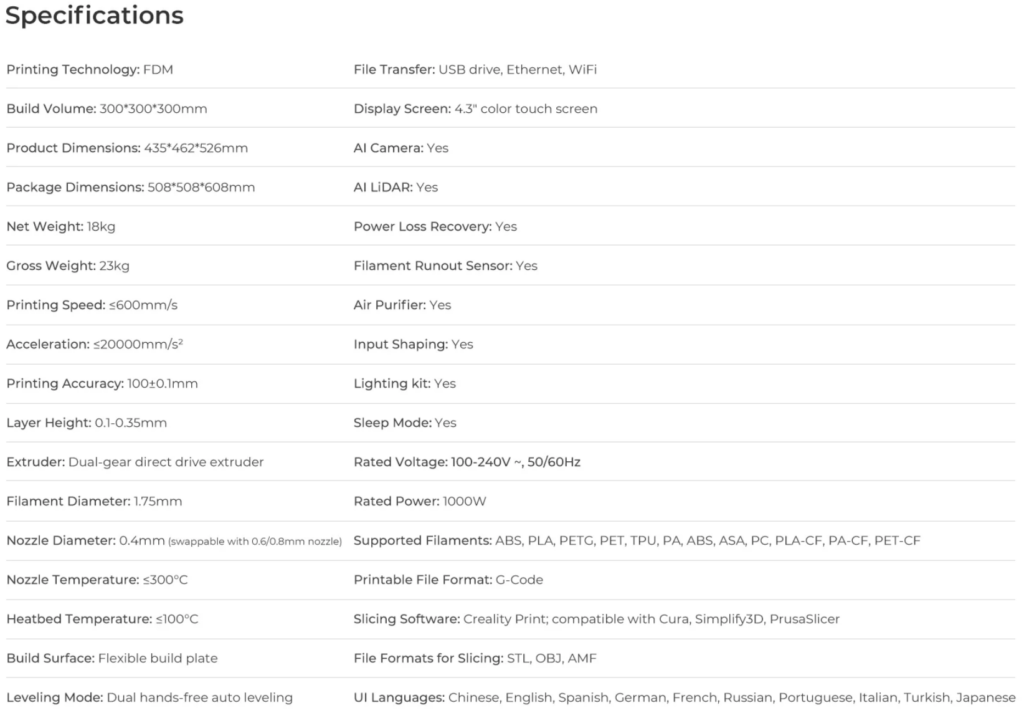
Table of features
The first print
Using your computer
As I have written in my previous article about the Creality Ender 3 Max Neo, the Creality software for printing using the computer is called Creality Print (formerly Creality slice). The software is free and very easy to use since most of the settings come pre-installed when we choose the model of the printer we have.
Using your smartphone
Creality wants to promote their app called Creality Cloud. Through the application, you have the ability to do almost whatever you can do on the computer.
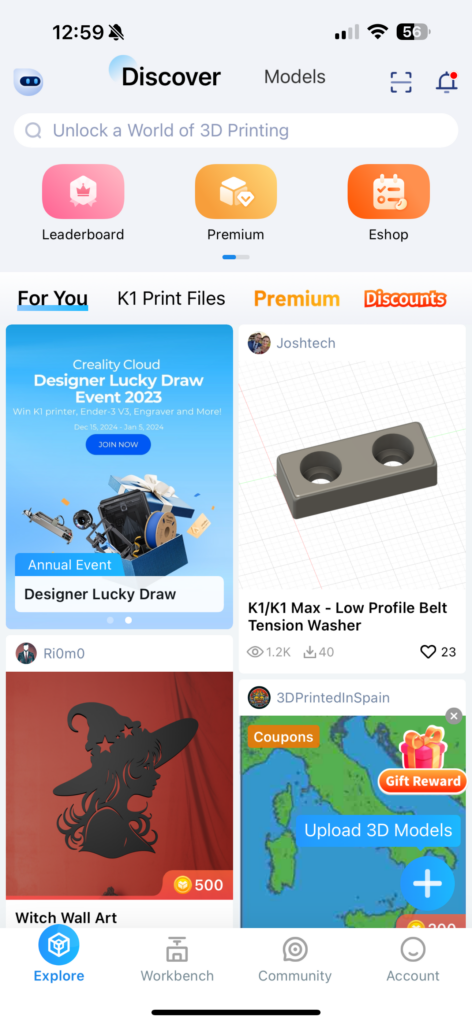
On the home page of the application, we have a tab called Explore. There we can search for 3D models or see the ones suggested by the application.
Recommended files, files specific to the K1 series, files for premium users (1-year free premium with each printer), and finally offers are some of the options
In the second tab called Workbench, we can see the list of our printers and their status. That is, if they are offline or if they are running and printing a file. Through the devices, we can also open the camera and see our printer printing in real-time. At the top is a summary of our prints (via the app).

Simple and easy-to-use UI to control our devices and our prints.
The Community located in the last tab has posts from other users as well as from Creality, as well as videos and discussions like some kind of forum.
Finally, in the Account tab, we find some basic information about our account. Our level, until when our premium account is valid, how much space we have in the Creality cloud, and more.

An overview of our account with all the details.
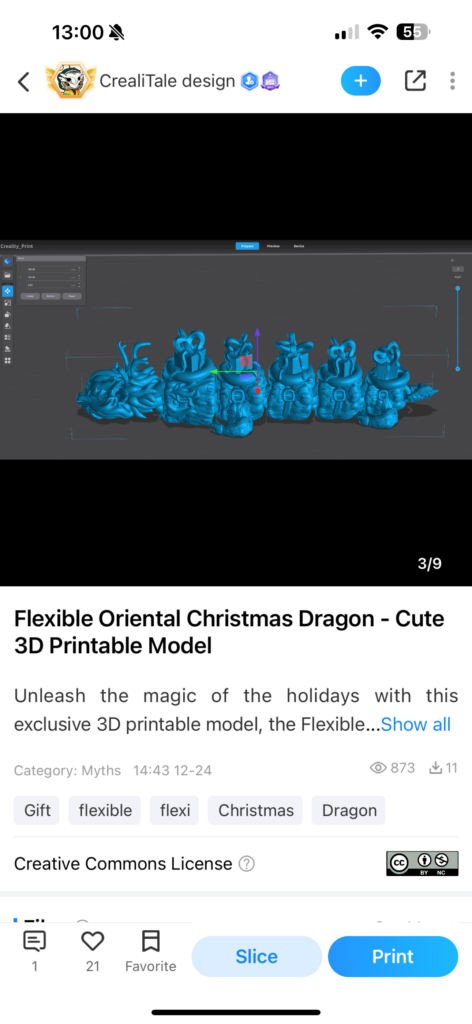
In general, the app has its pros and cons. For some, the positive points may be more important, for others the negative ones. The positives of the application are that you can find a model you like, press Print and it will send it to the printer and start printing it directly without any settings. Another plus is that if you choose Slice, you can edit the model just like on the computer. You change settings, size, and move the model, just as if you were on your computer.
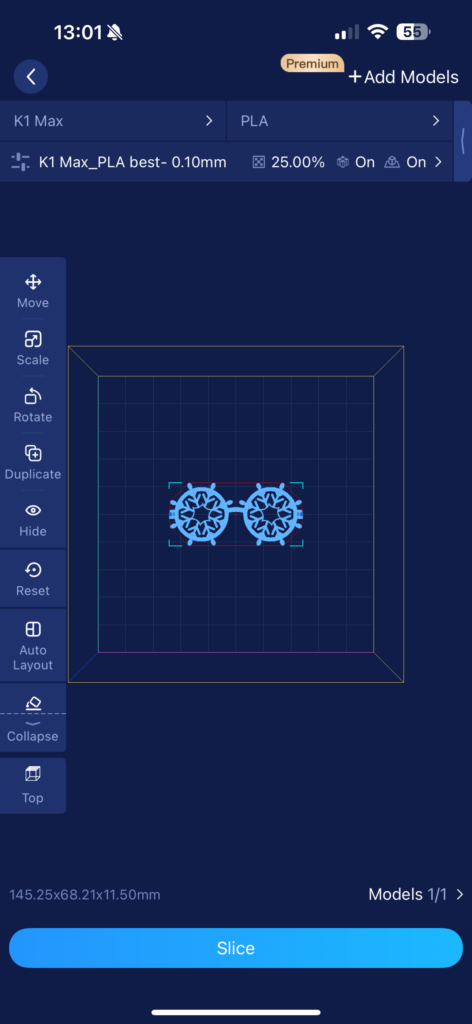
The negatives with the application are that if you do a Slice, 90% of the time you won’t be able to print the model afterwards. Because it slices and uploads to the cloud and because Creality’s servers are full but maybe not the best servers, the file will fail while trying to upload. Tried exactly 9 times, but failed to upload even once. Sometimes I had to wait 40 minutes, it would get to 85% and then fail. This immediately negates Slice’s nice option.
The other big negative for me is that the app is very reminiscent of apps like Aliexpress and other similar apps. While surfing the app, pop-ups with offers and other promotions are thrown. Even if you have premium. This is something that personally annoys me a lot. In general, the application is very loaded. They can definitely make it better.
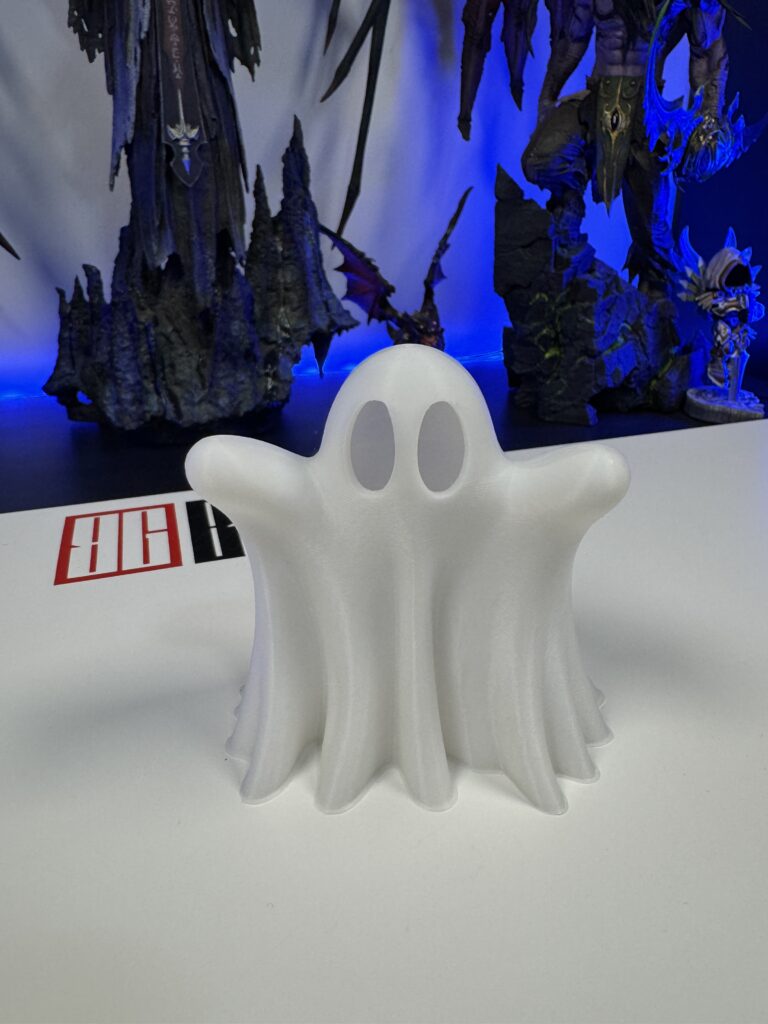
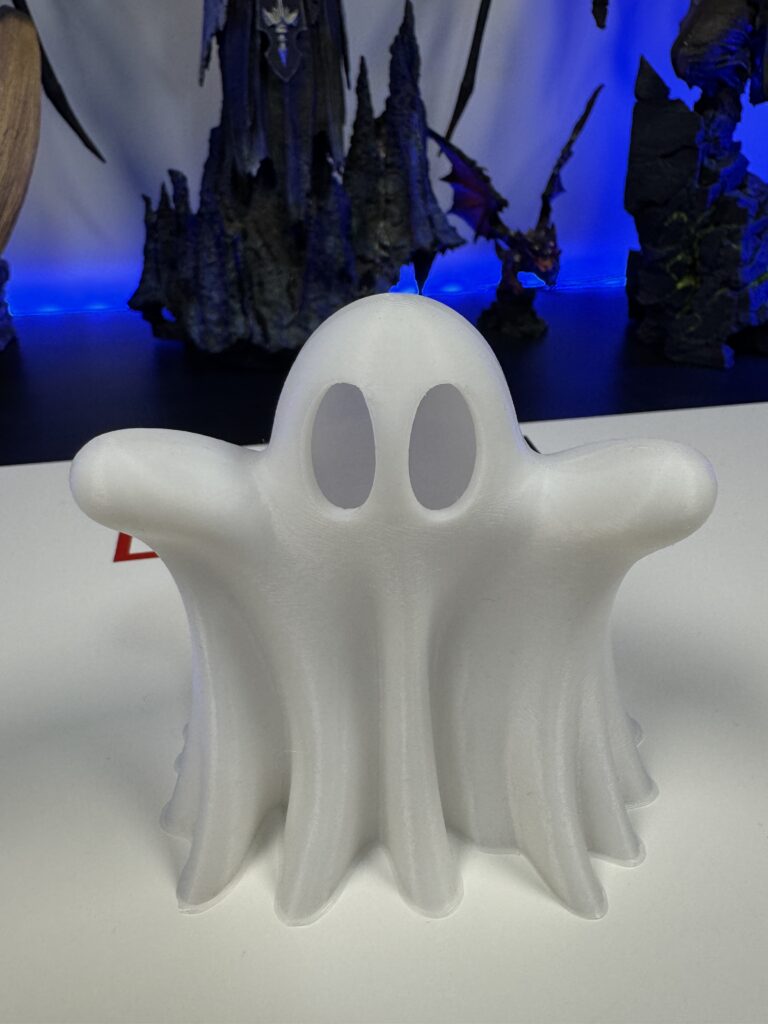
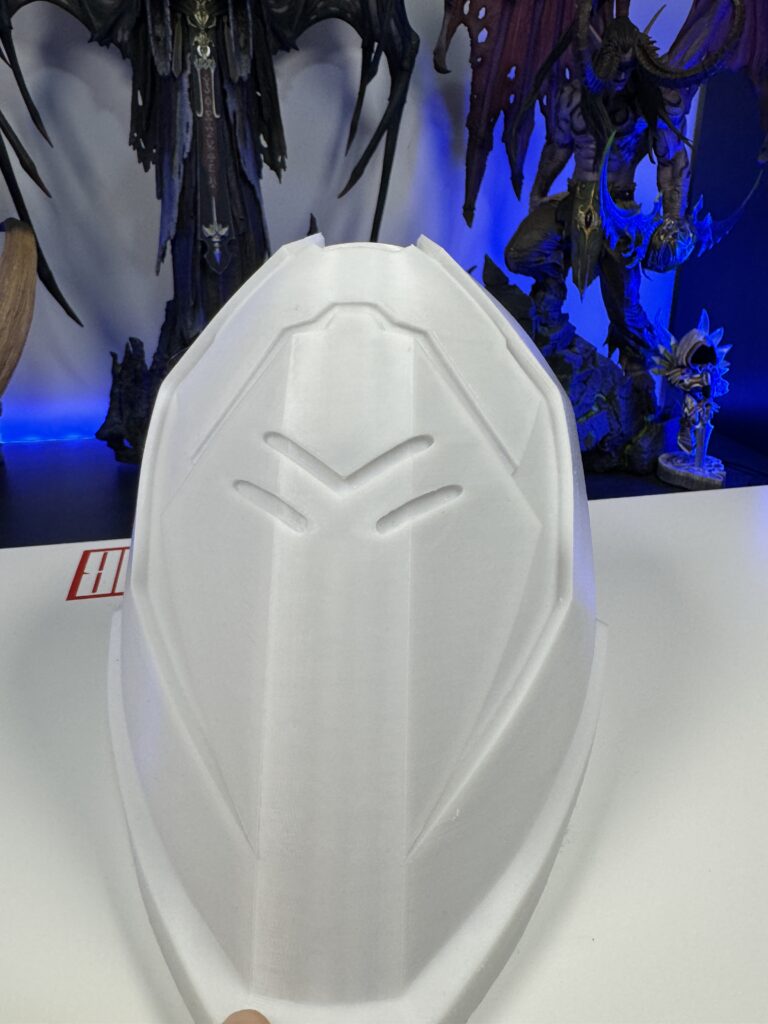
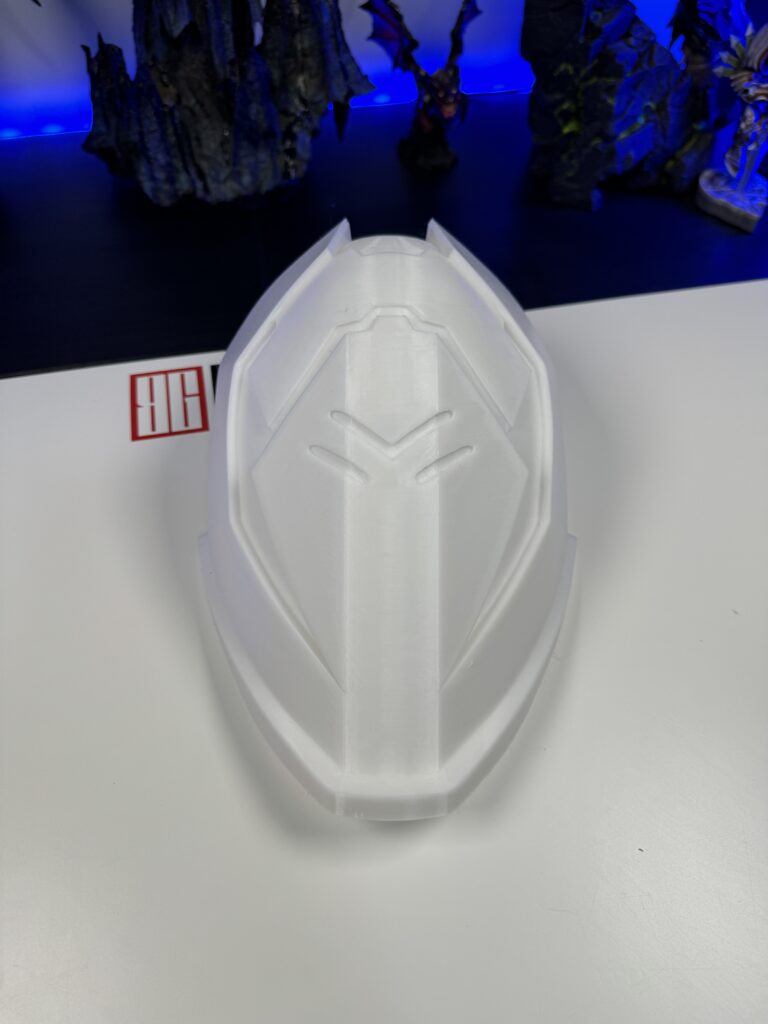
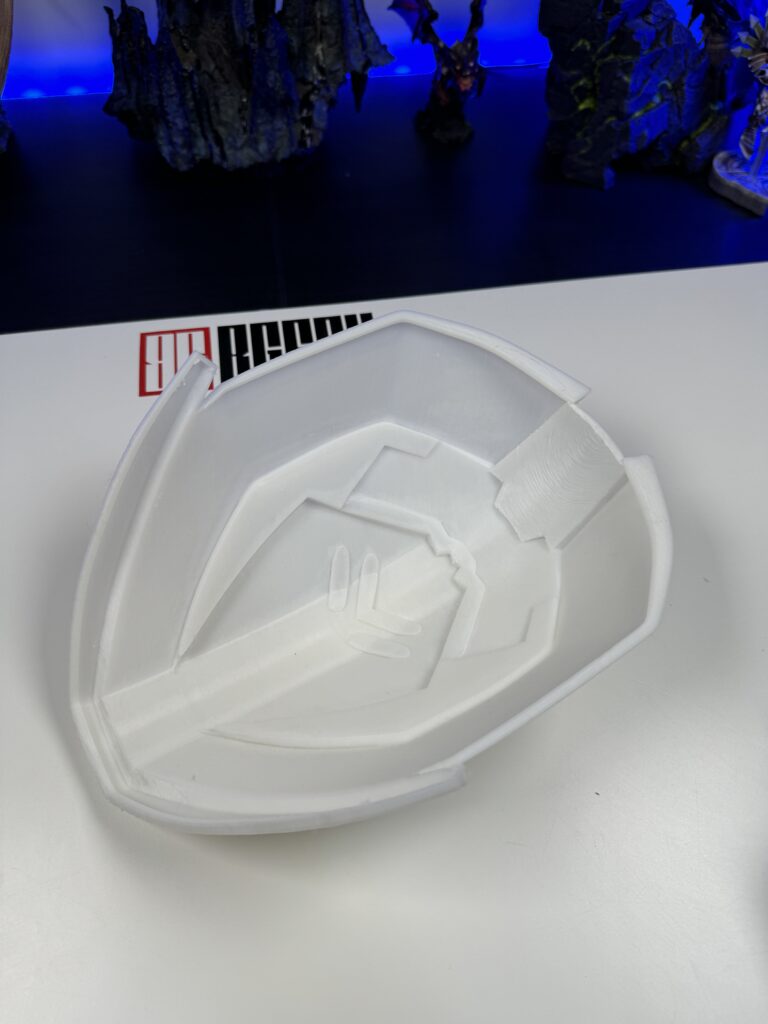
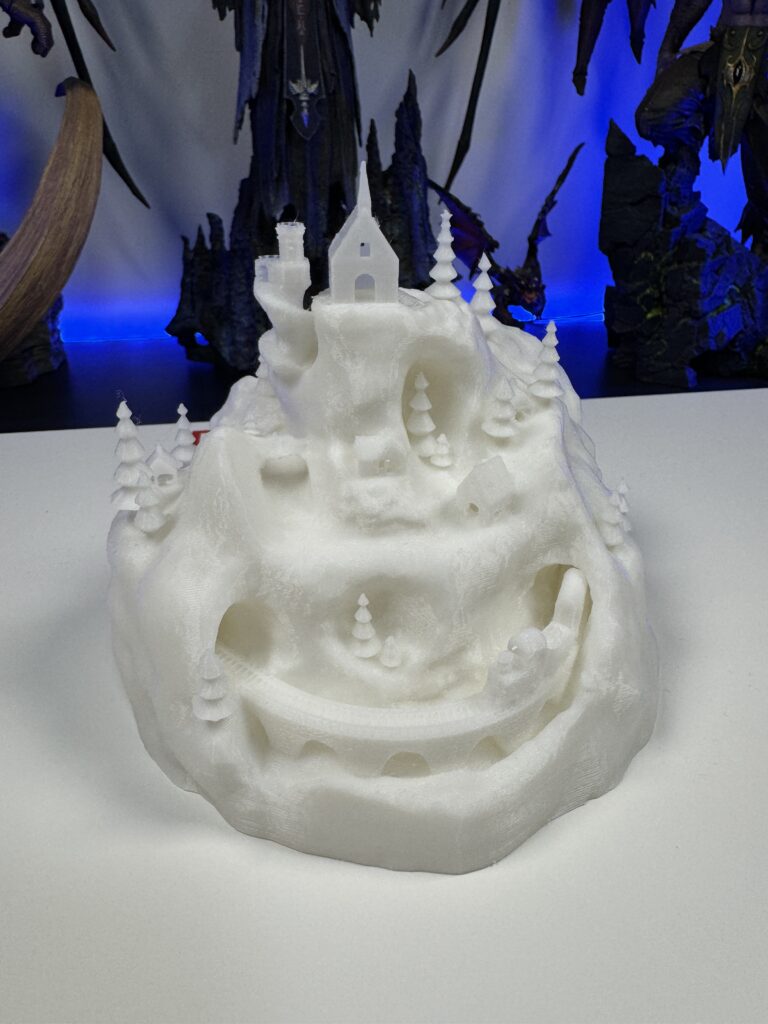
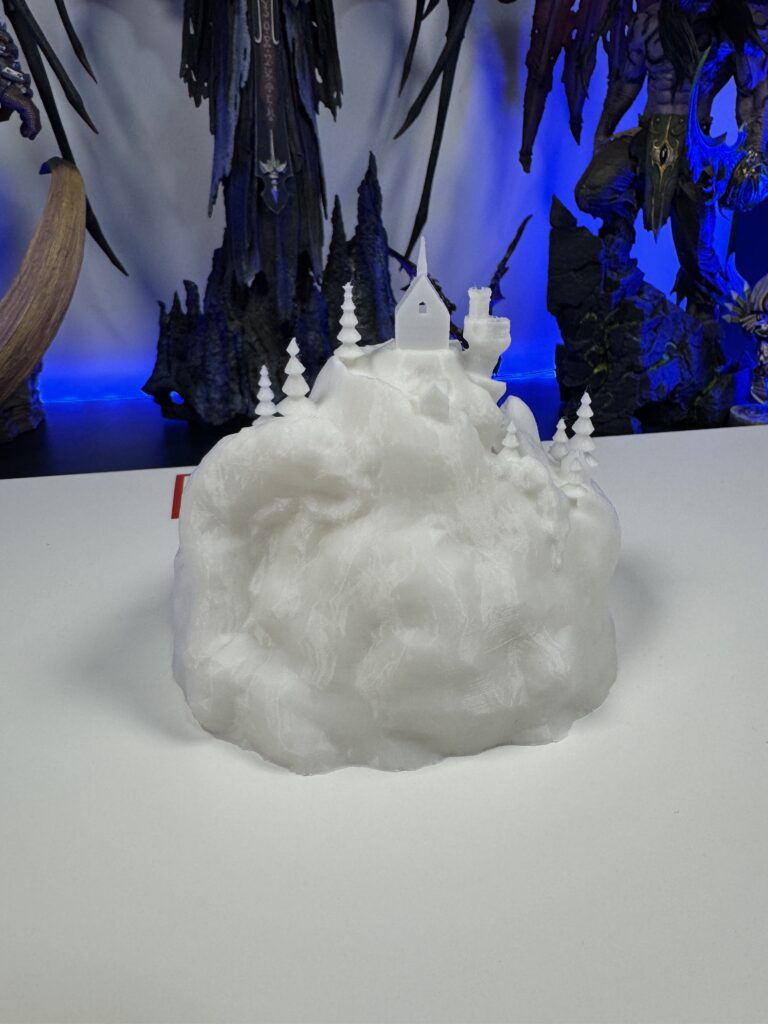
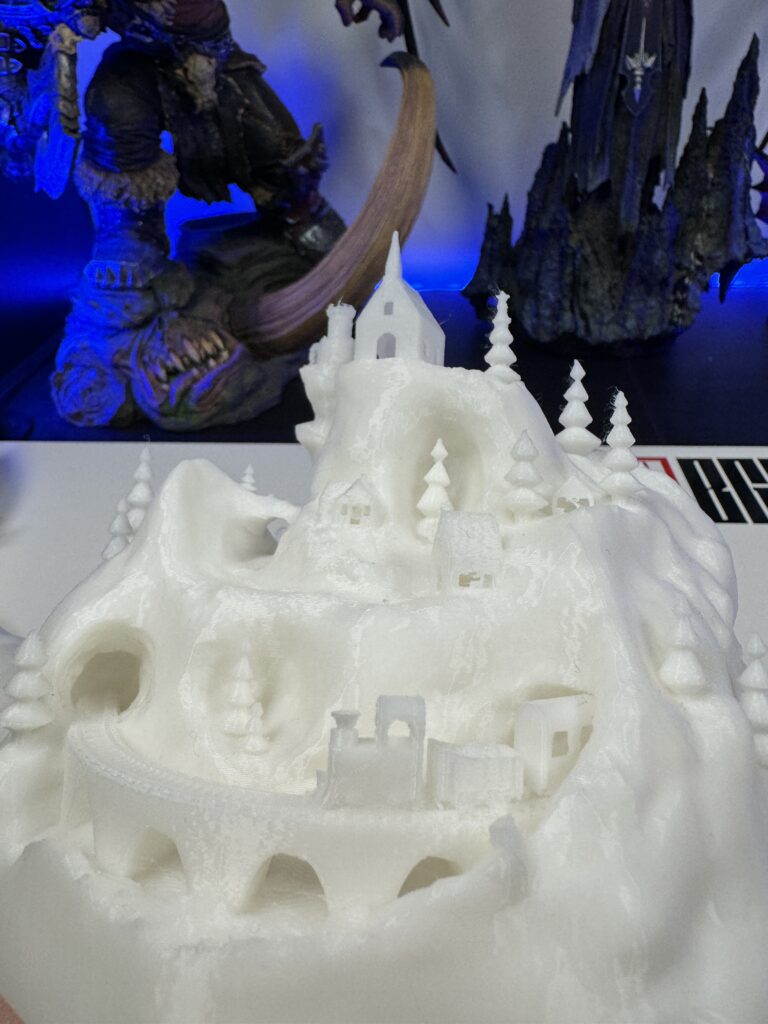
What I have printed so far
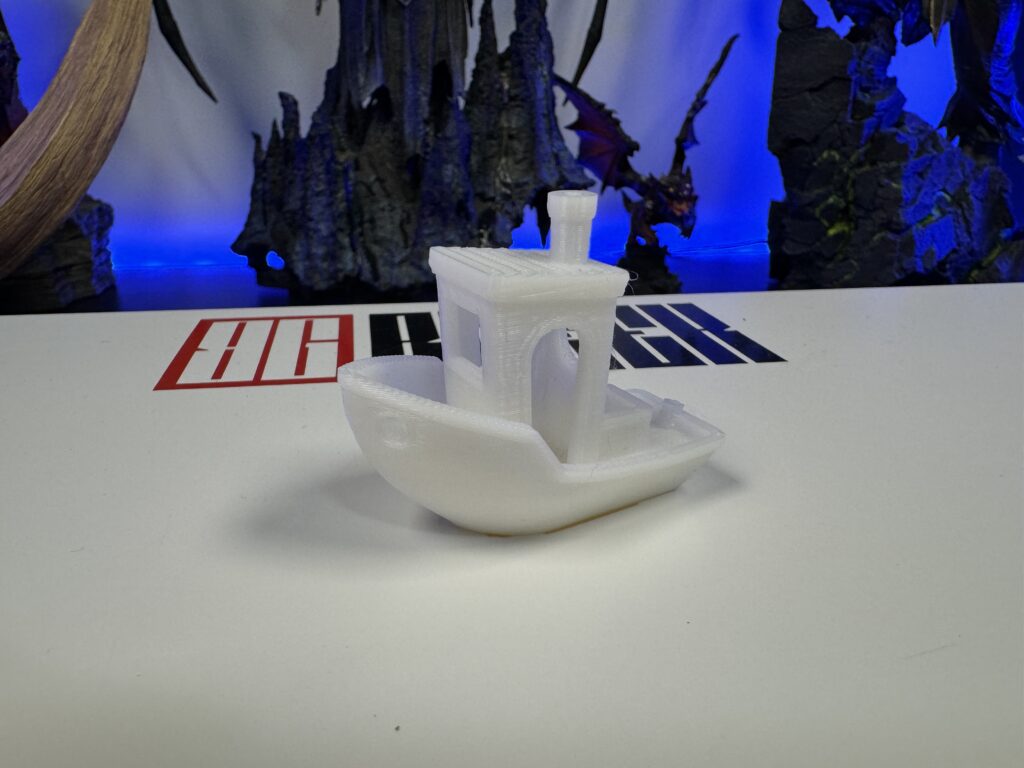
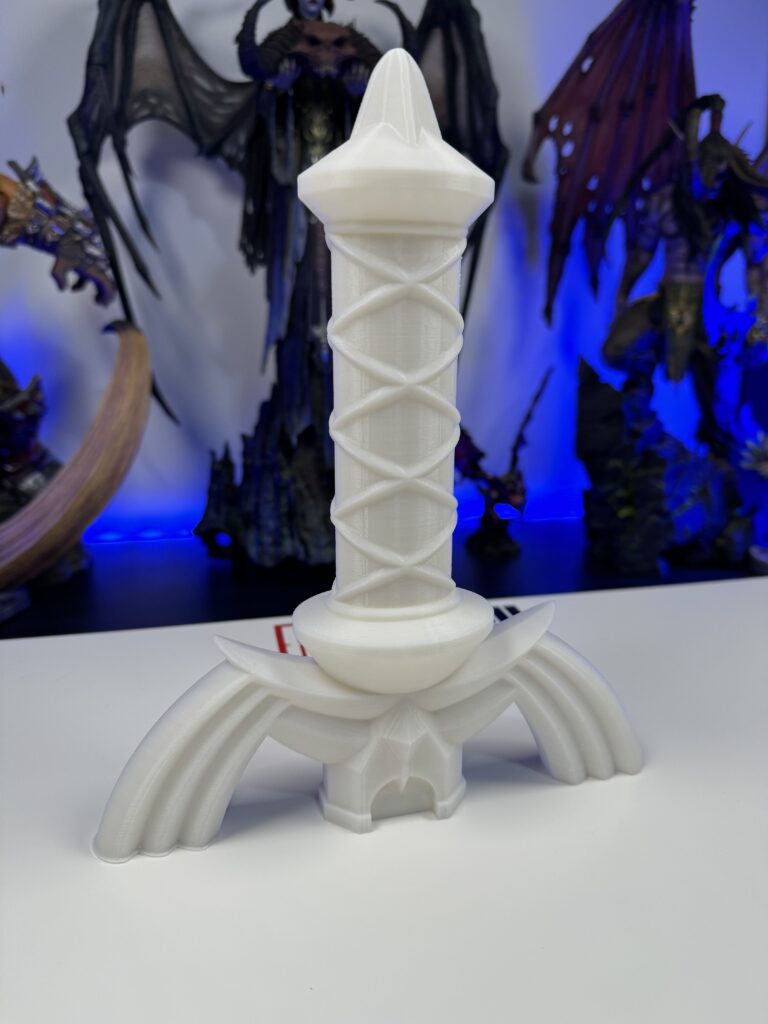
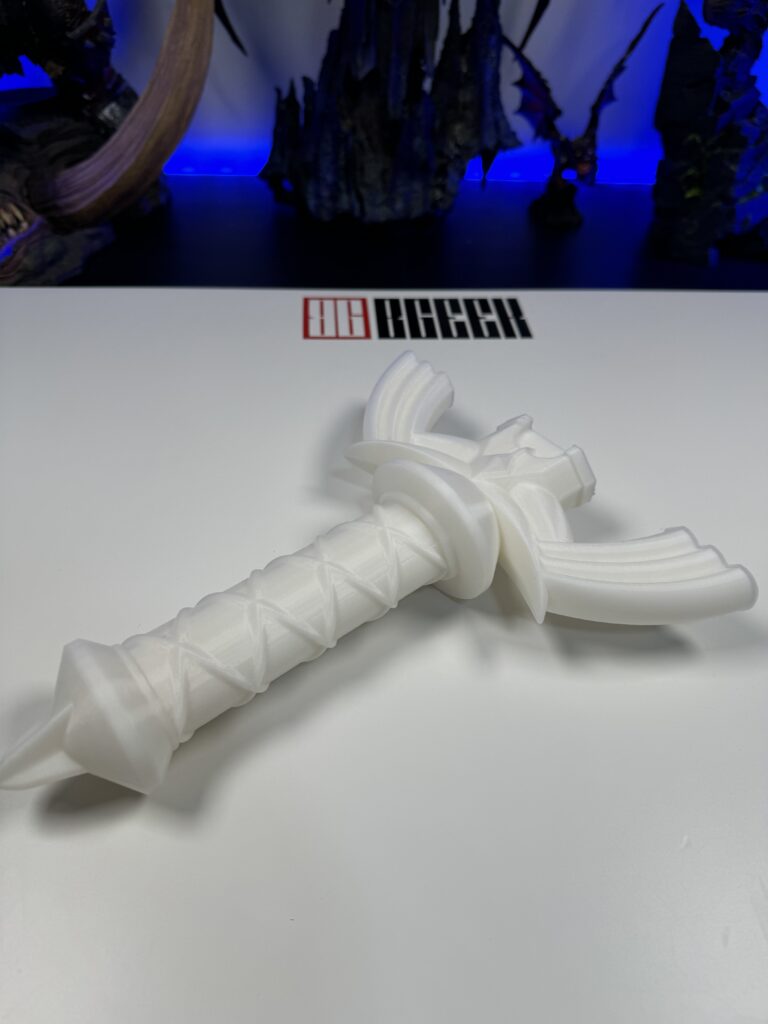
Of course, I started with the classic benchy which was printed very quickly. Without wasting time I started printing larger models. Like, for example, a wearable mask from the game Destiny as well as a real-life-sized sword from the game Zelda. Finally, since it’s the holiday season, I printed a snowy mountain directly from the Creality app. Everything came out without errors and especially the mountain has every detail. The trees, the houses, and the train are spotlessly clean.

Verdict
Is the K1 Max what everyone has been waiting for? It certainly is a fast enough printer with a beautiful design and some smart AI features that will make your life easier in the world of 3D printing. The large print surface and high print resolution make it the ideal printer for cosplayers who don’t want to cut their props into 10 pieces.
Adding to the positives, its price is also very good for a printer of this level. Creality is constantly running some special offers and at the time of writing, you can get the Creality K1 Max for around €700 through their official store.
Of course, there is room for improvement in the K1 Max, starting with the app and then with the AI functions. Sometimes they don’t deliver exactly what they promise but both negatives are software-related and can be easily solved in the future with upgrades. So we are waiting for Creality to listen to us and improve them.
At this point, we would like to thank Creality for the review unit they provided for this article.