After the great success of our X1C article, Bambu Lab contacted us to test their latest printer, the Bambu Lab A1 Mini Combo.
In early September, Bambu Lab started a series of teasers, regarding an announcement they would make on September 20th. I won’t lie. I and everyone else in the 3D printing community have been waiting for them to announce a printer with a larger print bed. An X1C MAX for example. But a surprise awaited us. Instead of a bigger printer, Bambu Lab brought us the A1 Mini. The exact opposite of what we expected.

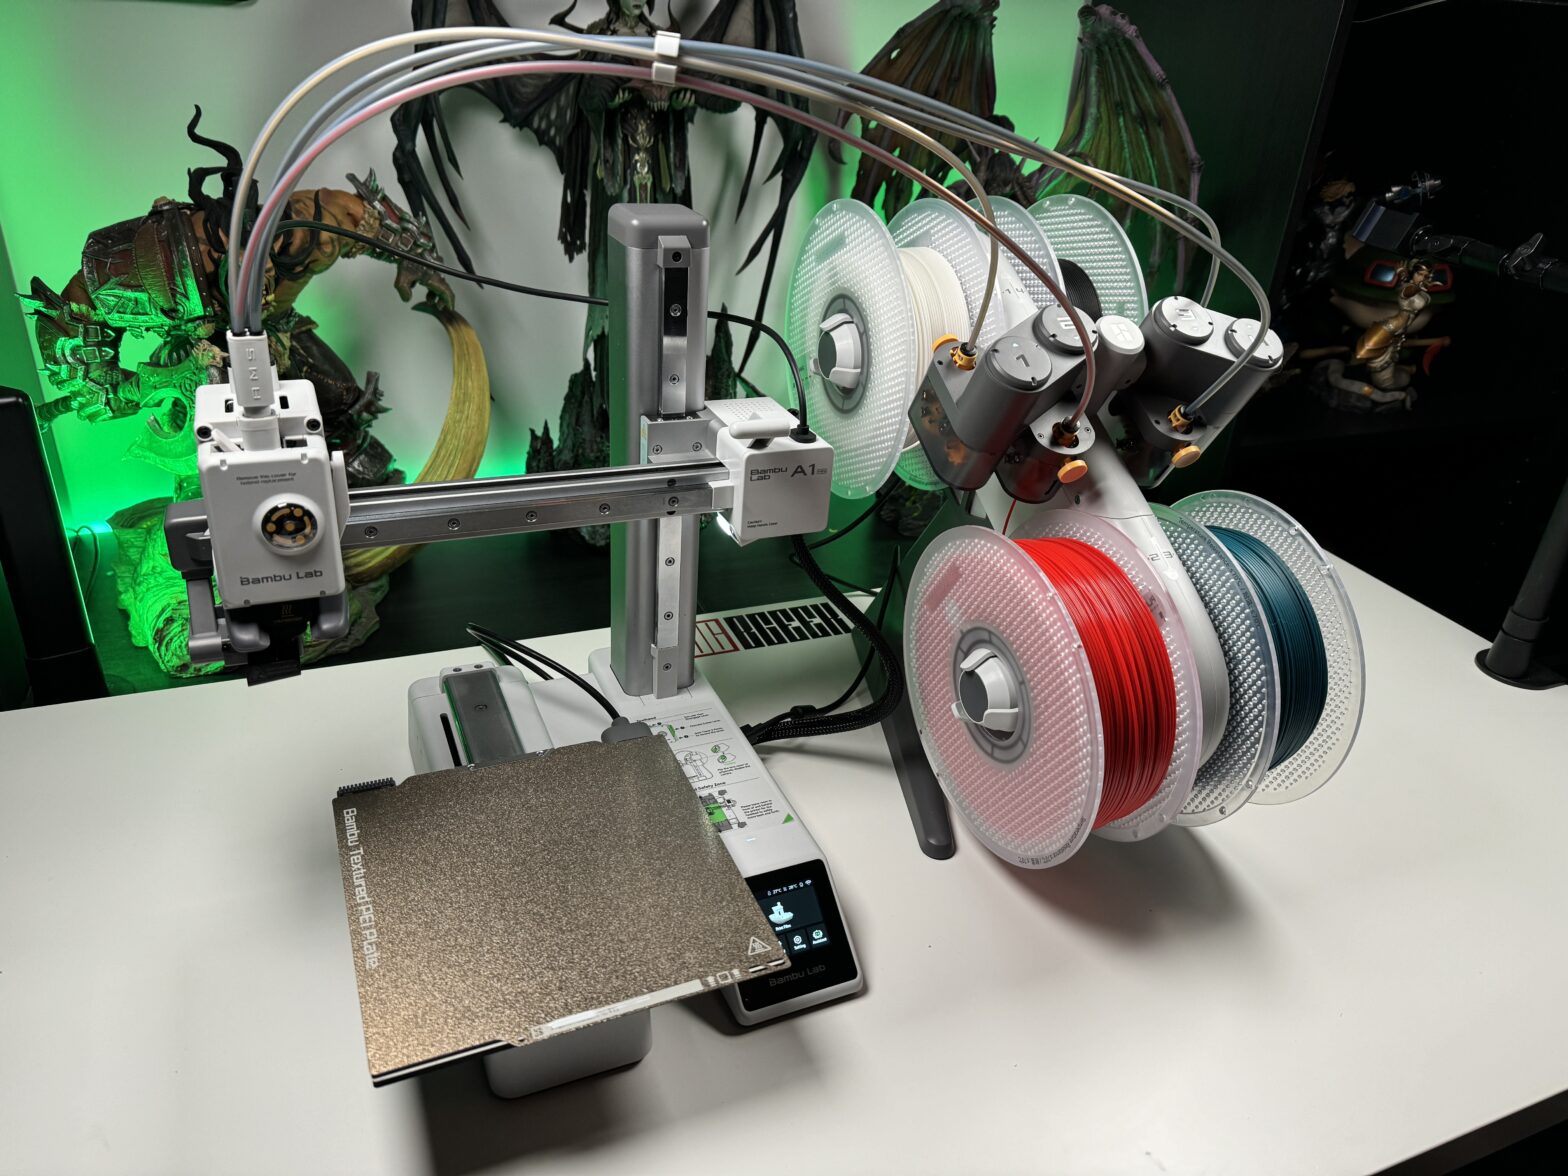
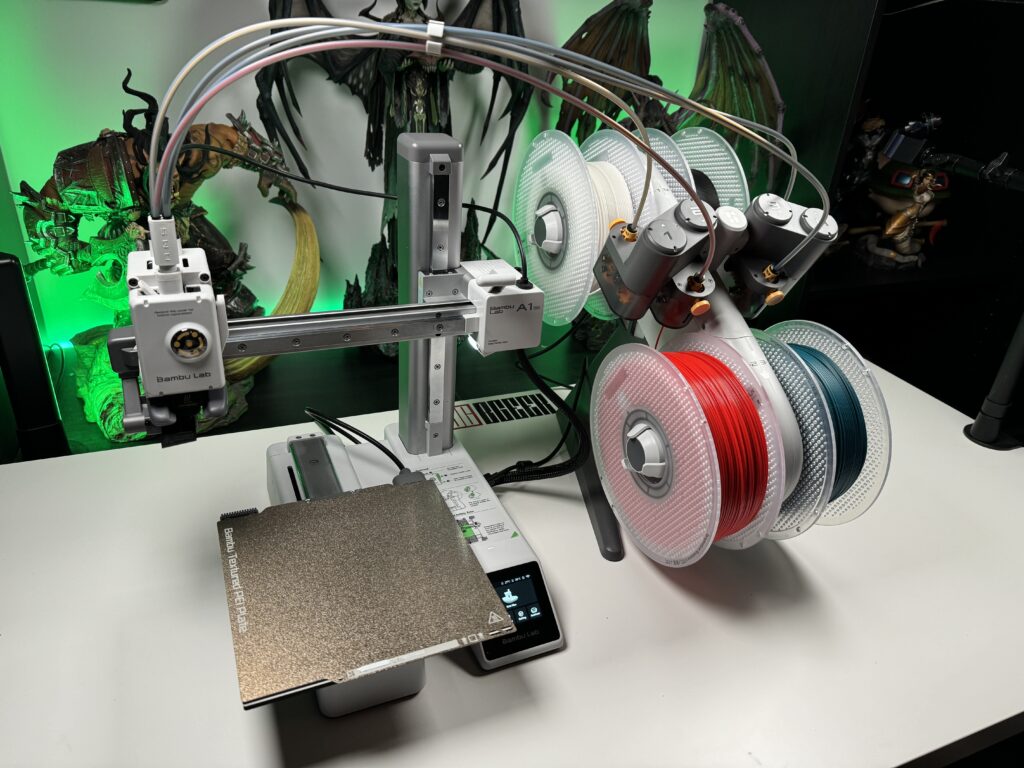
I have had the Bambu Lab A1 Mini Combo in my hands for some time now, and after using it alongside my X1C for quite some time, I’ll share my experience with the “little guy”.
Unboxing
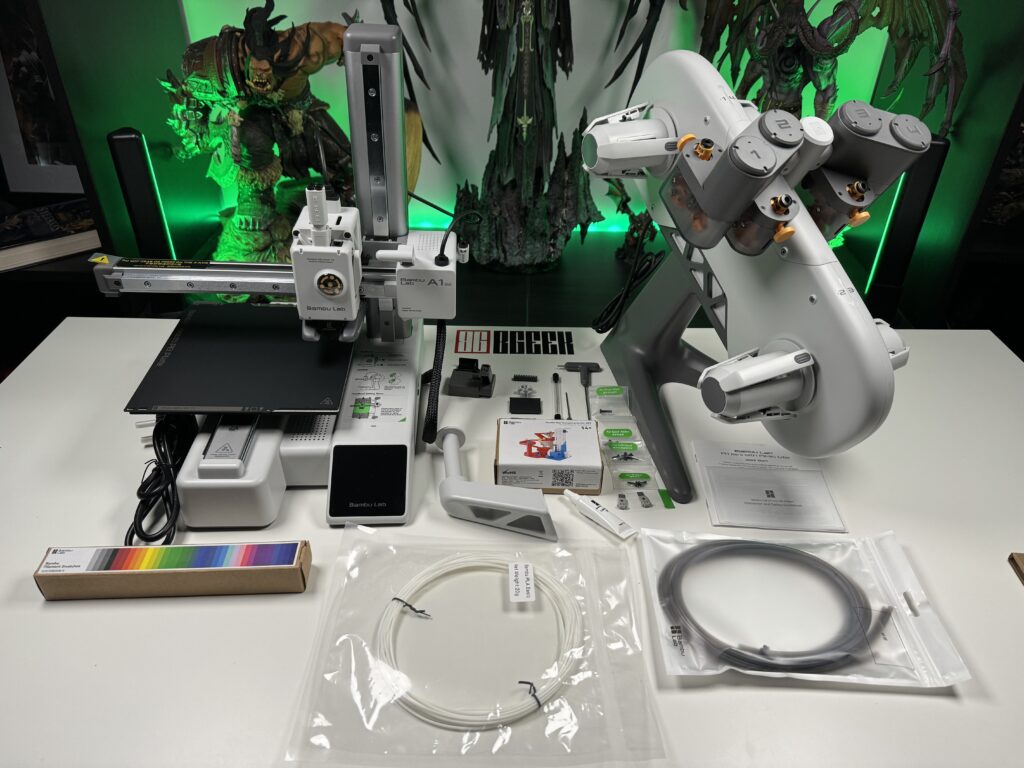
Unboxing the relatively small box of the Bambu Lab A1 Mini Combo we find inside:
- The Bambu Lab A1 Mini Combo printer
- The AMS Lite
- The body
- Its mount, with its screws
- The four mounts for the filament rolls
- Samples of all the different filament colours available
- The filament cleaner with its screws
- Tube mount for the spool of filament in case AMS will not be used
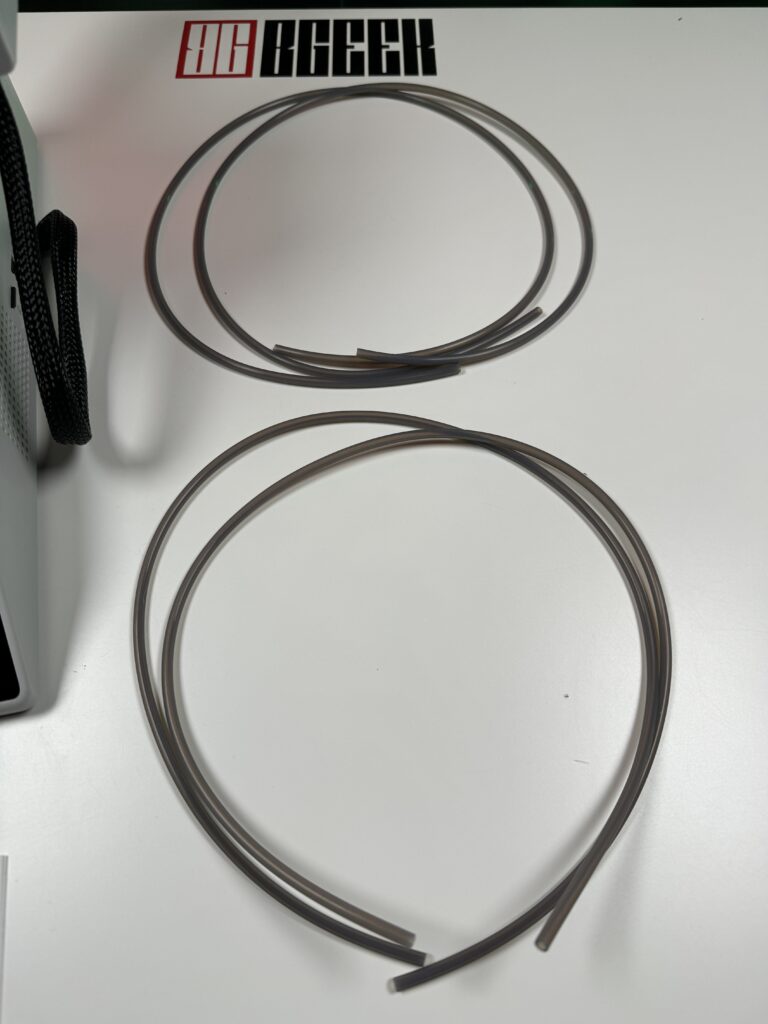
- Five plastic tubes for the filament
- Four for the AMS Lite (580 mm *2, 700 mm *2)
- And one to use the filament directly
- A Textured PEI magnetic bed
- A box of various tools
- Tool for cleaning the hotend in case of filament blockage
- Two Allen keys (H2 and H1.5)
- Hotend cleaning base for the print bed
- A razor blade with its screws
- Two filament-cutting razors
- Lubricating grease
- All the screws we need
- A 20-gram sample of white filament
- A surprise game that we will talk about it later on
- And as always, our favourite manuals
As with the X1C, if you need any tools, you will have to print them yourself. For example, for the scraper, you have the blade and the screws but the tool itself should be printed.
The first steps
What I love about Bambu Lab is that when they released their first printers, they offered them ready, “print out of the box”. This means you just take the printer out of the box, plug in the power cord, and configure 2 to 3 things and it’s ready to print. No assembly with screws, no adjustments.
They did the same with the Bambu Lab A1 Mini Combo. Inside the same box, both the printer and the AMS Lite were fully assembled and 2 steps away from our first print.
Assembling the Bambu Lab A1 Mini Combo
As I mentioned above, everything comes “almost” ready to use. However, there are a few steps we need to take before we get our new printer up and running.
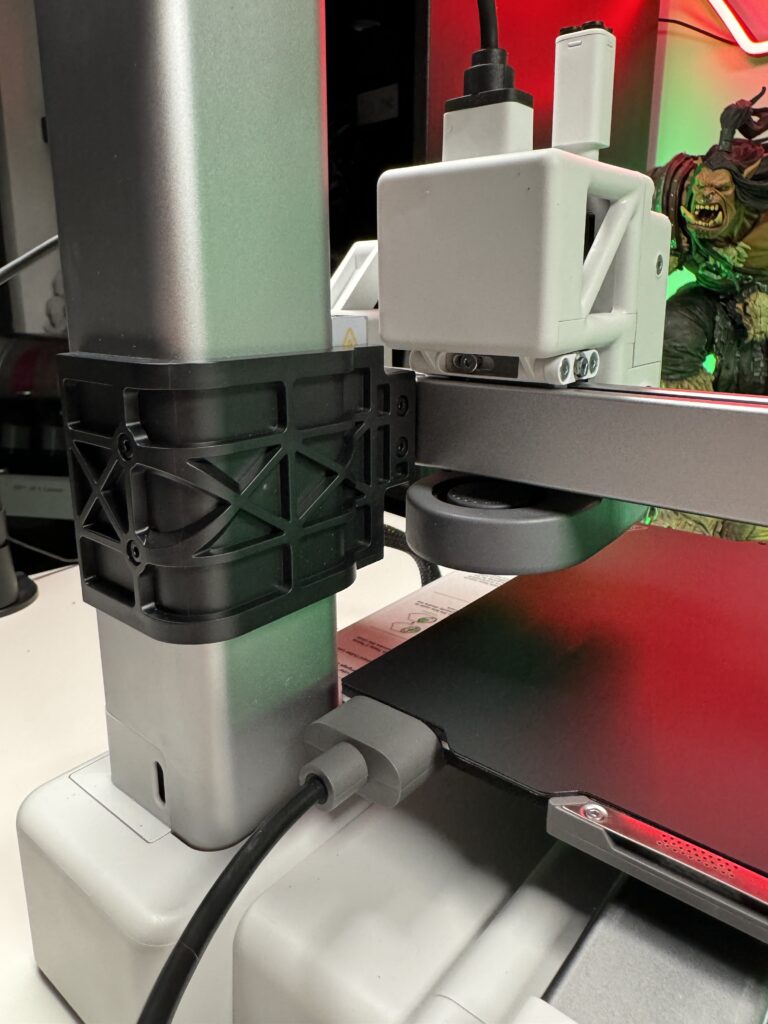
Head and axis rails
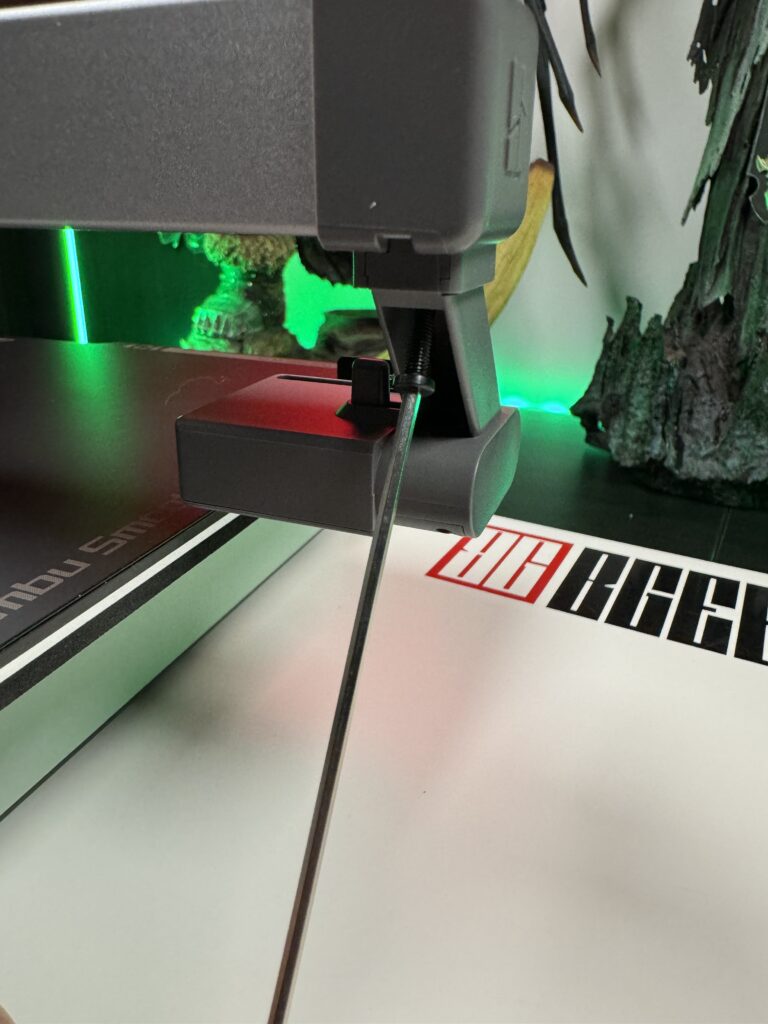
After we have spread all the contents of the box on our desk, we start with the basics. First, we cut the zip tie that keeps the printer’s head stable. Next, we unscrew the 4 screws that keep the Z-axis rail stationary. The only reason it is bolted to the printer is to prevent damage during transportation of the printer.
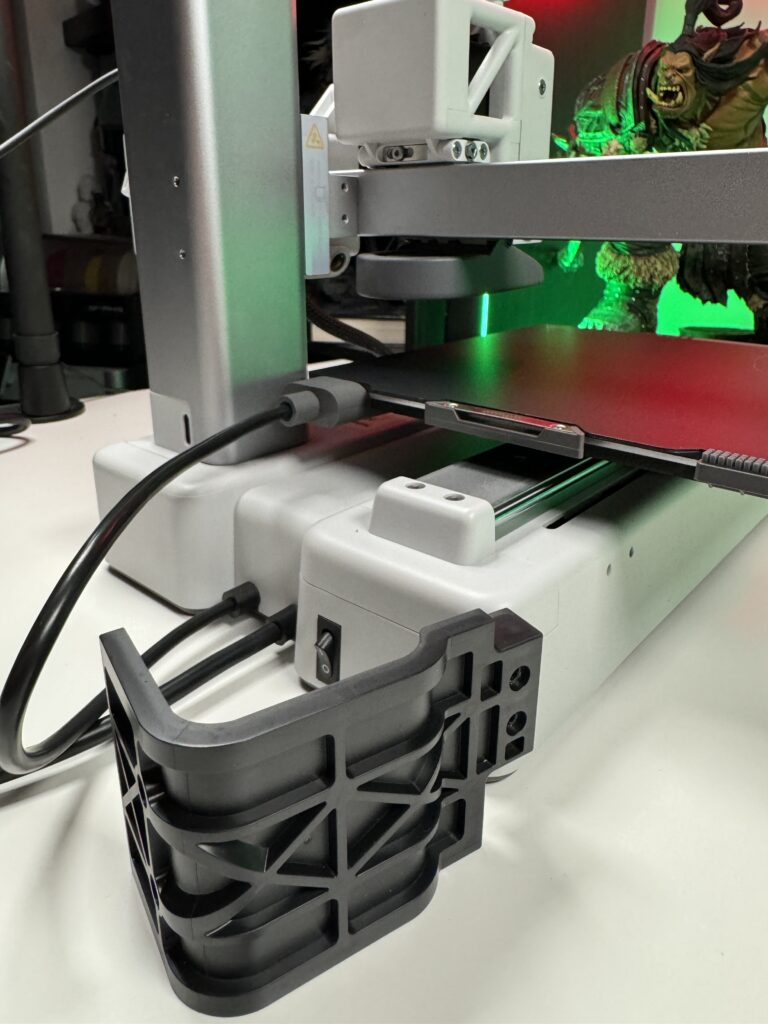
With one movement of the head, we can easily remove the foam protectors
Print bed
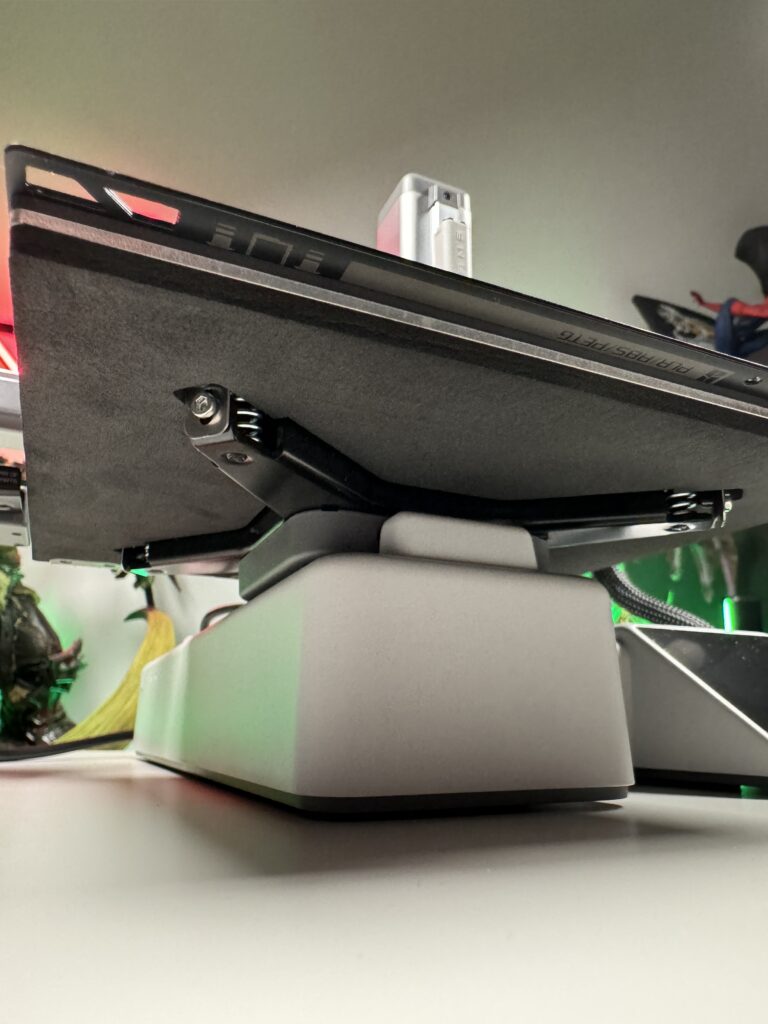
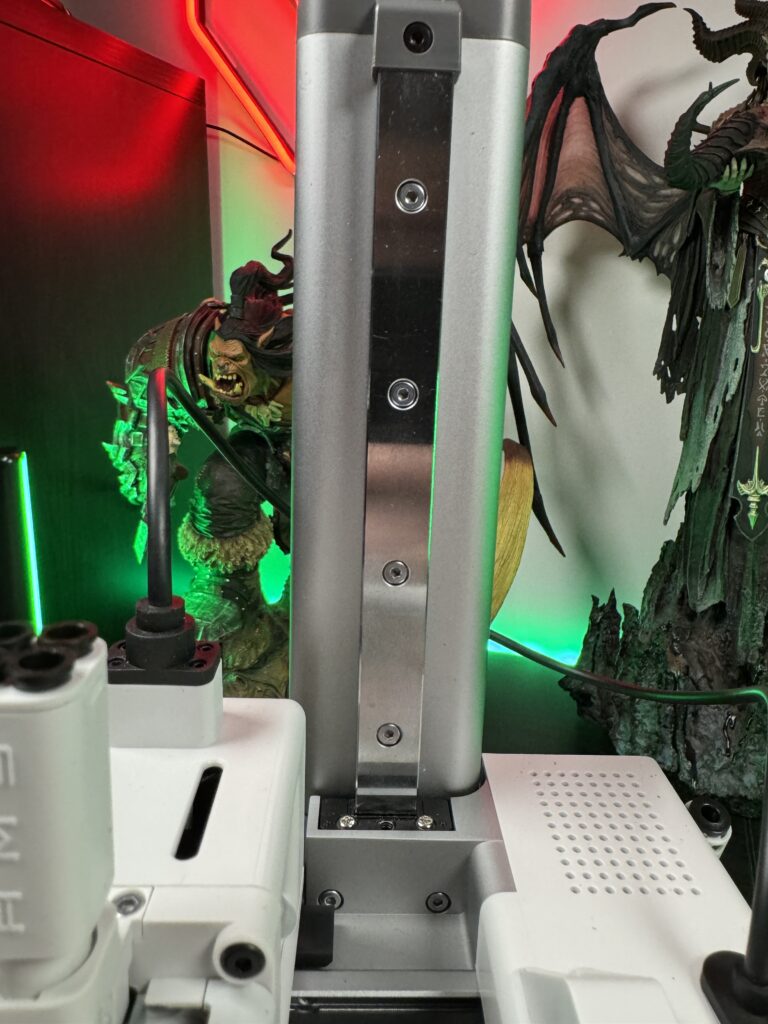
Next, we have to tighten the total of 3 screws that are at the bottom of the bed and keep it stable.
The 3 screws are the ones shown in the photo and we tighten them with the Allen key that comes with the printer.
Small configurations
At the end of the X-axis, we should place the base of the filament cutter. This is done very easily. First, it snaps together and then by simply screwing a 1*M3-12 screw at the bottom of it, we keep it stable.
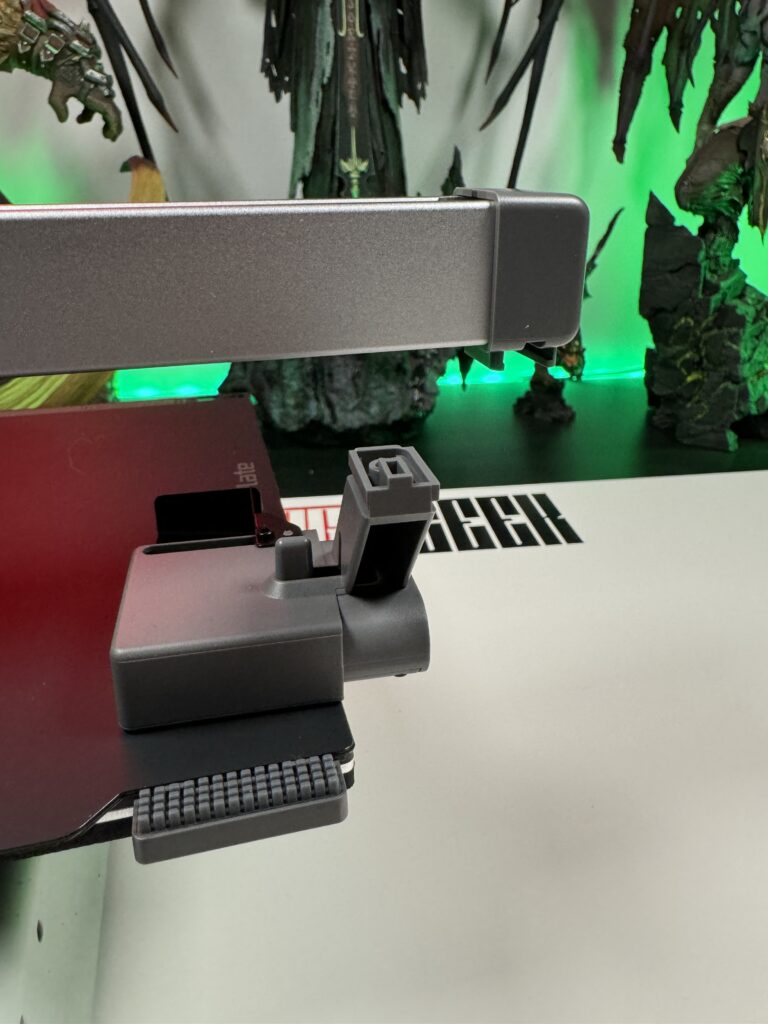
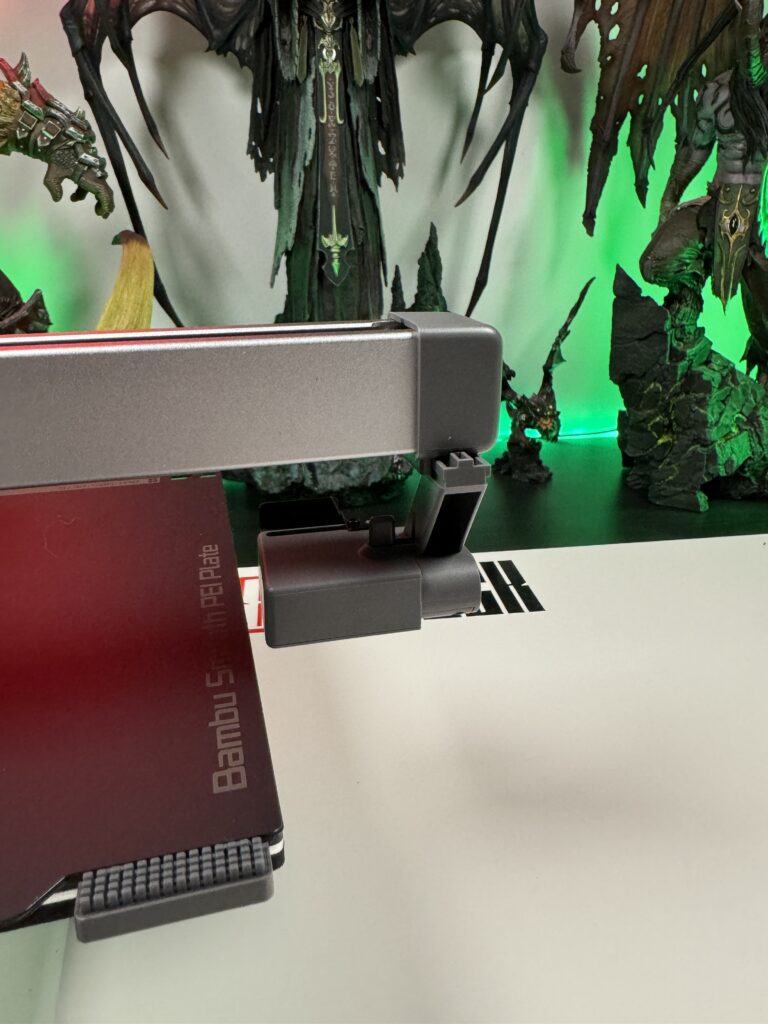
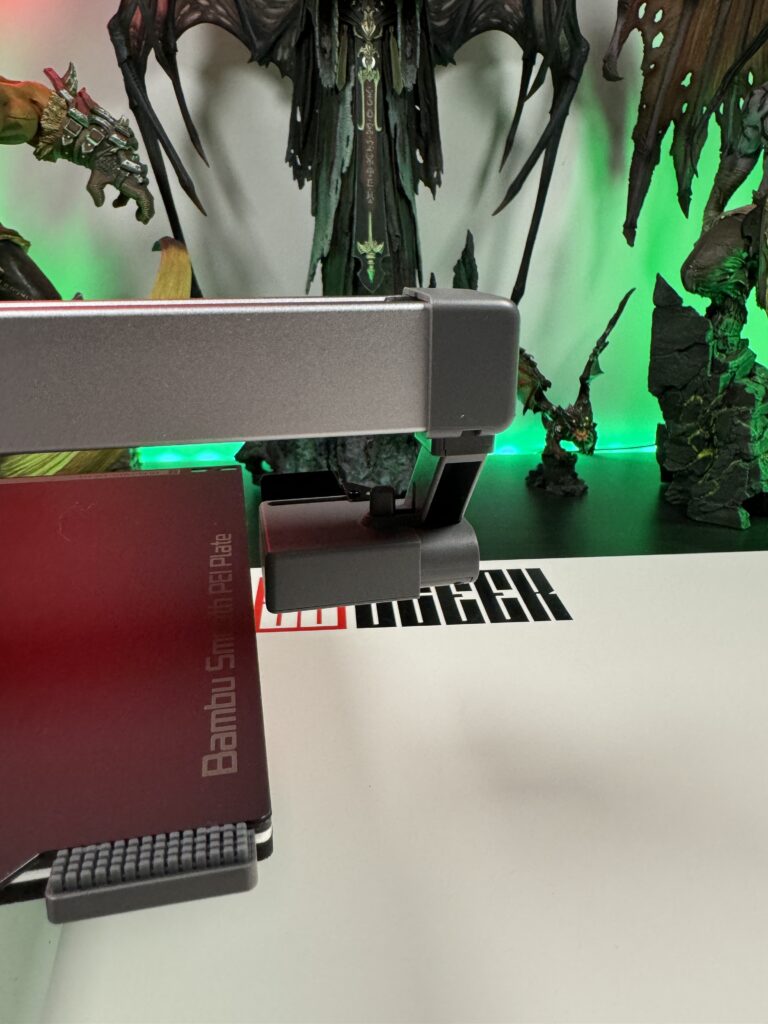
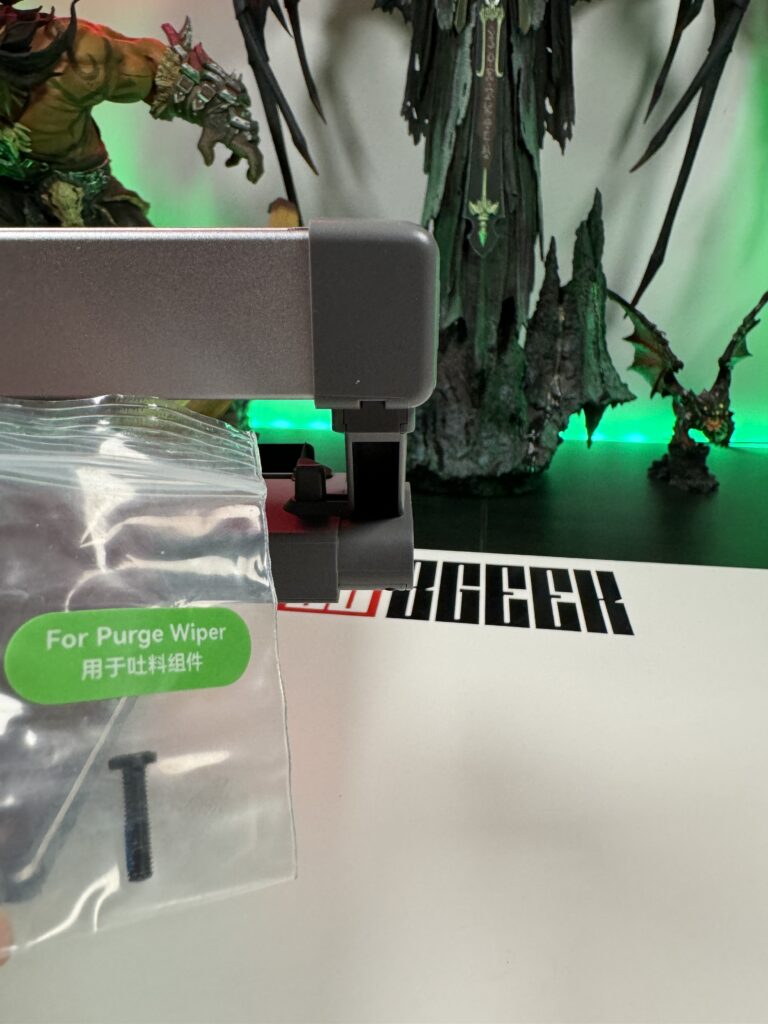
That’s where the hotend will end up, every time we want to change the filament’s colour or in the case that it wants to be cleaned from the previous filament.
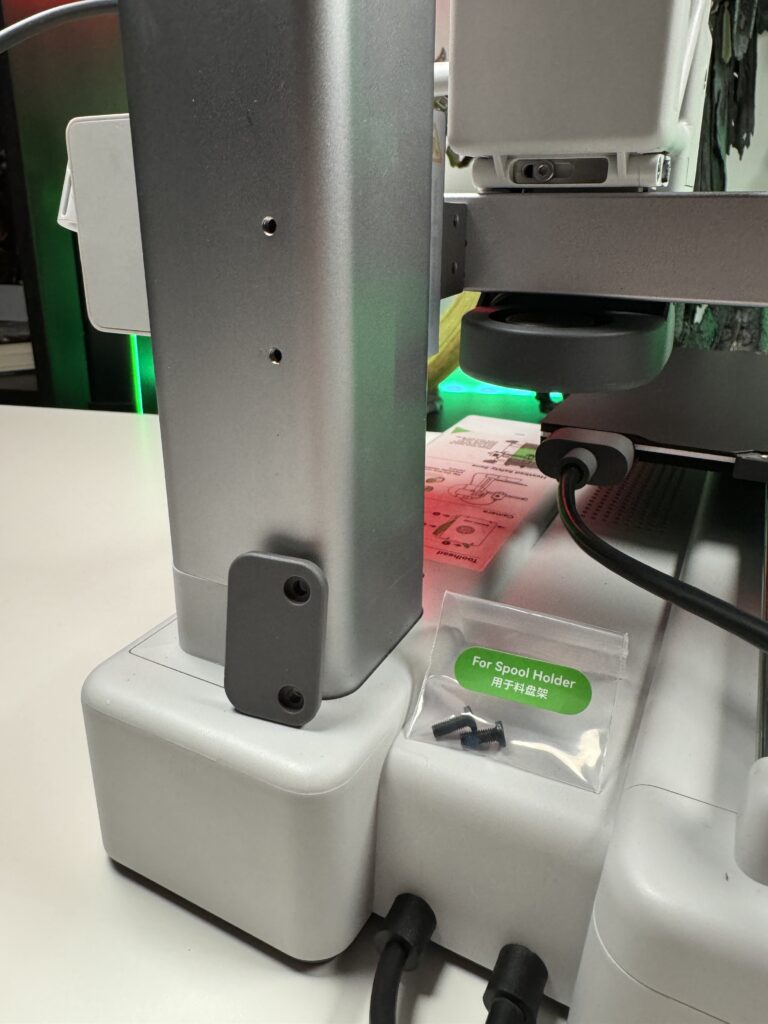
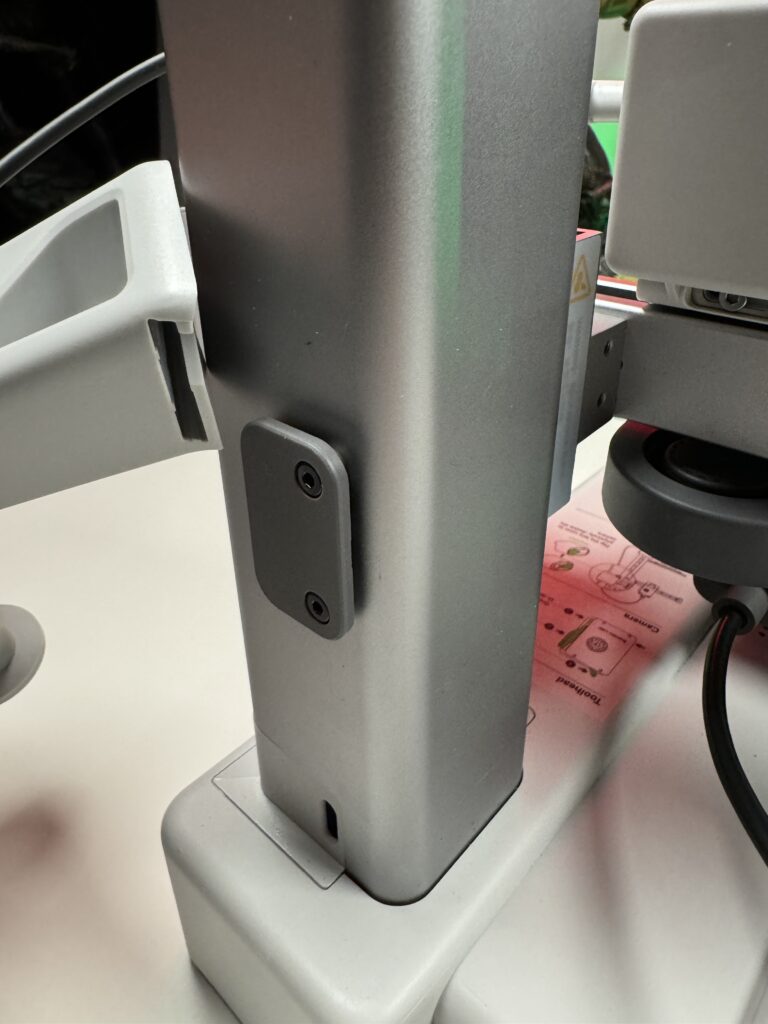
In case you didn’t buy the Combo version and you have the simple Bambu Lab A1 Mini Combo, you will need to take the next step. A while ago we unscrewed the Z-axis. So right where the plastic was that held it in place, there are 2 holes. In these 2 holes, we will screw a small grey plastic. On that, will snap the tube that will be the mount for our roll of filament.
That’s it. We are done with the Bambu Lab A1 Mini Combo.
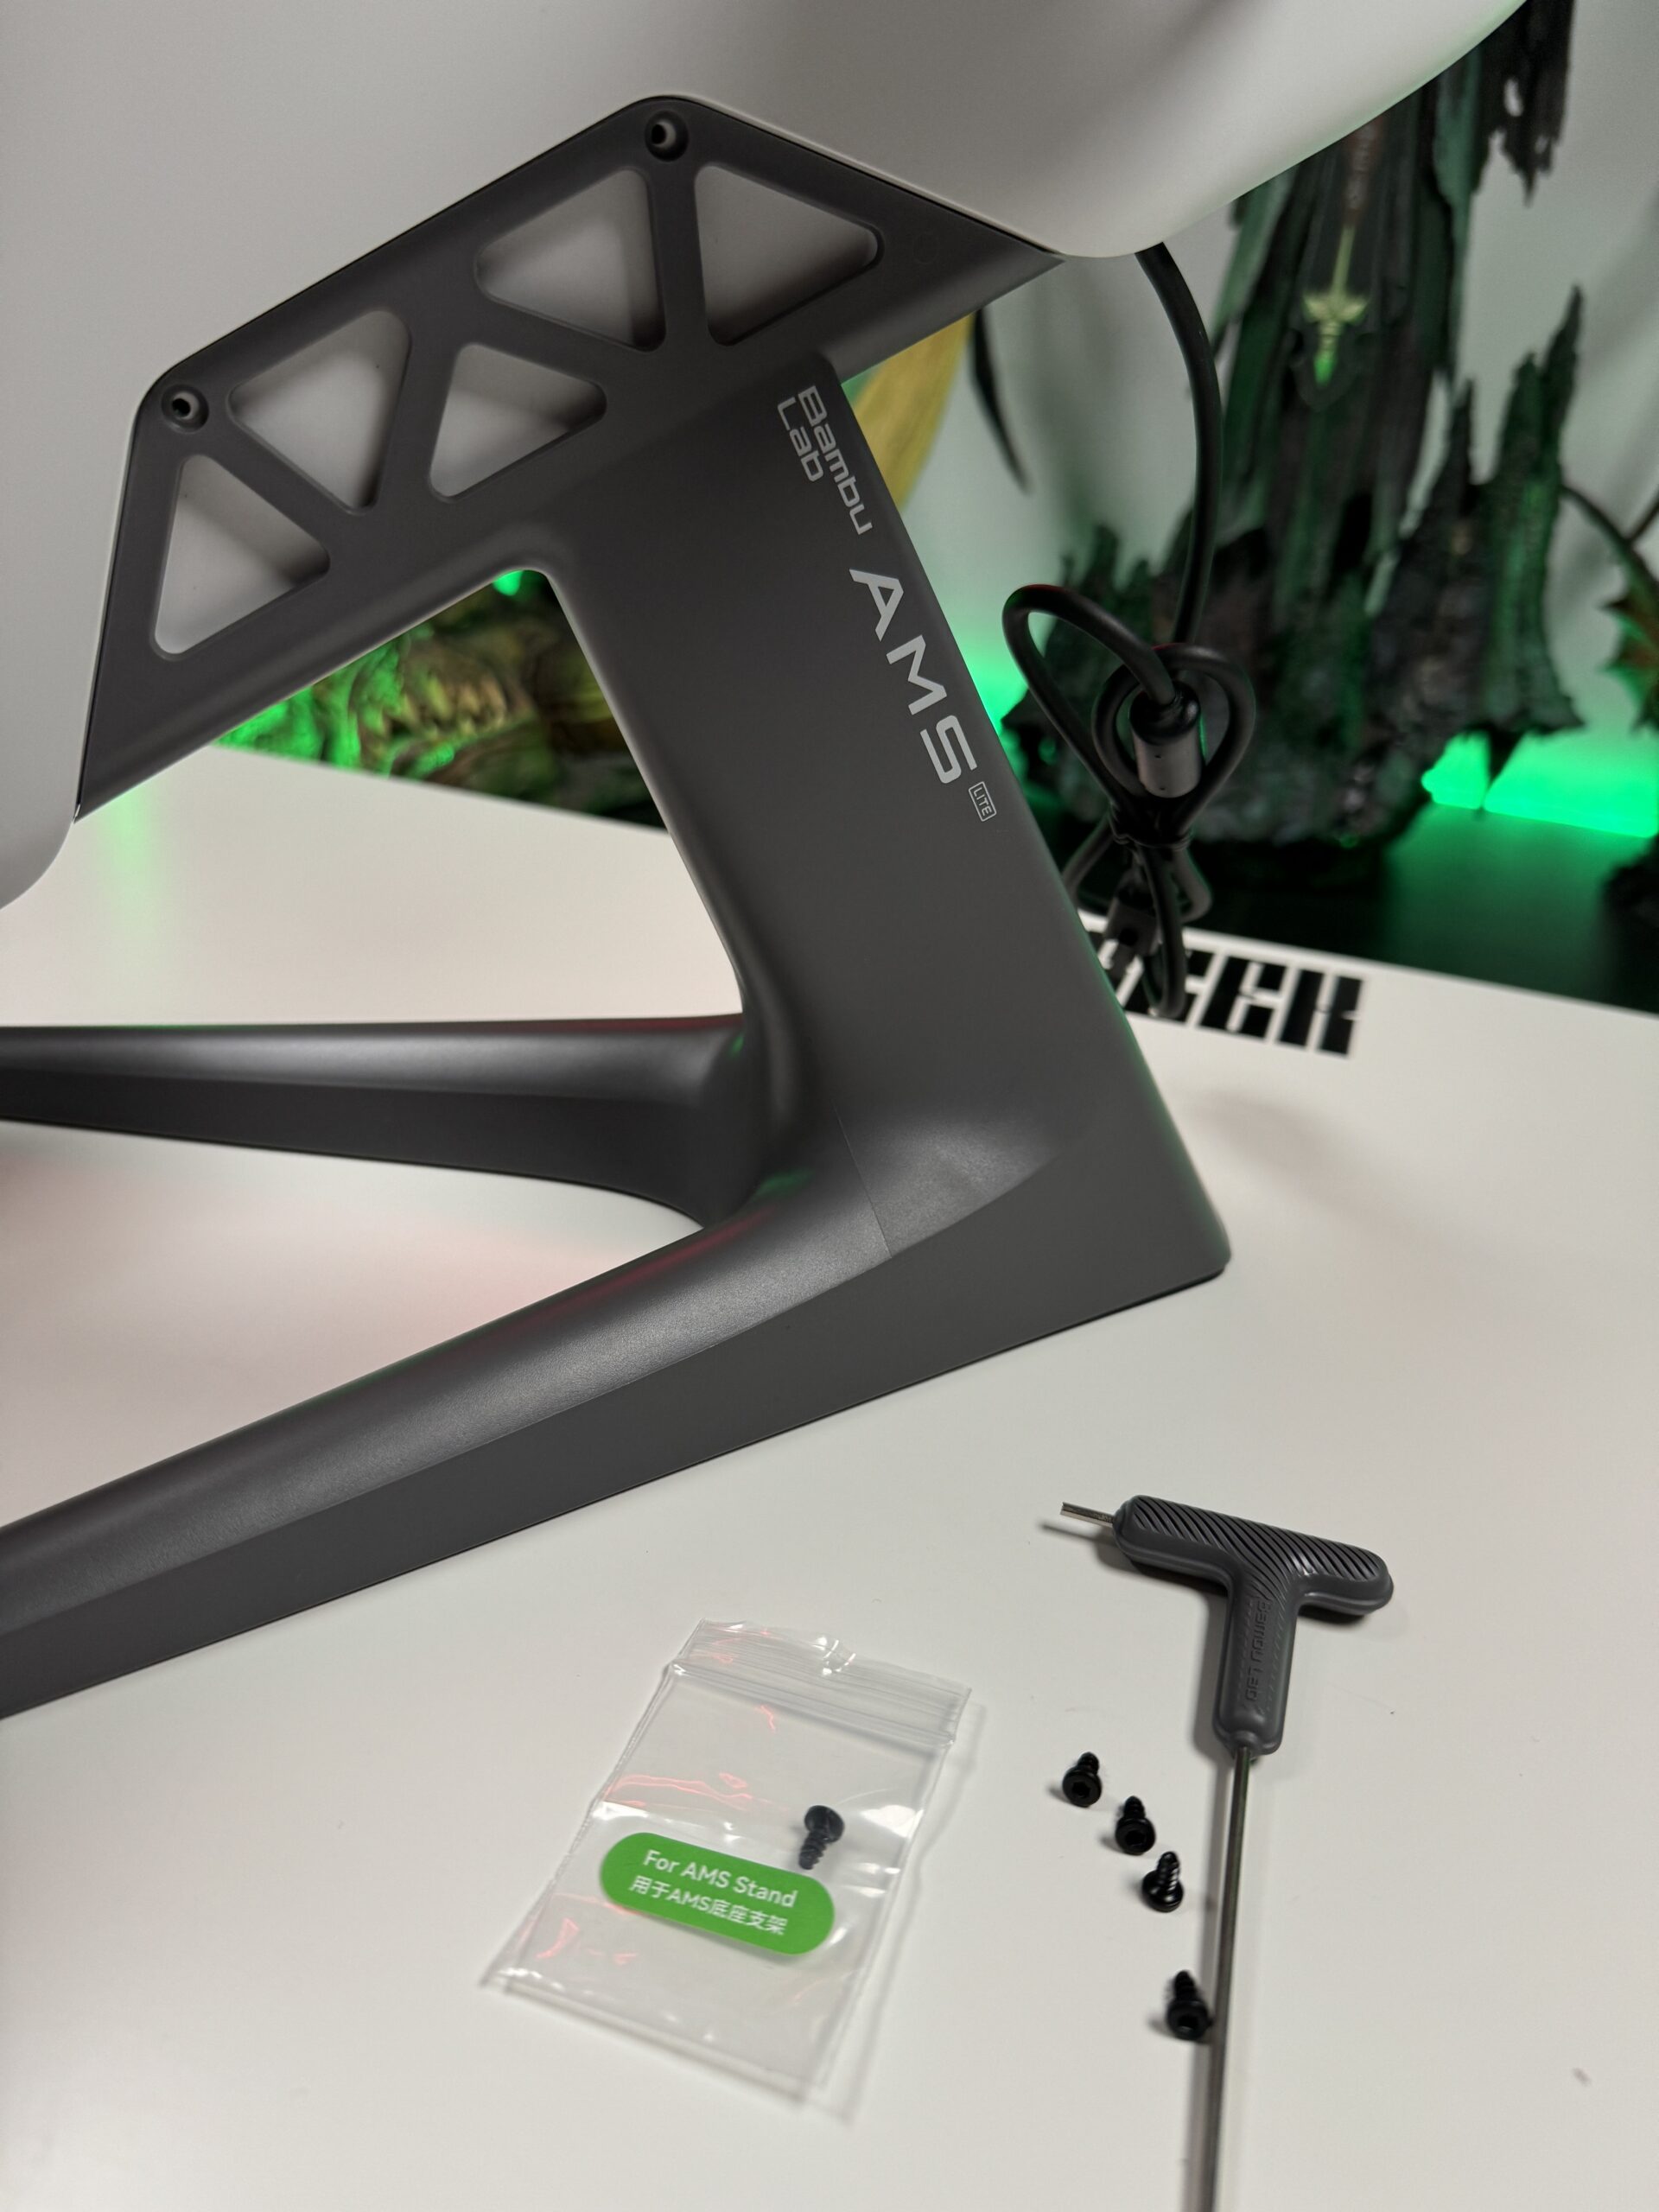
Assembling AMS Lite
After we’re done with the printer, it’s AMS lite’s turn, which will be ready in two steps.
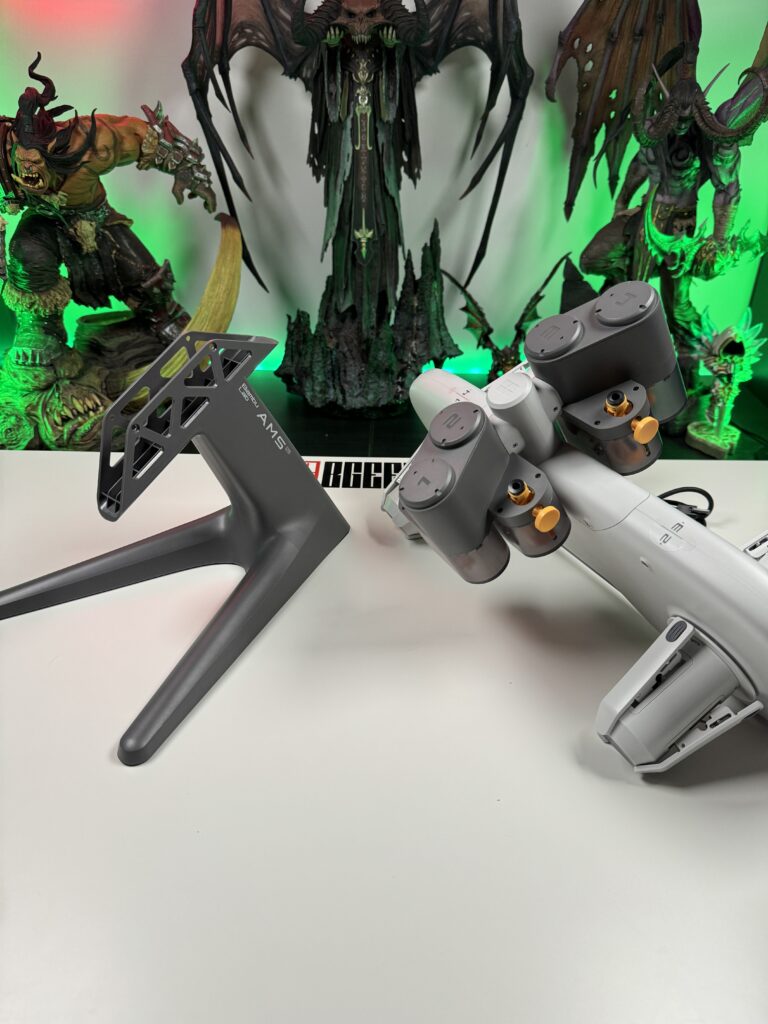
Firstly, we need to clip the 4 cylinders onto the AMS. Two are green in colour and the other two are yellow. We match their colours to the colours of the base, and it will look something like this.
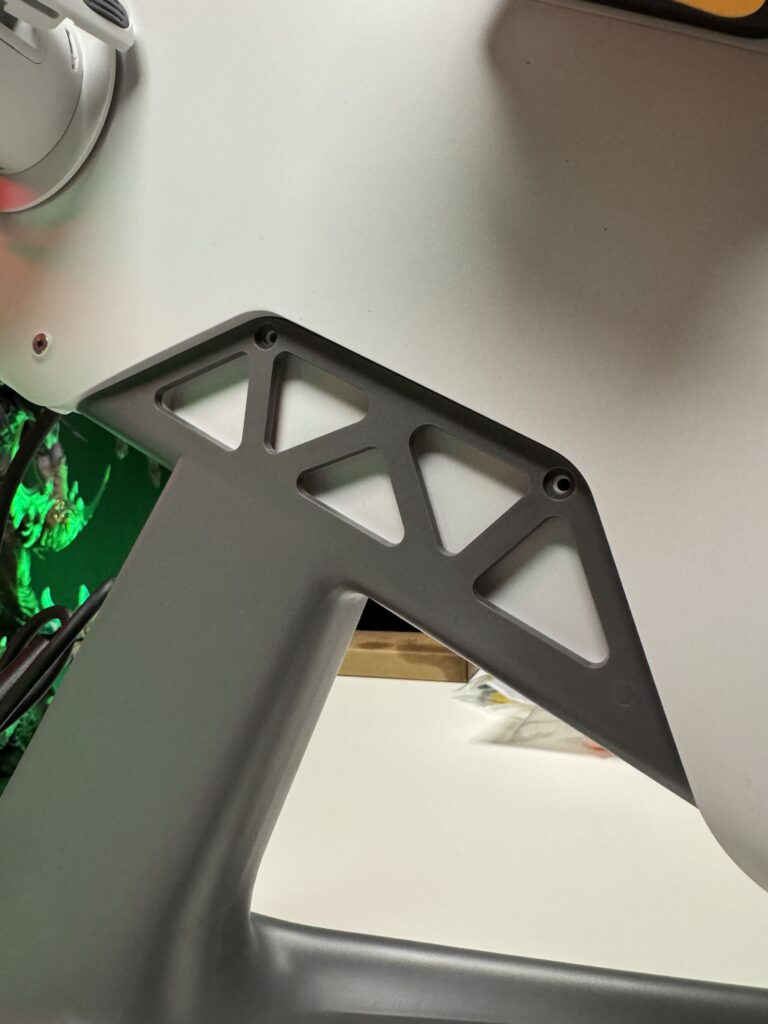
Next, we place the AMS on the base and secure it with 4 screws. Be careful, the cable should be at the high point.
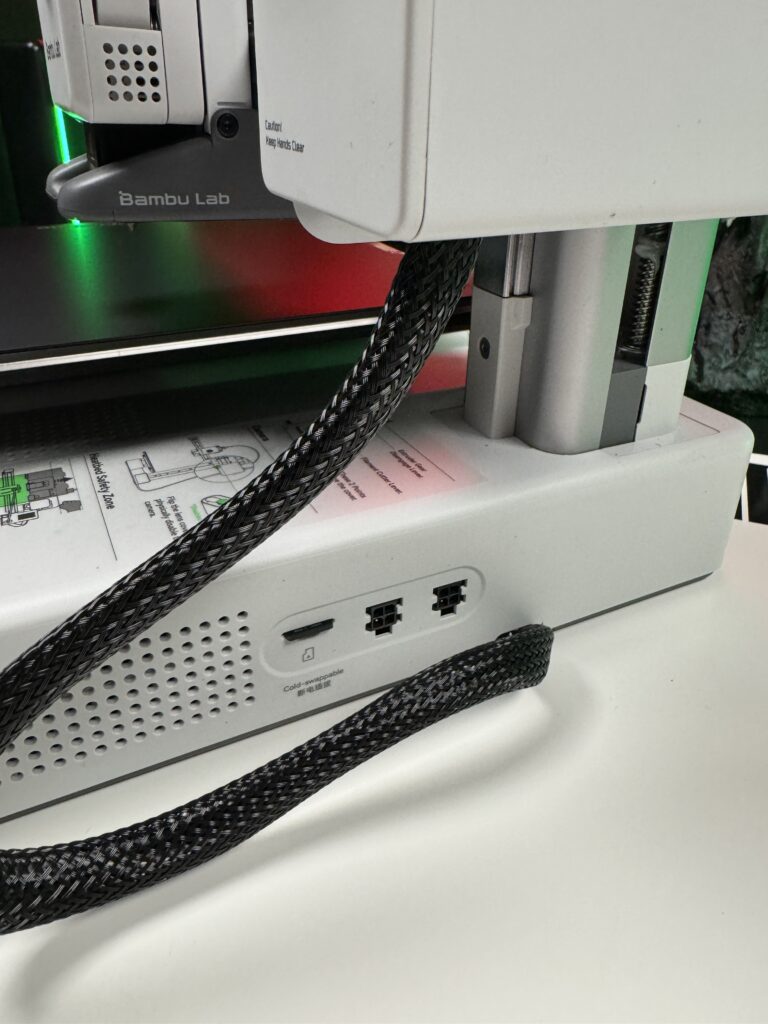
AMS is also ready. Of course, we have to connect them together as well. How do we do this? Easy! By simply plugging the AMS cable on the side of the Bambu Lab A1 Mini Combo. It’s right next to the SD card port.
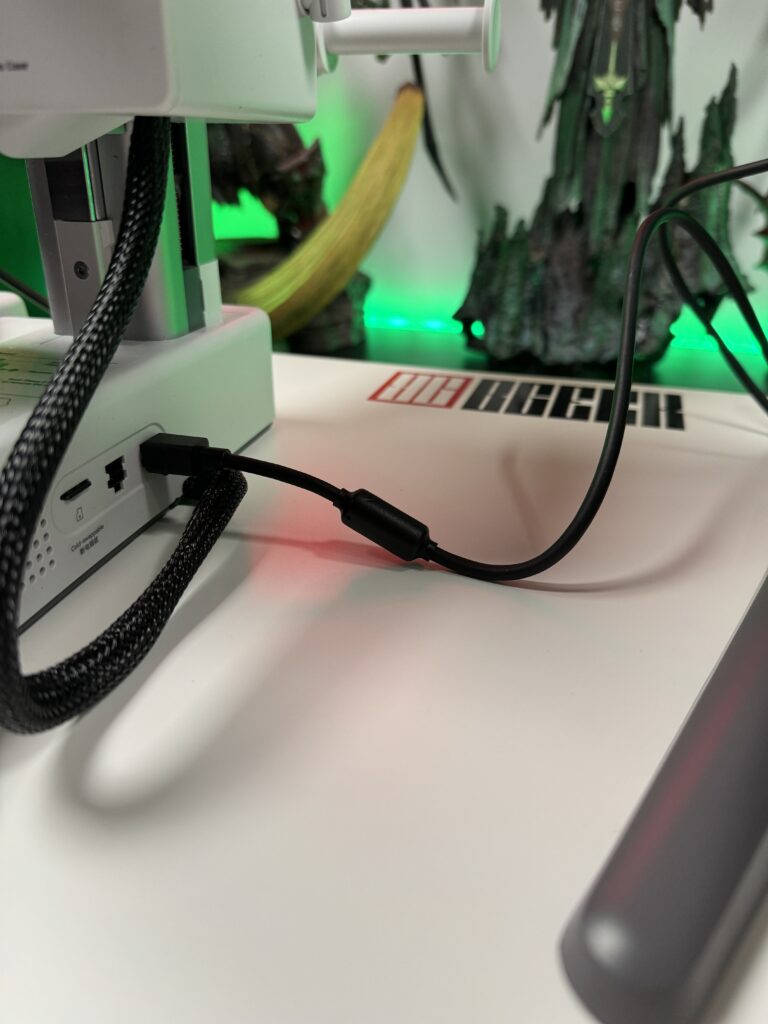
There are two ports but whichever one you use, the result will be the same. There are two, in case you have two AMS Lites.
Great! Our AMS will power up from our printer now. How will he get the filament from AMS though? With the four tubes that come in the package. There are actually five tubes but the fifth is only useful to those without AMS. So the four tubes come in two different sizes. Two short, 580mm and two longer, 700mm.
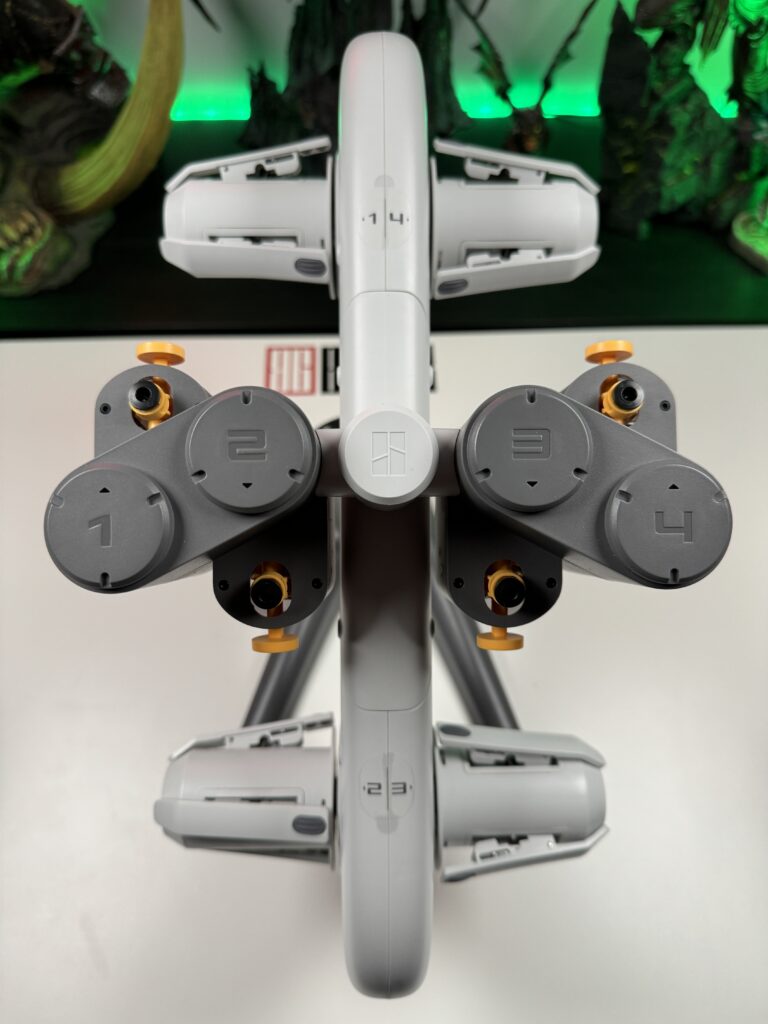
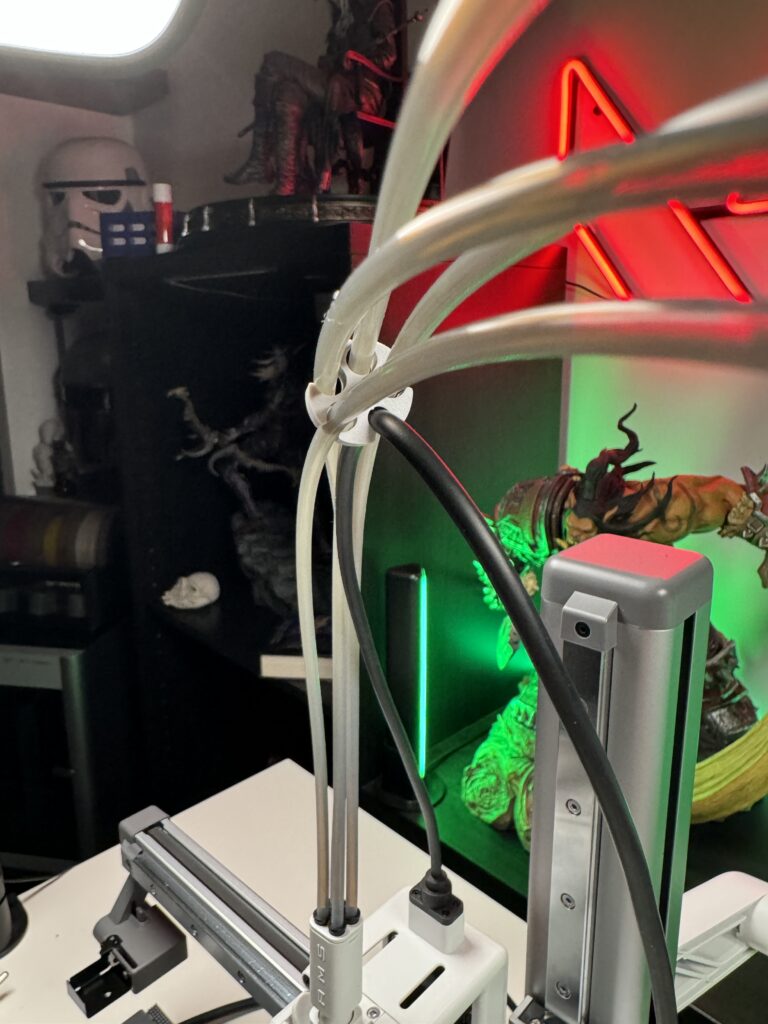
We put the short tubes in numbers 1 and 2 of the AMS and the longer ones in 3 and 4. 1 and 2 are on the left side of the AMS and end up in the 2 left inlets on the top of the head and respectively 3 and 4 on the right ports. Don’t forget to keep the tubes in place with the plastic “star” of Bambu Lab which has five holes. Four for the tubes and one smaller one for the black cable of the A1. Bambu Lab recommends a distance of about 5 cm between A1 and AMS. How can we say no to them?
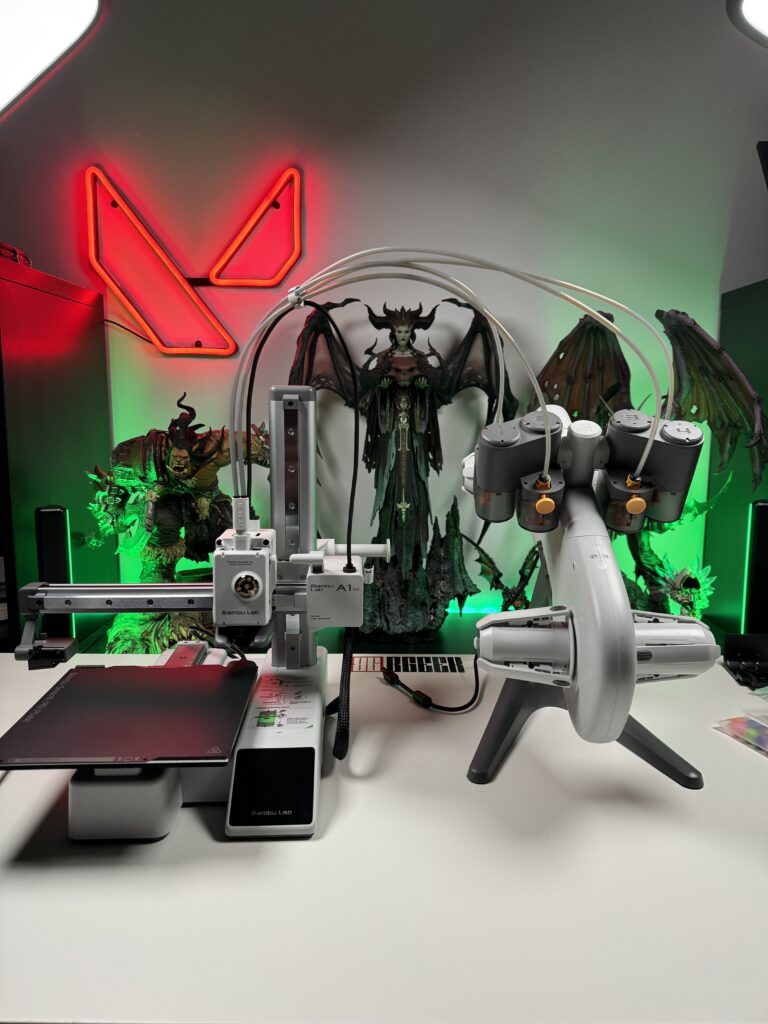
We’re finally ready to plug the little beast in!
Basic settings on the screen
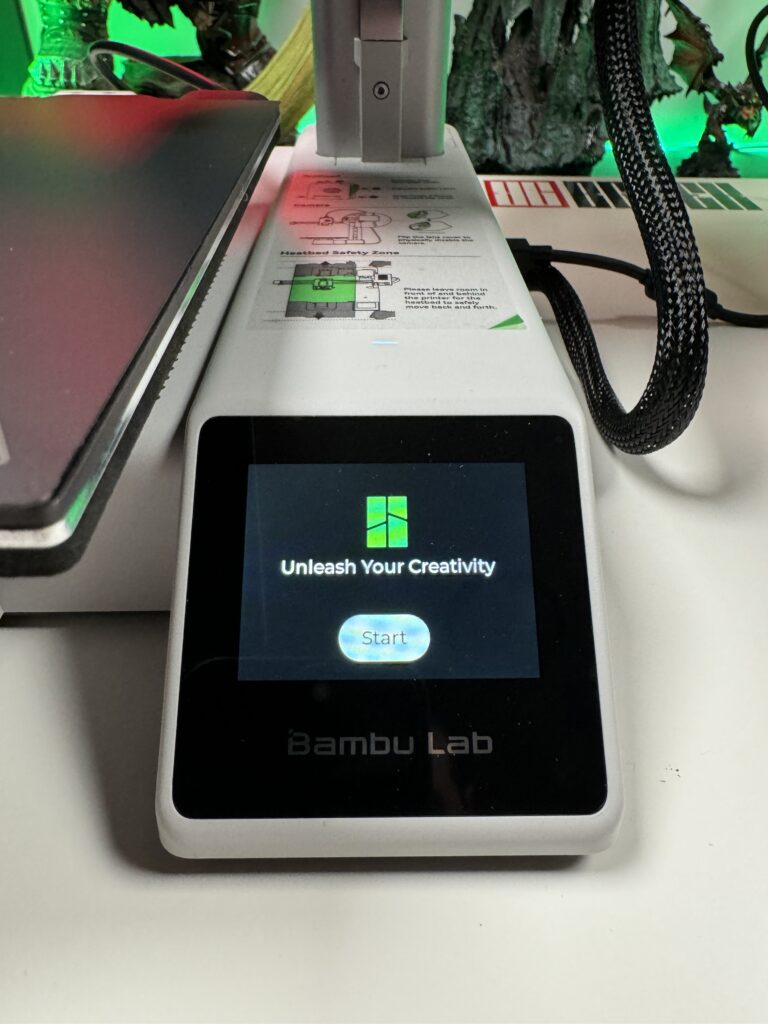
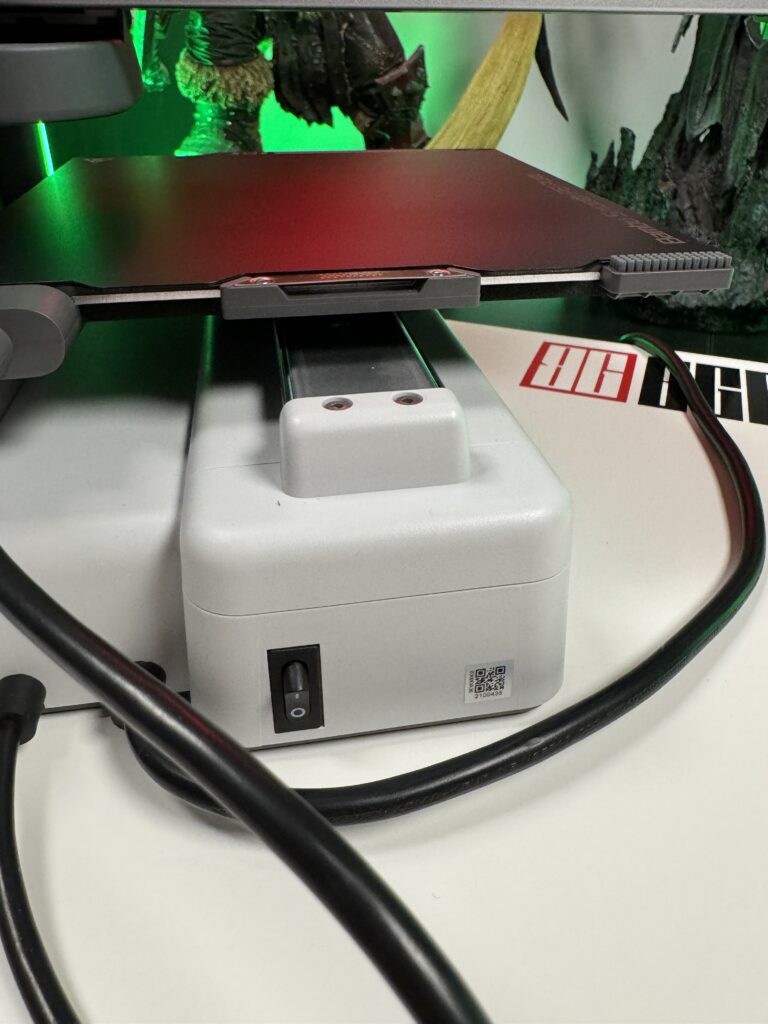
On the back of the Bambu Lab A1 Mini Combo, there is a power switch. We turn it on and the magic begins on the small colour screen of the Bambu Lab A1 Mini Combo. Before following the procedure on the screen, we must put the magnetic plate on the printer’s bed since it is needed for the automatic calibration that will start.
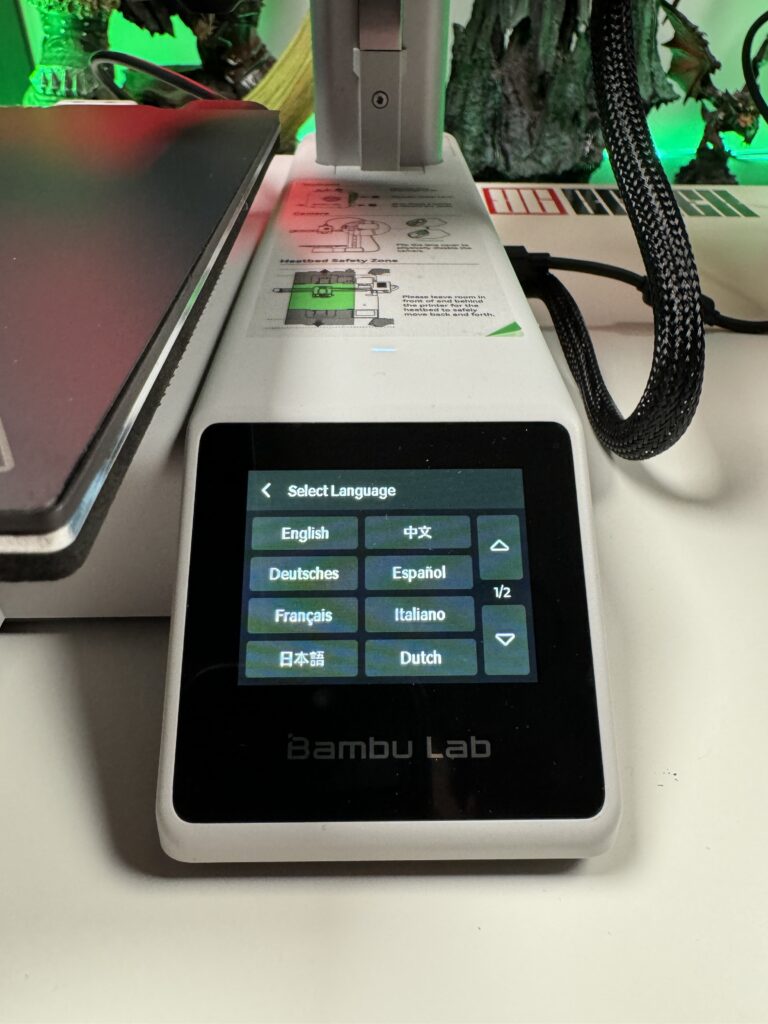
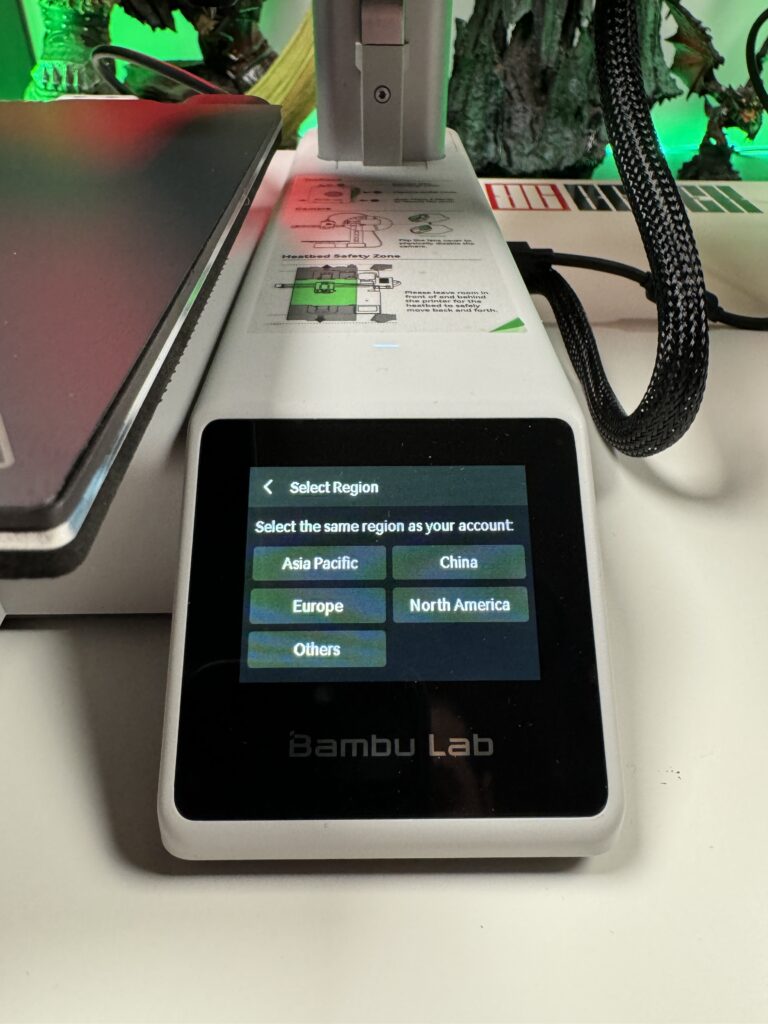
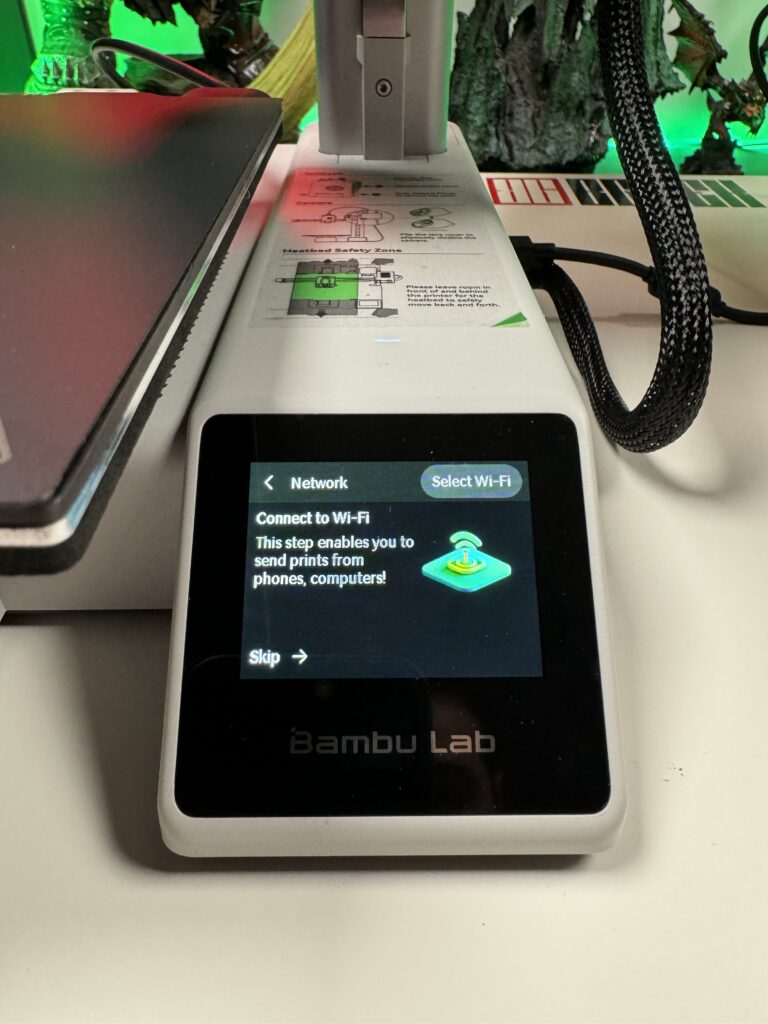
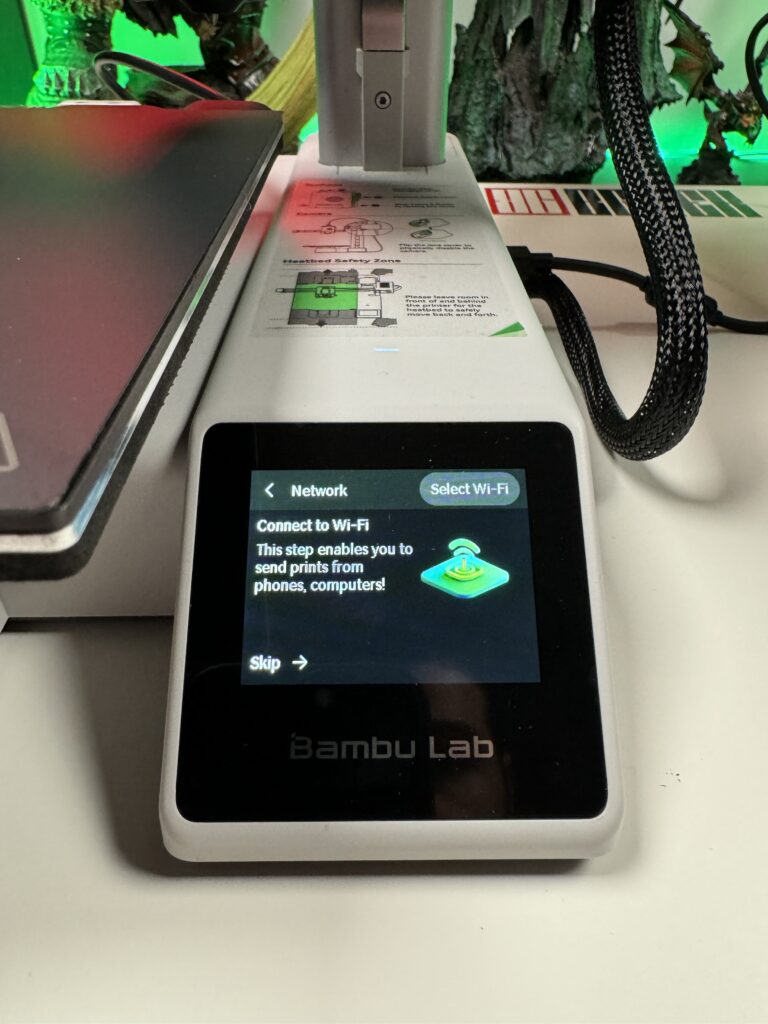
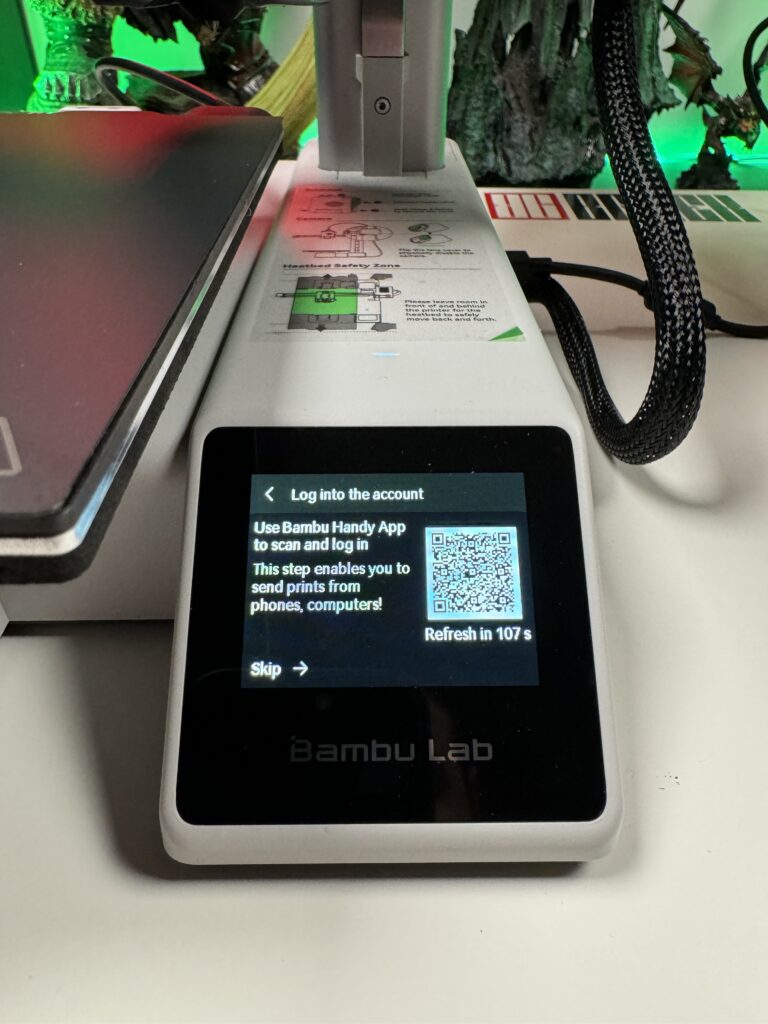
First, we choose the language we prefer, then the region we are in, connection to our WiFi network and finally if we want to sign in if we already have a Bambu Lab account.
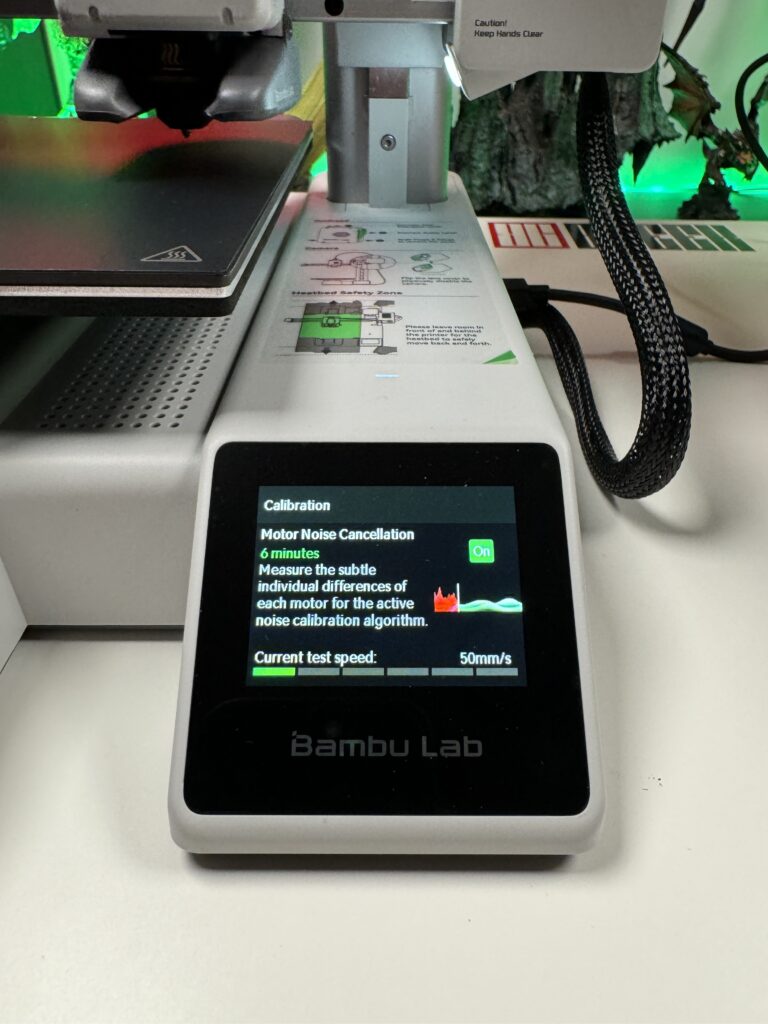
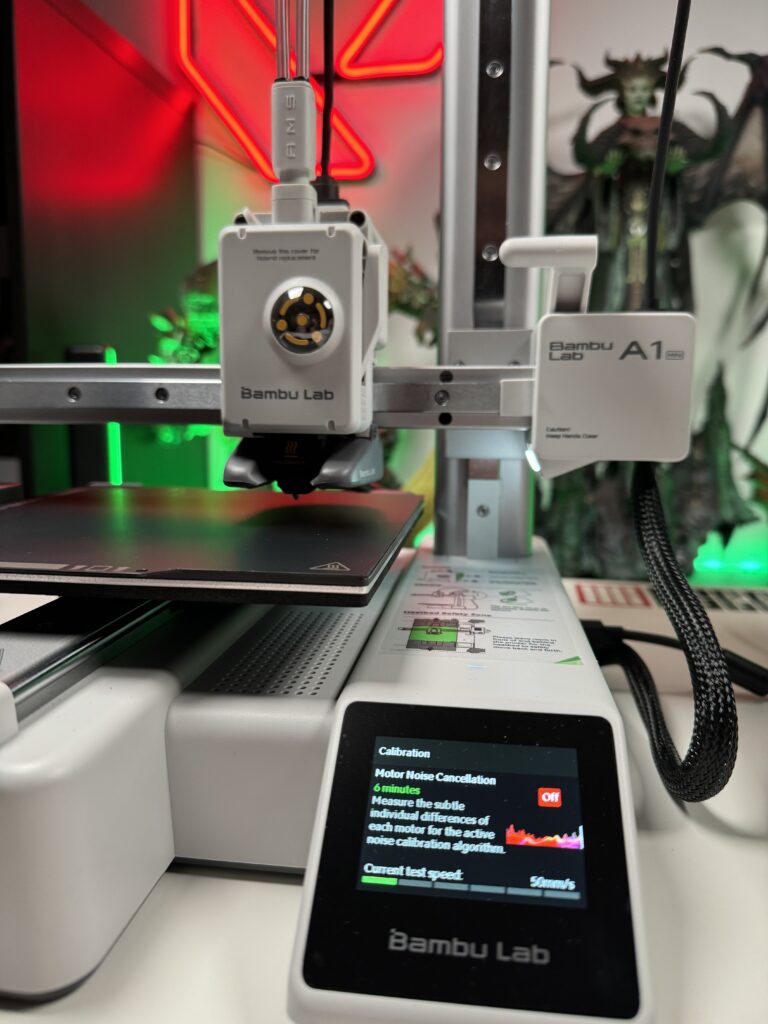
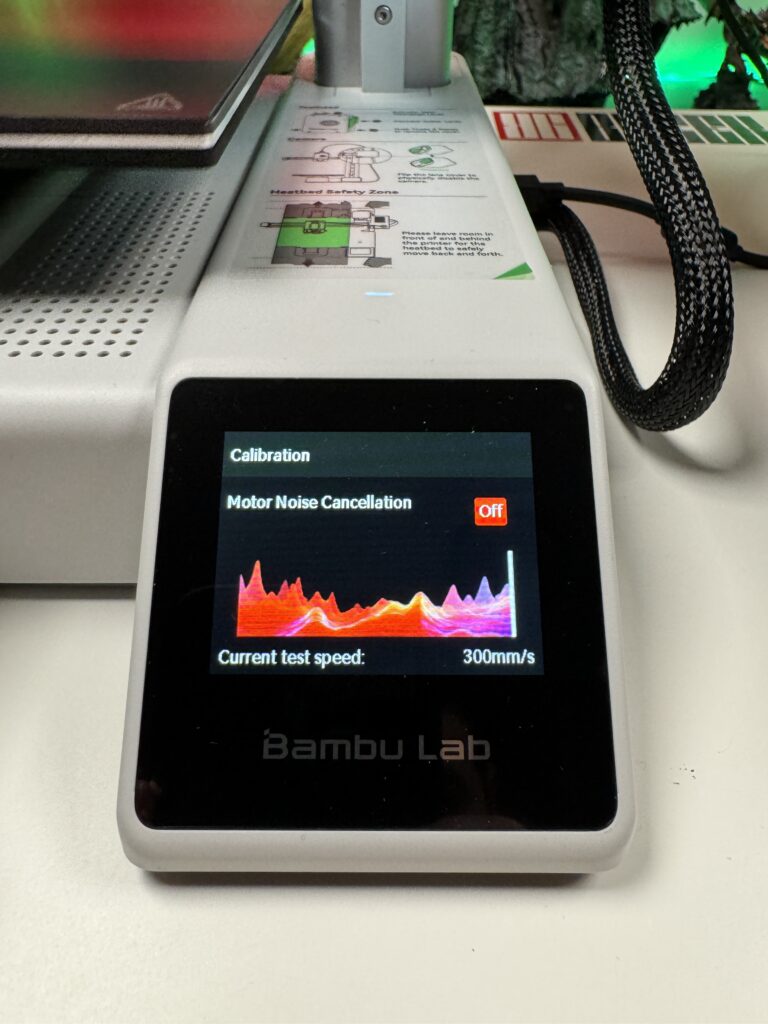
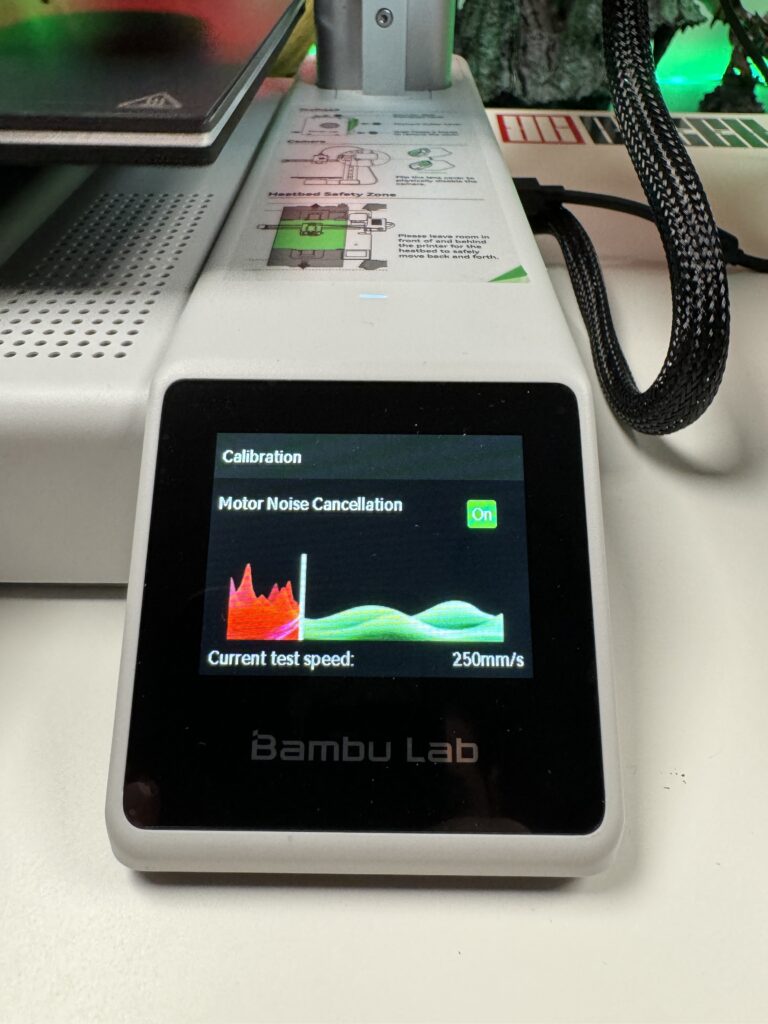
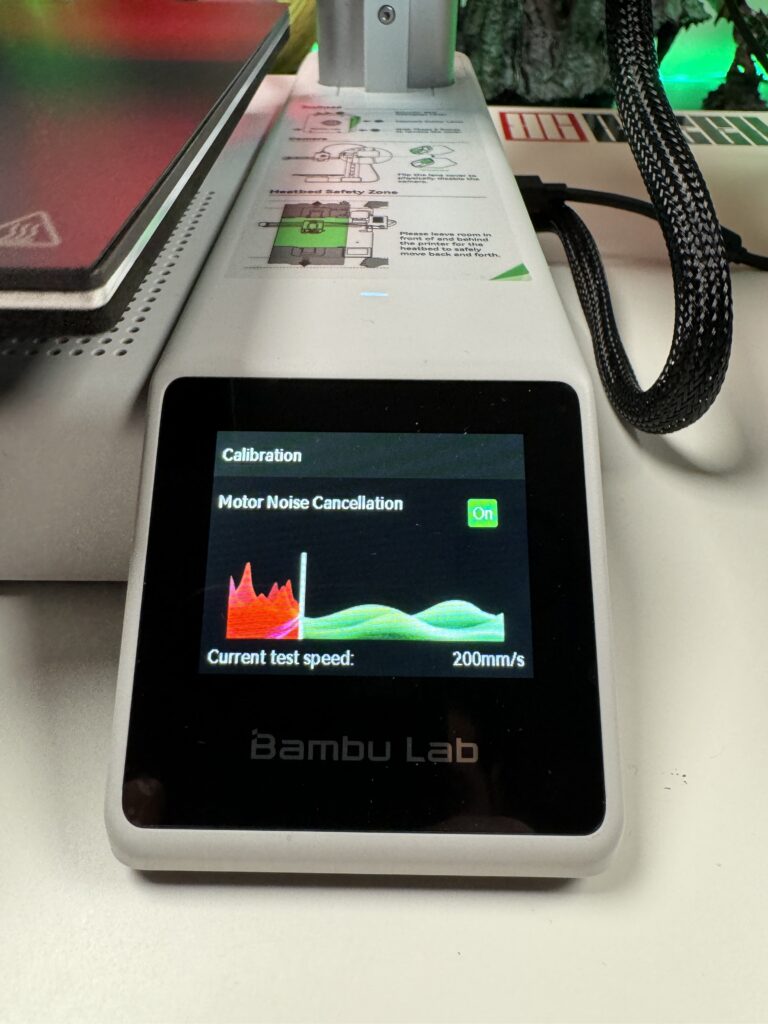
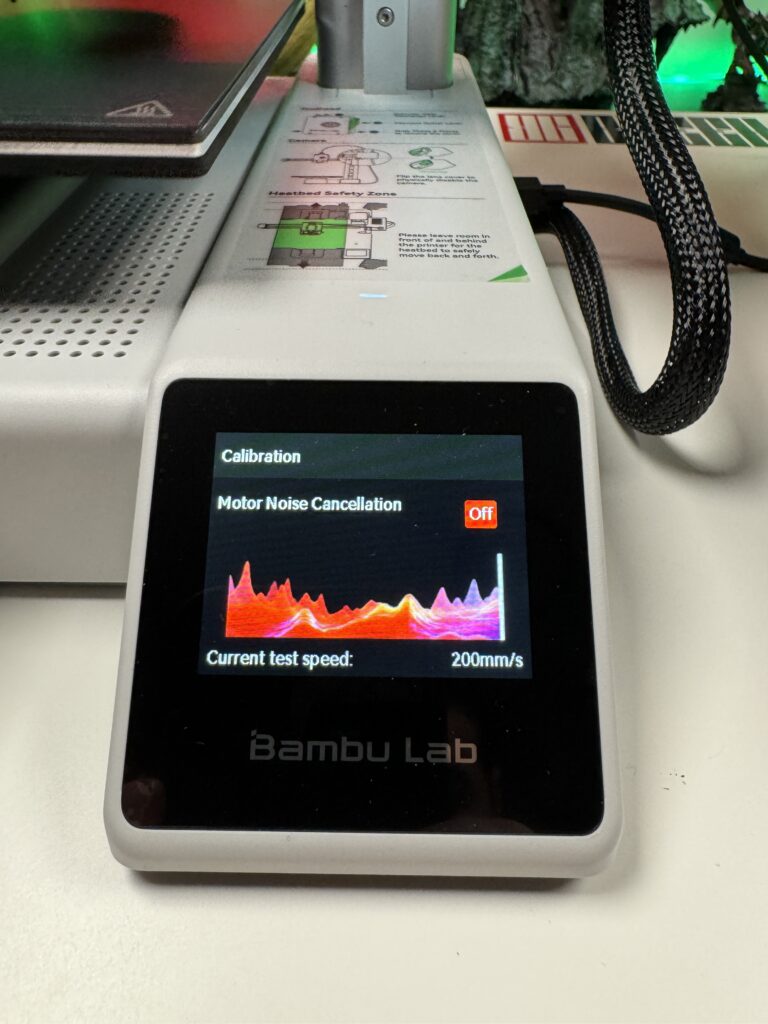
Then the Bambu Lab A1 Mini Combo starts the automatic calibration which takes a total of 2-3 minutes. Don’t forget to leave space in front and behind the print bed because it will move during calibration. Don’t damage it before you even print something.
Something that made an incredible impression on me while I was looking around during the calibration, is that it has a noise-cancelling setting on its motors. The noise cancelling function can reduce the noise level below 48 dB, making the Bambu Lab A1 Mini Combo one of the most silent 3D printers on the market. I didn’t expect it to make that much of a difference but I can actually say that I have it printed at night when I go to sleep and not even hear it in the next room.
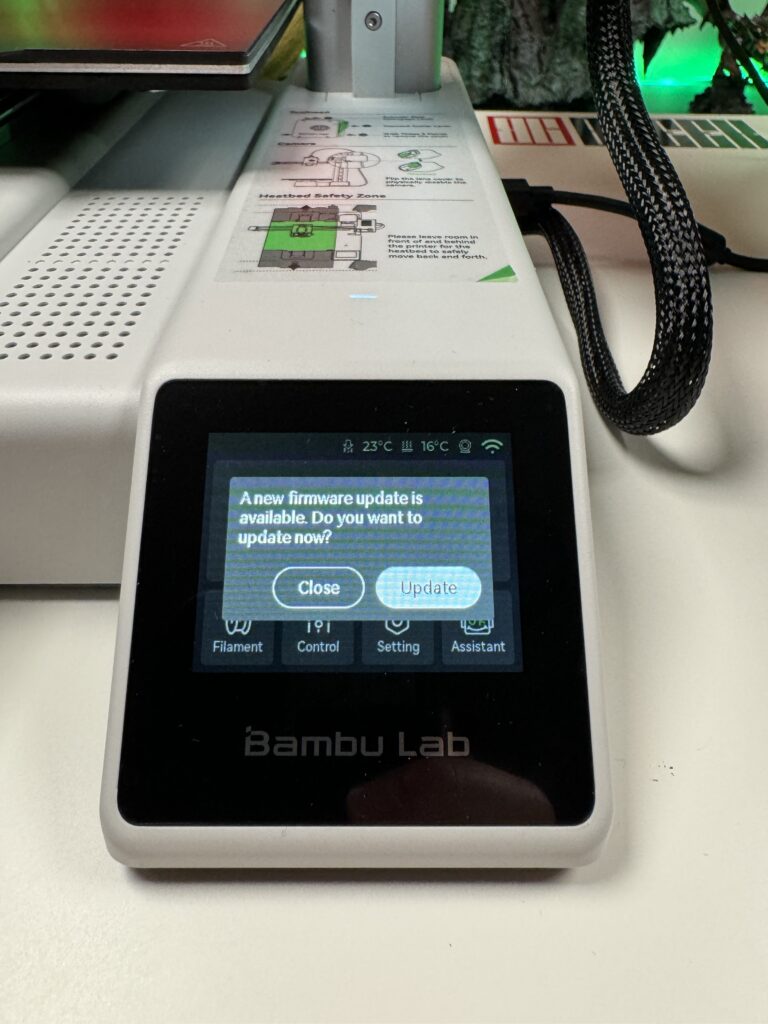
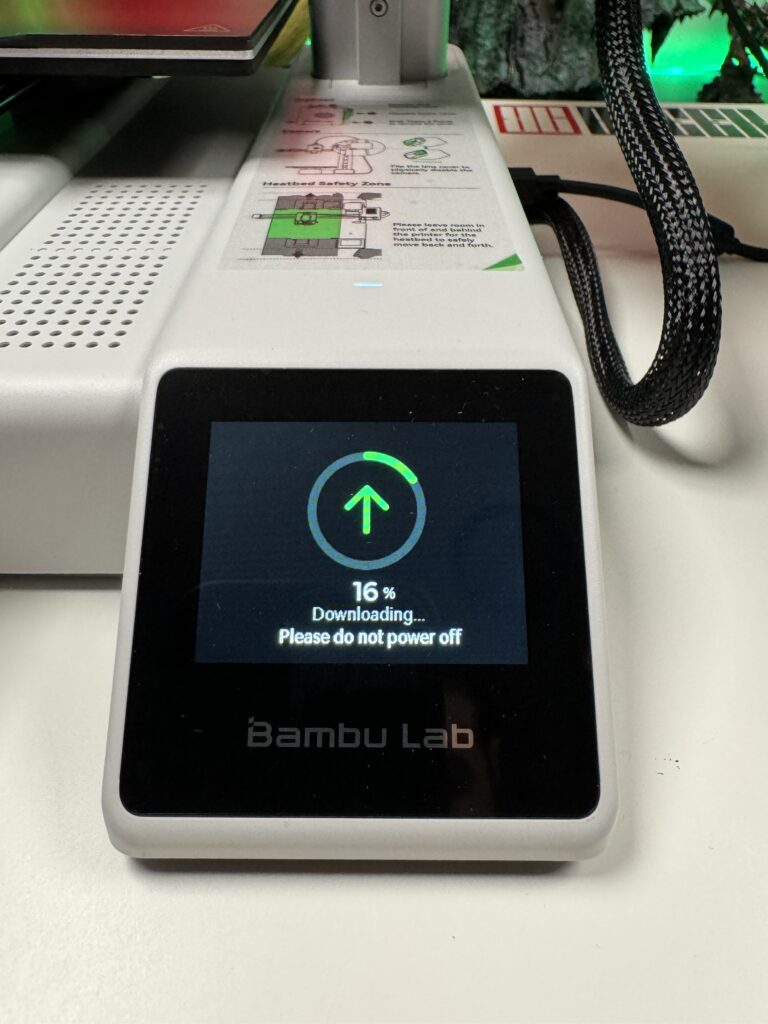
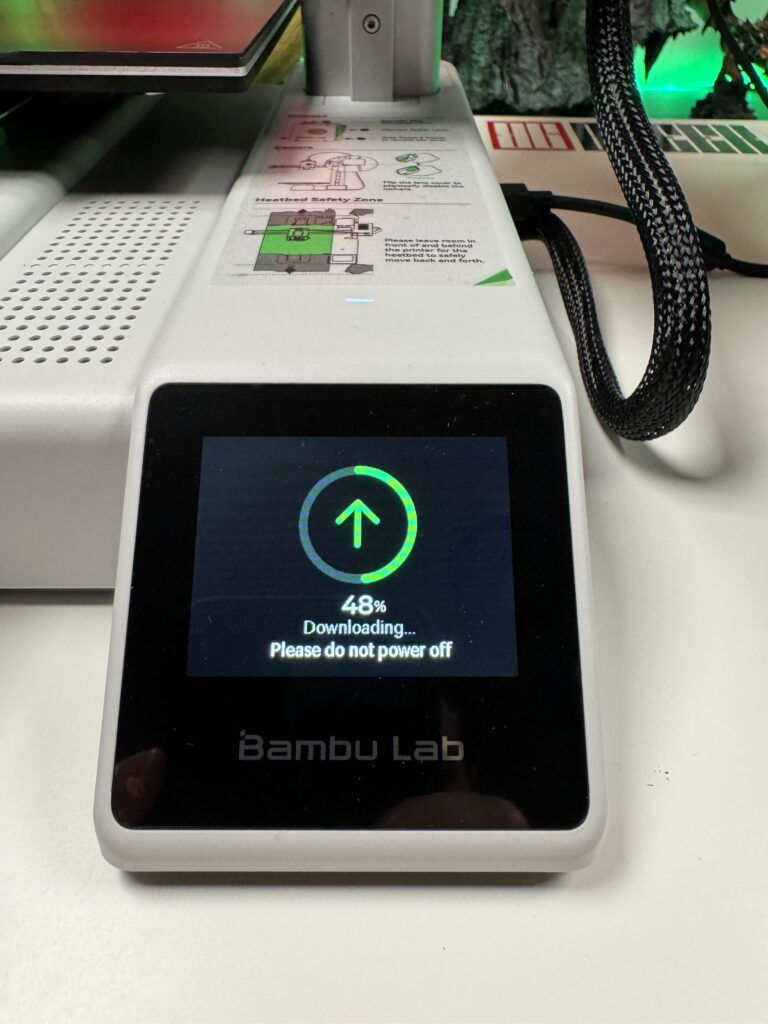
Finally, the Bambu Lab A1 Mini Combo asks us if we want to upgrade to the latest firmware. Of course, the answer is yes to that.
Design and key features
Now that we have assembled our printer, we can talk about its design and the main features that make it so special. In one sentence I would say that its small size and compact construction make it ideal for use in limited spaces, while the technology it incorporates ensures high print quality. Just as Bambu Lab has proved us so far.
The printer
If you look at the Bambu Lab A1 Mini Combo from a distance, it’s so small and so minimalistic that it looks like it is fake. I keep it on a small table next to my desk because I really like how much it looks like a toy and not like the classic ugly and boring printers.
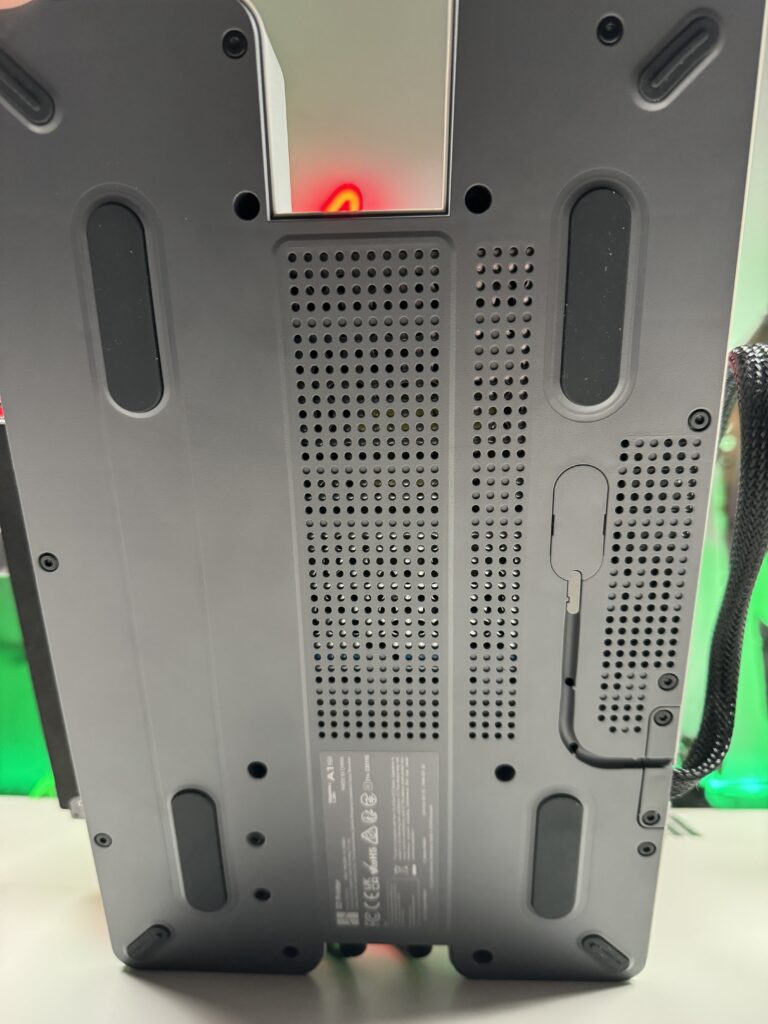
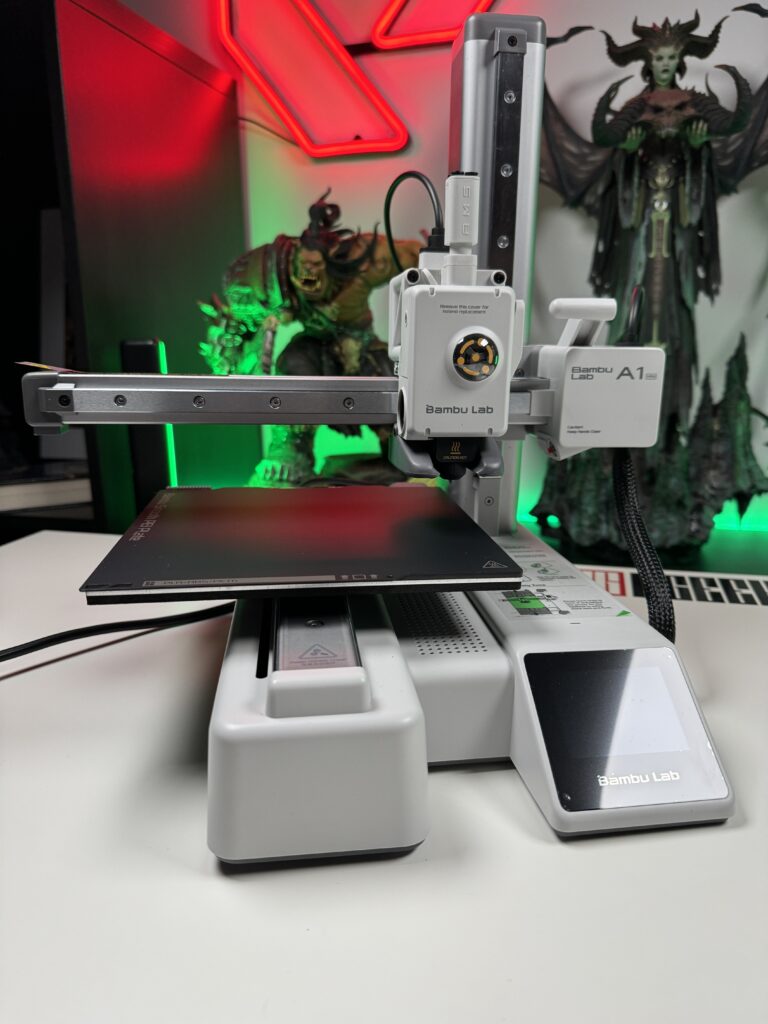
The Bambu Lab A1 Mini Combo has nothing to envy from the bigger and more expensive printers on the market. It comes in off white colour, since it is not exactly white. On the front is the touch screen and on the right side, three ports. One for an SD card and two for connecting to AMS Lite. On the back, we find only the power switch. The bottom part is perforated for better ventilation and with rubber feet so that the printer does not dance when the speed hits red.
The frame, bearings and axis rails are all metal. All their “critical” points are protected to offer as much consistency and longevity as possible, without losing Bambu Lab’s performance.
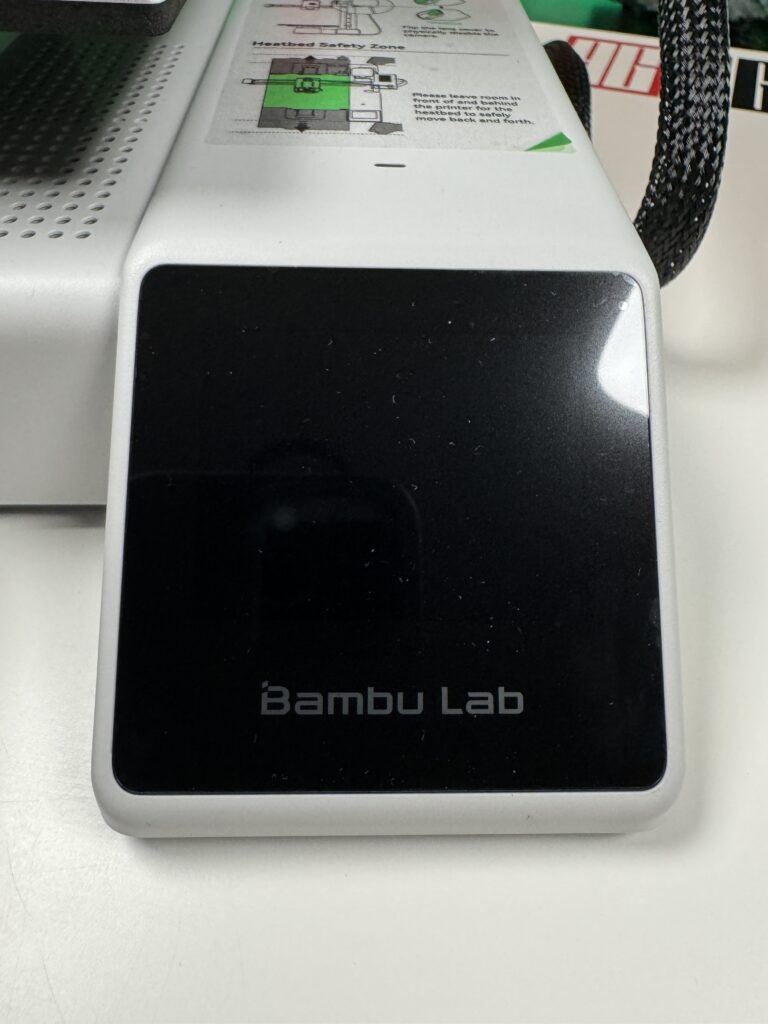
The touch screen
The 2.4″ touch screen of the Bambu Lab A1 Mini Combo is the main element of the operation, offering easy access to all functions of the printer. The UI has been simplified by Bambu Lab so that it can be used successfully even by someone holding a 3D printer in their hands for the first time. It is like using a smartphone.

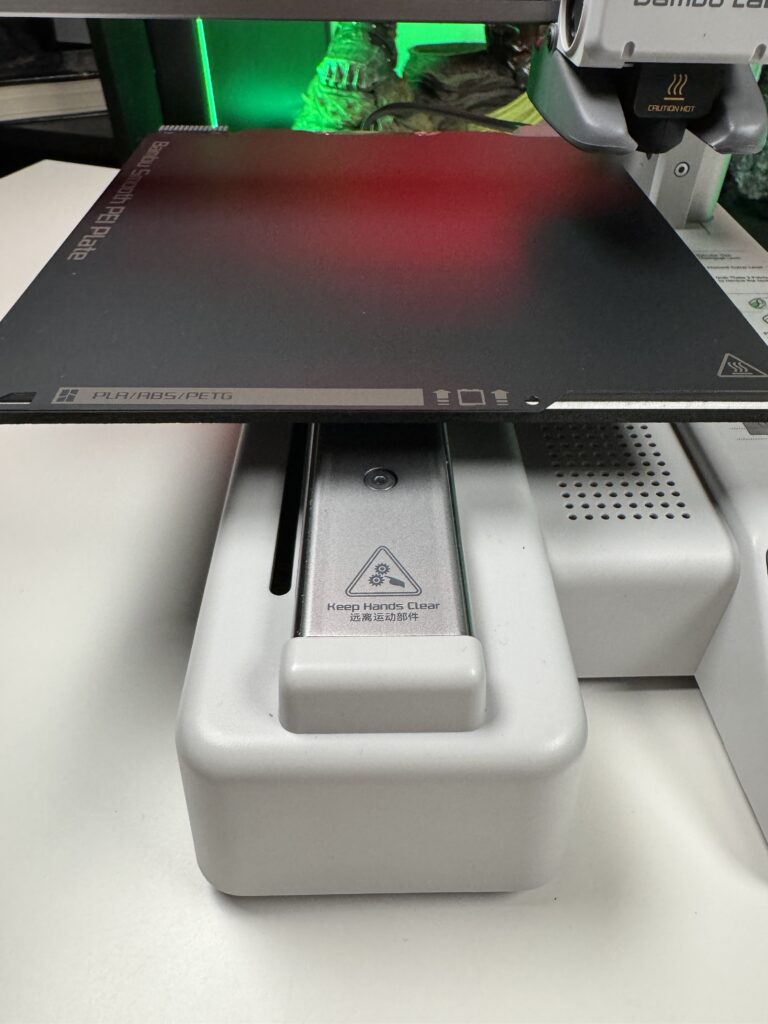
Printing bed
The print bed of the Bambu Lab A1 Mini Combo has dimensions of 180 x 180 x 180 mm. Quite a small print volume, which makes sense since the printer itself is pretty tiny. As you will see below, however, with a little patience, you can print larger models.
Inside the box, we find a magnetic bed with a Textured PEI sheet in gold colour. However, Bambu Lab was kind enough to send me an extra Smooth PEI sheet with a flat surface.
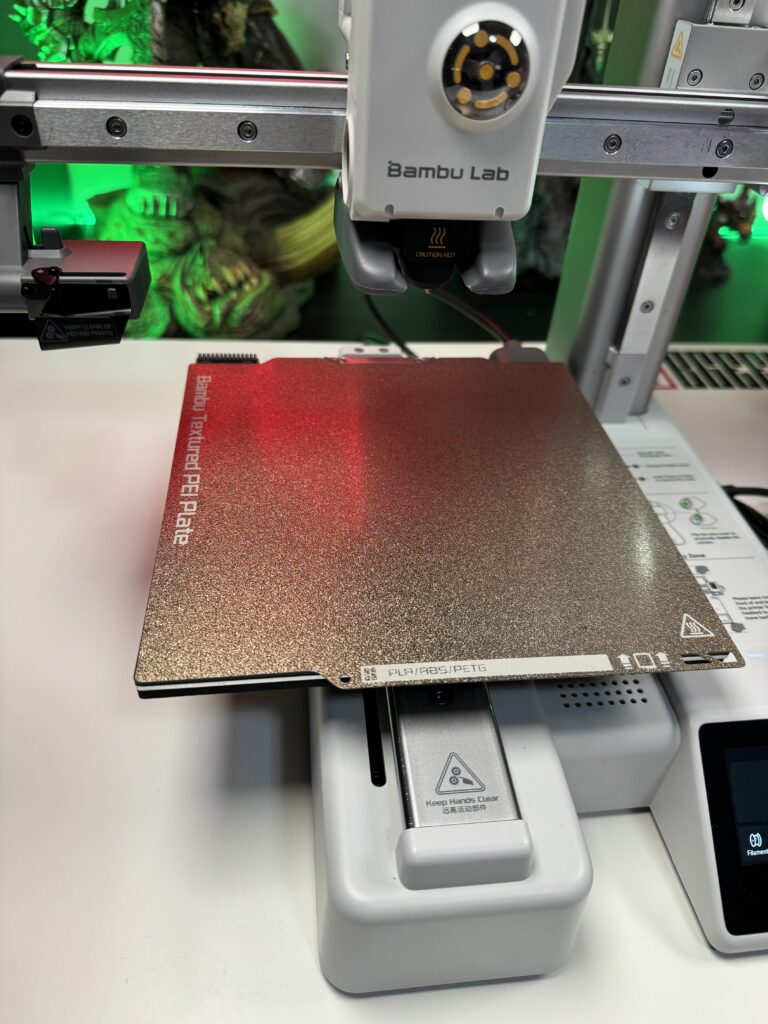
The bed, as we have seen before, does not have height adjustment screws from below, and this is because the Bambu Lab A1 Mini Combo adjusts it completely automatically. It uses the nozzle as a sensor, which measures the distance with great precision. Thus, it manages to adjust the height of the bed quickly and automatically, every time.
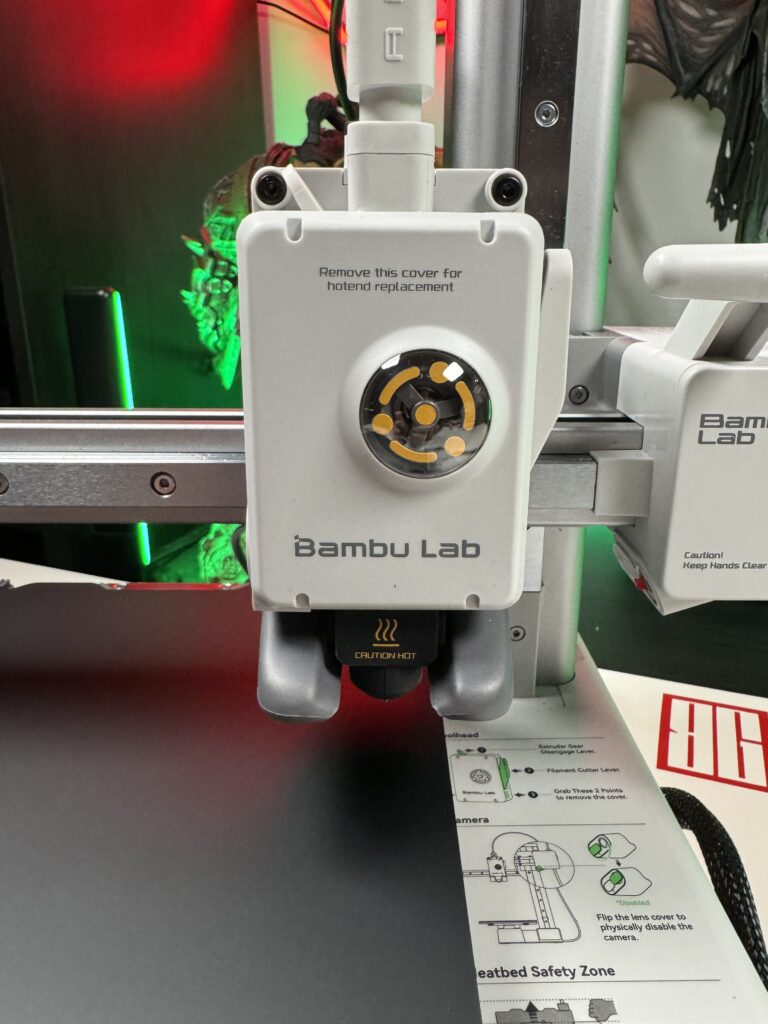
Extruder
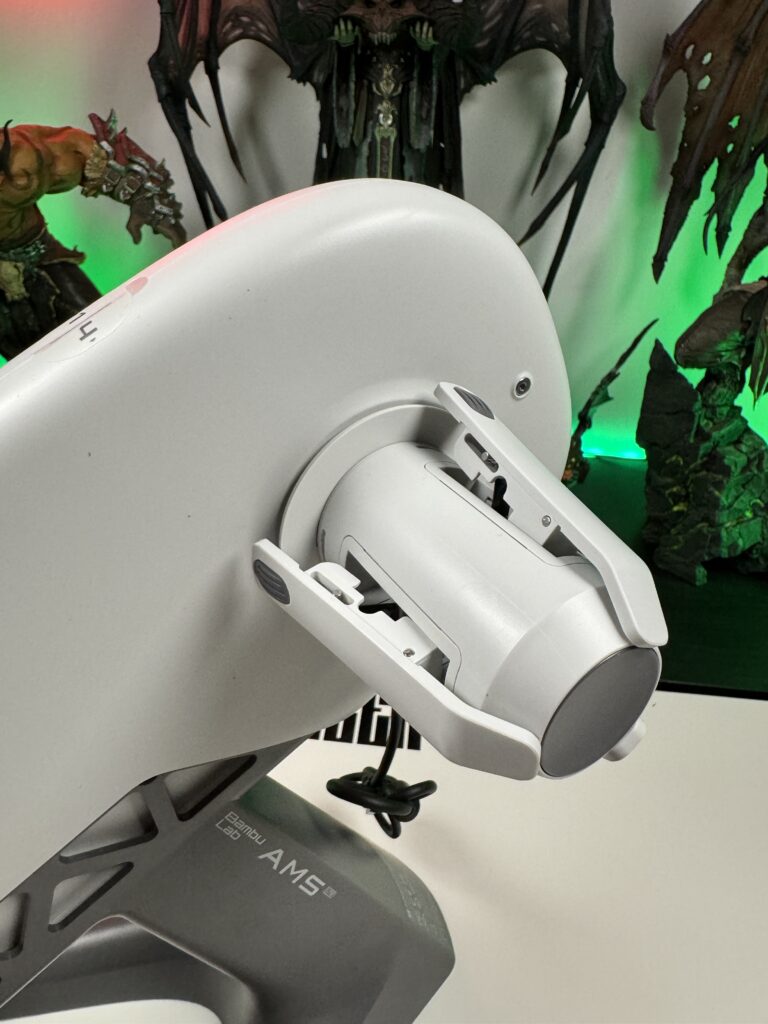
I believe that the extruder on this particular printer is something revolutionary and I’m sure that what they did for the first time on the Bambu Lab A1 Mini Combo, others will follow. They eliminated one of the biggest fears of every user. They made changing the hotend so easy that you don’t even need a screwdriver.
- You press on the right to unclip the front cover
- You remove the silicone protector
- You unclip the clip that holds the hotend
- You pull the hotend out and put in the new one
- Ready!
Do you remember when we had to put a piece of paper under the head and each time we had to adjust the bed so that the distance of the head on the paper was as needed? Well, forget it because the Bambu Lab A1 Mini Combo detects the bed automatically and adjusts to have the perfect Z-axis offset.
The Bambu Lab A1 Mini Combo not only adjusts the Z-axis automatically. There are sensors on the head as well as the bed, making it one of the first printers to perform automatic calibration on both the X and Y axes.
The innovations of the Bambu Lab A1 Mini Combo do not stop there, as it is the first to have a filament flow control algorithm. It doesn’t even need to draw a pattern for control. It automatically controls it by itself and at the same time adjusts the pressure to achieve the proper flow.
Fun facts. I really like the design of the extruder because it reminds me of Sasuke’s Sharingan from the Naruto anime.

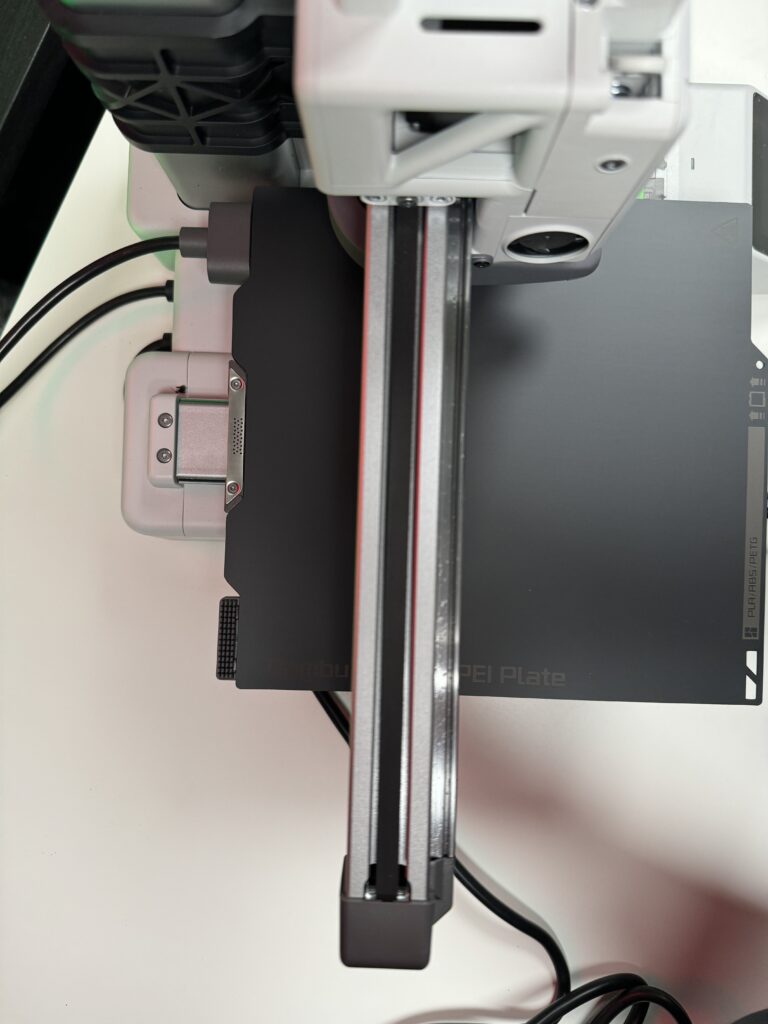
The axis rails
The axis rails are the most important factor affecting longevity and accuracy in 3D printers. They are the ones that determine the stability during printing while they must be resistant to wear and tear caused by high-speed movements. Don’t forget that the Bambu Lab A1 Mini Combo has a top print speed of 500mm/s, but ‘only’ half the maximum acceleration at 10,000mm/s². The Bambu Lab A1 Mini Combo uses all-metal, high-quality axes in the X, Z and Y axes.
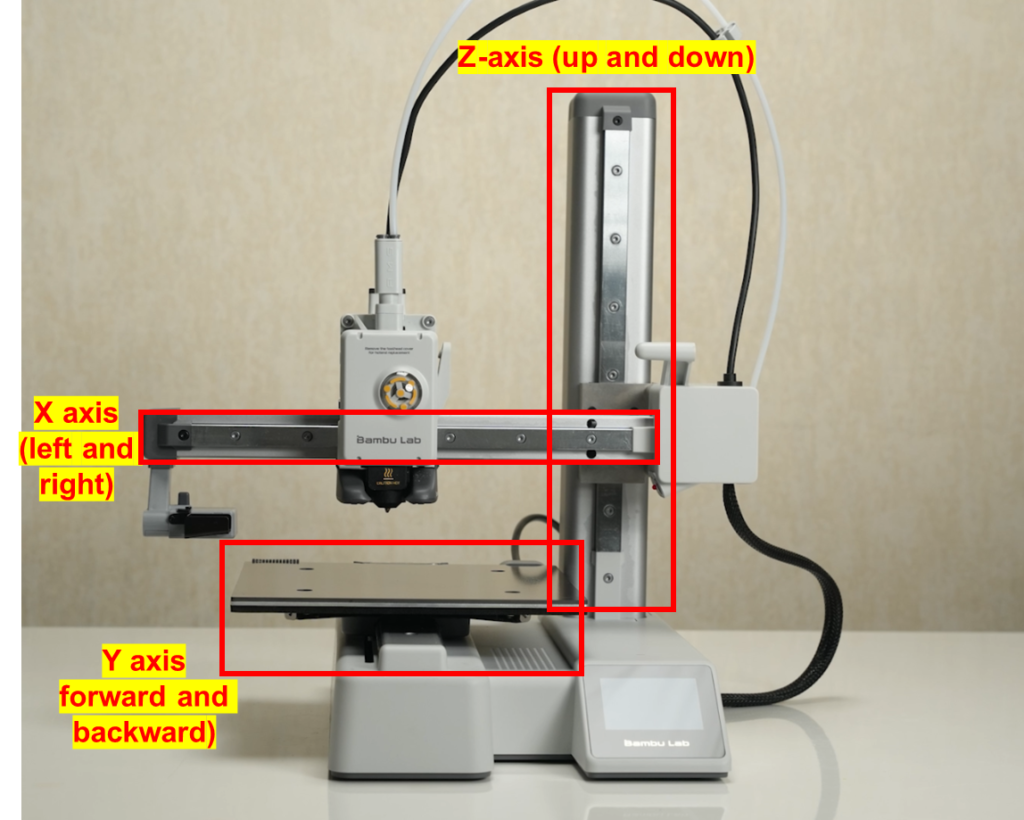
Explanation of each axis movement
In this way, they ensure that the Bambu Lab A1 Mini Combo does not require frequent adjustments by users. All it needs is proper maintenance, with the lubrication of the rails, and they can guarantee the accuracy and longevity of the printer.
Finally, the Bambu Lab A1 Mini Combo can automatically check the tension of the belt through the calibration it achieves with the vibrations it creates. If the belt is loose, the HMS system will notify you to use the automatic belt tensioner to adjust the belt to the correct tension.
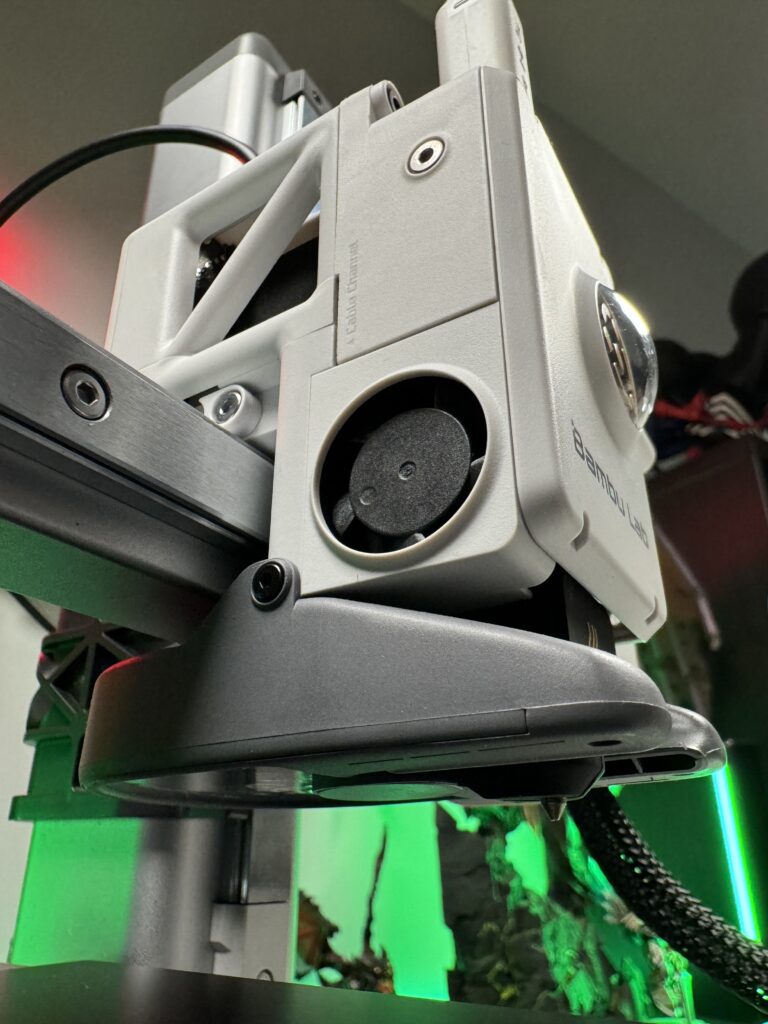
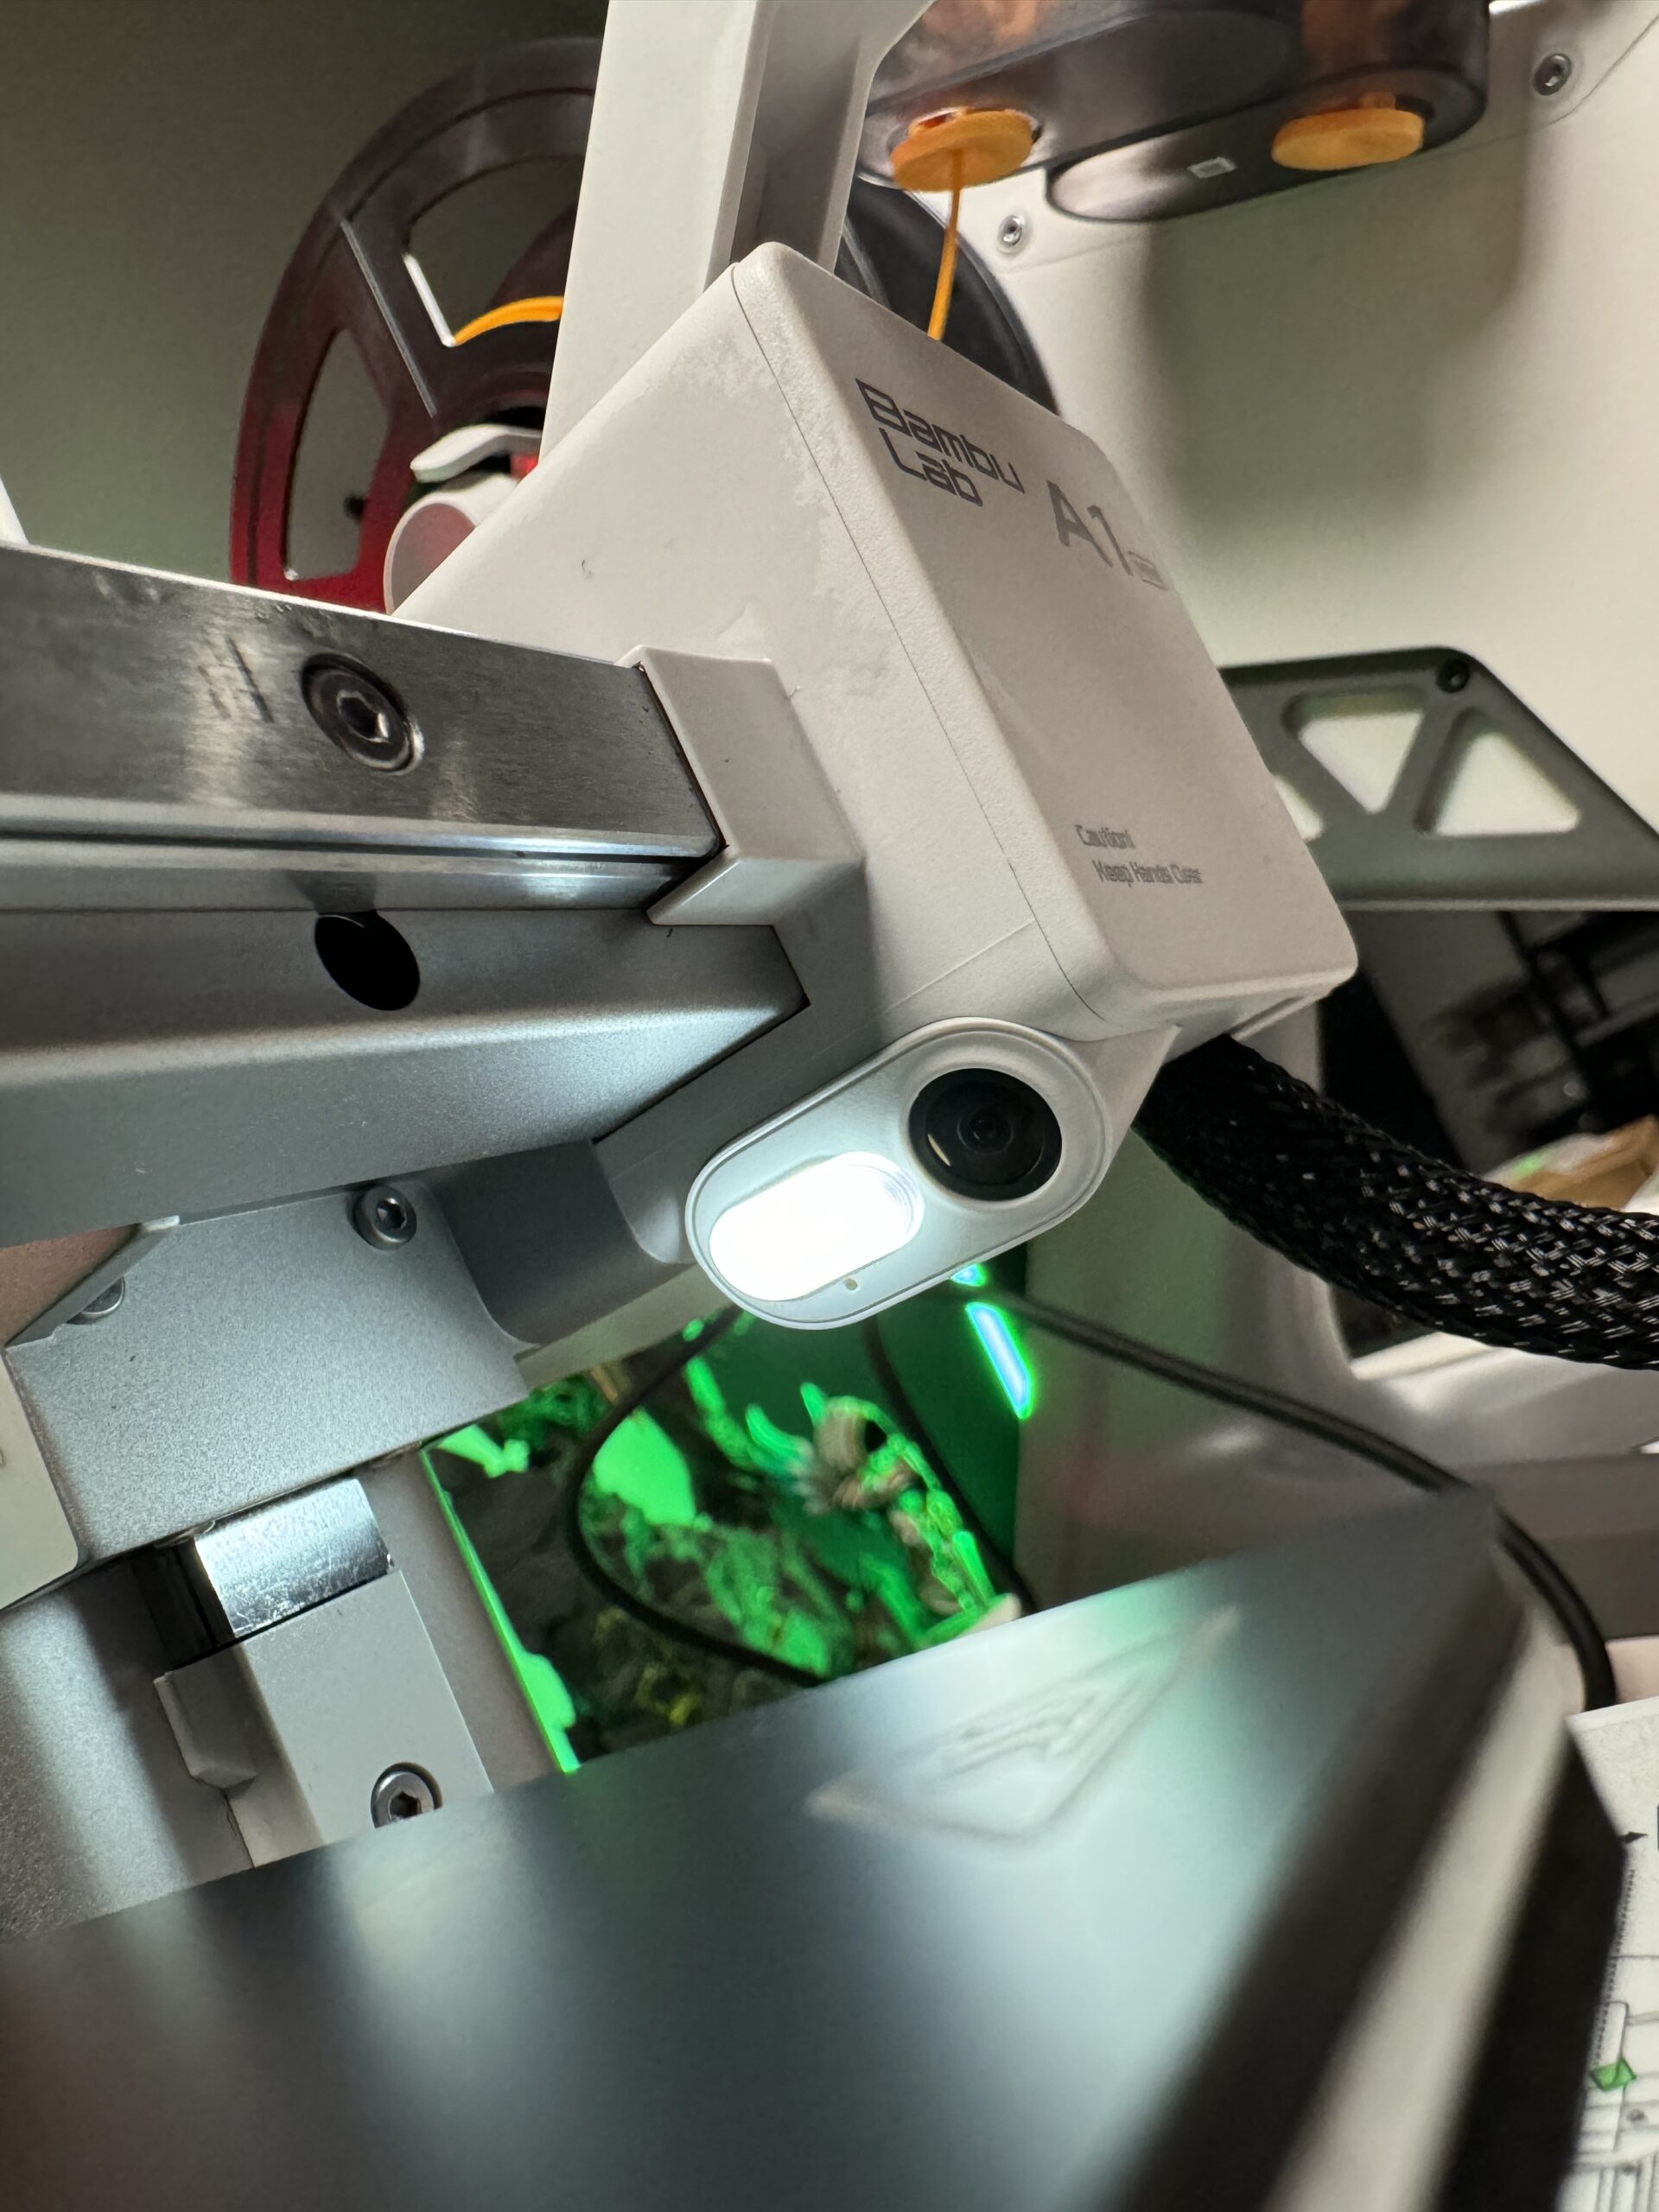
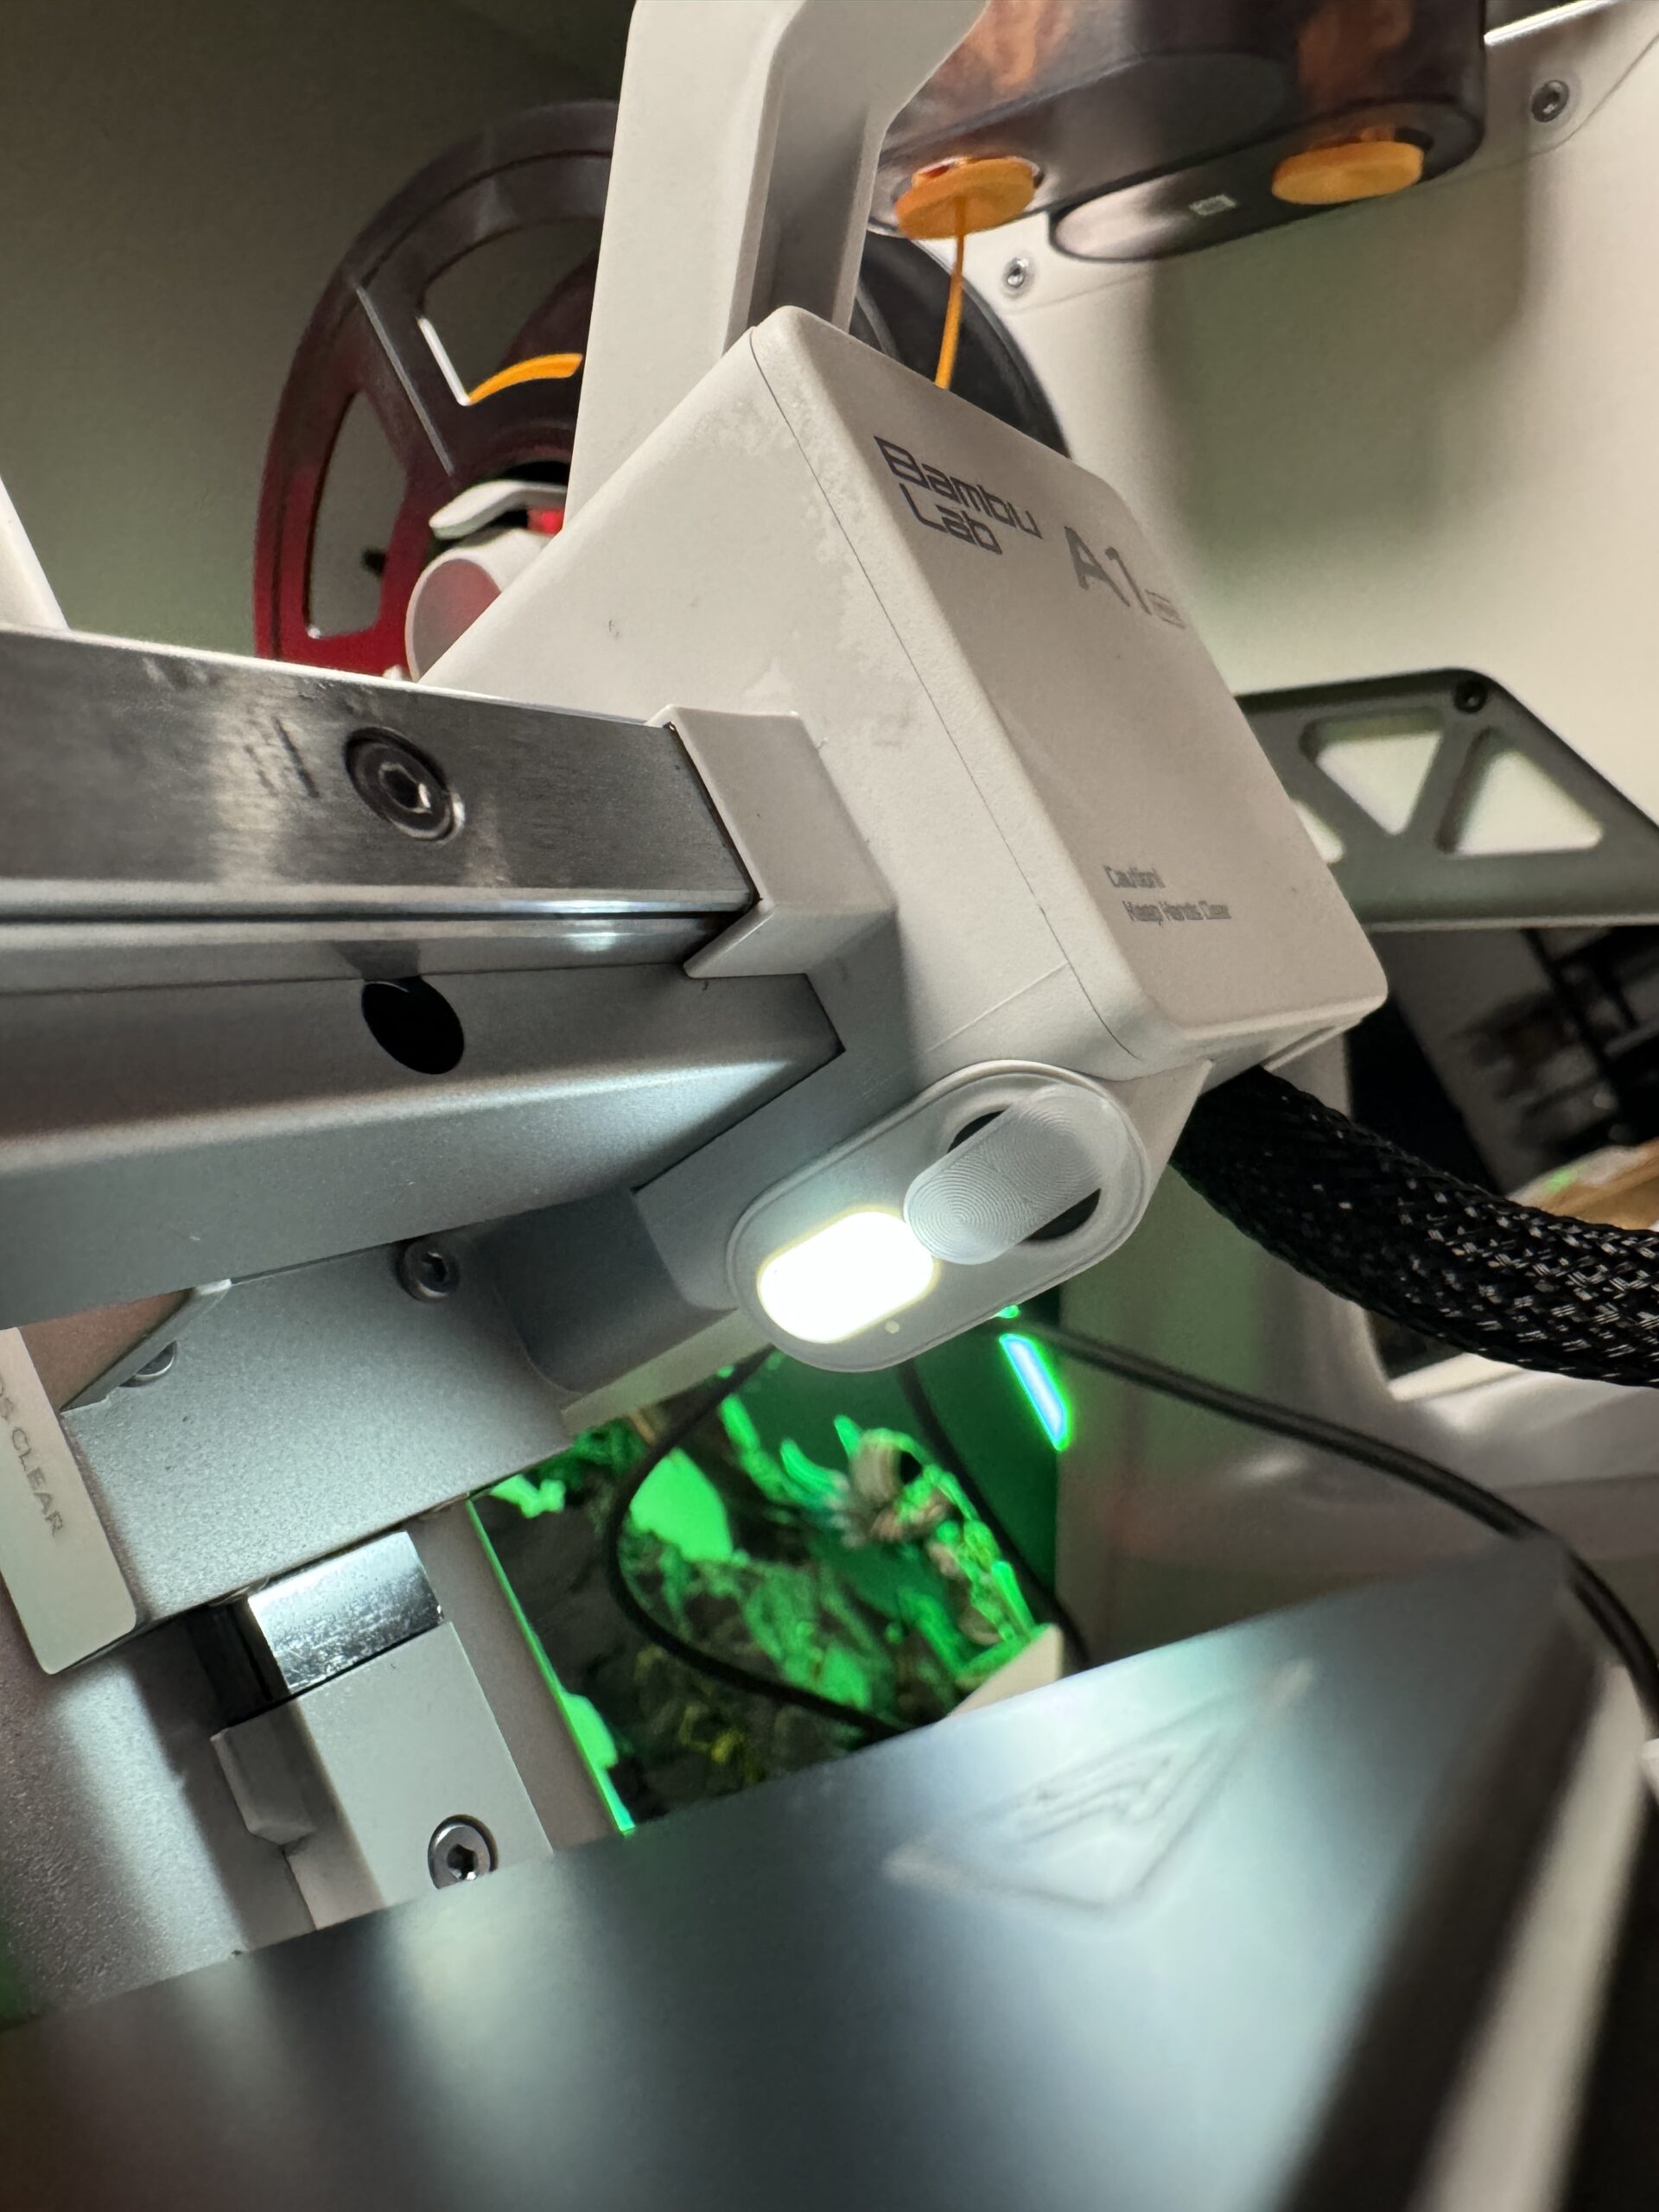
The camera
The Bambu Lab A1 Mini Combo camera can go up to 1080p resolution and supports timelapse. Its use is to monitor printing remotely through the Bambu Handy application and of course to record timelapse videos of your prints.
Unfortunately, unlike the X1C, there is no AI technology to detect errors while printing and send notifications or even pause printing. So, we have to take a look at the camera every now and then to be sure of any failures.
Since I mentioned Bambu Handy, I, as well as many other iOS users experience camera lag or even complete camera inactivity when using the app. I’m sure Bambu Lab will fix this in future updates, but it’s worth mentioning.
A small surprise
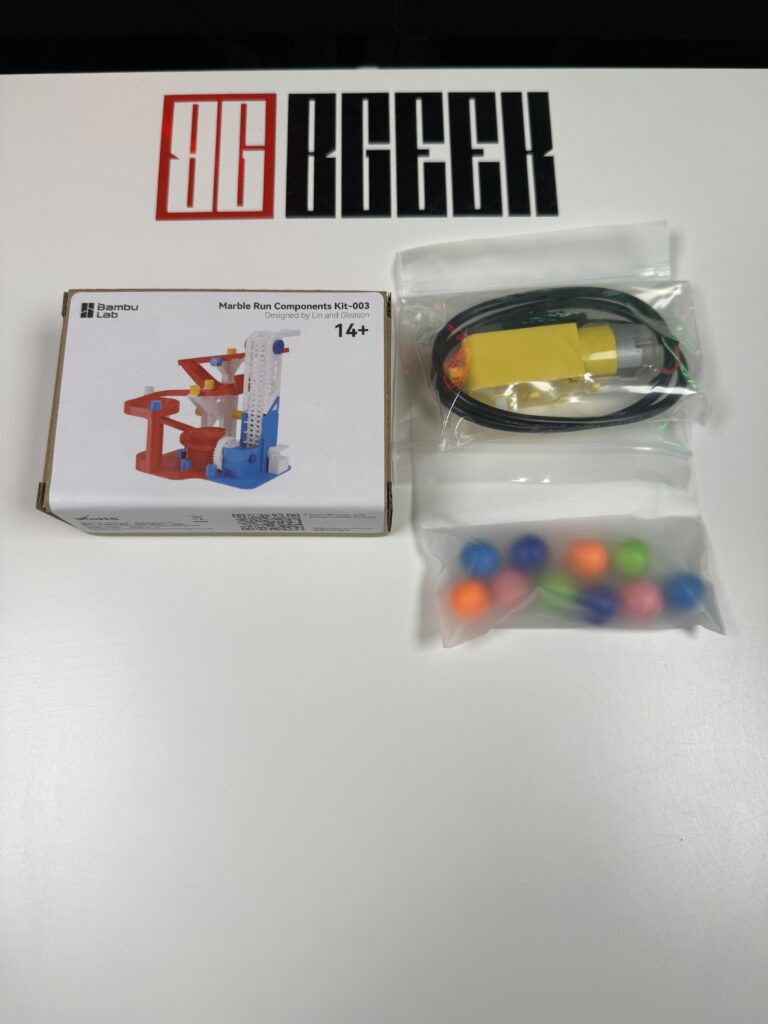
Those who buy the Combo version of the Bambu Lab A1 Mini Combo, i.e. the one with AMS lite, will find a random limited edition box in their box. There are four designs you can have.
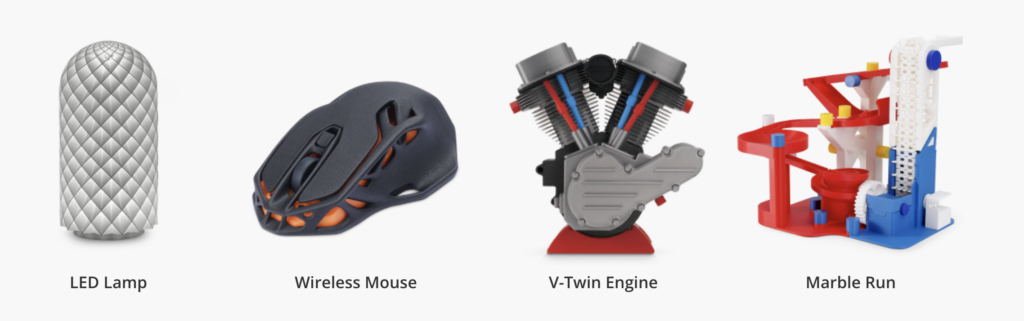
Only the mechanical parts are inside the box. The rest, of course, you will have to print on your new Bambu Lab A1 Mini Combo. This is a move by Bambu Lab to promote their new platform/file library, MakerWorld, which we will talk about in a bit.
We got Marble Run which is like the car tracks we had as kids, only this one is with marbles.
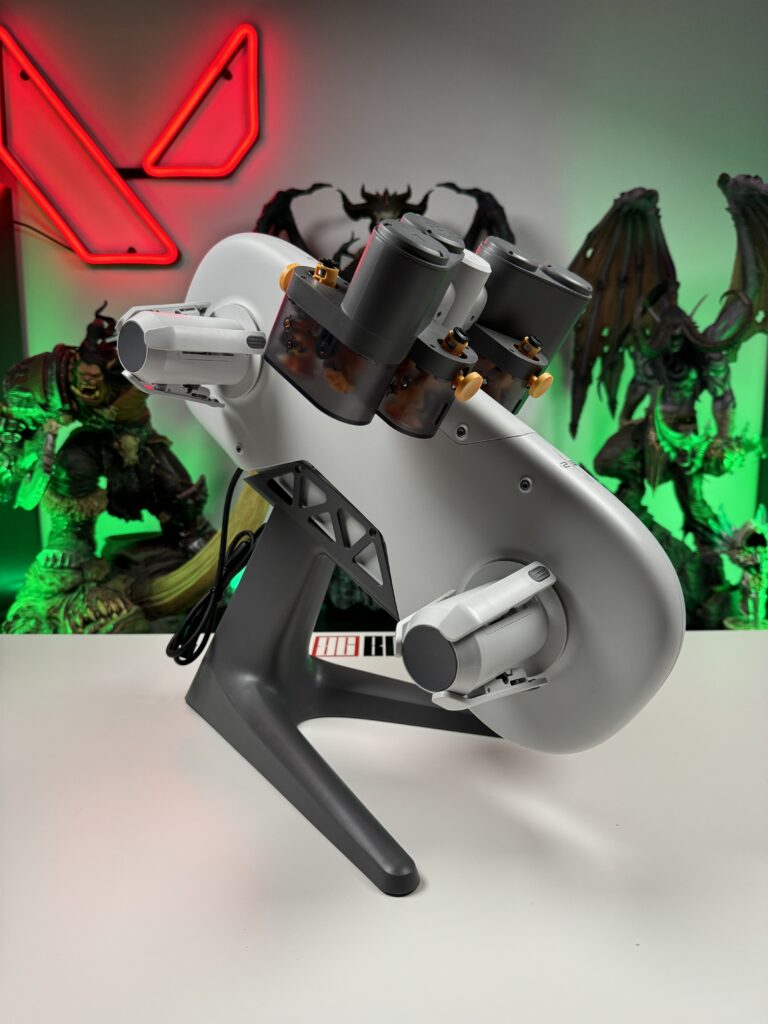
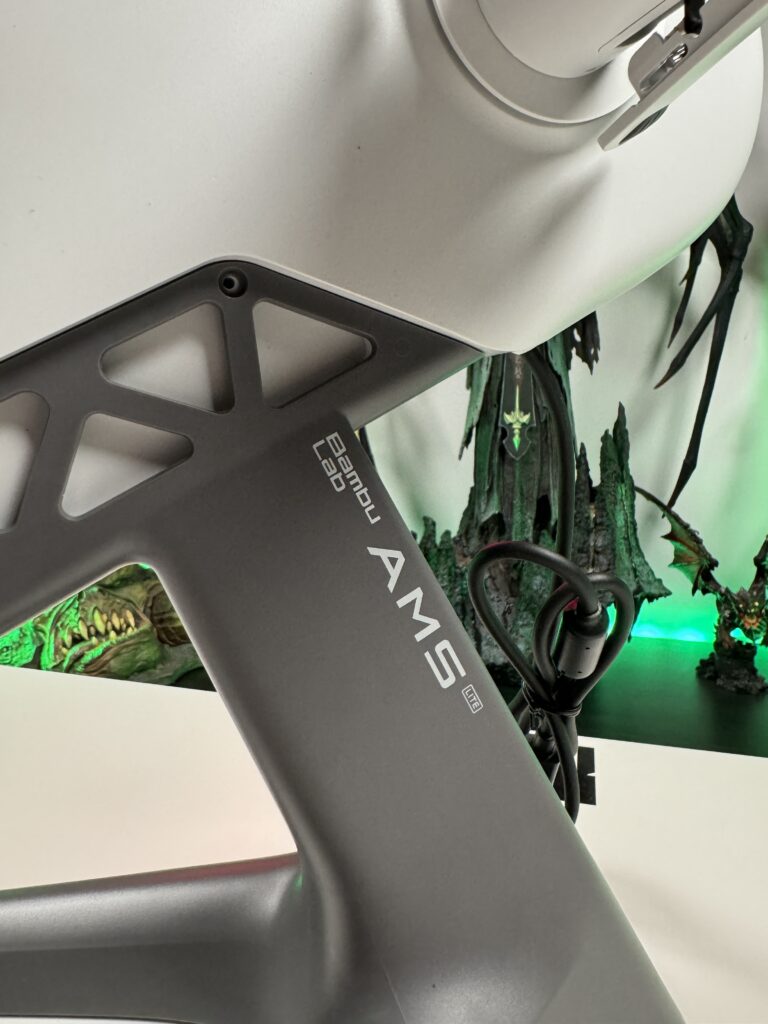
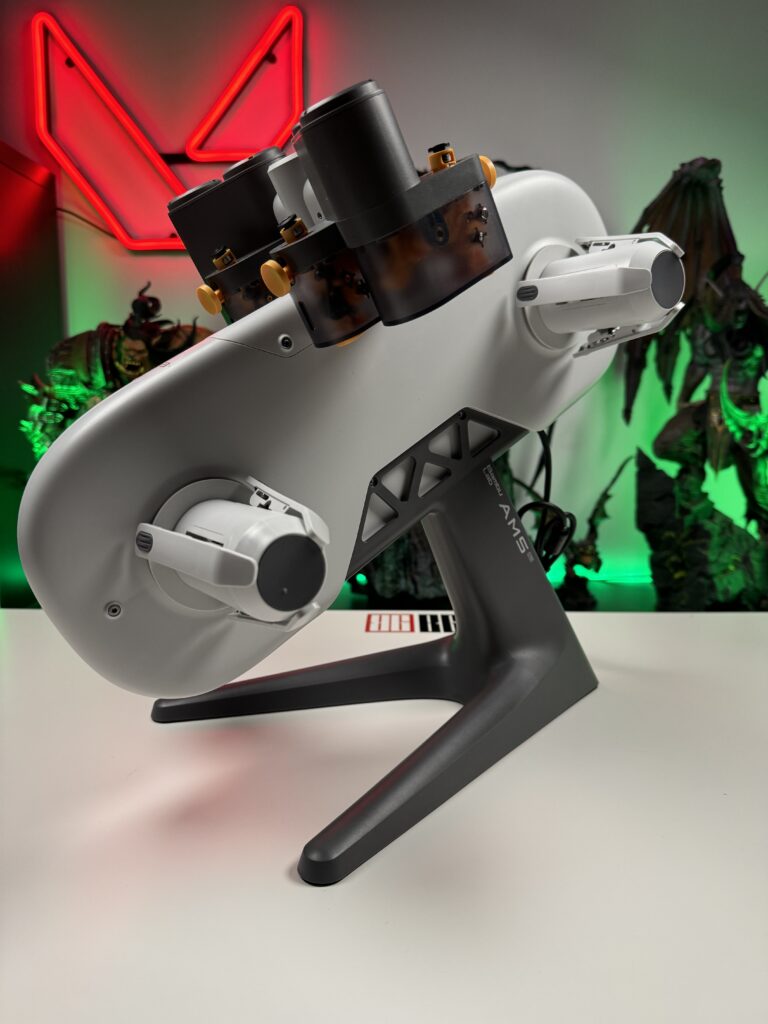
Bambu Lab AMS Lite
First let’s say that the AMS (Automatic Material System), is what automatically changes the filaments and allows you to print models using up to 4 different colours.
As you’ll notice in the photos, it’s clear why this version of AMS is called Lite. It is much more minimalistic and “simple” compared to the previous AMS. A lot of people say they don’t like its design but it really is very beautiful and does its job as it should. Perhaps my only problem is that it always has to be next to the printer. In this way, it “cancels” the small size of the printer since together they take up a lot of space on the desk. If there was some way to mount it onto the printer, that might be better. I’m sure some users will design some model that will do just that.

As in the previous version, in this one as well, AMS lite has an RFID reader that reads Bambu Lab filaments and sends their data (colour and type of filament) automatically to the printer and to Bambu Studio. To load the filament into the AMS, we press the yellow button and push the filament into the holes on the bottom of the AMS since the tubes that connect it to the Bambu Lab A1 Mini Combo are connected on the top. AMS lite will automatically pull the filament and read its RFID. So simple.
Two small but important notes. Initially, AMS lite was only compatible with the Bambu Lab A1 Mini Combo and did not work with any other Bambu Lab printer. Conversely, the Bambu Lab A1 Mini Combo only works with AMS lite and not the previous AMS. Also, in case you’re thinking of printing using TPU filament, be aware that AMS doesn’t support it, so you’ll have to put it directly to the printer using the stand on the back.
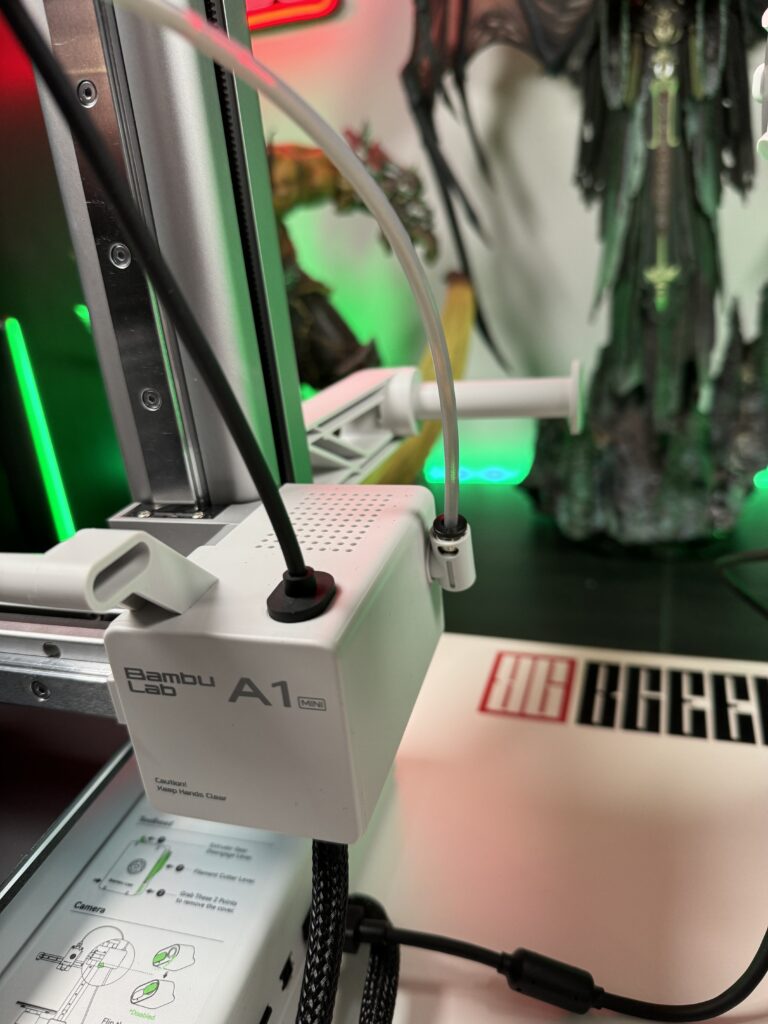
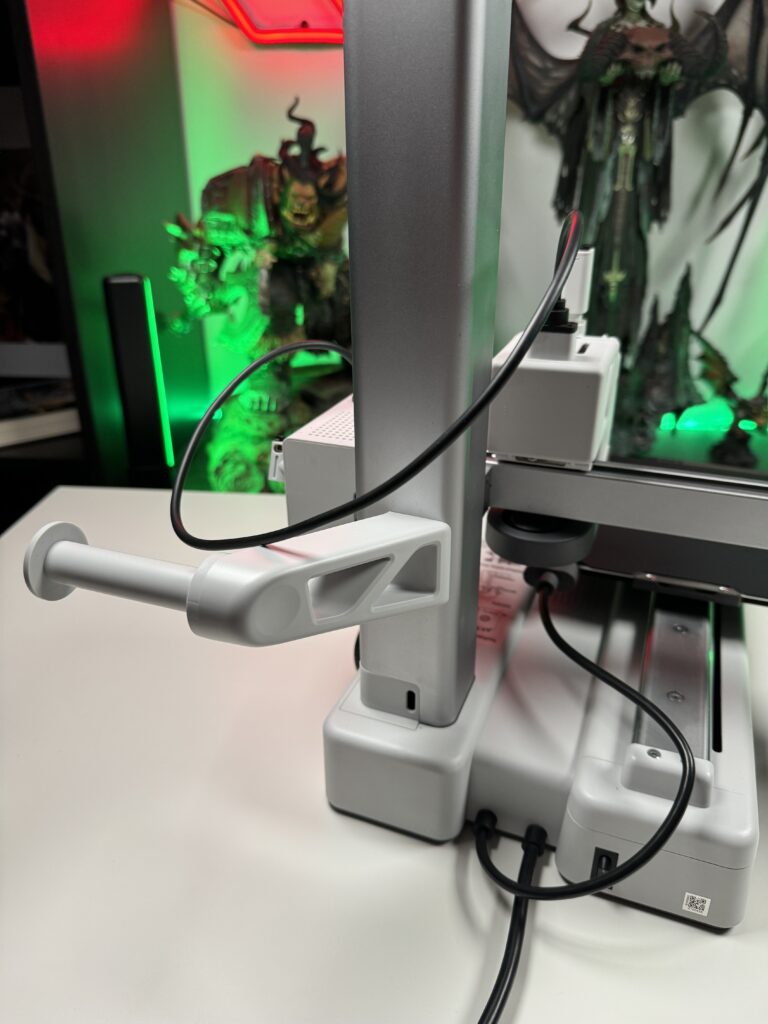
We place the fifth and shortest tube directly on the printer and then choose an inlet at the top of the head.
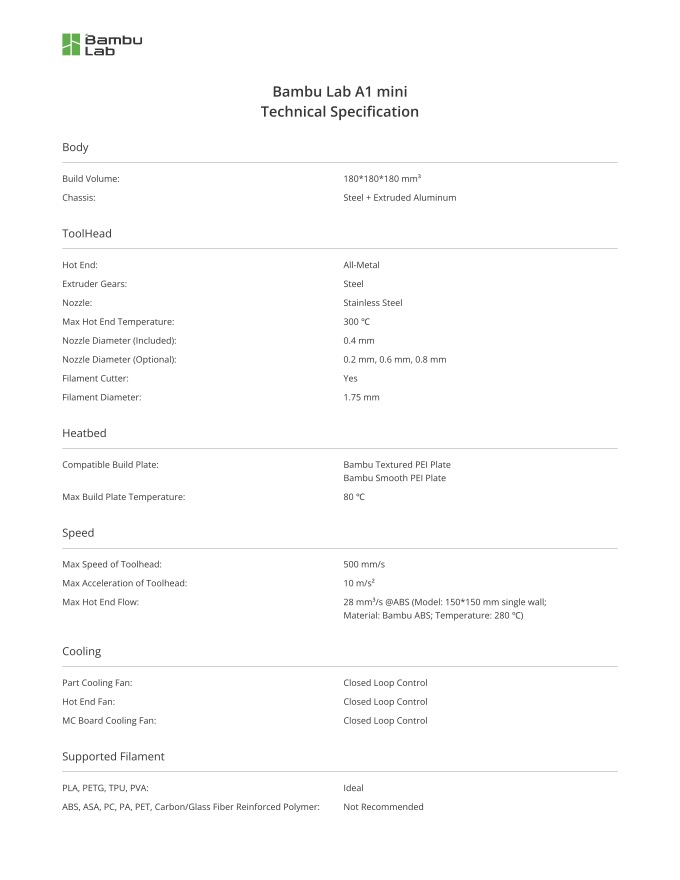
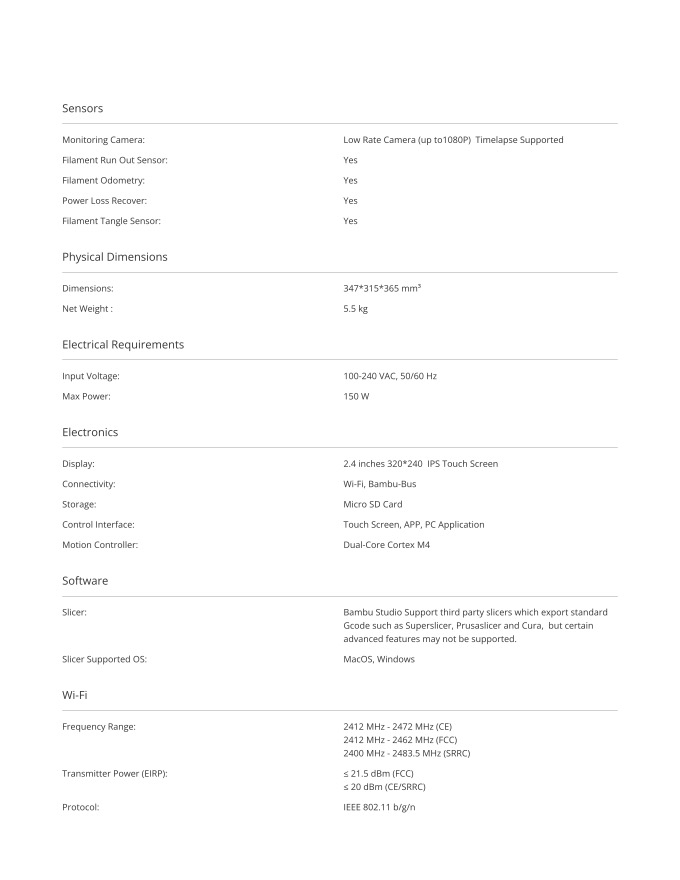
Table of specs
The specs of this particular printer are many and therefore I will import them as pictures to be easier to read compared to a wall of text table.
Let’s print together
And finally, the time we’ve been waiting for has come. We’re finally going to print something. The only downside is that it shouldn’t exceed 20 grams, since that was the sample filament that came with the printer. Just kidding! In fact, the following happened.
-Hey Nick. Would you please send us some rolls of filament to try too?
-Yes, don’t worry. I have already requested that they send you “some”.
Here’s what awaited me when I opened the second box of the Bambu Lab A1 Mini Combo:
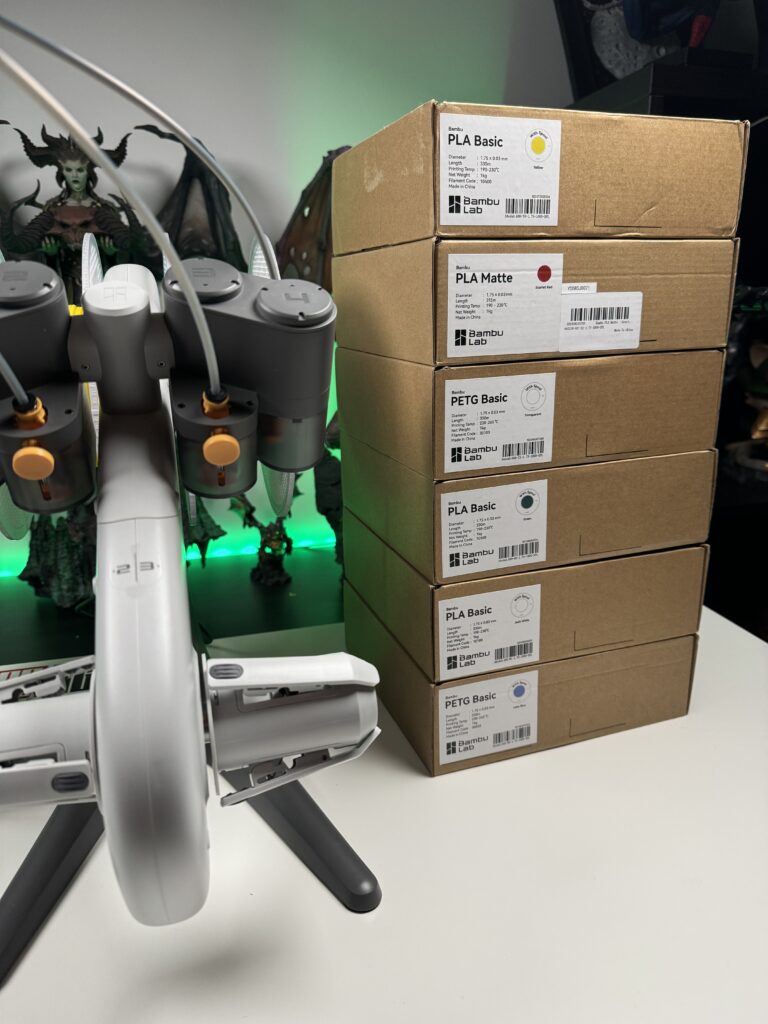
The few rolls that Bambu Lab sent us to try.
Bambu Studio and Bambu Handy app
I won’t re-analyze how Bambu Studio and Handy App work since I did that in my previous article about Bambu Lab. You can take a look at this article and you will find it in the category Bambu Studio and Bambu Handy app.
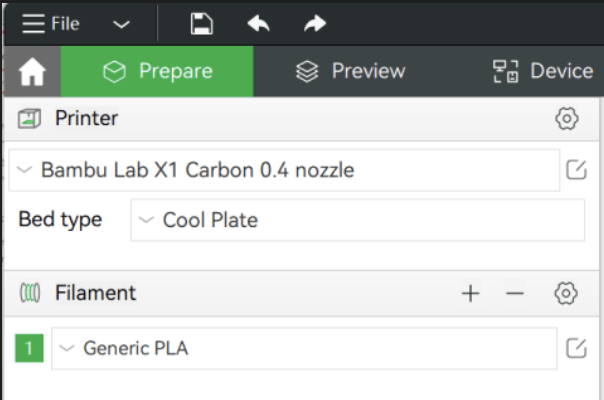
The only thing you have to pay attention to is that you have selected the correct printer at the top left of the software.
Contrary to me I have chosen the X1C
The same applies to the App.

The revolution called MakerWorld
MakerWorld is truly a revolution in the 3D printing community. It is an online platform where every creator of a 3D model can upload their files and make them available for free to other users.
At the same time, Bambu Lab runs competitions in MakerWorld and based on downloads or feedback from other users, the winning creators receive some points which they can redeem in the Bambu Lab online store and get some serious discounts. In this way, Bambu Lab shows how much they care about the community that has been built around their printers. It brings users closer, provides to the creators and gives away models to users. Honestly, the best thing I’ve seen lately. Bambu Lab, whoever thought of this, give them a raise.
I left the best part for last. Because most creators are using Bambu Lab printers themselves, they upload the files ready to print, offering the best print profile for each Bambu Lab printer. This means they try the best settings first and provide the file with these settings. Of course, if a user has found some other settings that work better, they can upload them as a new profile. Users who will download these profiles can rate which profile was best so the next person has a clearer picture of what to download.
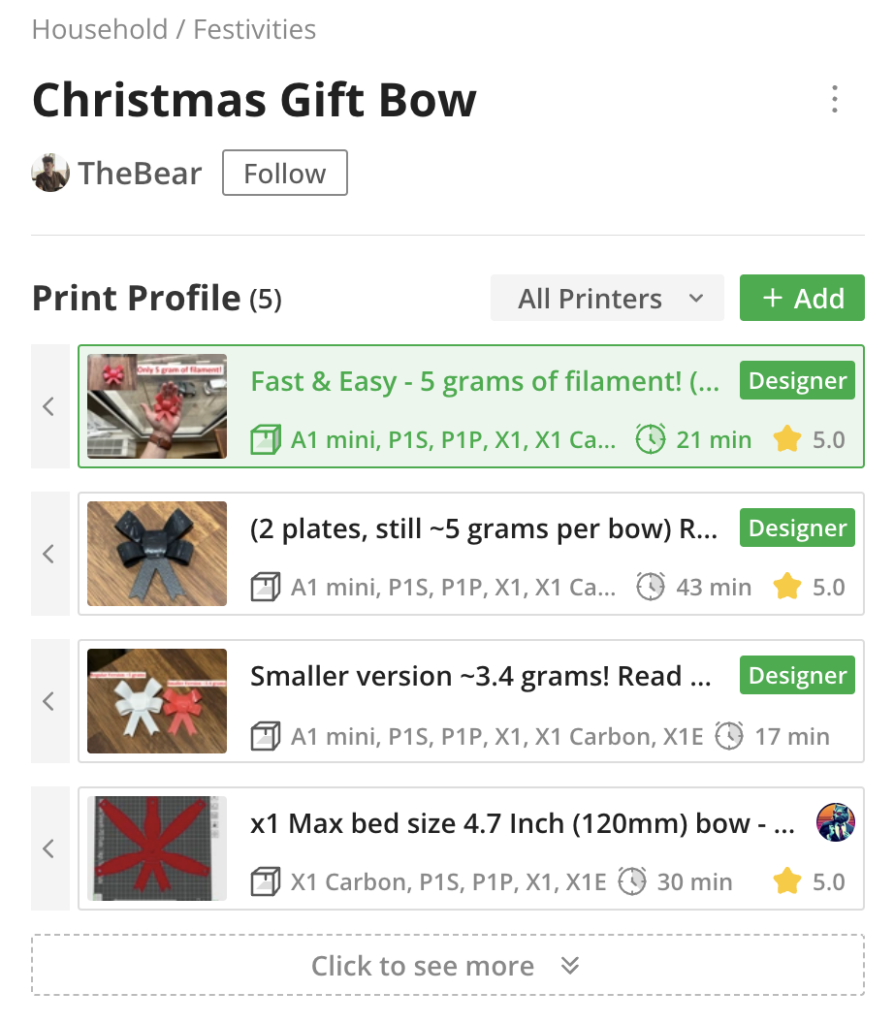
This particular file, for example, has the first 3 profiles that are the designer’s but there is also a fourth, from another user. At the bottom right is the star rating from other users.
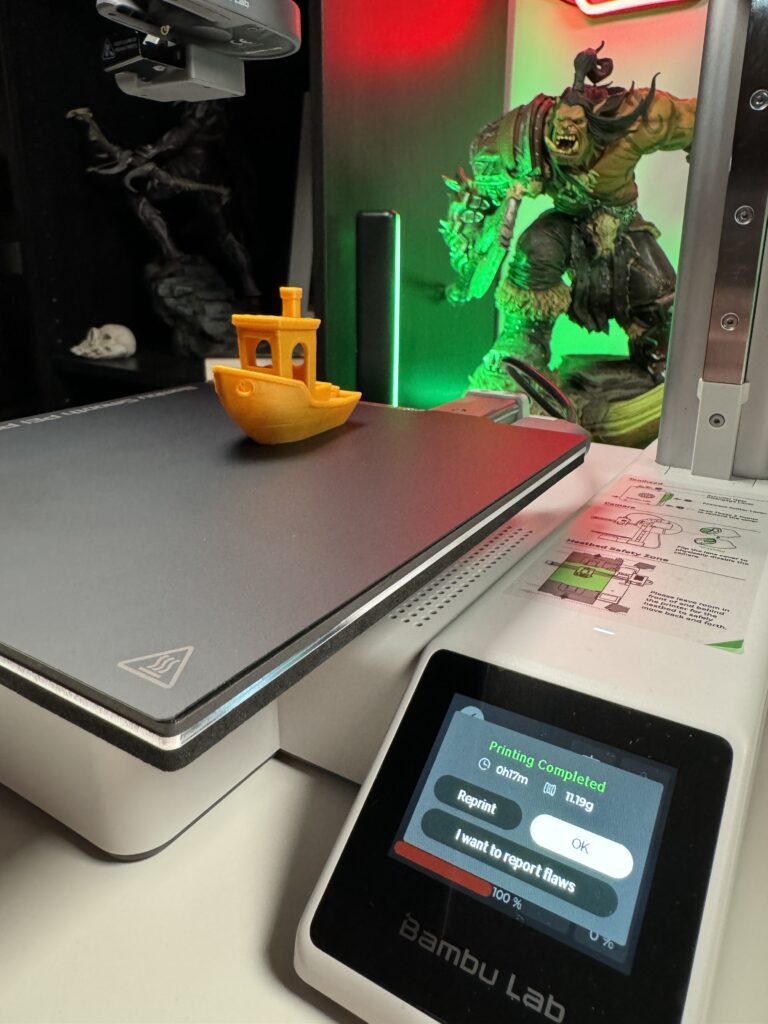
Some of my prints on the Bambu Lab A1 Mini Combo
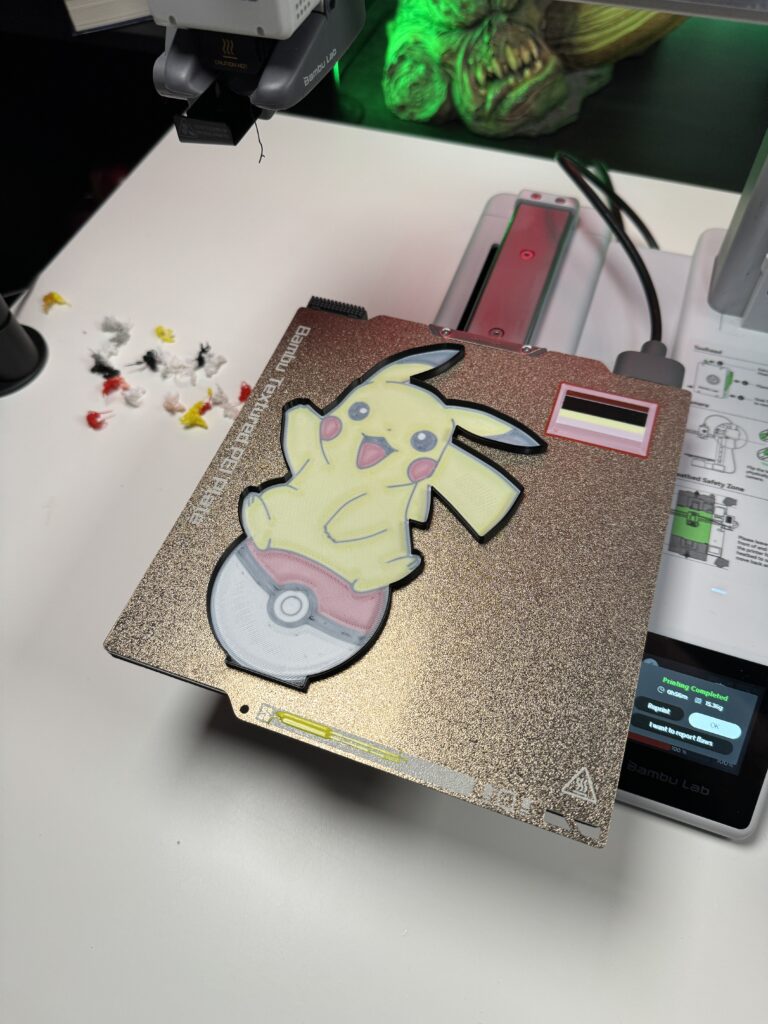
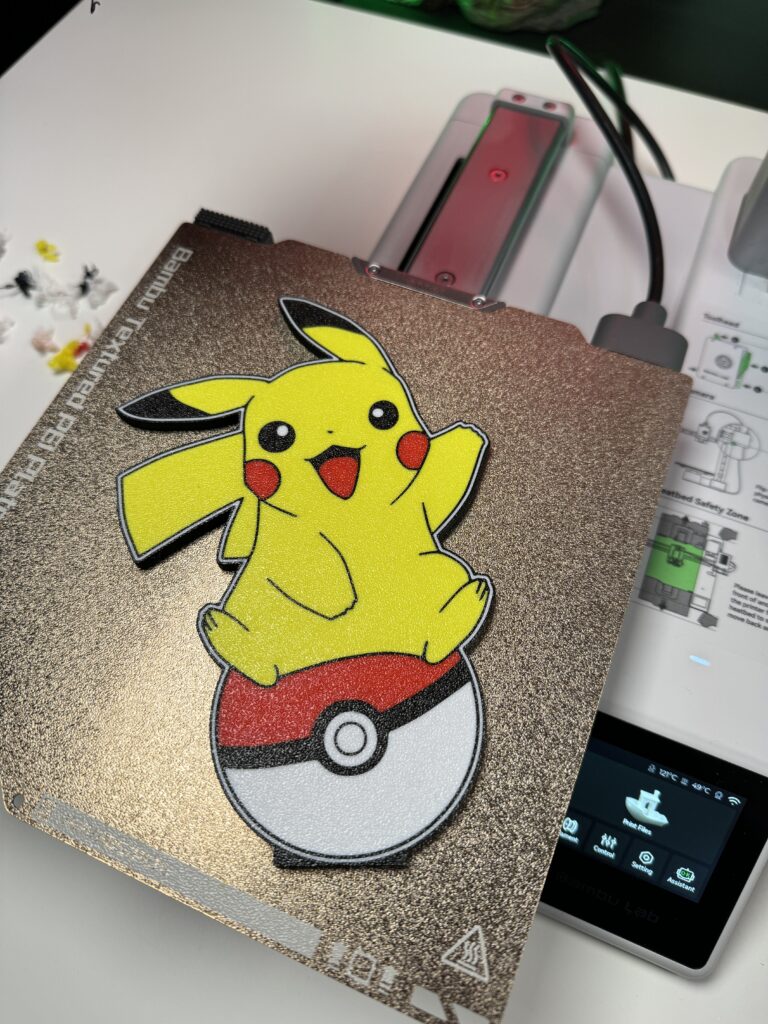
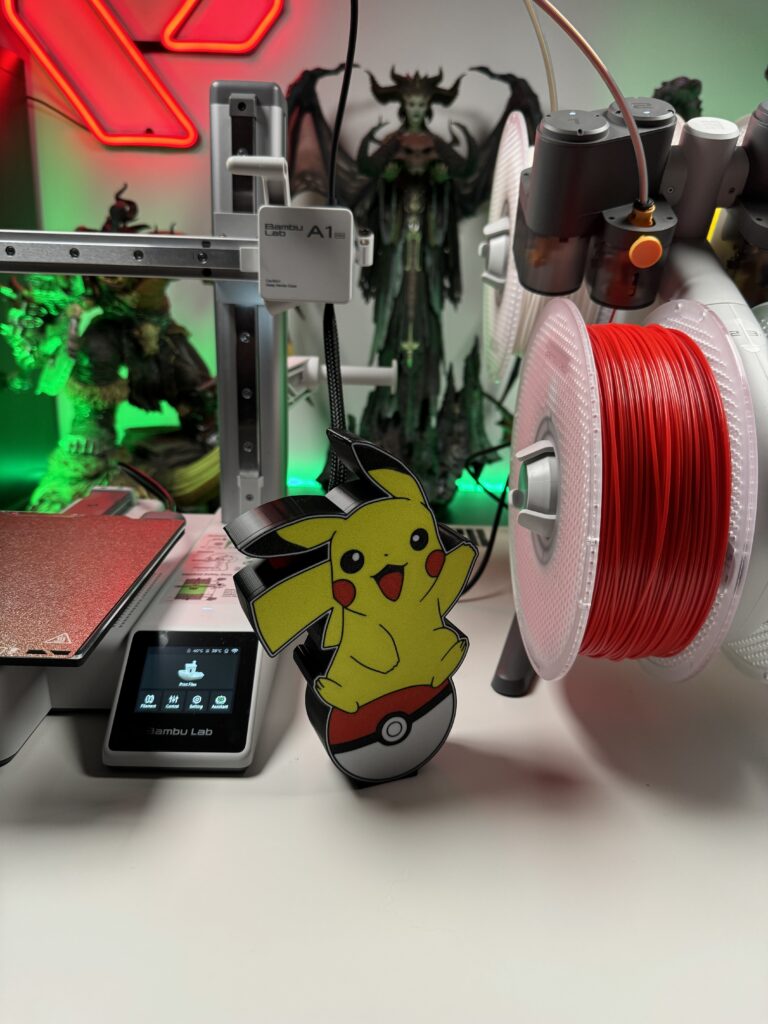
Lately, there has been hype around some models called lightboxes. Lightboxes are lamps that come in all kinds of themes. The front part consists of a thin print so that the light can pass through and the rest is black. The only thing missing is to put LED tape in it and it’s ready. They are also very good models to try out the AMS lite since they come in a variety of colours. For this reason, my first print was a Pikachu lightbox that I found at MakerWorld. So, with the push of a button, I had the following results.
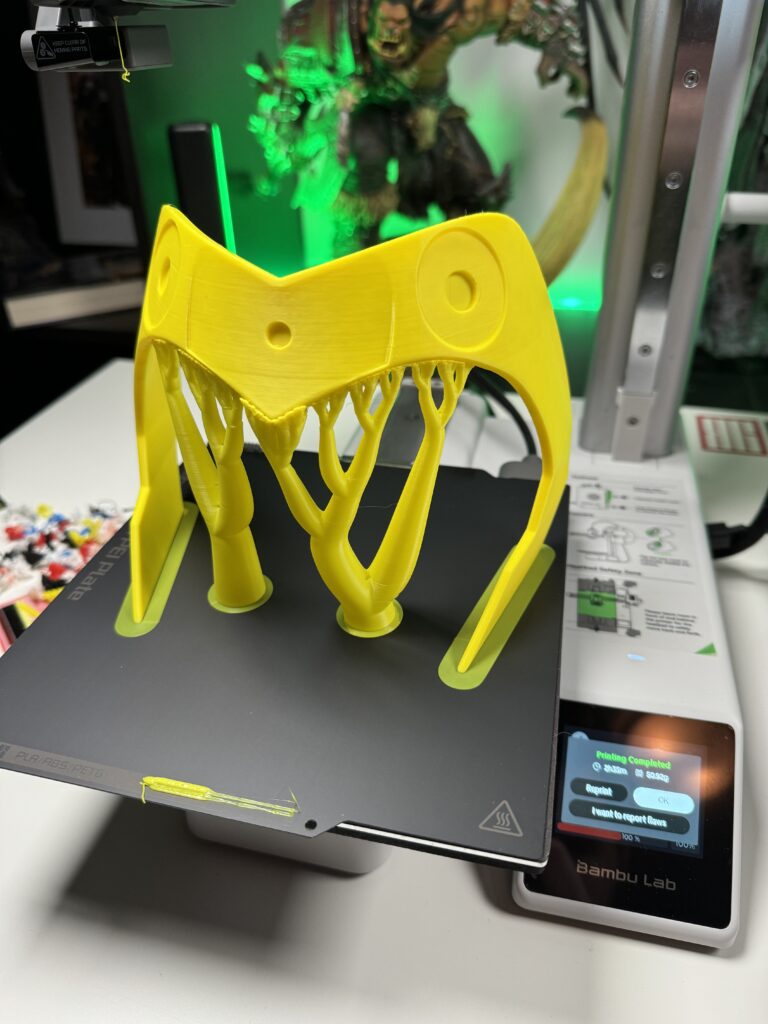
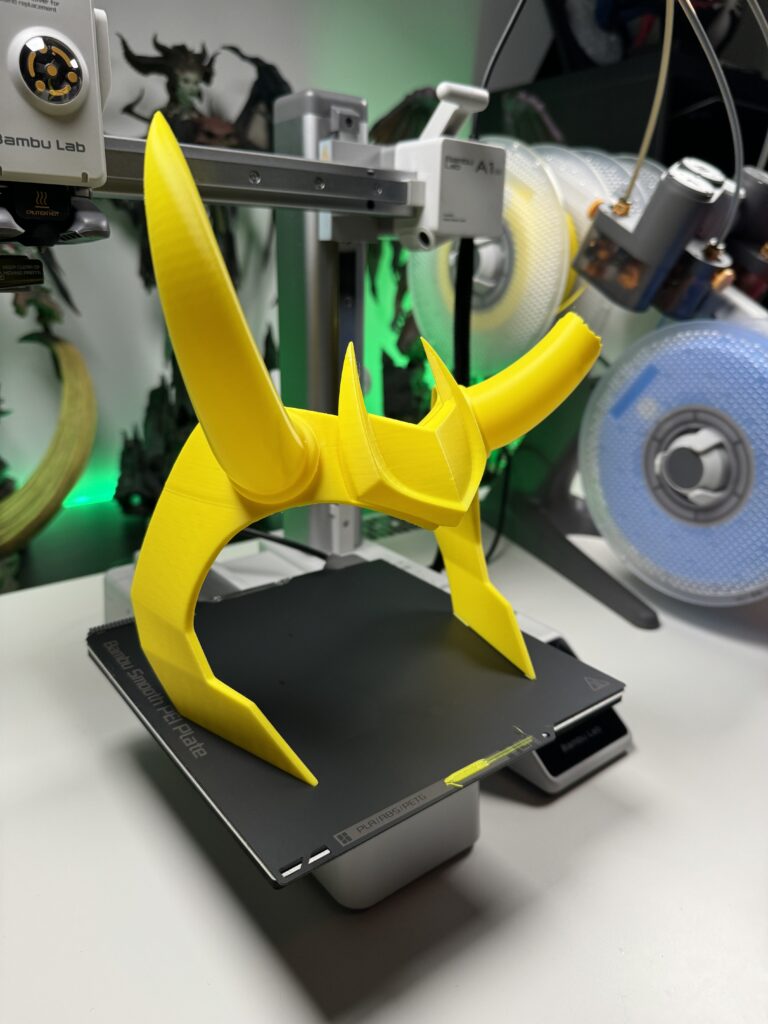
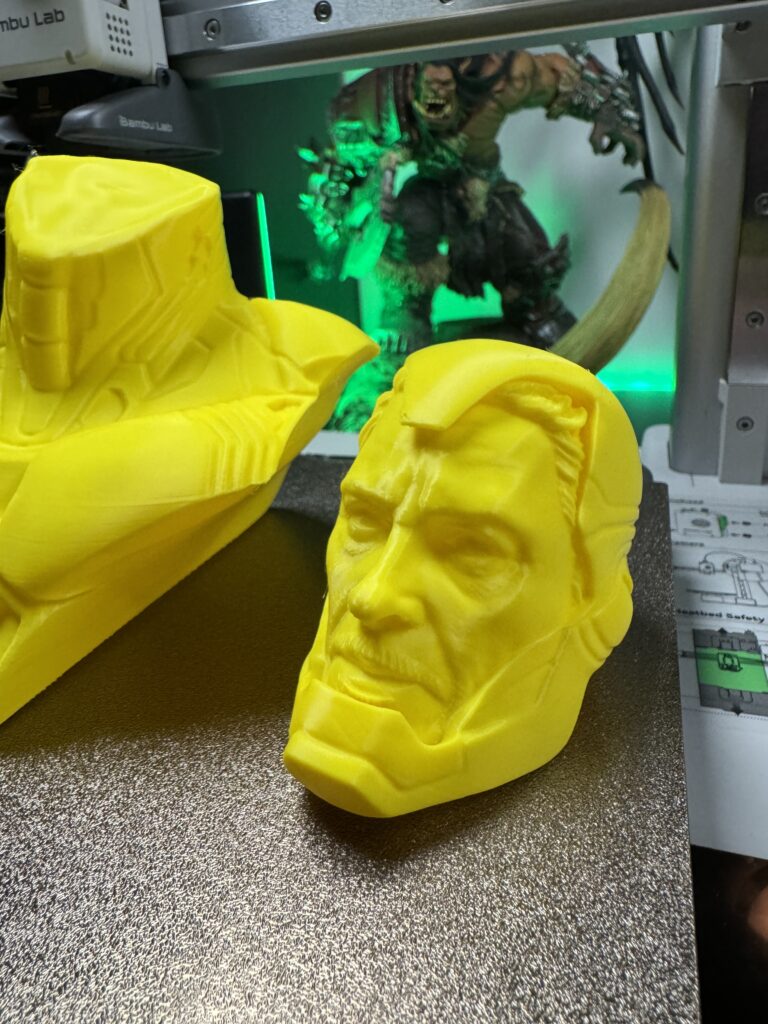
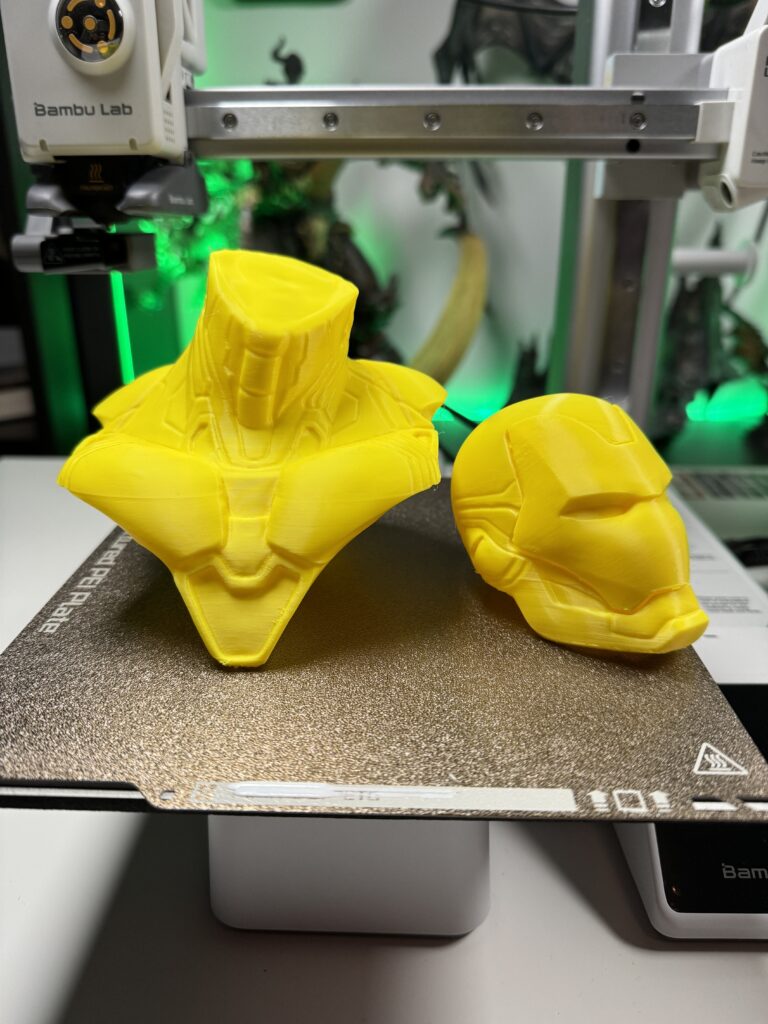
As I wrote above, the printer is small but with patience and printing a model in pieces, it can even print wearable models. Like for example the below helmet of Sylvie, Lady Loki is in 1:1 dimensions.

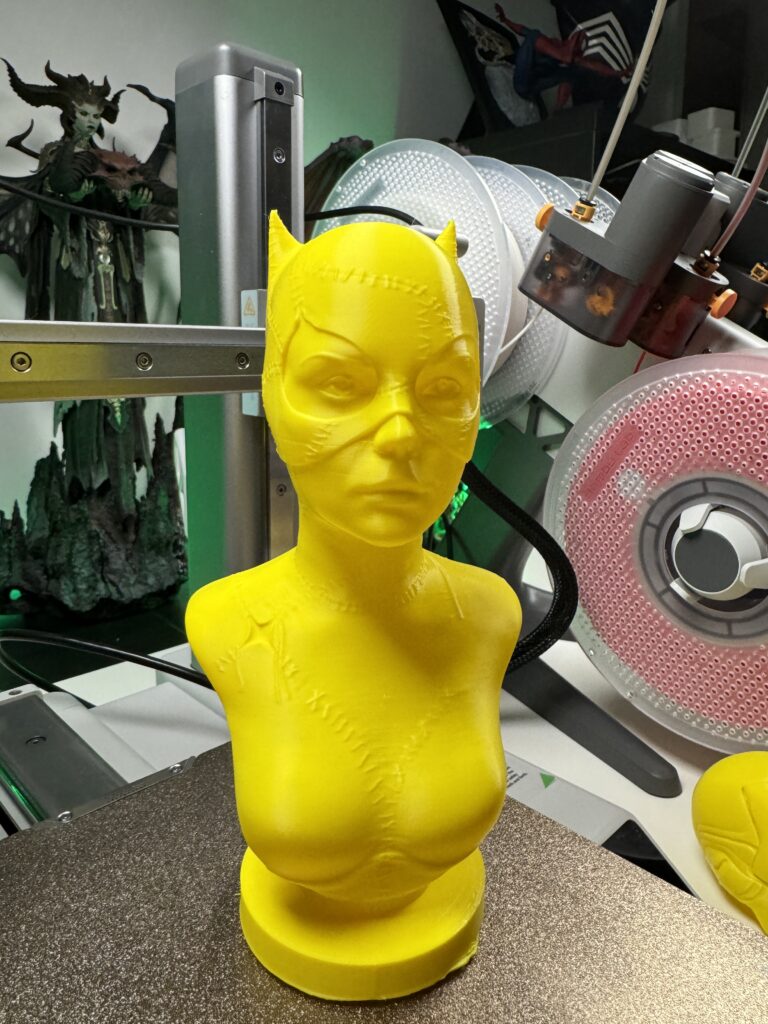
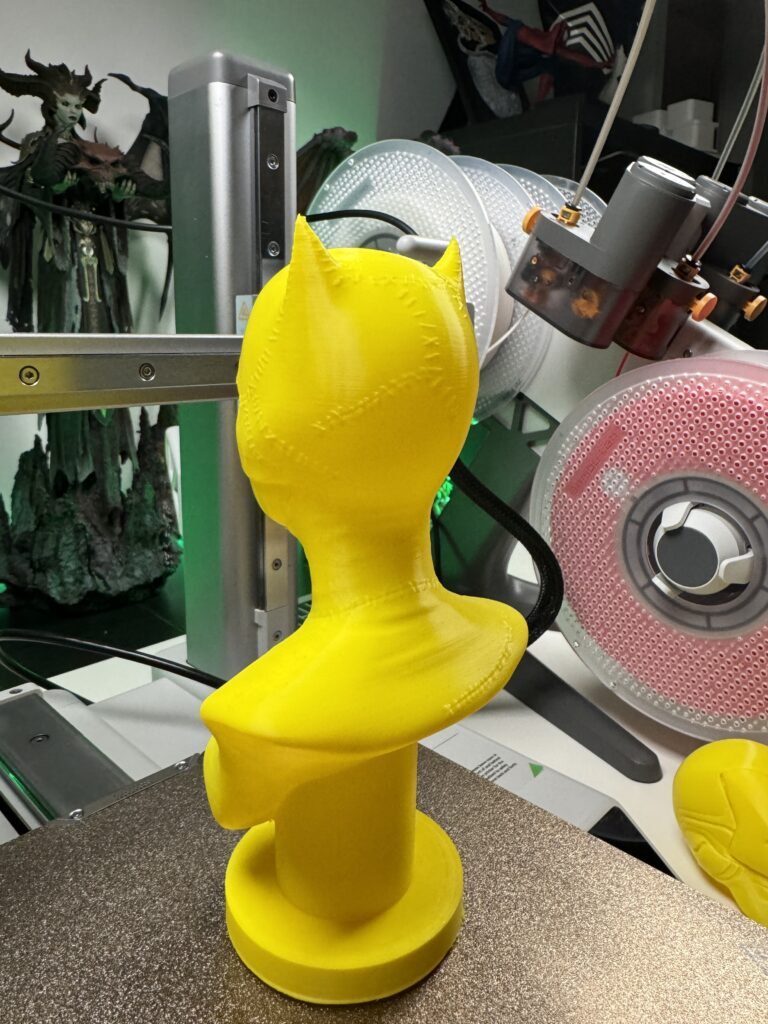
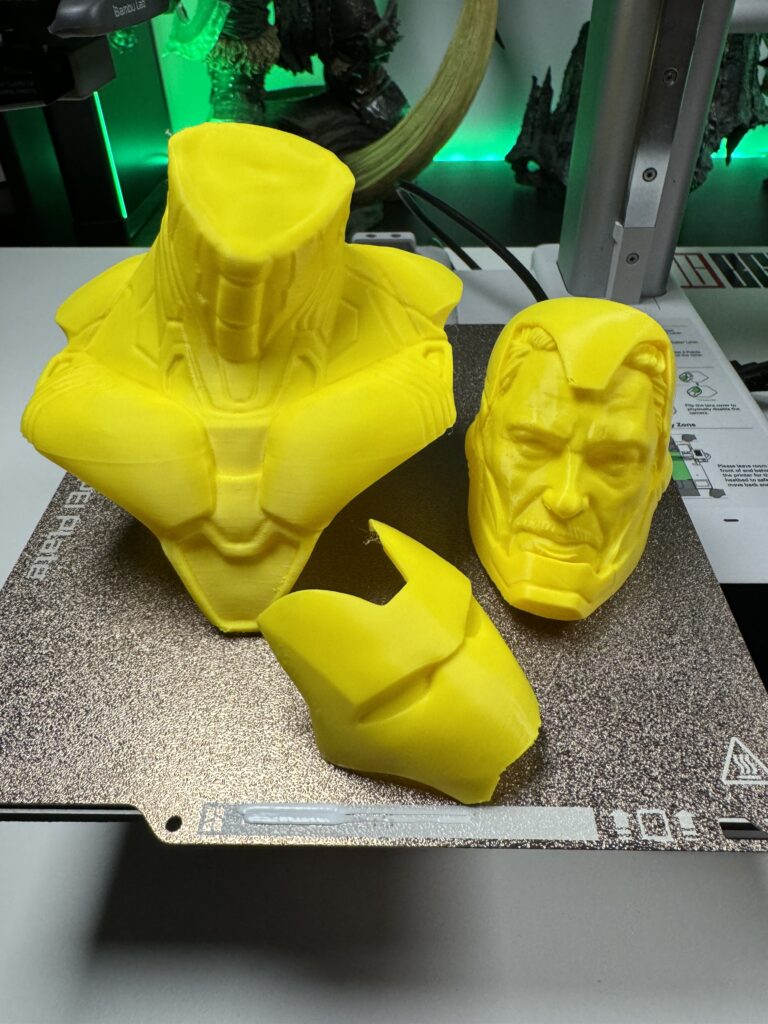
And of course, in order to test the print detail, I also printed some figures.
And some colourful key chains for my colleagues who are Super Mario fanboys.
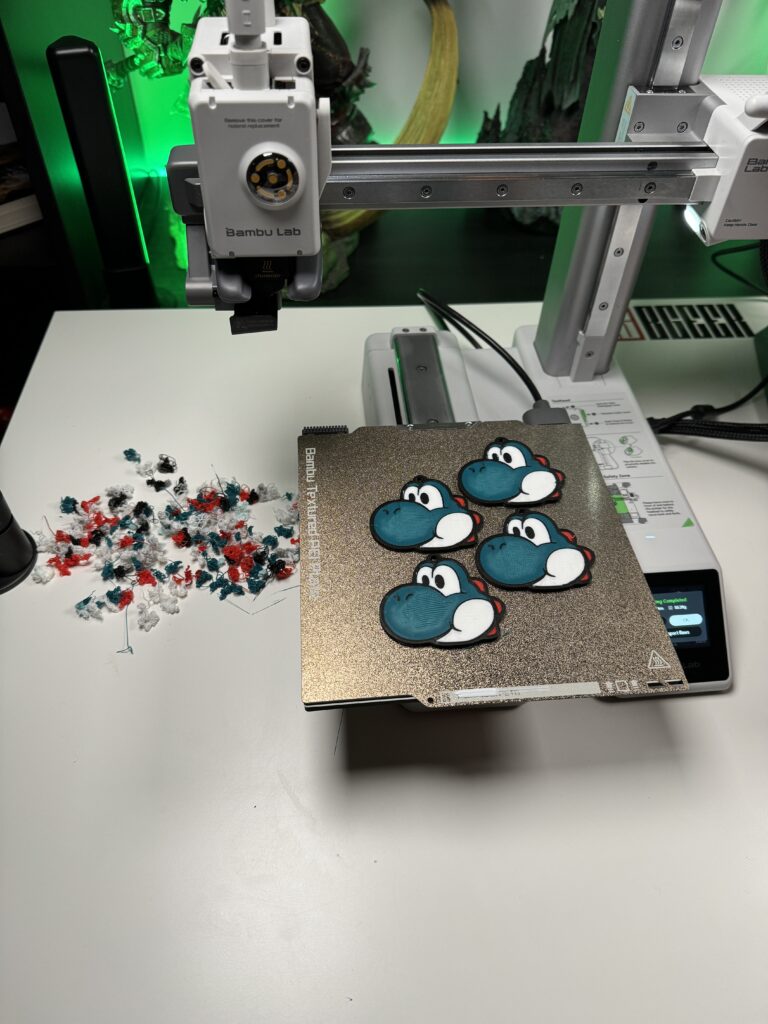
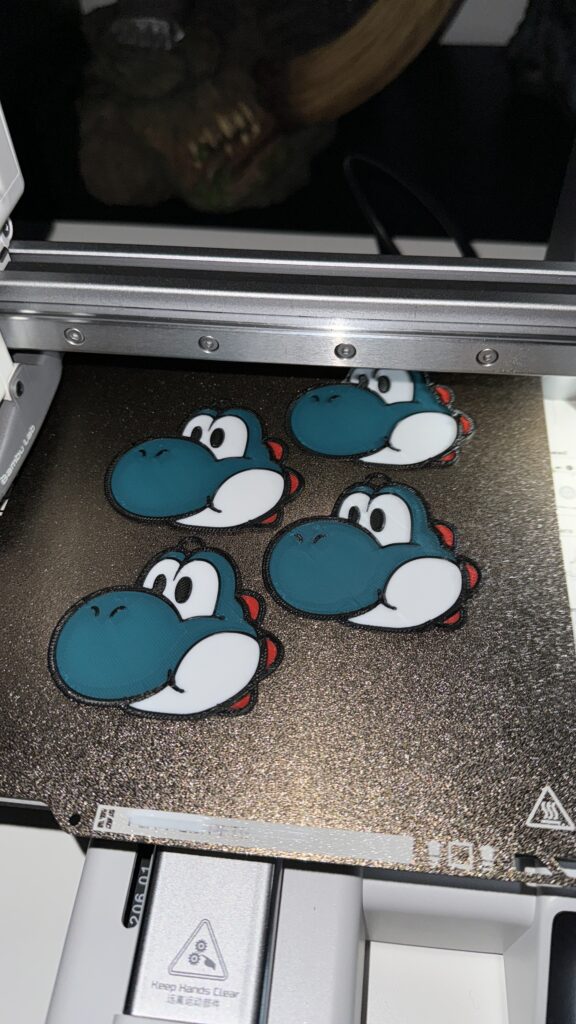
So far I haven’t had a single failed print. This is what I love about Bambu Lab printers.
Verdict
The Bambu Lab A1 Mini Combo is a proposal from Bambu Lab mainly for new users who want to enter the world of 3D printing and do not want to spend a fortune on a printer. Let’s put together what we said above to decide if this is the printer you need.
- It offers fast prints
- It supports many colours
- Using it as well as maintaining it is a piece of cake
- It is ultra-quiet
- It hides technology that thousands of Euro printers would envy
- No settings are needed because everything is done automatically
- In combination with MakerWorld, you can make your children or your inner child happy
- If you don’t care about print size, then this is your best bet for the money
You can buy the Bambu Lab A1 Mini Combo from the official Bambu Lab store at the price of €489 or €319 in case you are not interested in printing with many colours and want it without AMS lite.
At this point, I would like to thank Bambu Lab for their trust and the Bambu Lab A1 Mini Combo review unit they gave us (before it was even released) to write this article.